Welcome to Certifyd
Welcome to Certifyd
Certifyd lets training providers, event organizers and associations design, issue and verify digital certificates and badges. This guide is for the people who run those programs: it walks through every screen in the order you'll use them.
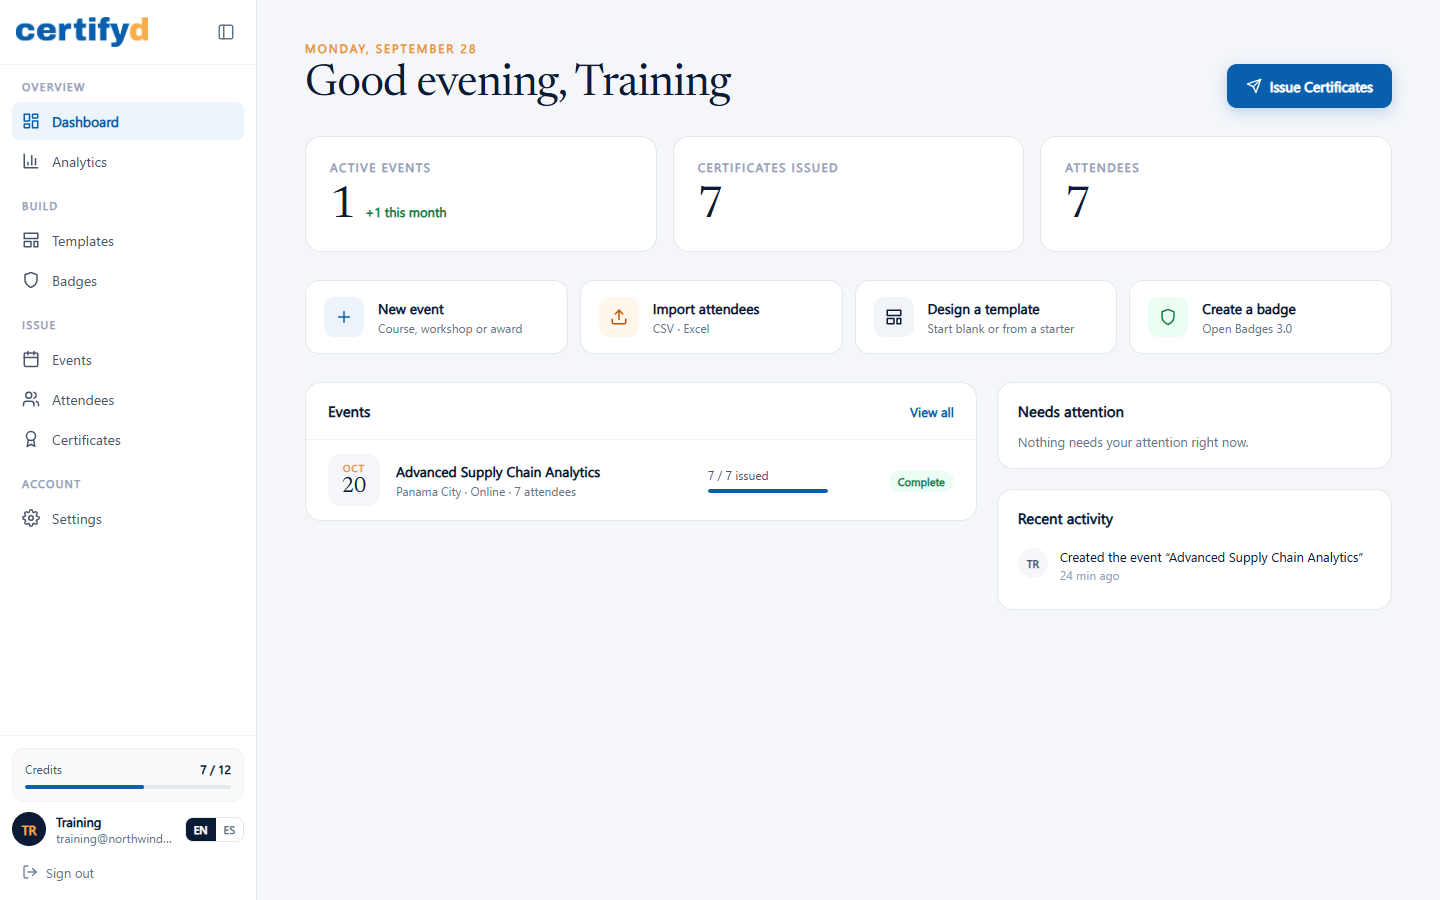
How Certifyd works
- Set up your branding once. Your logo, organization name and signers appear on every certificate. See Set up your branding.
- Pick a design. Choose one of 60 certificate designs, each with a matching badge. See Browse the template library.
- Create an event for each course, workshop or award, and choose how long its certificates stay valid. See Create an event.
- Add attendees one at a time, from a spreadsheet, or let people sign up through a public form. See Add attendees and Public sign-up form.
- Generate certificates for everyone in the event with one click. See Generate certificates for an event.
- Share and verify. Every certificate has a unique credential ID, a QR code and a public verification page. See The verification page.
Where to start
- New to Certifyd? Start with Create your account.
- Issuing your first batch? Follow the pages under Events and attendees, then Issuing certificates.
- Connecting another system? See API keys and Webhooks.
Certifyd works in English and Spanish. Switch the language any time with the EN / ES toggle at the bottom of the menu.
Was this page helpful?