Getting started
Getting started
Applies to: anota, all plans (including the free Starter plan) Roles required: none to sign up; Editor or above to create forms in a workspace you were invited to Regulatory references: none
Overview
This guide takes you from zero to your first real response in about ten minutes. You will create an account, build a small registration form, publish it, fill it in as a visitor would, and see the response arrive in your inbox. Every step shows the screen you should see, with the button or field to use outlined in green.
The example follows Café Aurora, a coffee shop that runs barista workshops and wants people to sign up online.
Key concepts
- Draft: every new form starts as a private draft. Nobody else can see it and it can't receive responses.
- Publish: turns the draft into a live form with a public link. After the first publish the button reads Update, which pushes later changes live without losing responses.
- Public link: the address people open to fill in your form. Until you publish, it follows the form's title; after the first publish it never changes, because people may already have it.
- Submissions: the responses your form receives, listed in the form's inbox.
Task 1 — Create your account
Prerequisites
- A valid email address you can open, or a Google account.
Step-by-step
Open the anota sign-up page (Sign up free on anota.cloud). The Create your account page opens.
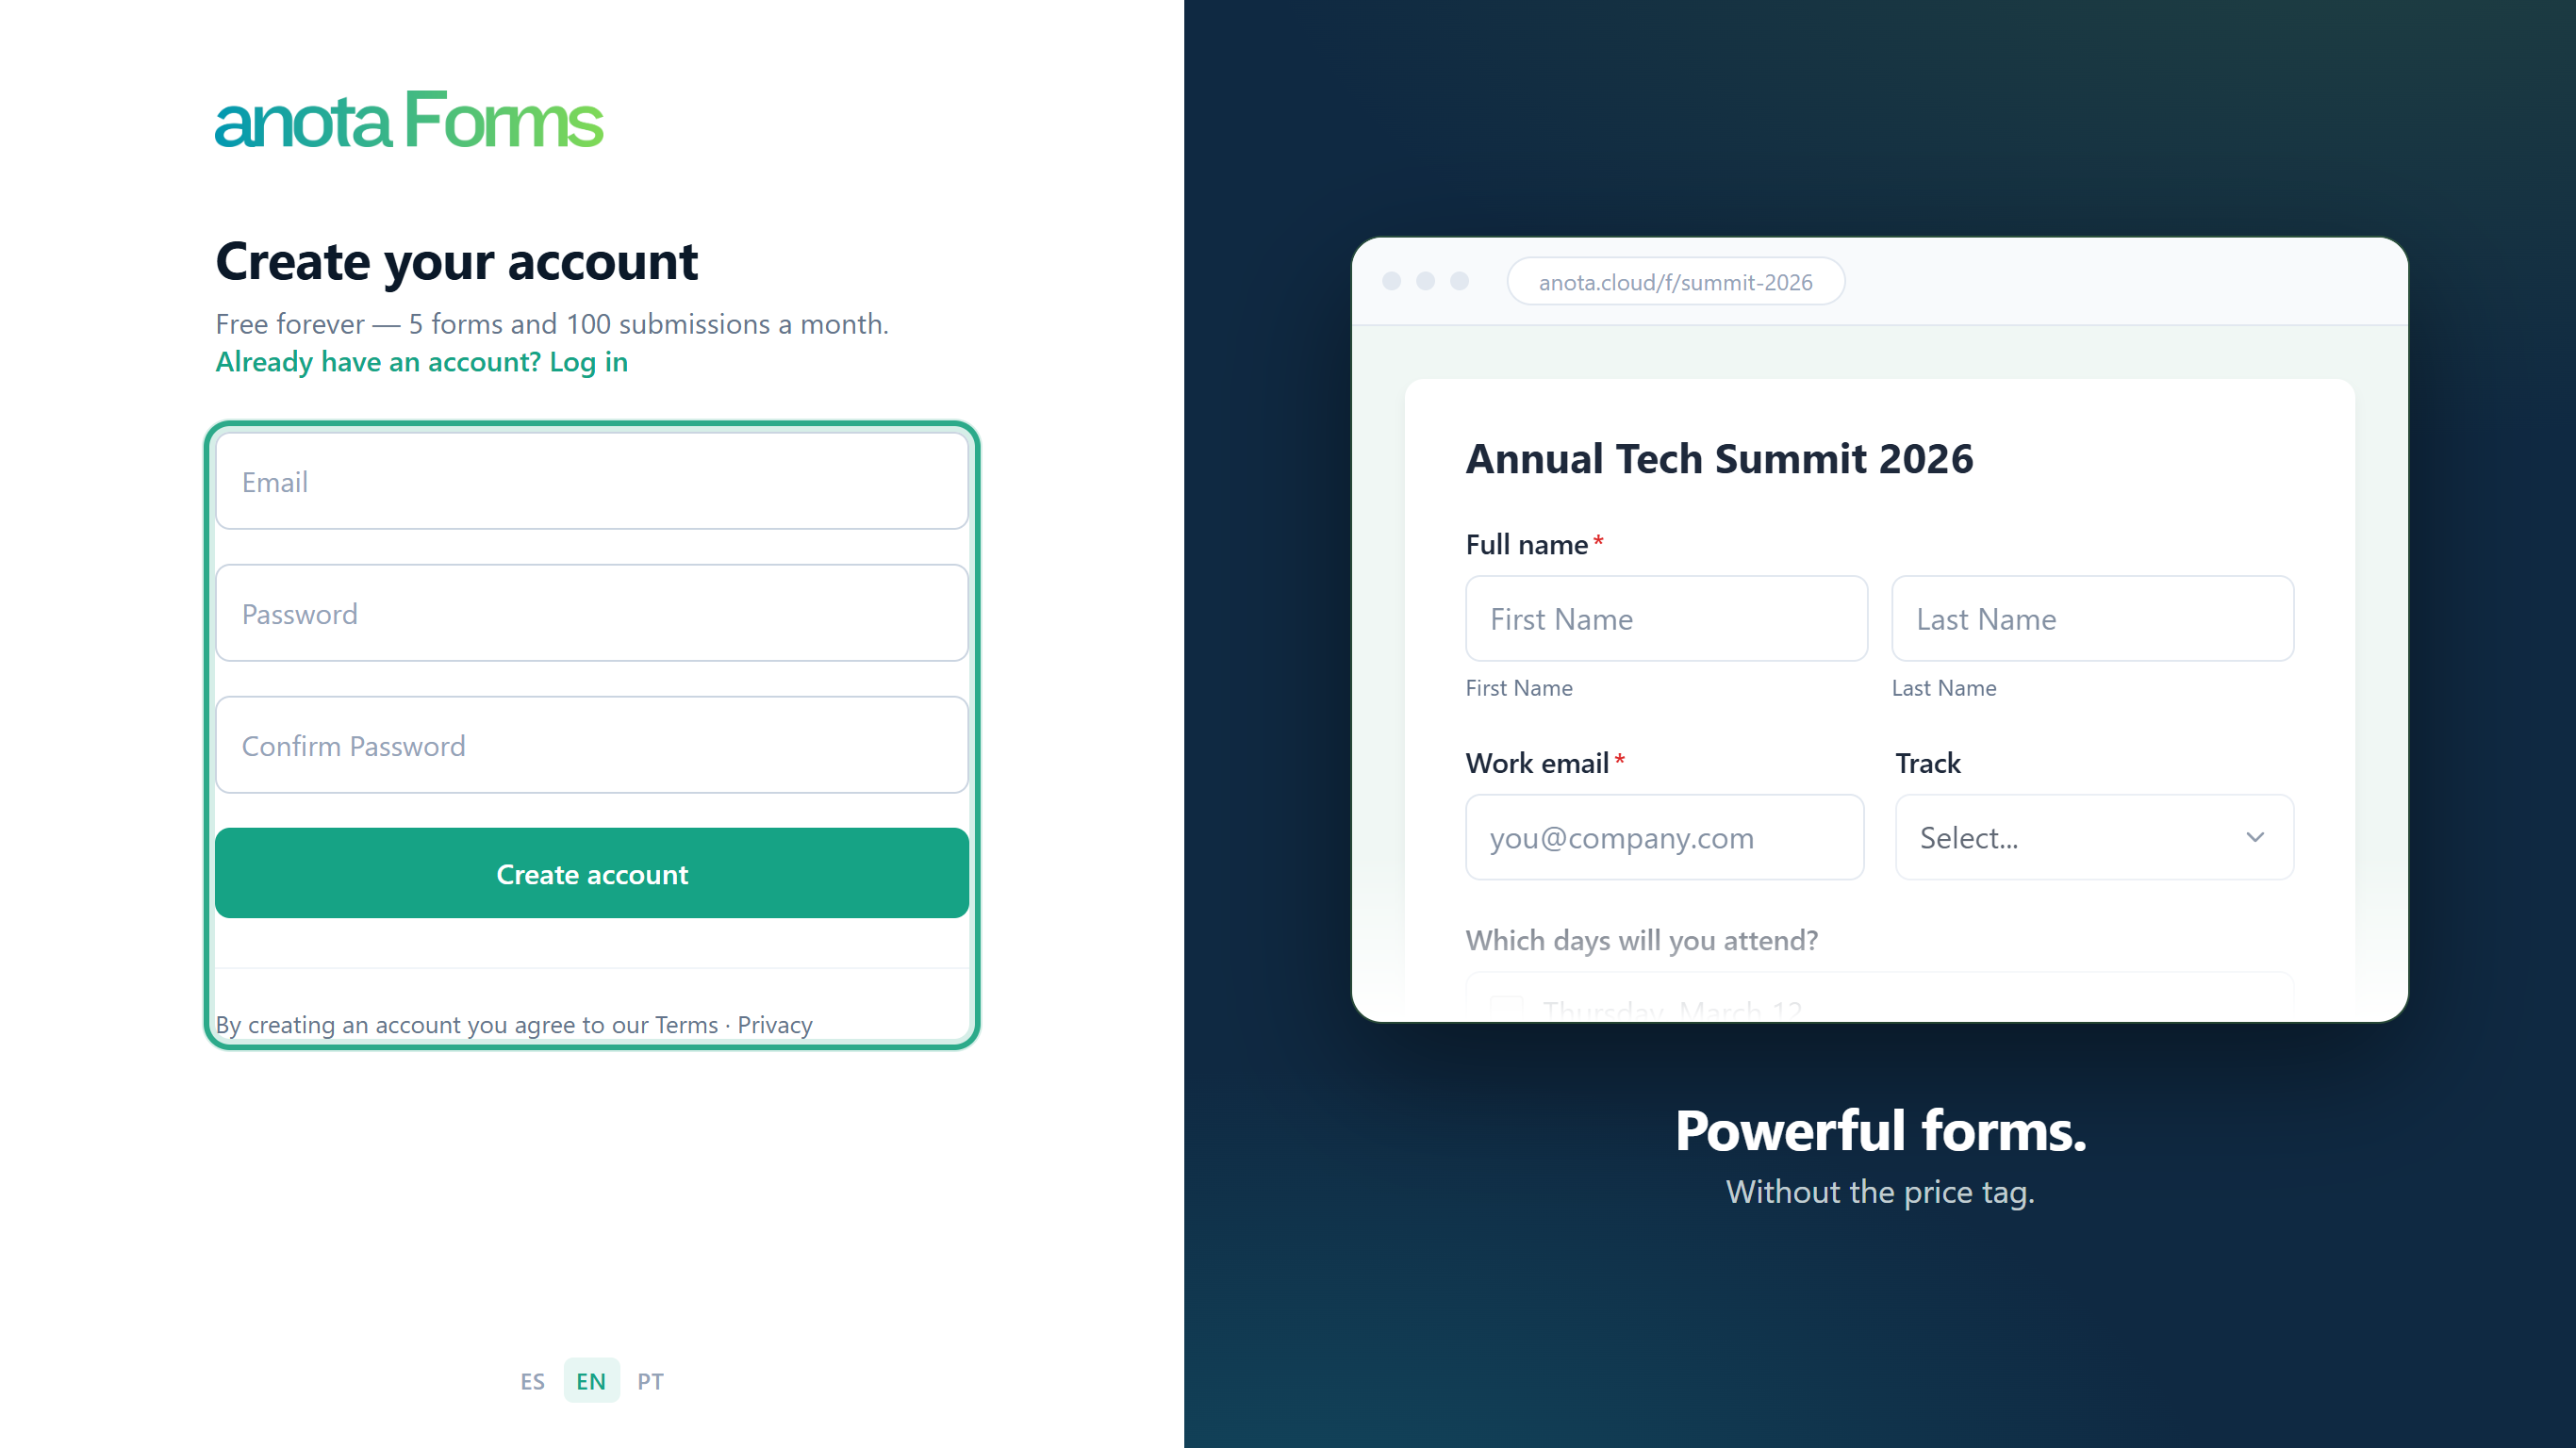 The Create your account page. The free plan includes 5 forms and 100 submissions a month.
Type your Email, choose a Password and type it again in Confirm Password. The password must be 6 to 100 characters long and include an uppercase letter, a lowercase letter, a digit and a symbol. Then click Create account.
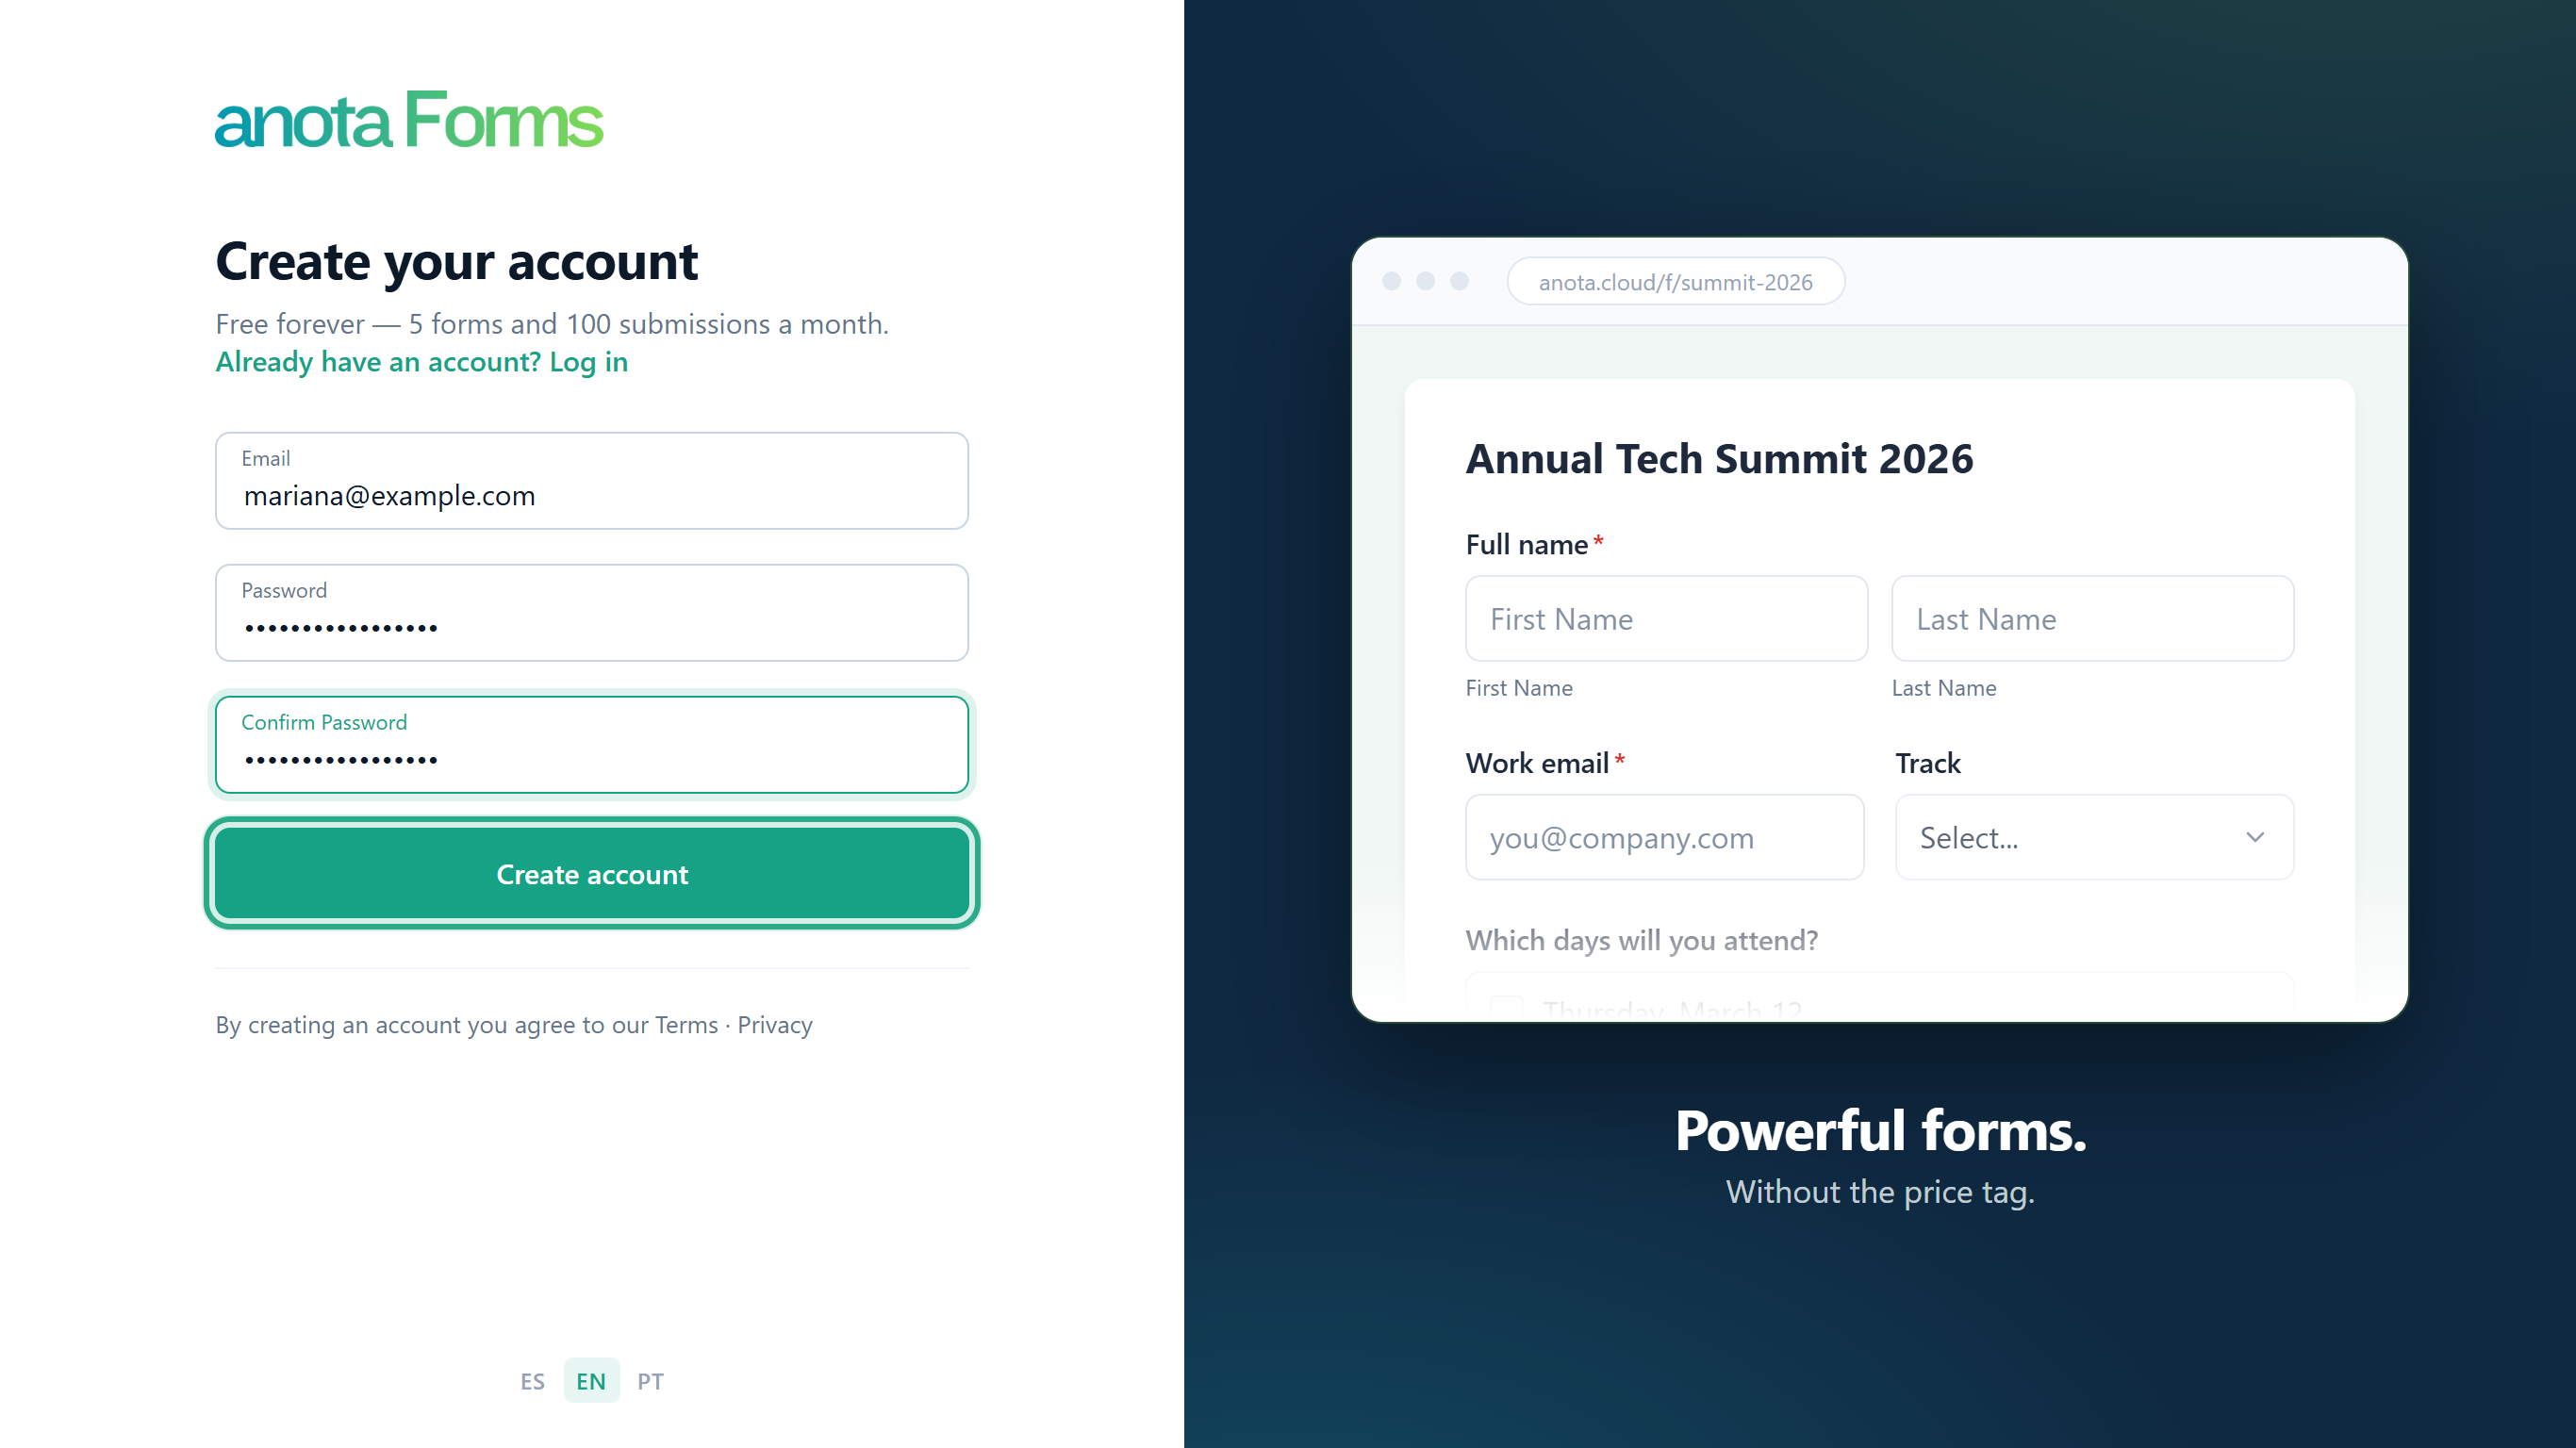 Fill in the three fields and click Create account.
anota sends you a confirmation email and shows the Check your email page. Open the email and click the confirmation link. You'll see Thank you for confirming your email.
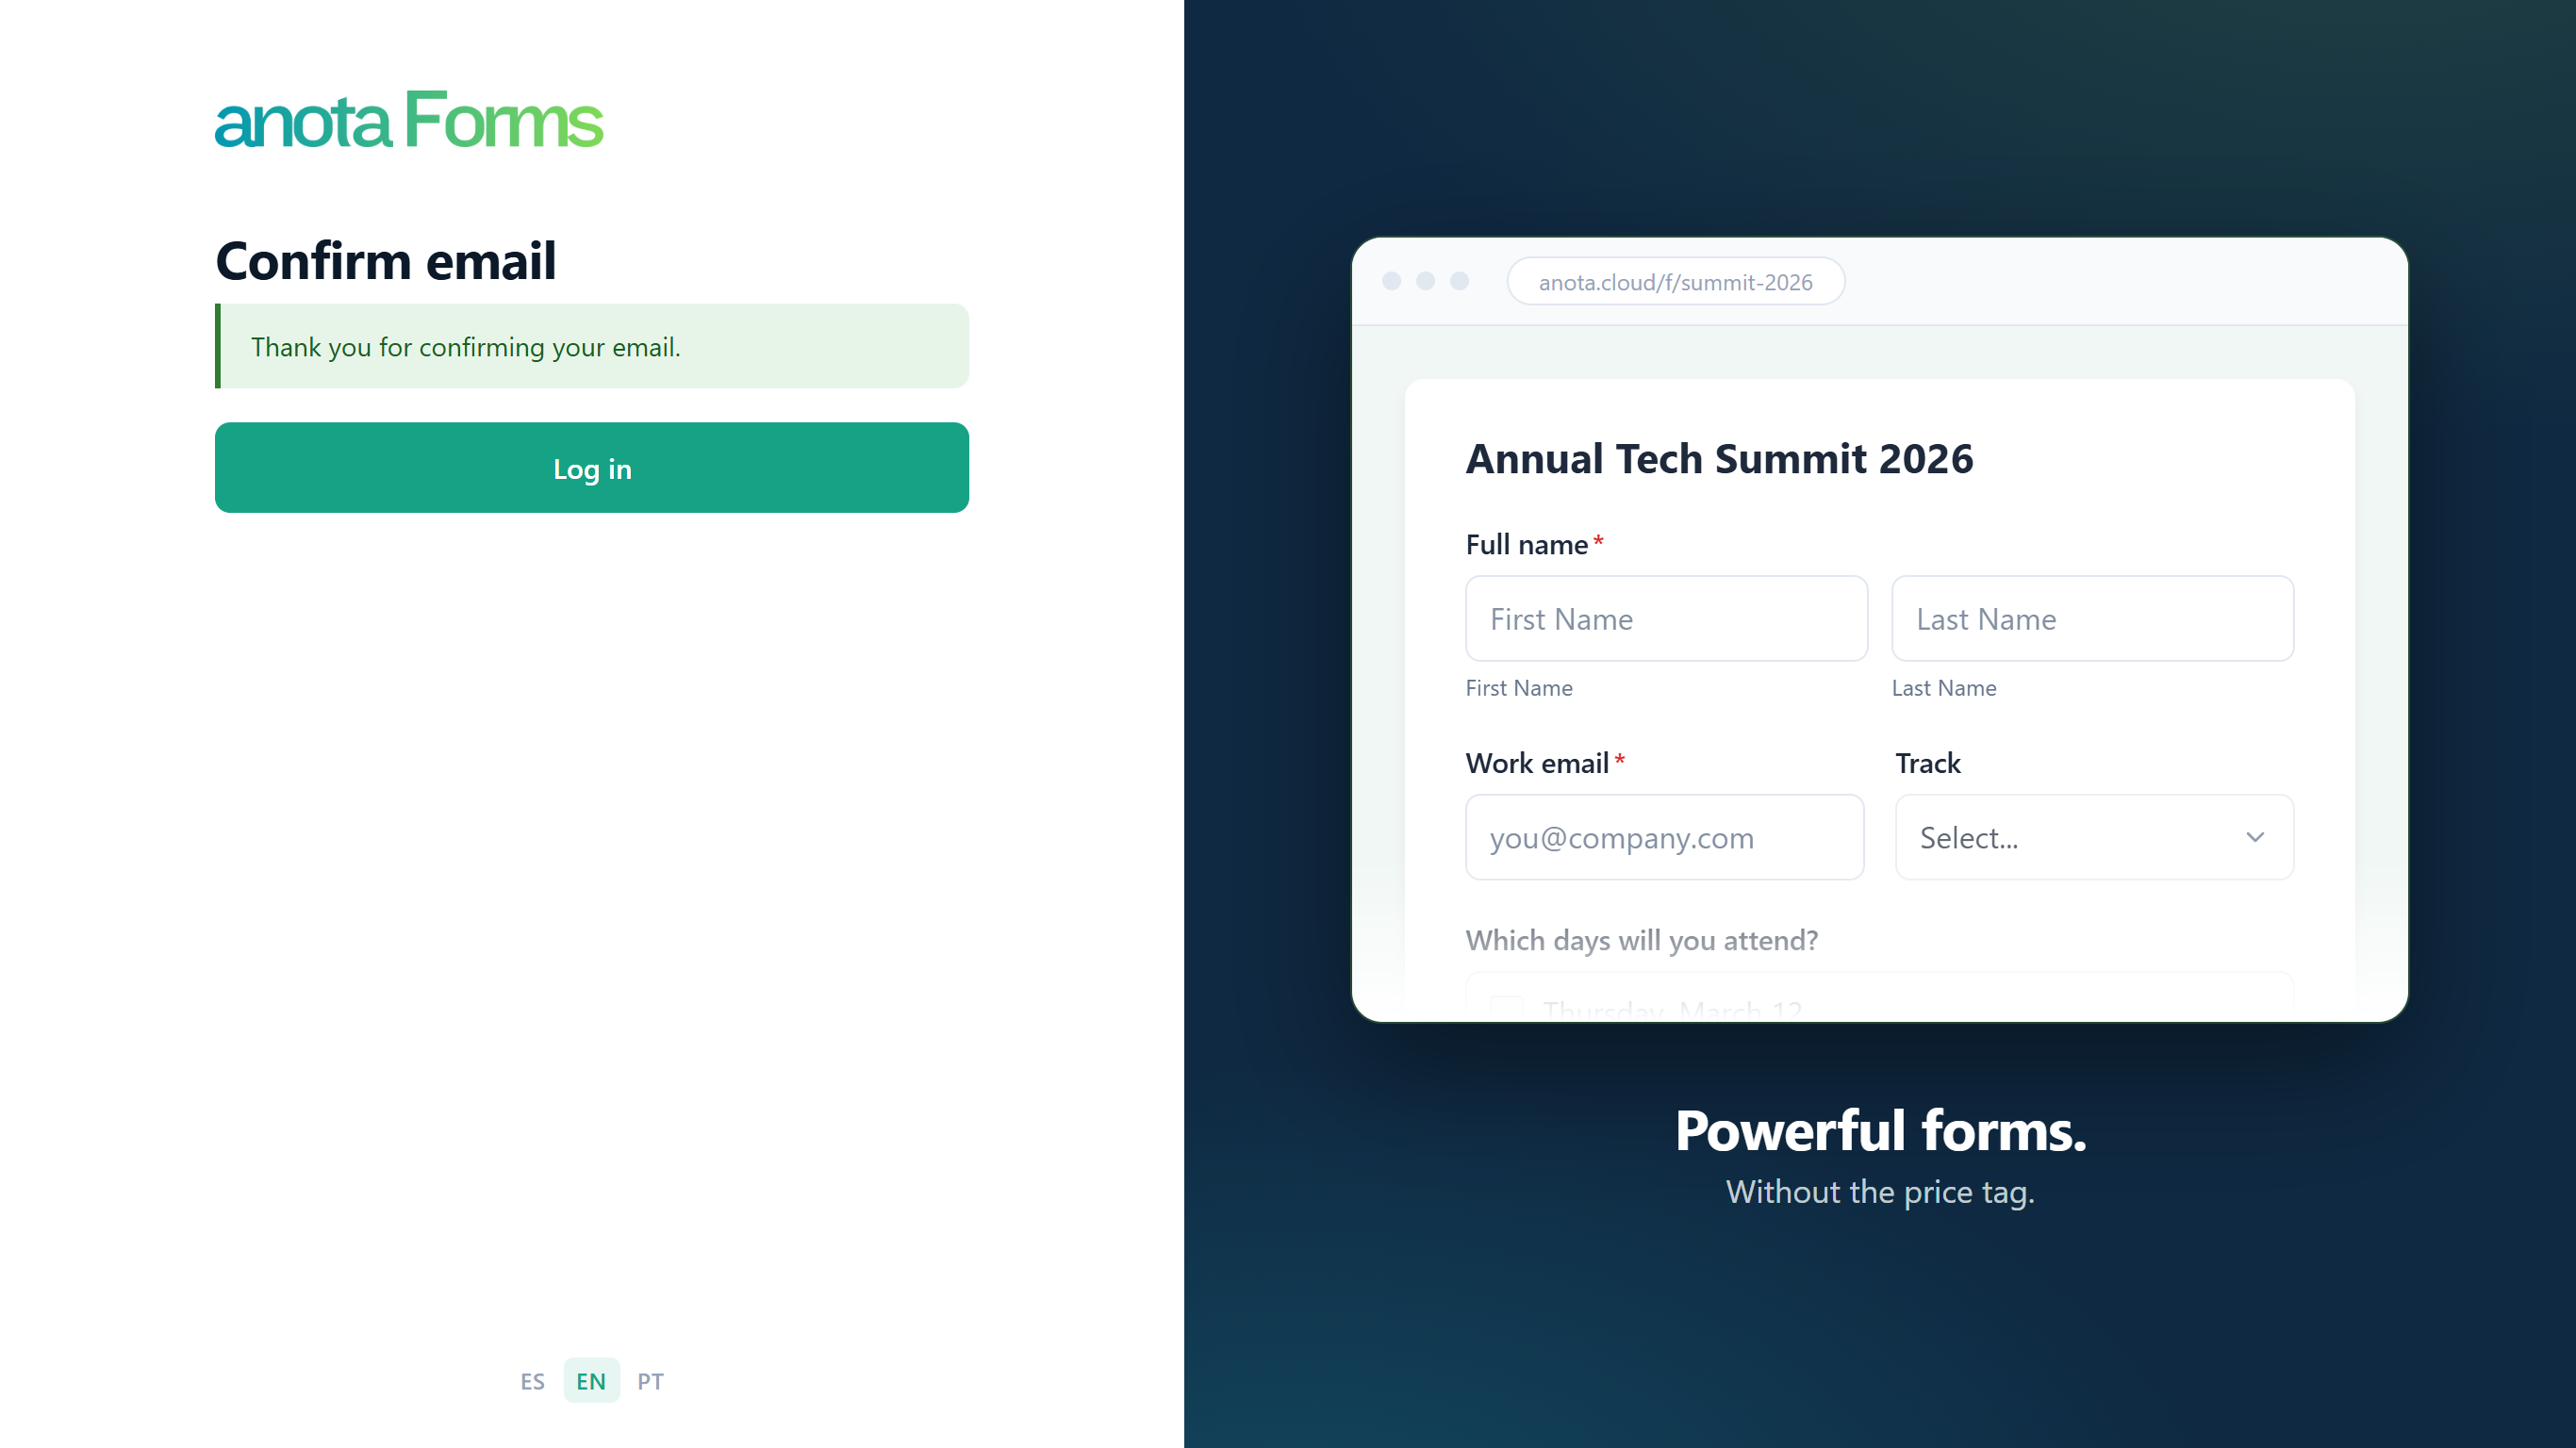 Your email is confirmed. Click Log in to continue.
Prefer Google? Click Continue with Google on the sign-up page instead. If Google confirms your address, your account is created and you're signed in right away, with no confirmation email.
On the Log in page, enter your email and password and click Log in.
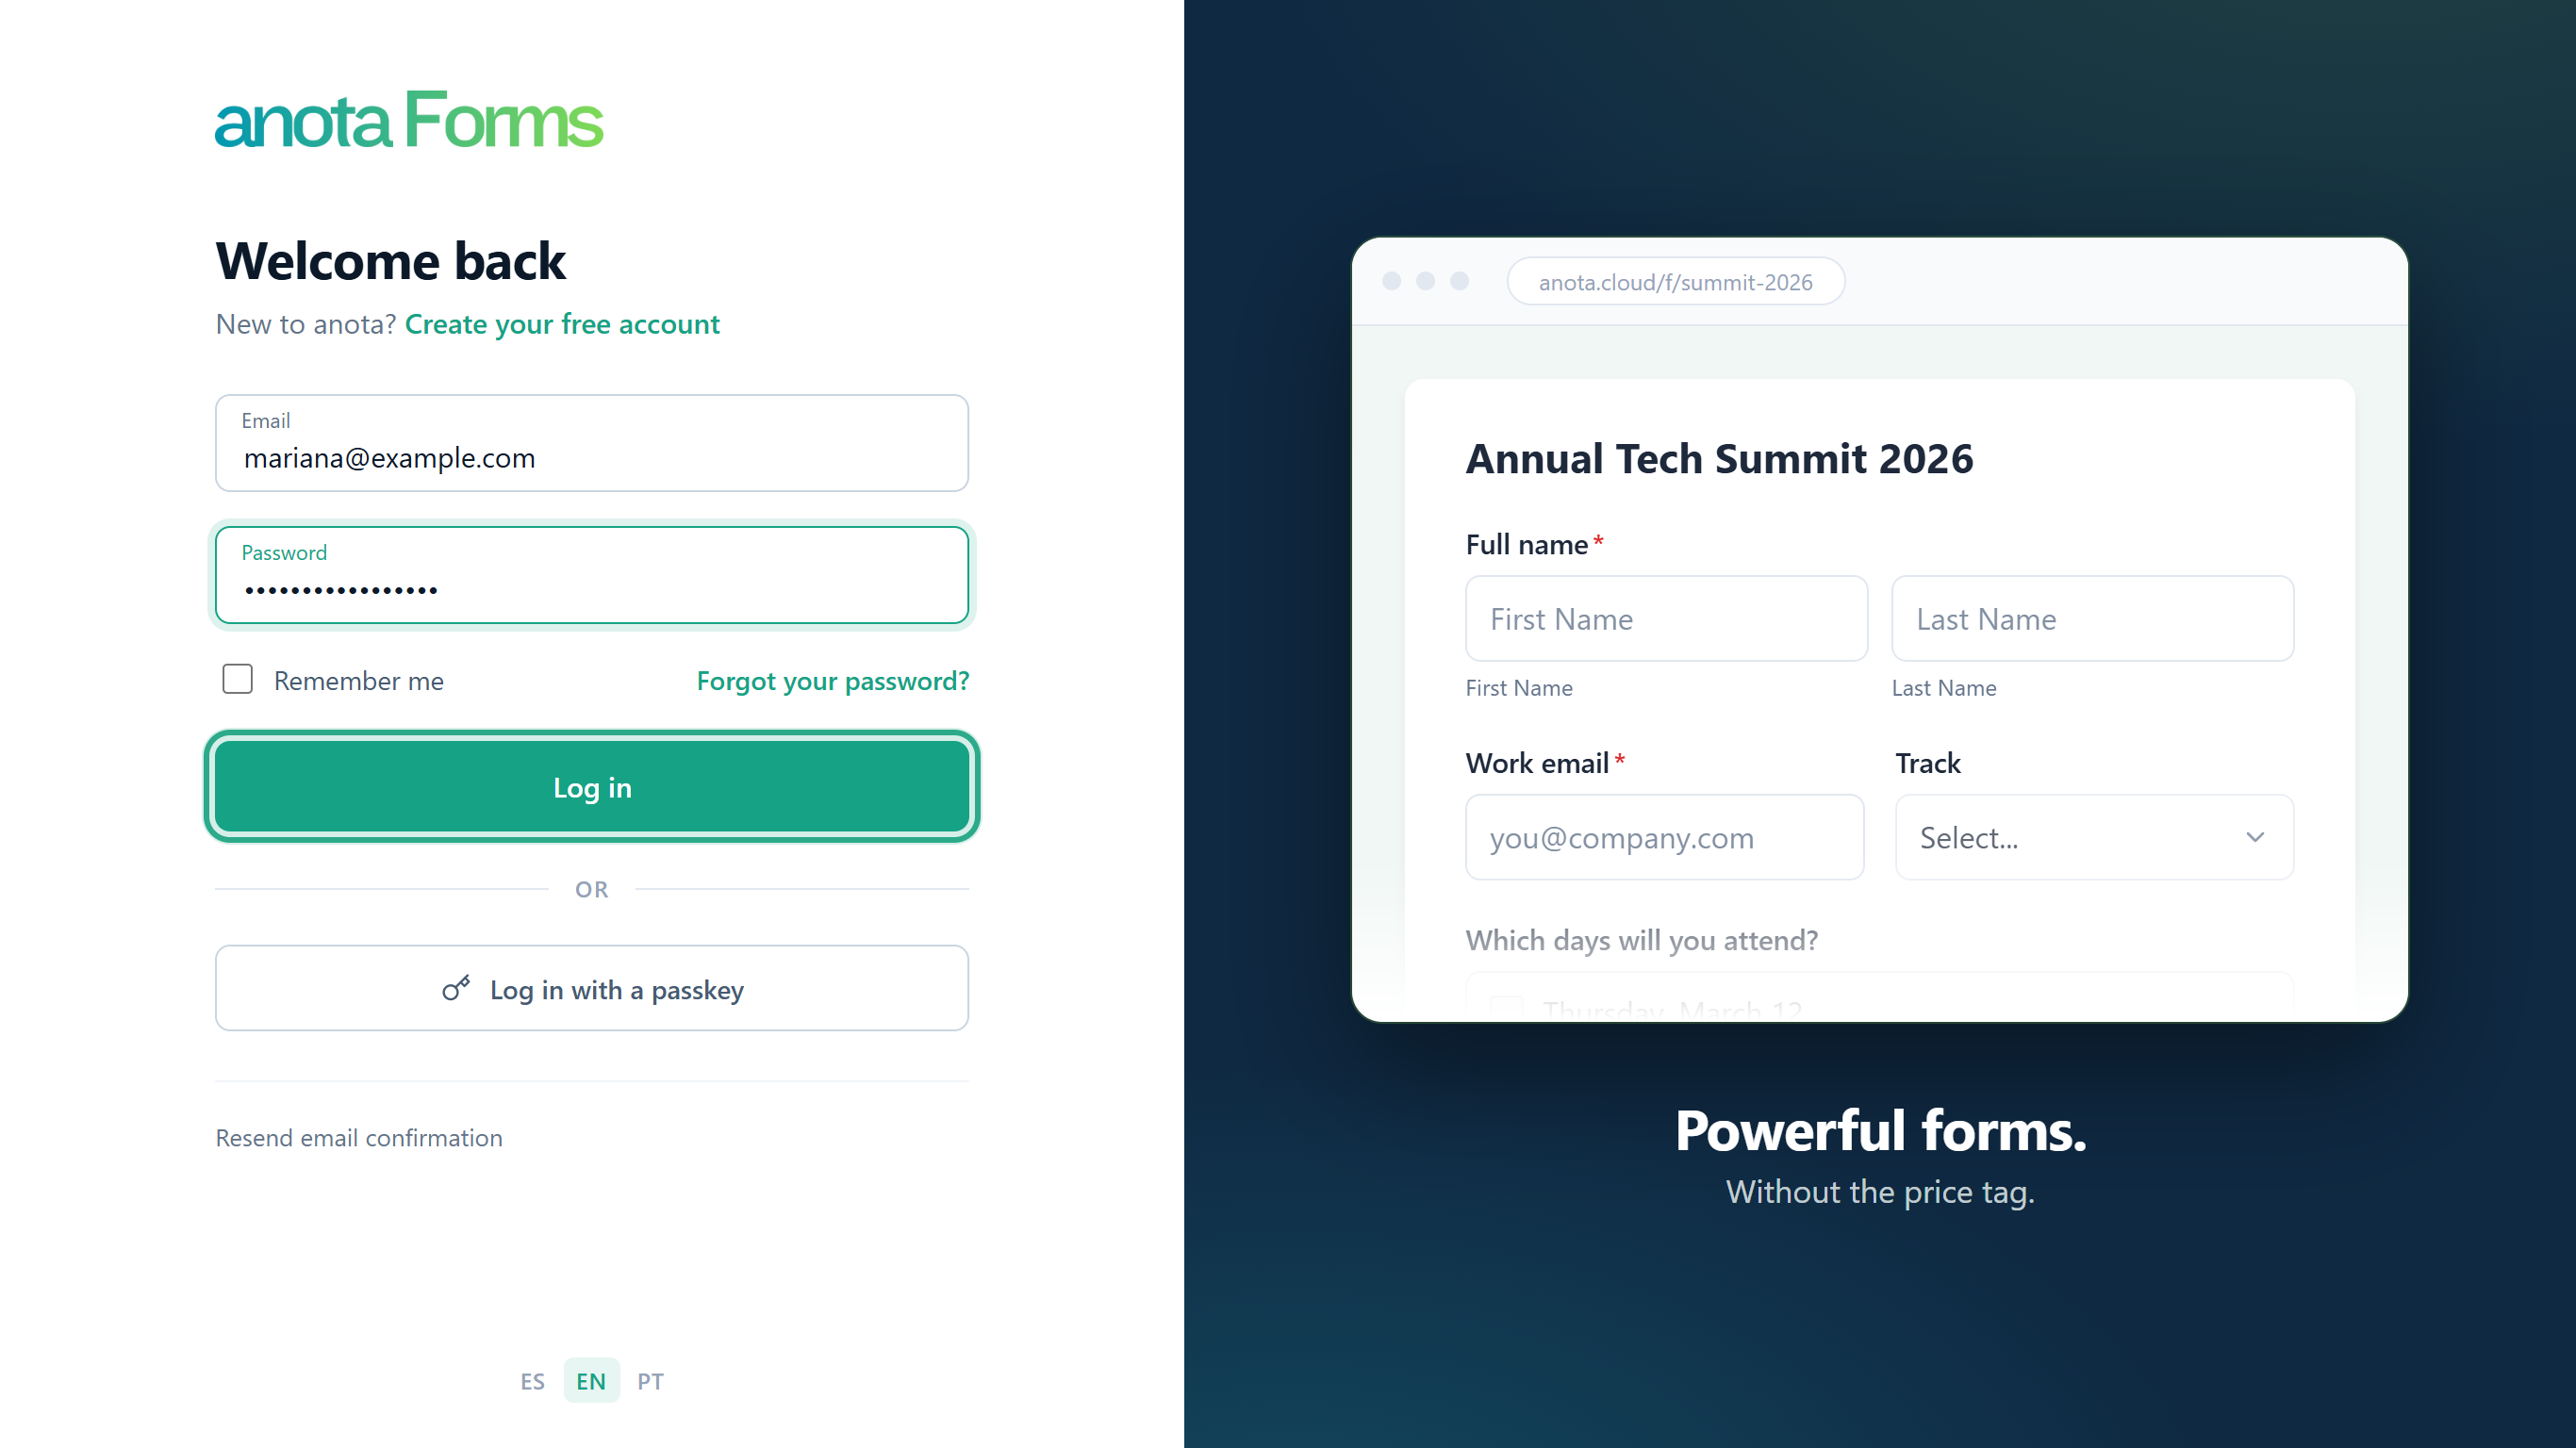 Log in with the email and password you just chose.
Result
You land on My forms. anota has created a workspace for you, and you are its Owner.
Task 2 — Build your first form
Step-by-step
On My forms, click Create form. (Create card form makes a one-question-per-screen form instead; see Classic and Card layouts. Use a template starts from a ready-made form; see Templates.)
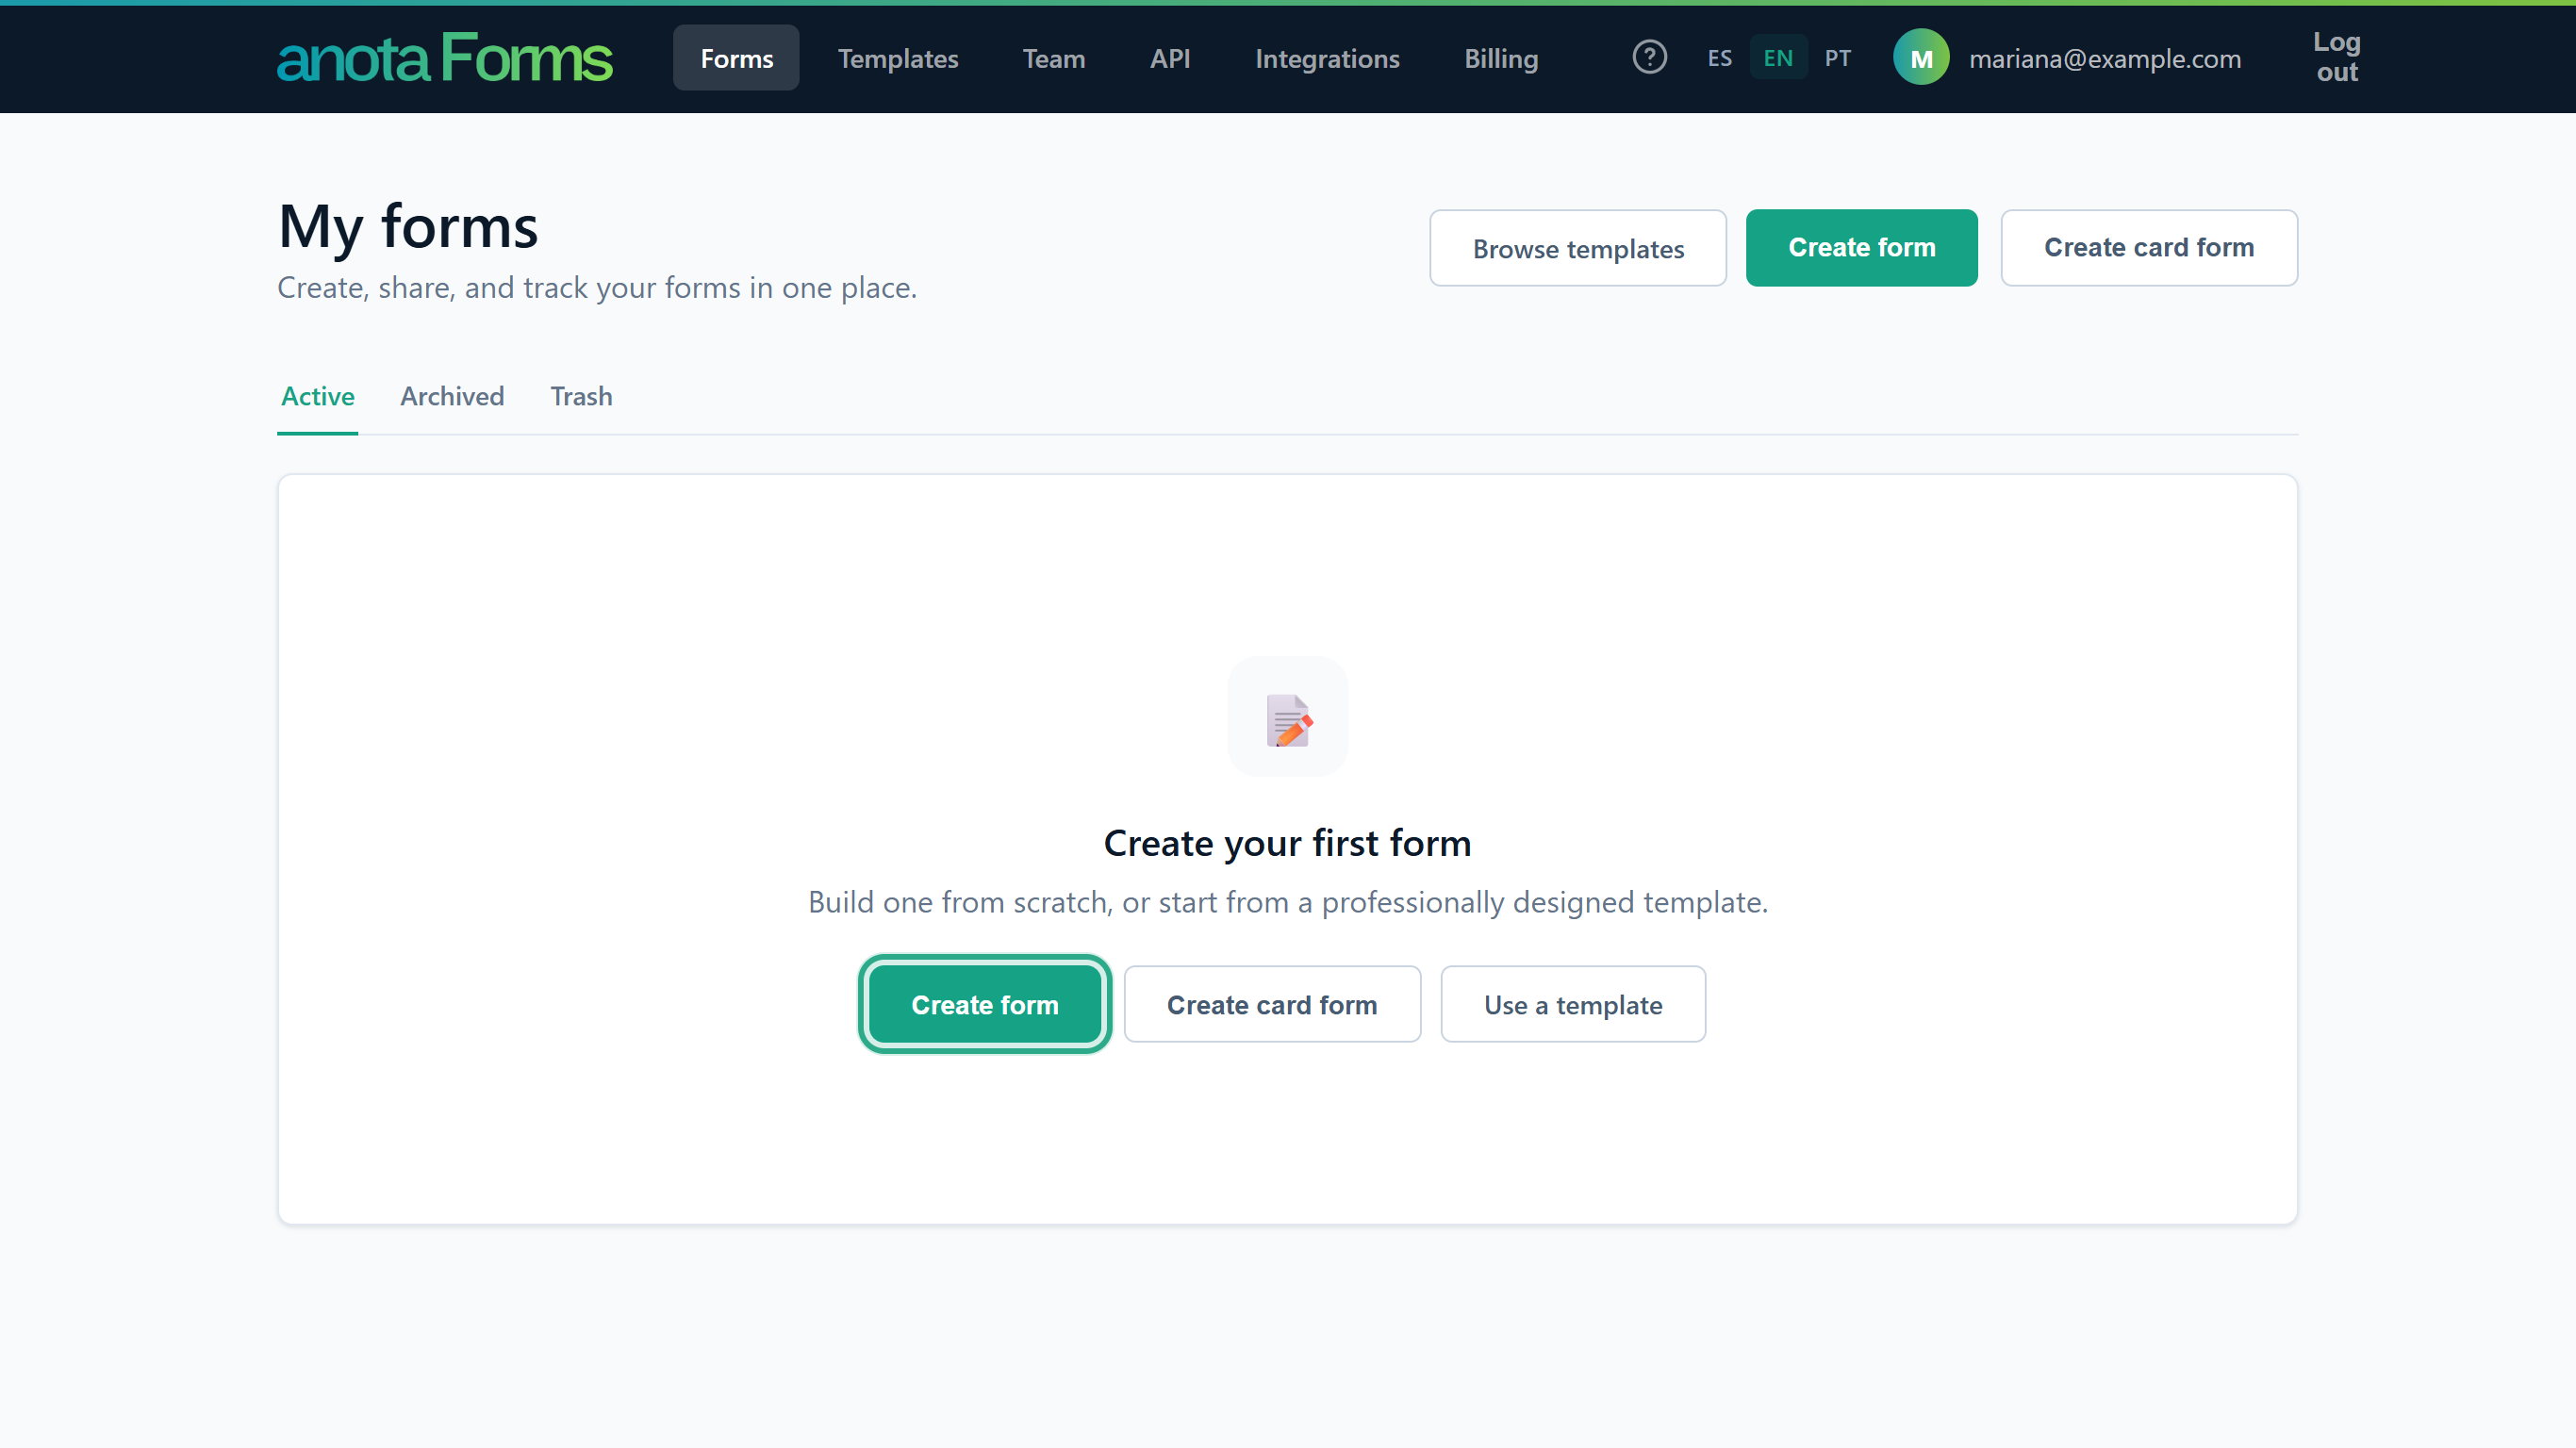 A brand-new account has no forms yet. Click Create form.
The form builder opens with a blank form called Untitled form. Click the title at the top left and type a name for your form, for example Barista Workshop Registration.
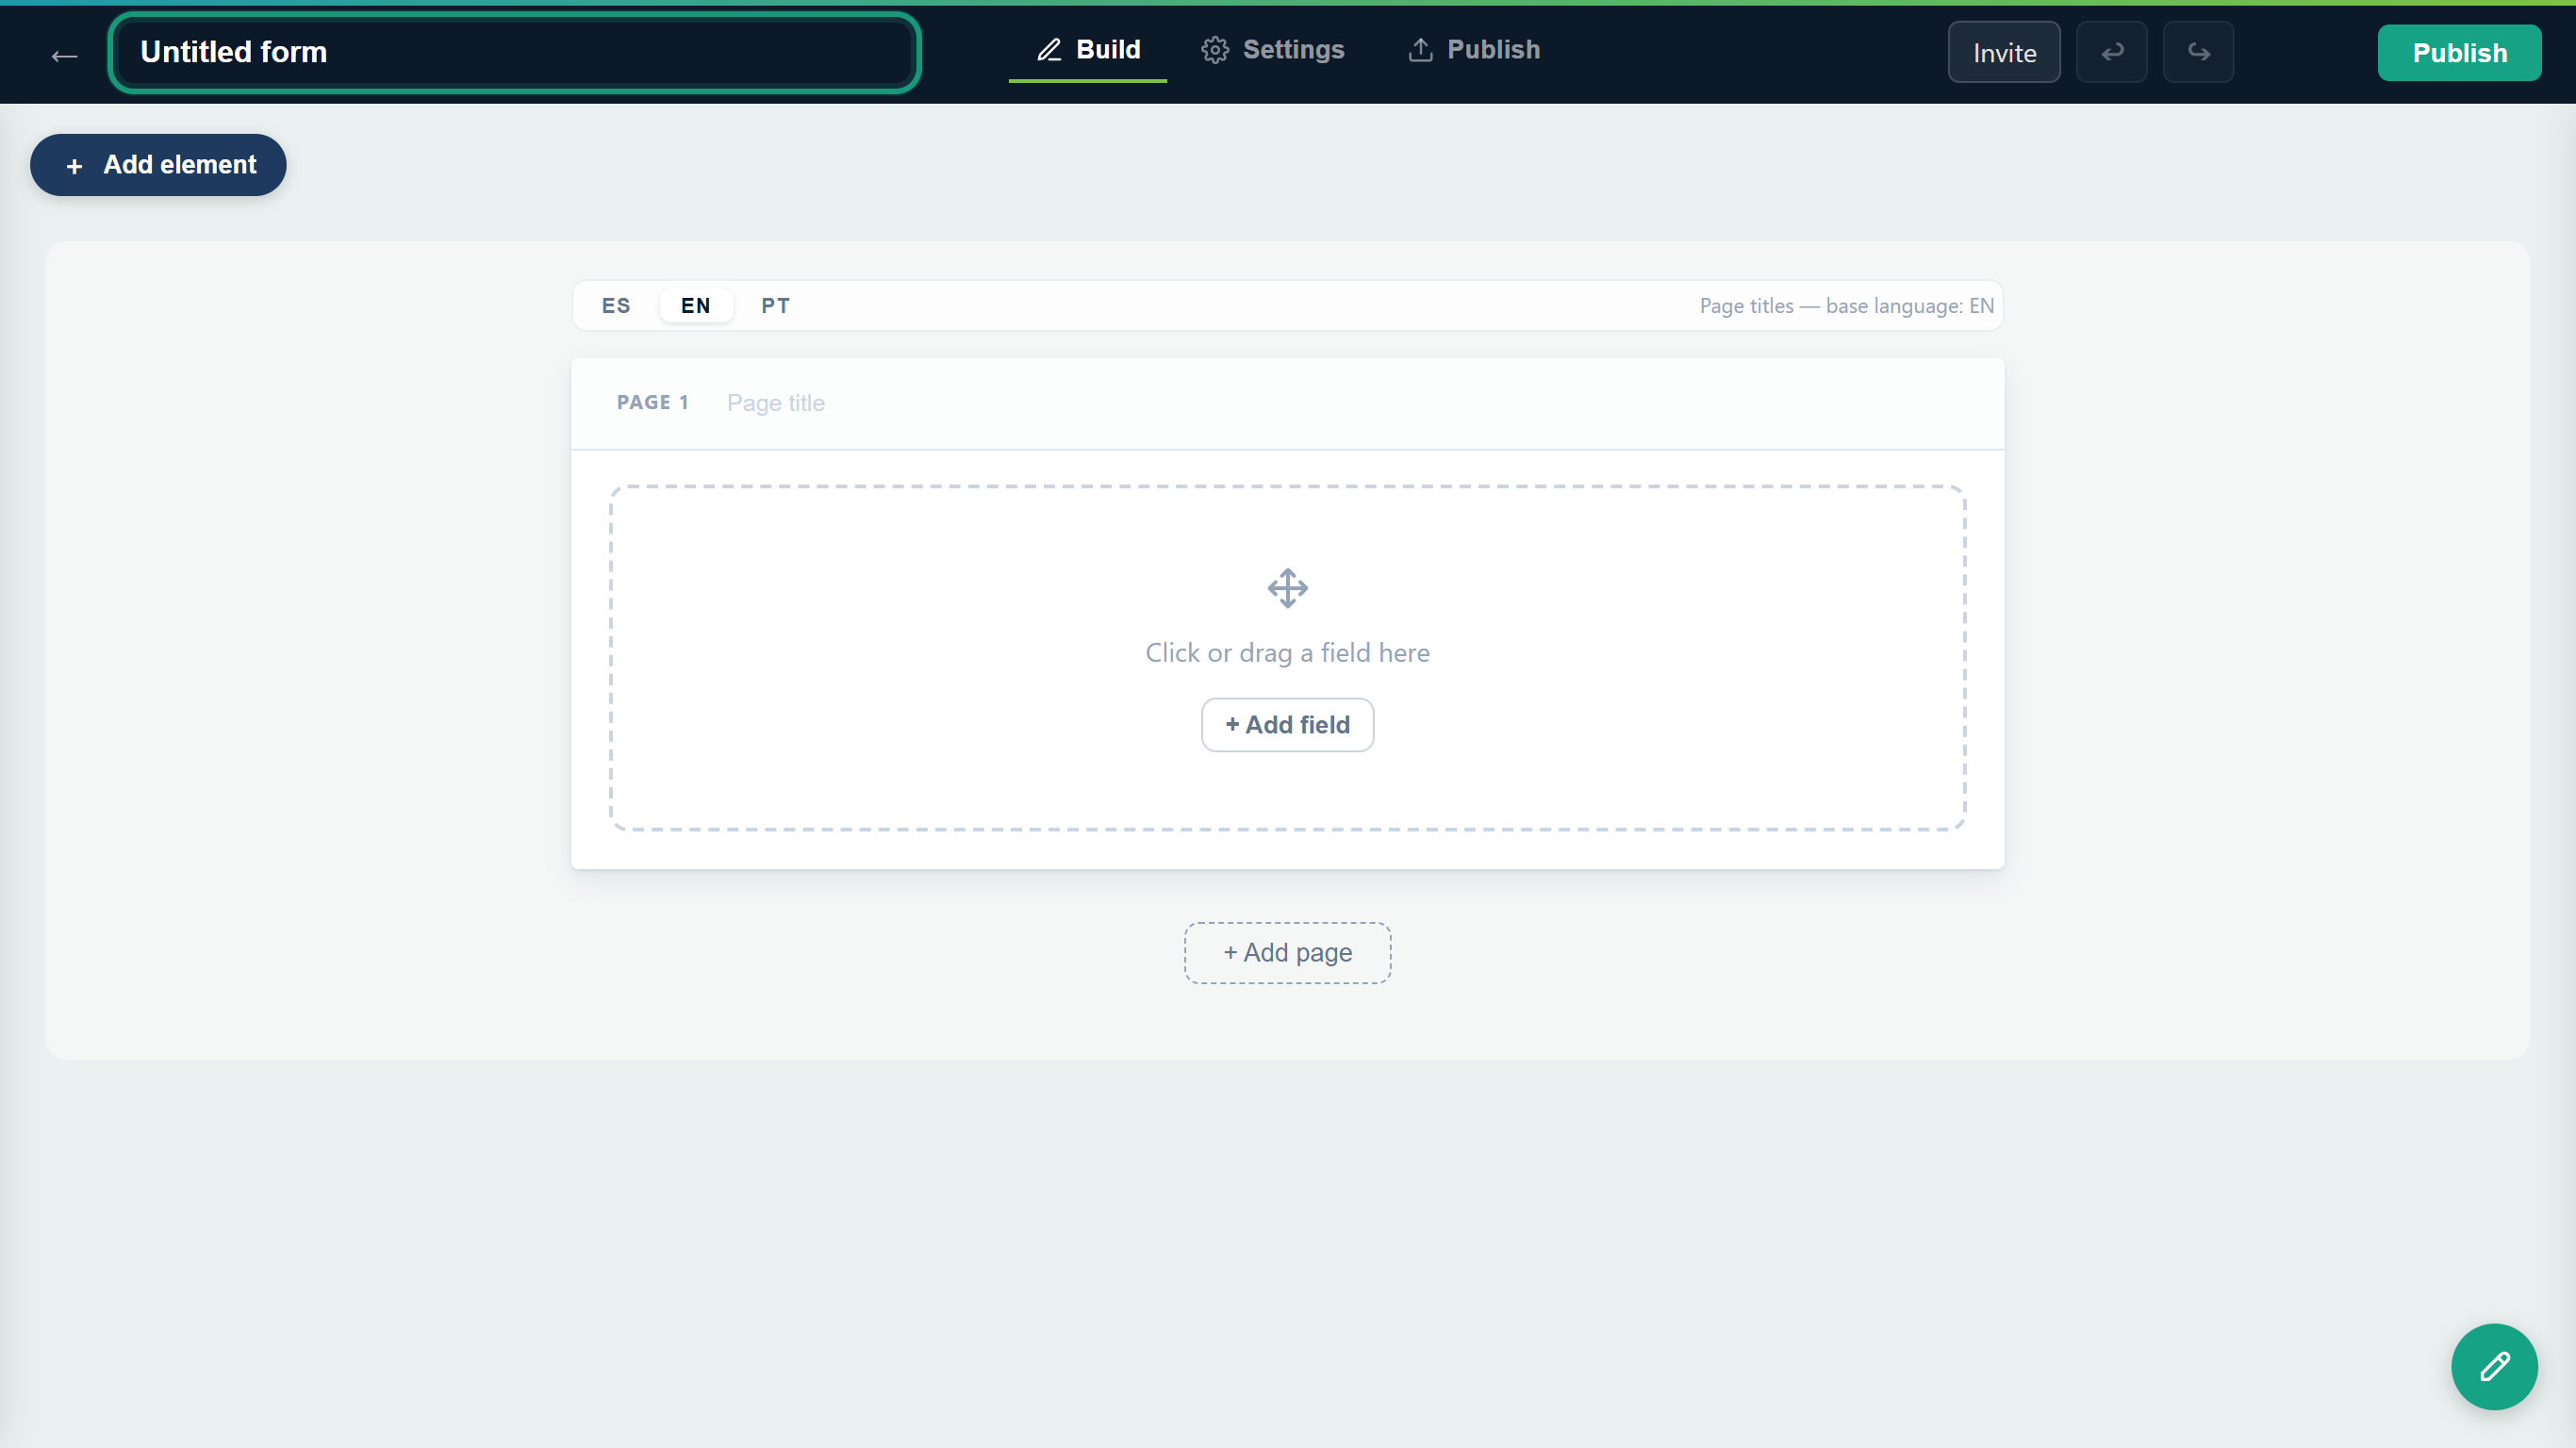 Click the title to rename the form.
Click + Add element to open the list of fields.
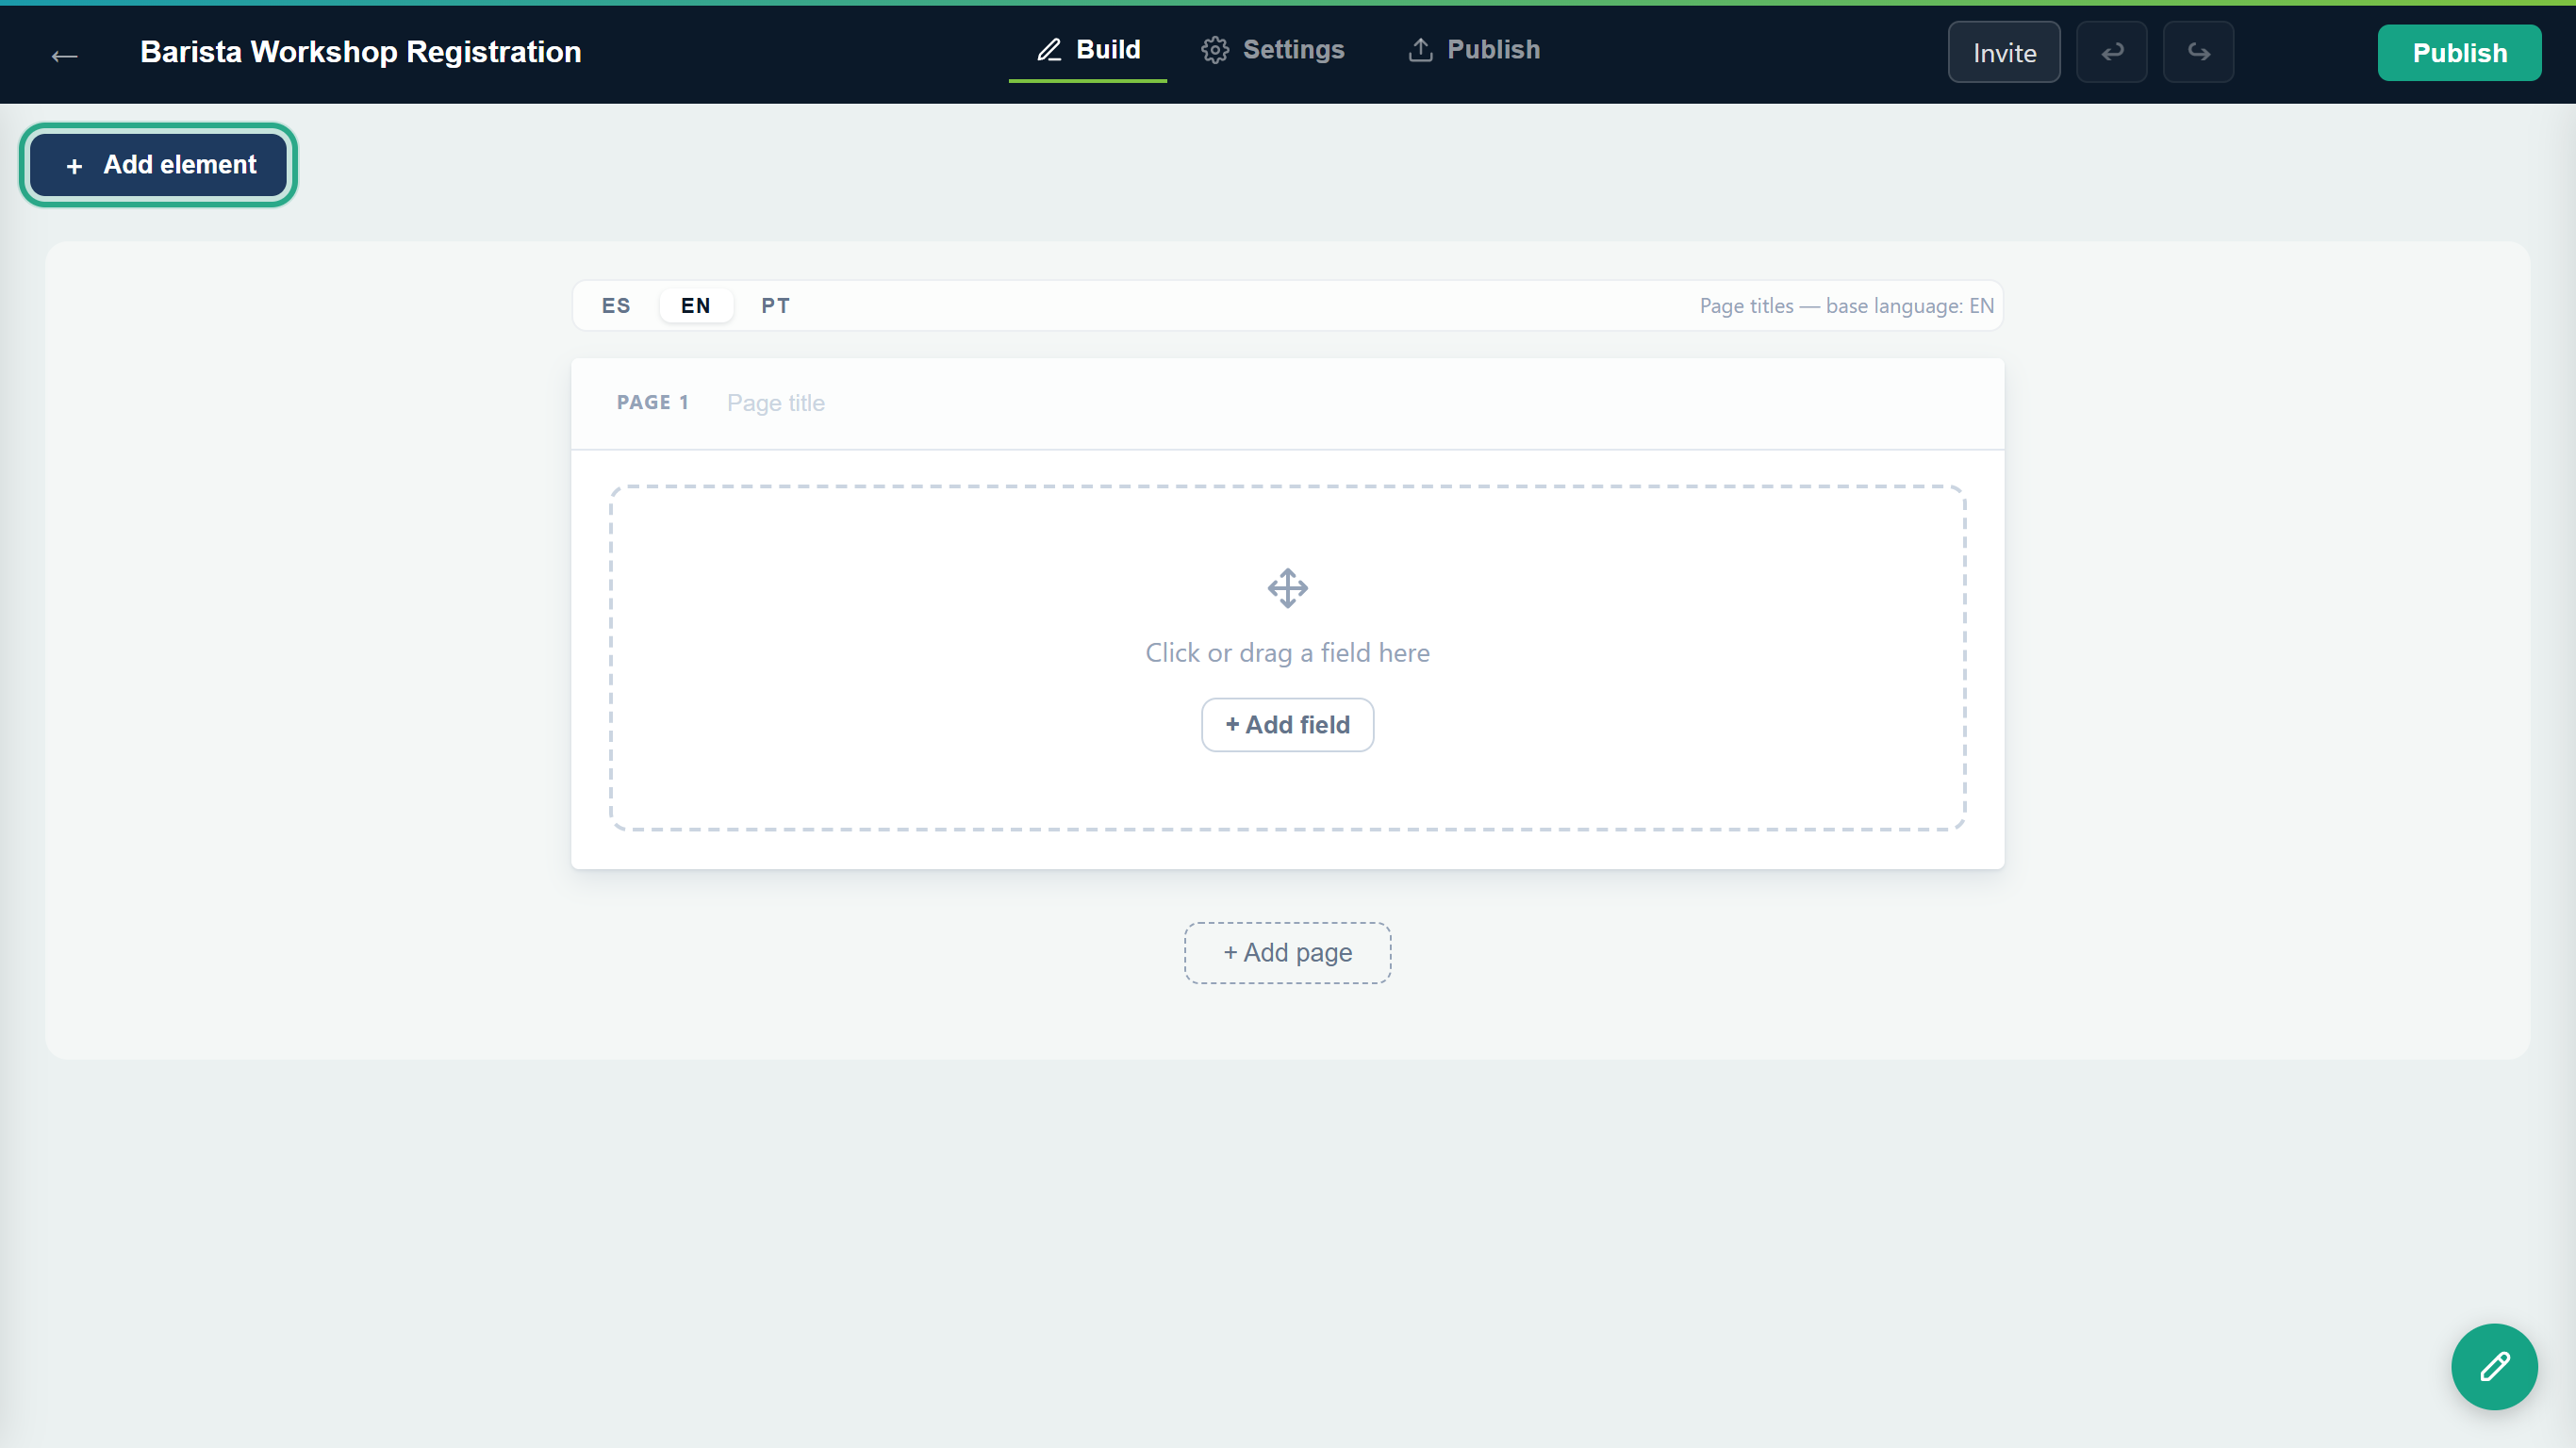 The form now has its name. Click Add element.
The Form elements panel lists every field by category. Click Full name to add it to the form. (You can also drag a field onto the form, or type in Search fields… to find one.)
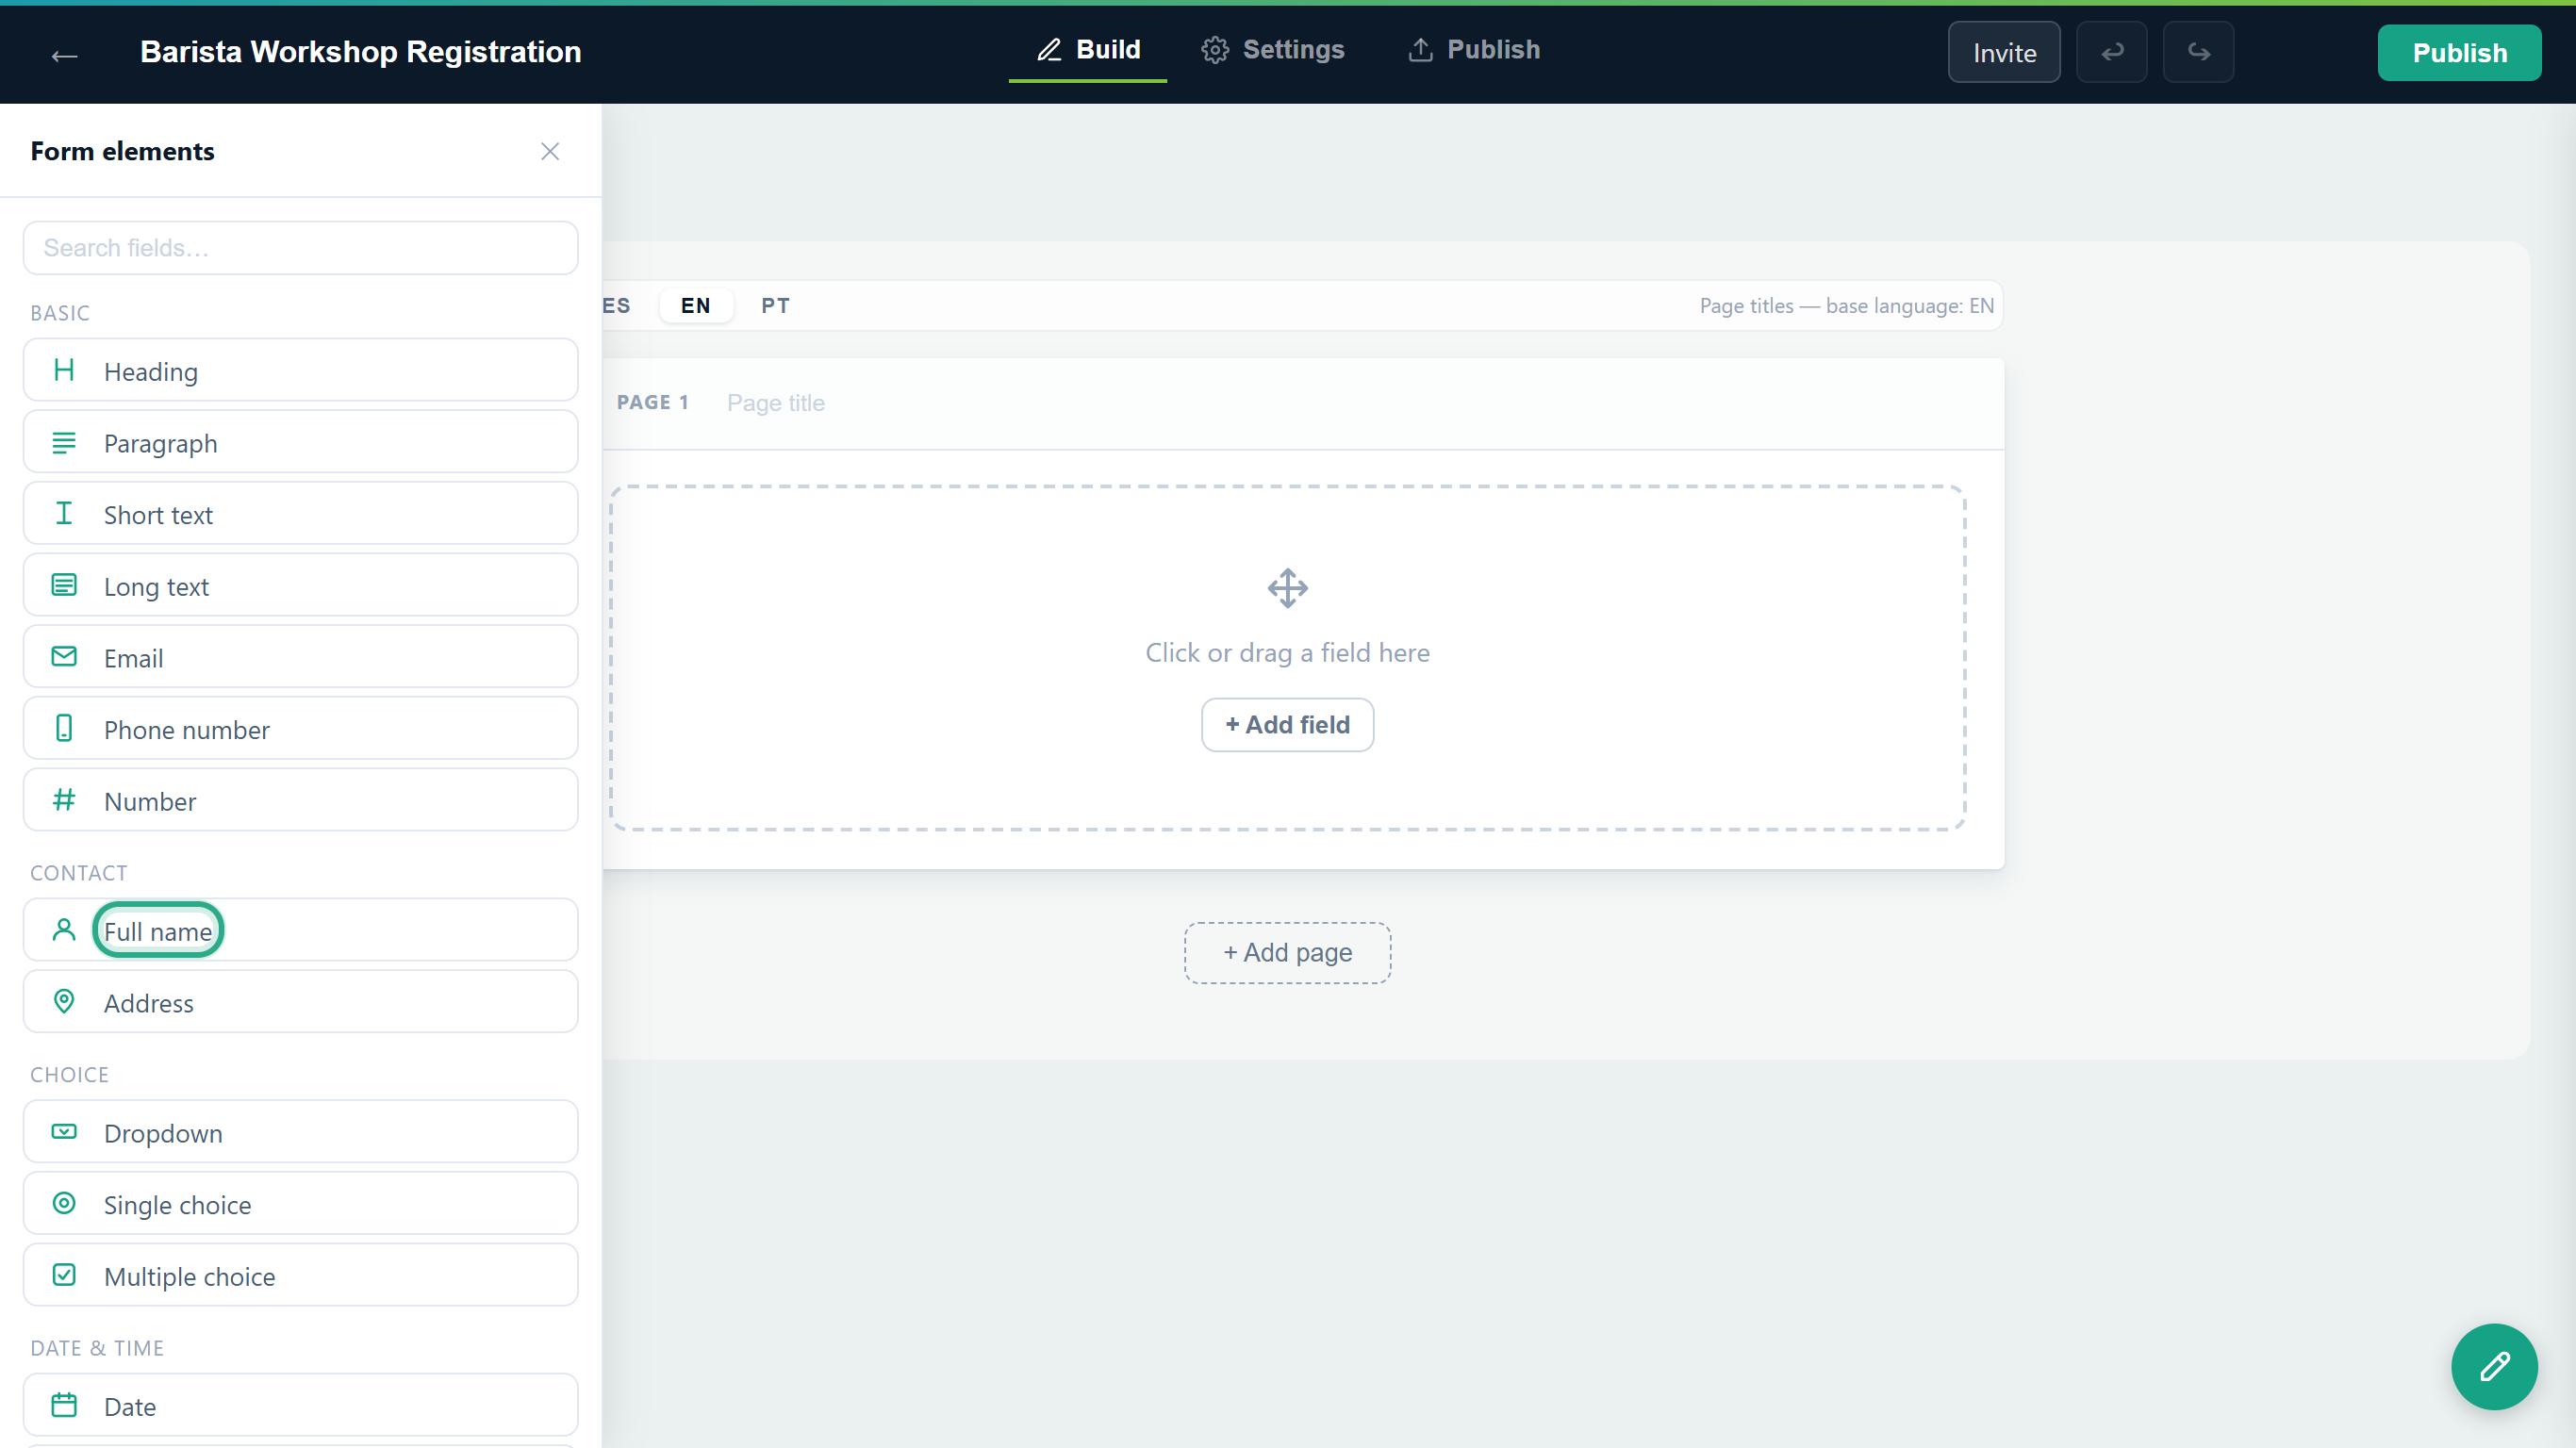 Click a field to add it at the end of the form.
The field appears on the form, selected, with a column of small buttons to its right. Click the gear, Properties, to adjust it.
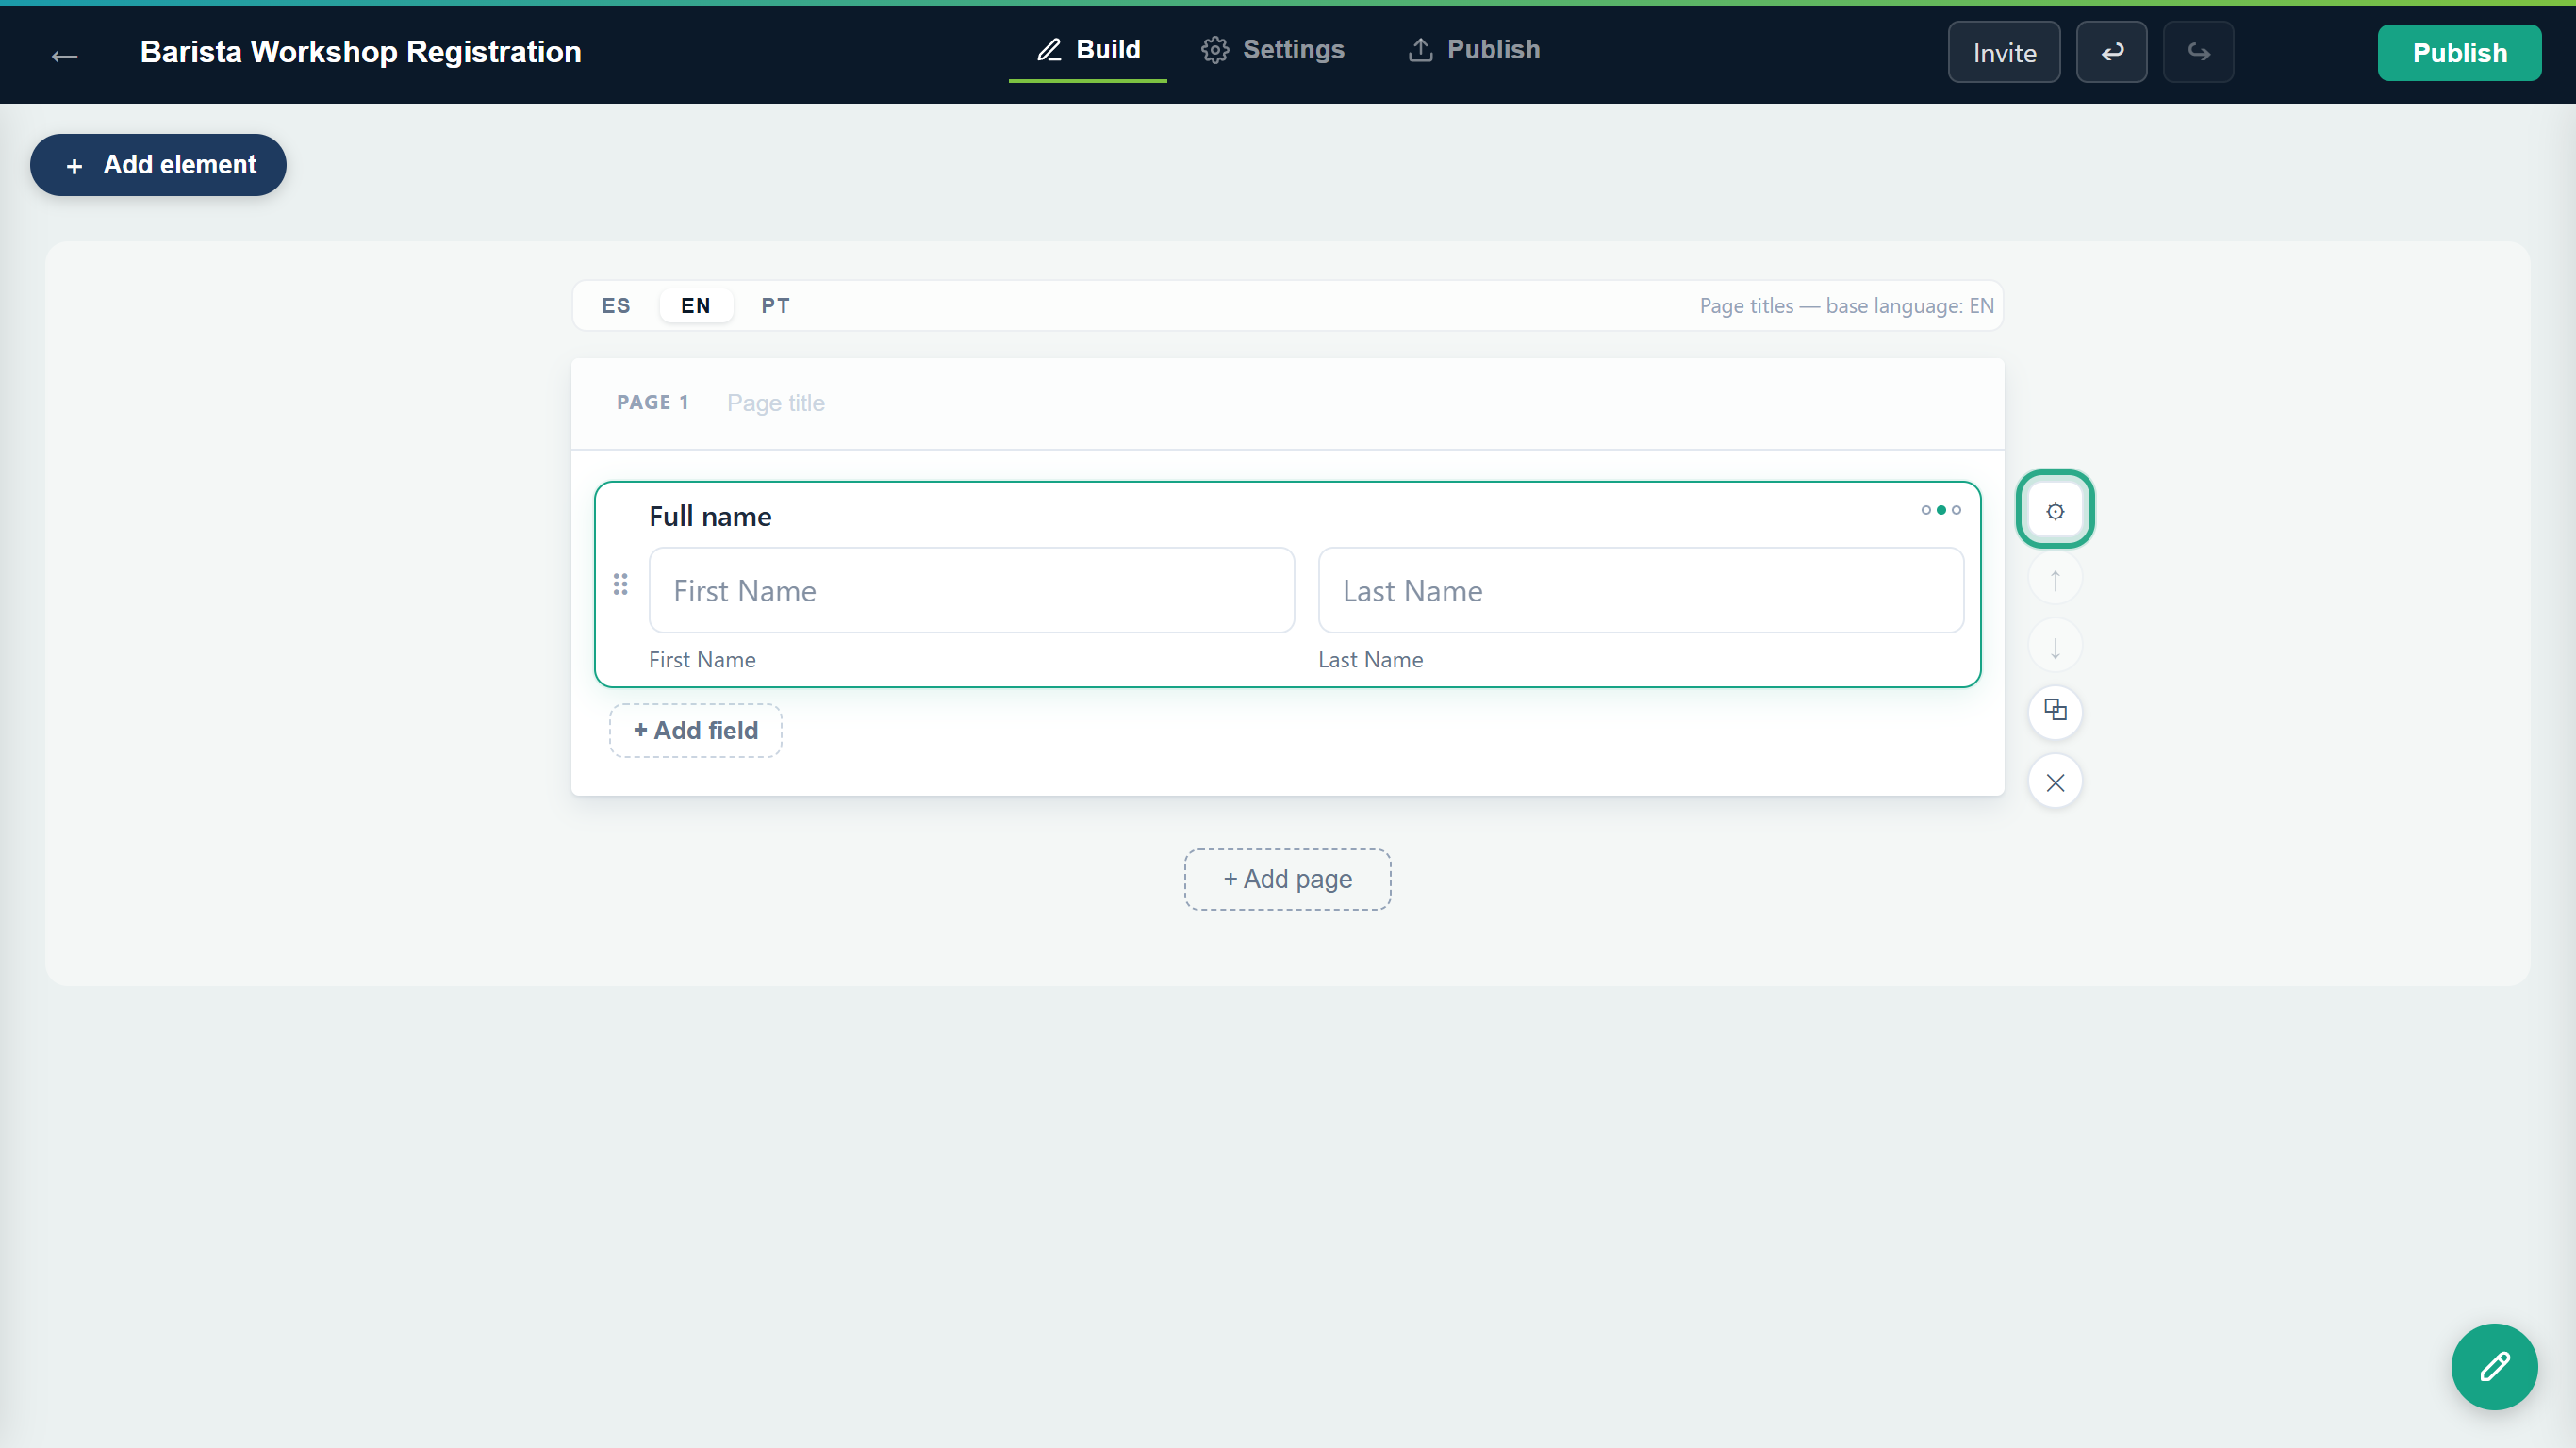 The selected field's buttons: Properties, move up, move down, duplicate and delete.
The Properties panel opens on the right. Tick Required so the form can't be sent without a name.
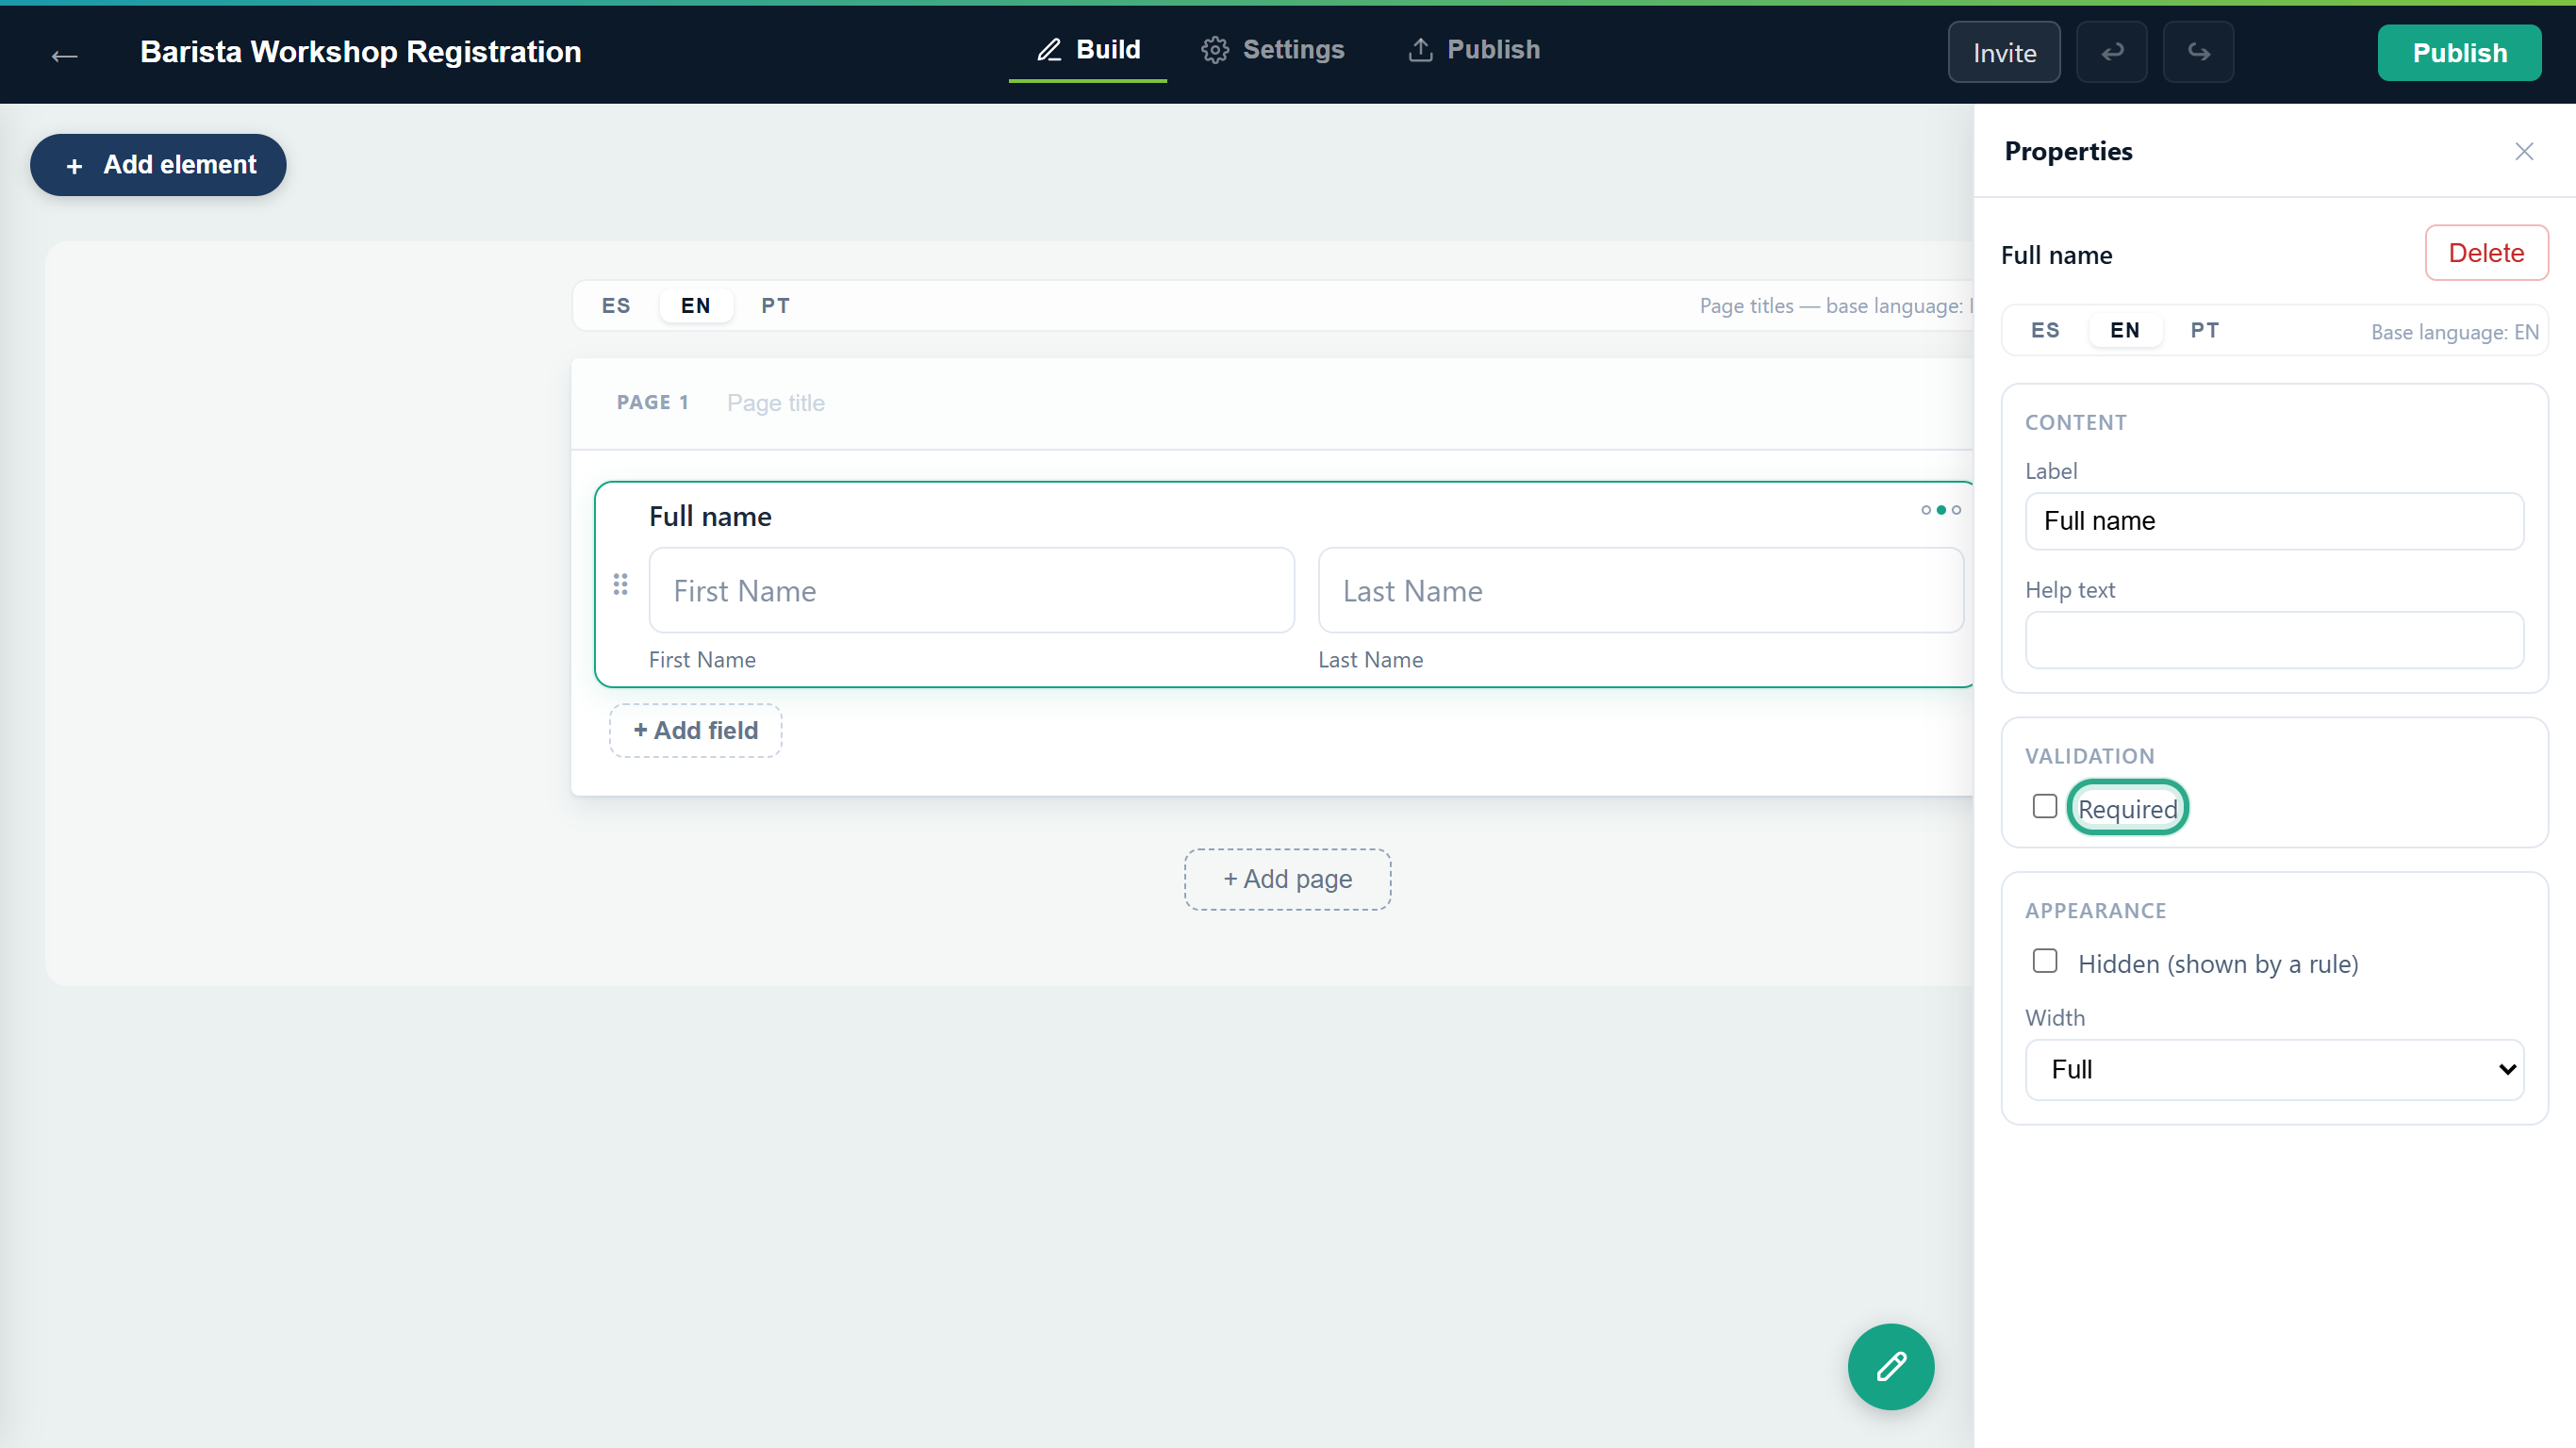 Required fields show a red asterisk on the form.
Add the rest of the fields the same way, with + Add element and then the field. For the workshop form:
- Email, and tick Required.
- Single choice. In Properties, change the Label to Which session would you like? and replace the three Options with your sessions. Use + Add option for more, and tick Required.
- Long text, with the Label Anything we should know? (allergies, experience).
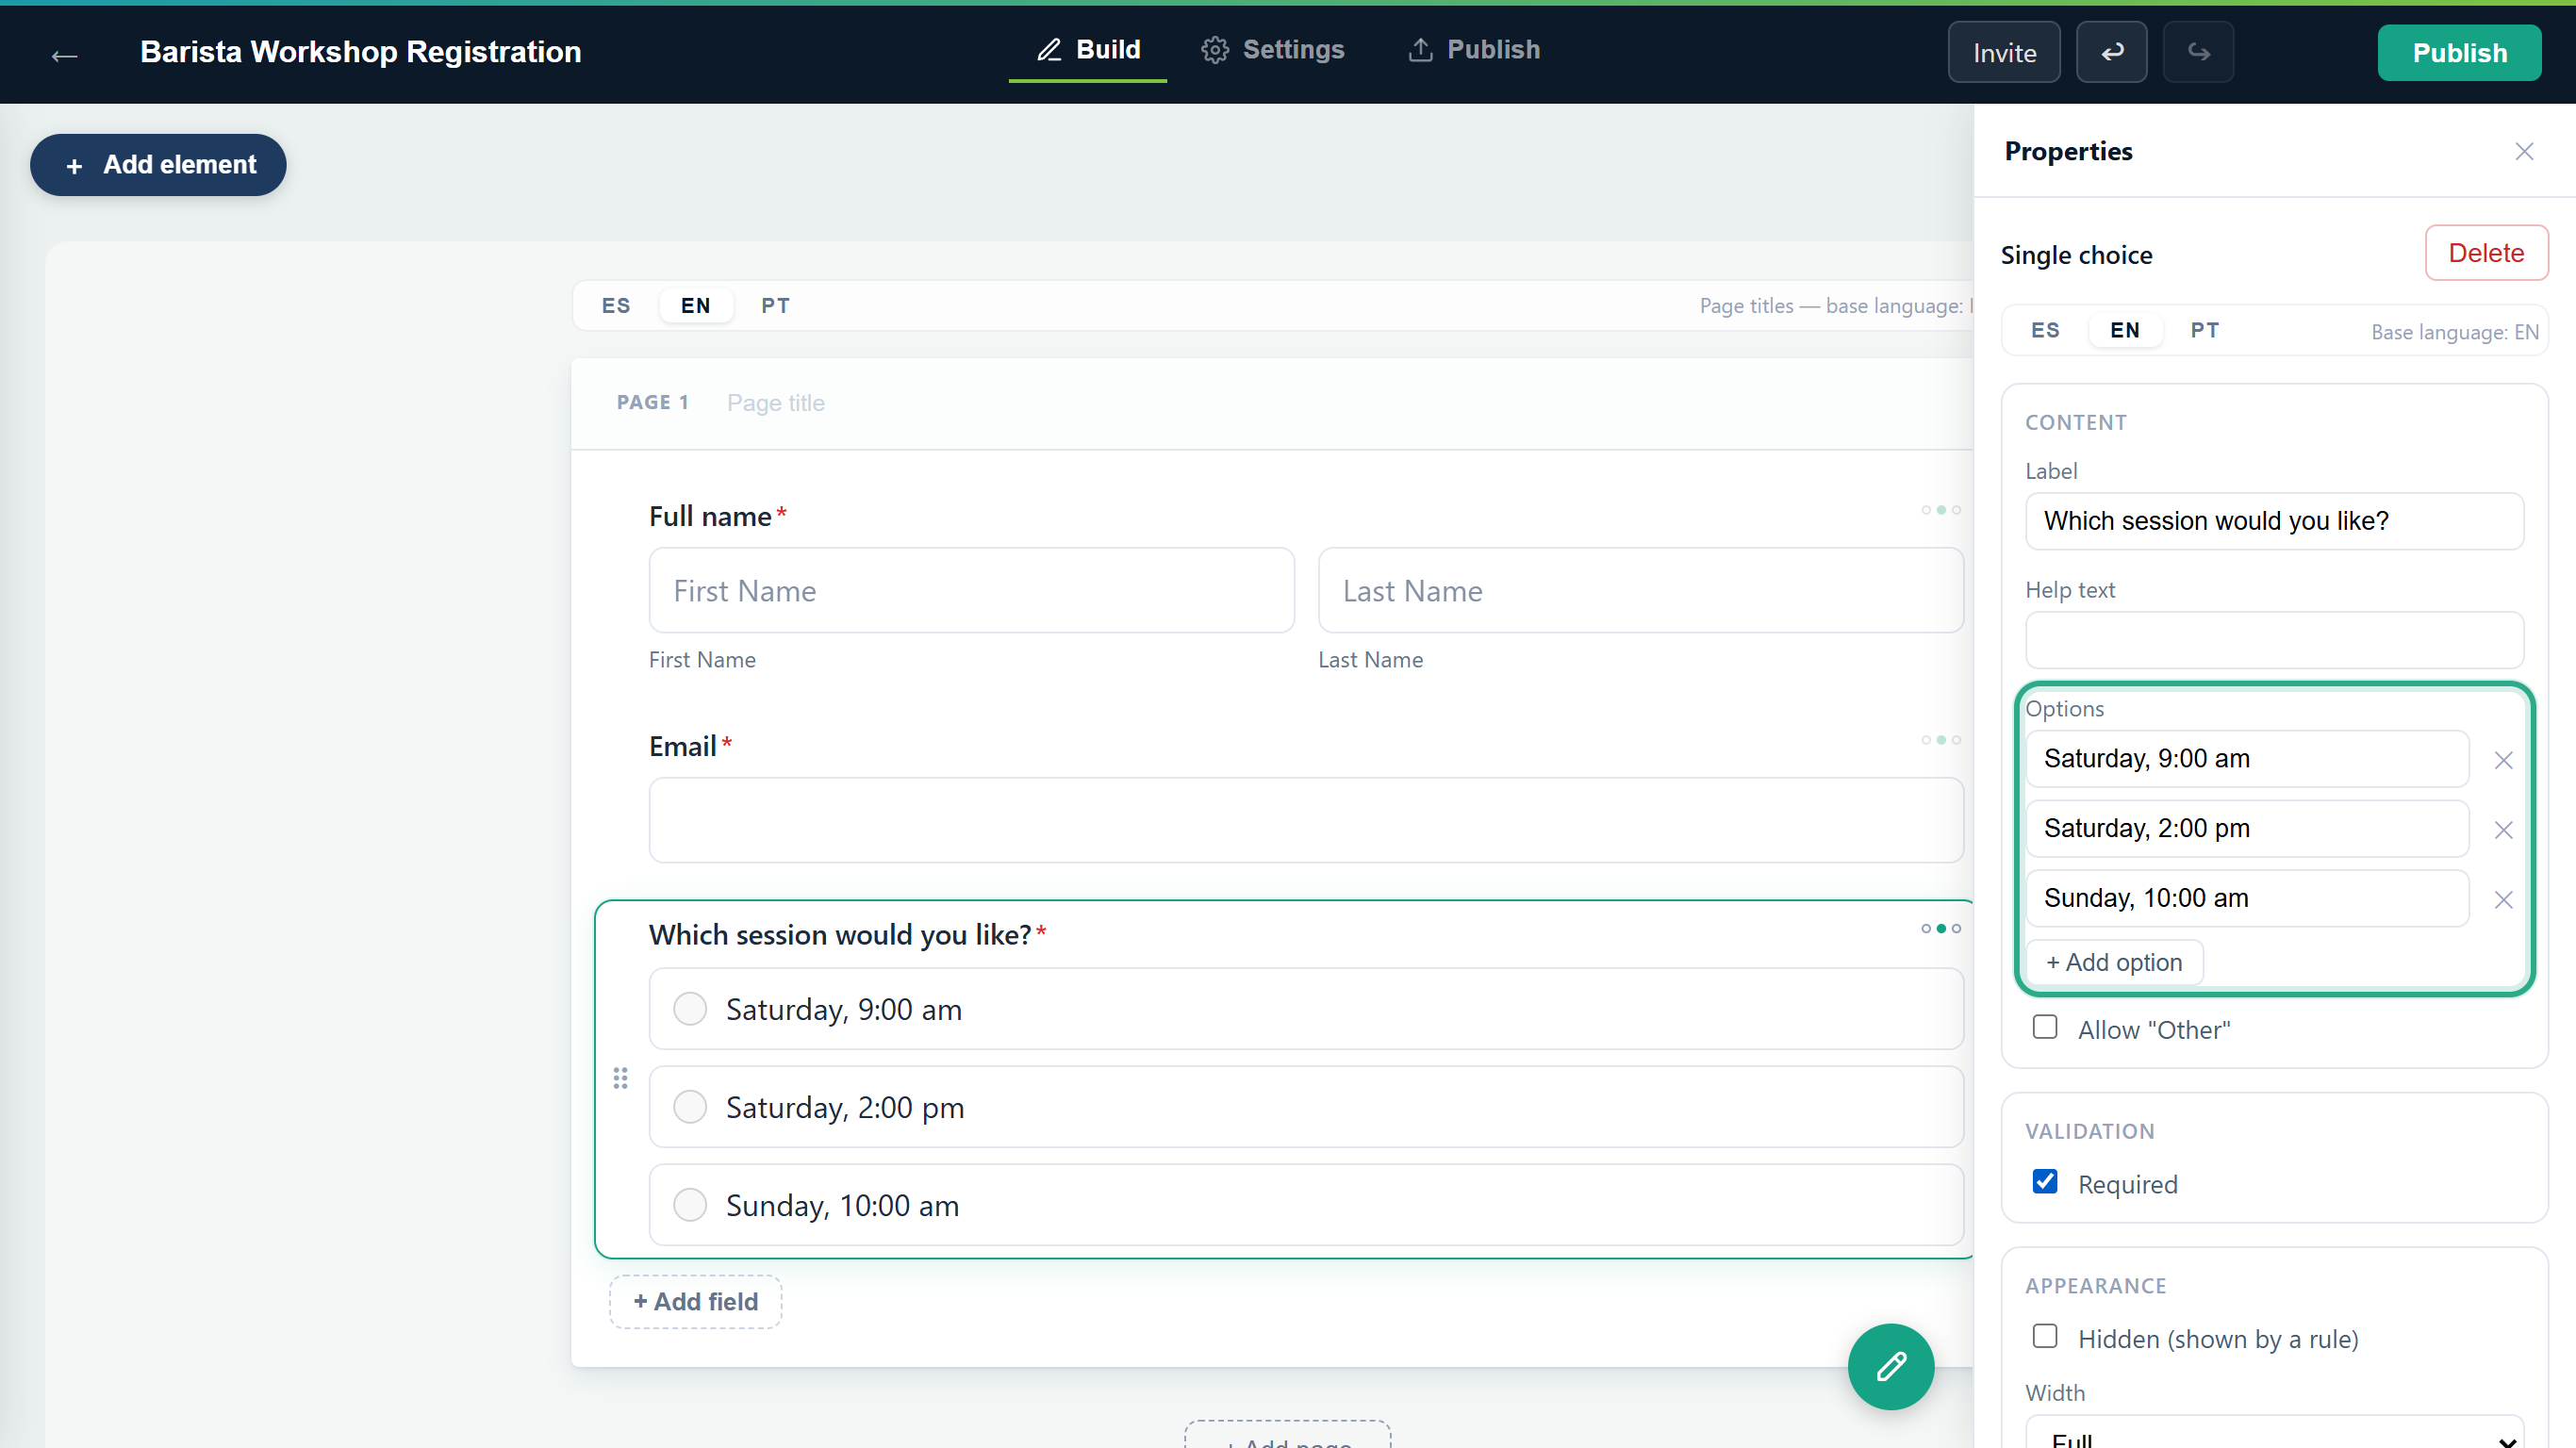 Choice fields get their options in the Options list.
The builder saves your changes automatically; you'll see Saved at the top.
Check the form on the canvas. When it looks right, click Publish at the top right.
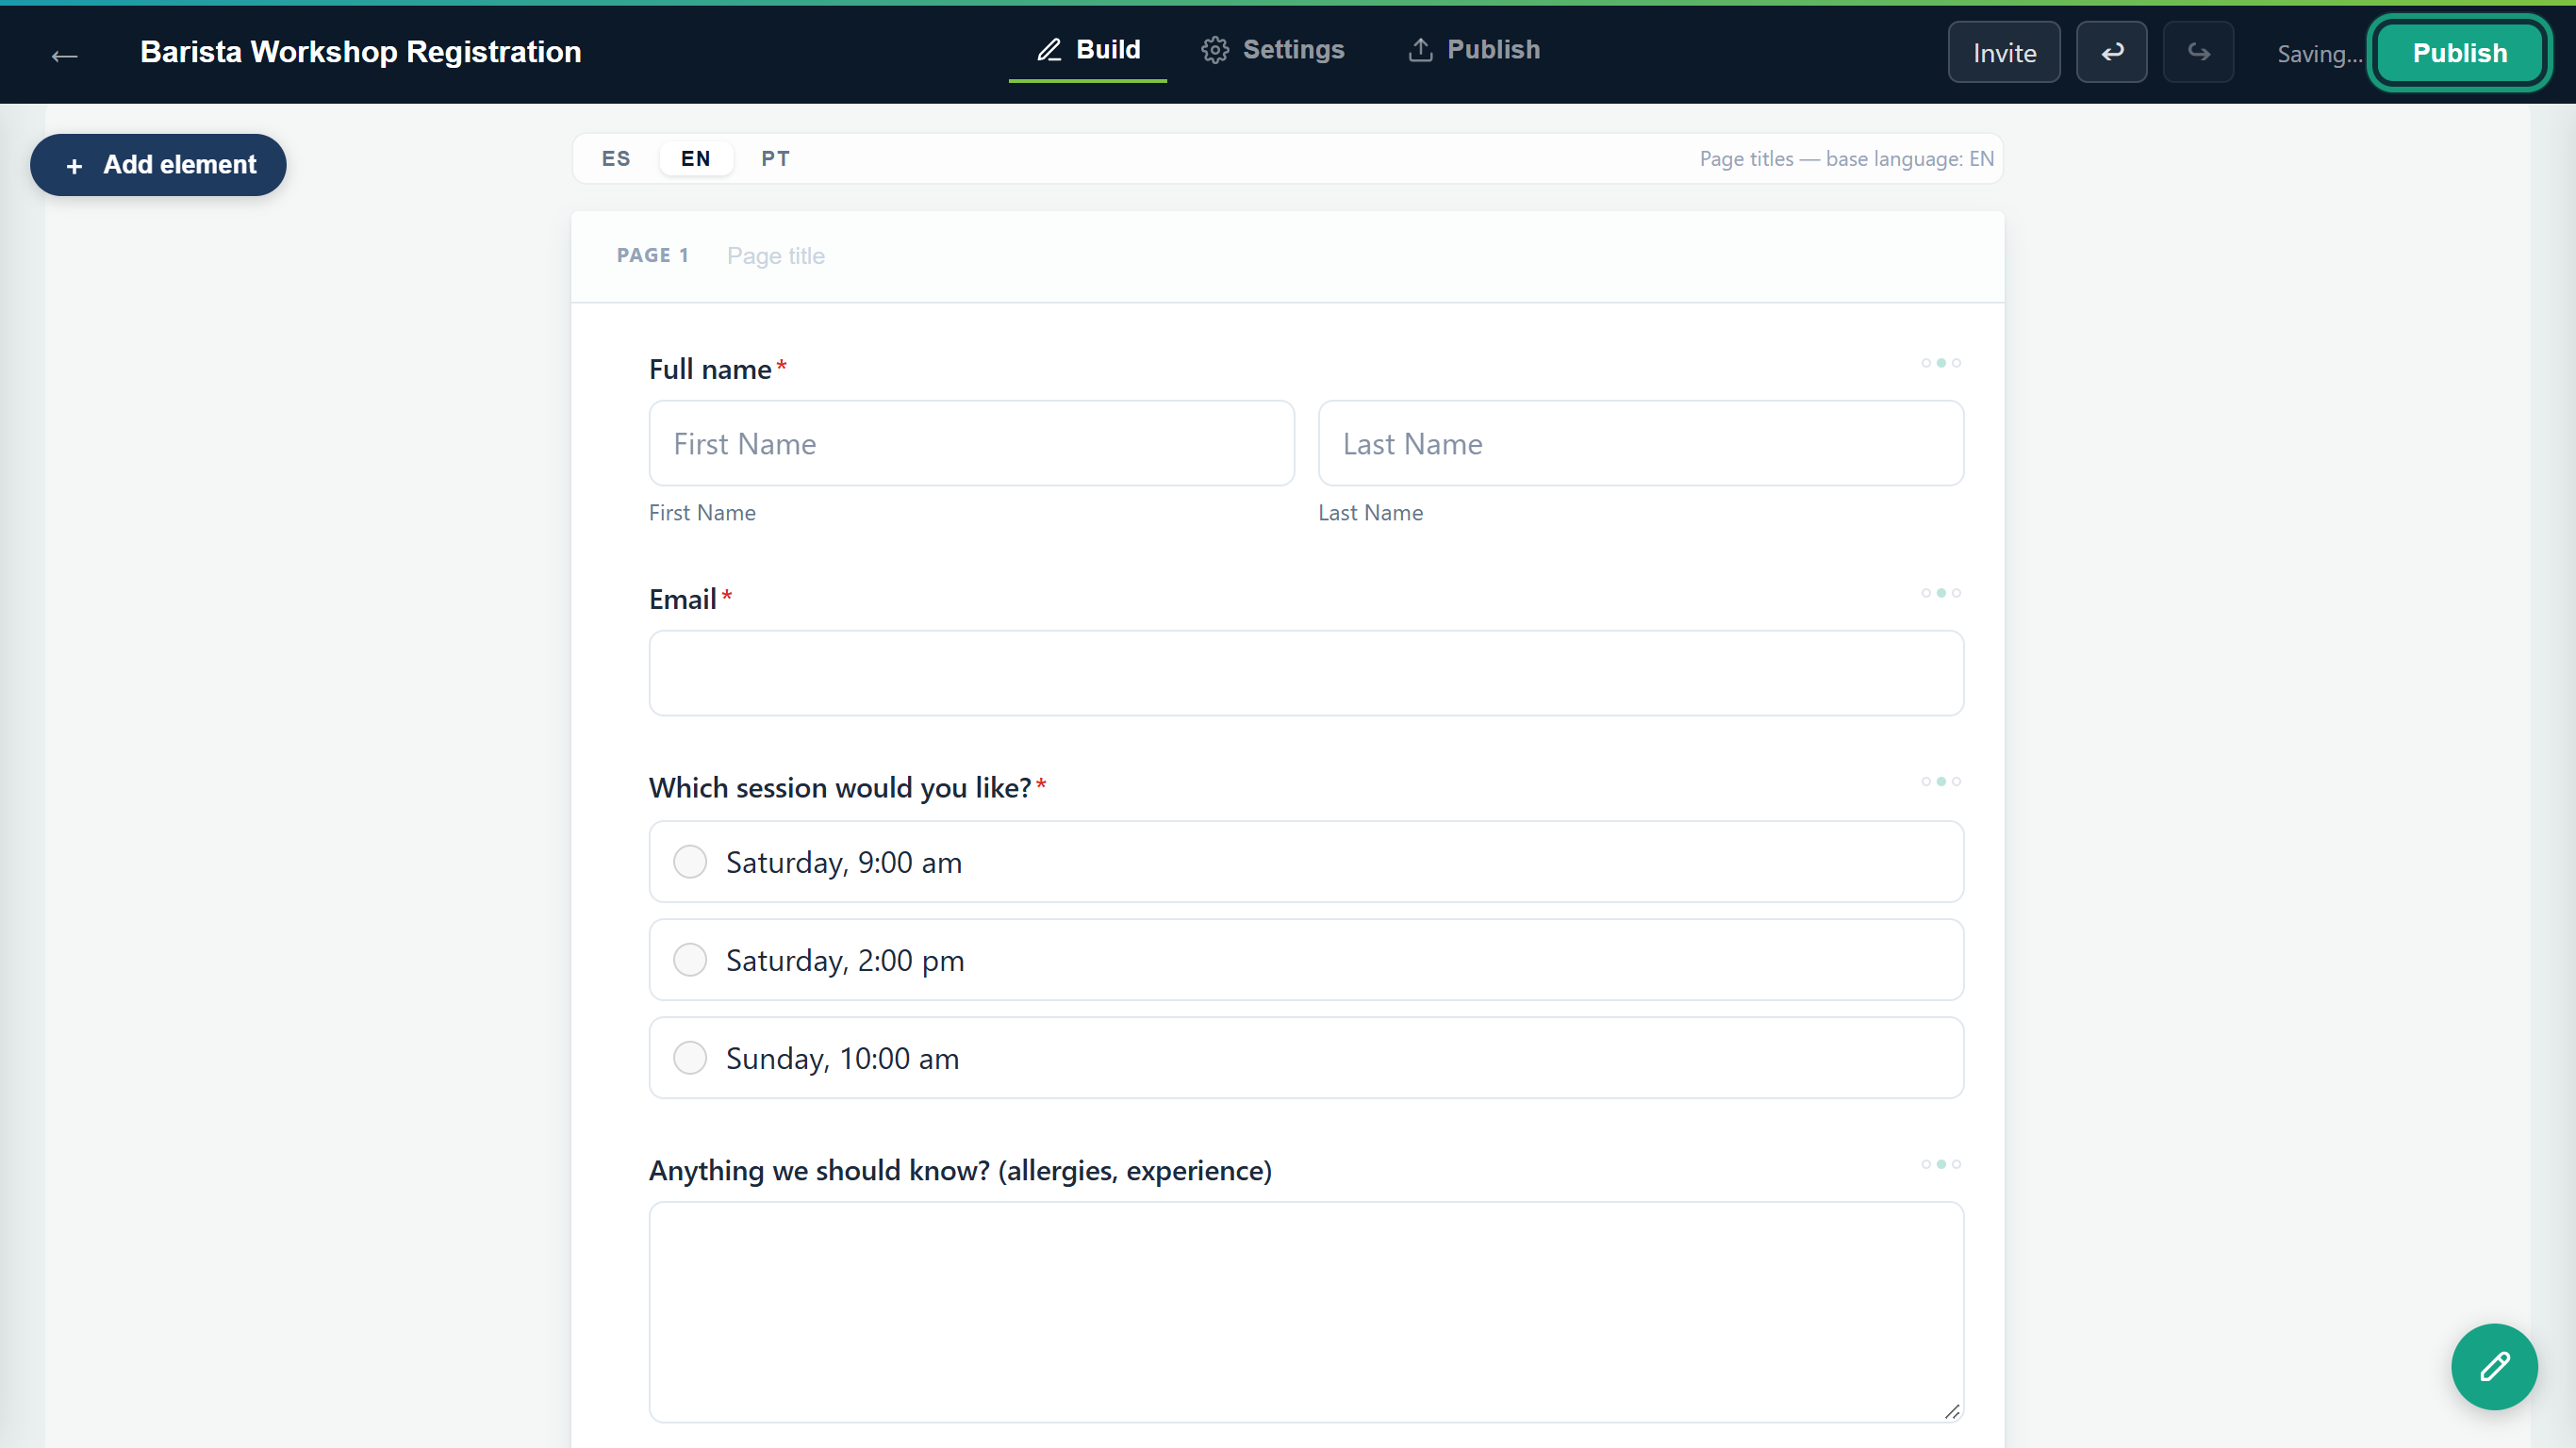 The finished draft. Click Publish to make it live.
Result
The form is live. The Publish button now reads Update, and a Published label appears next to it.
Task 3 — Share the form and receive your first response
Step-by-step
anota opens the Publish tab, on Share. Click Copy next to Public link and send the link to your customers by email, chat or social media. From here you can also Share by email, Share on WhatsApp, download a QR code, or copy the code to embed the form on your website (see Publish and share).
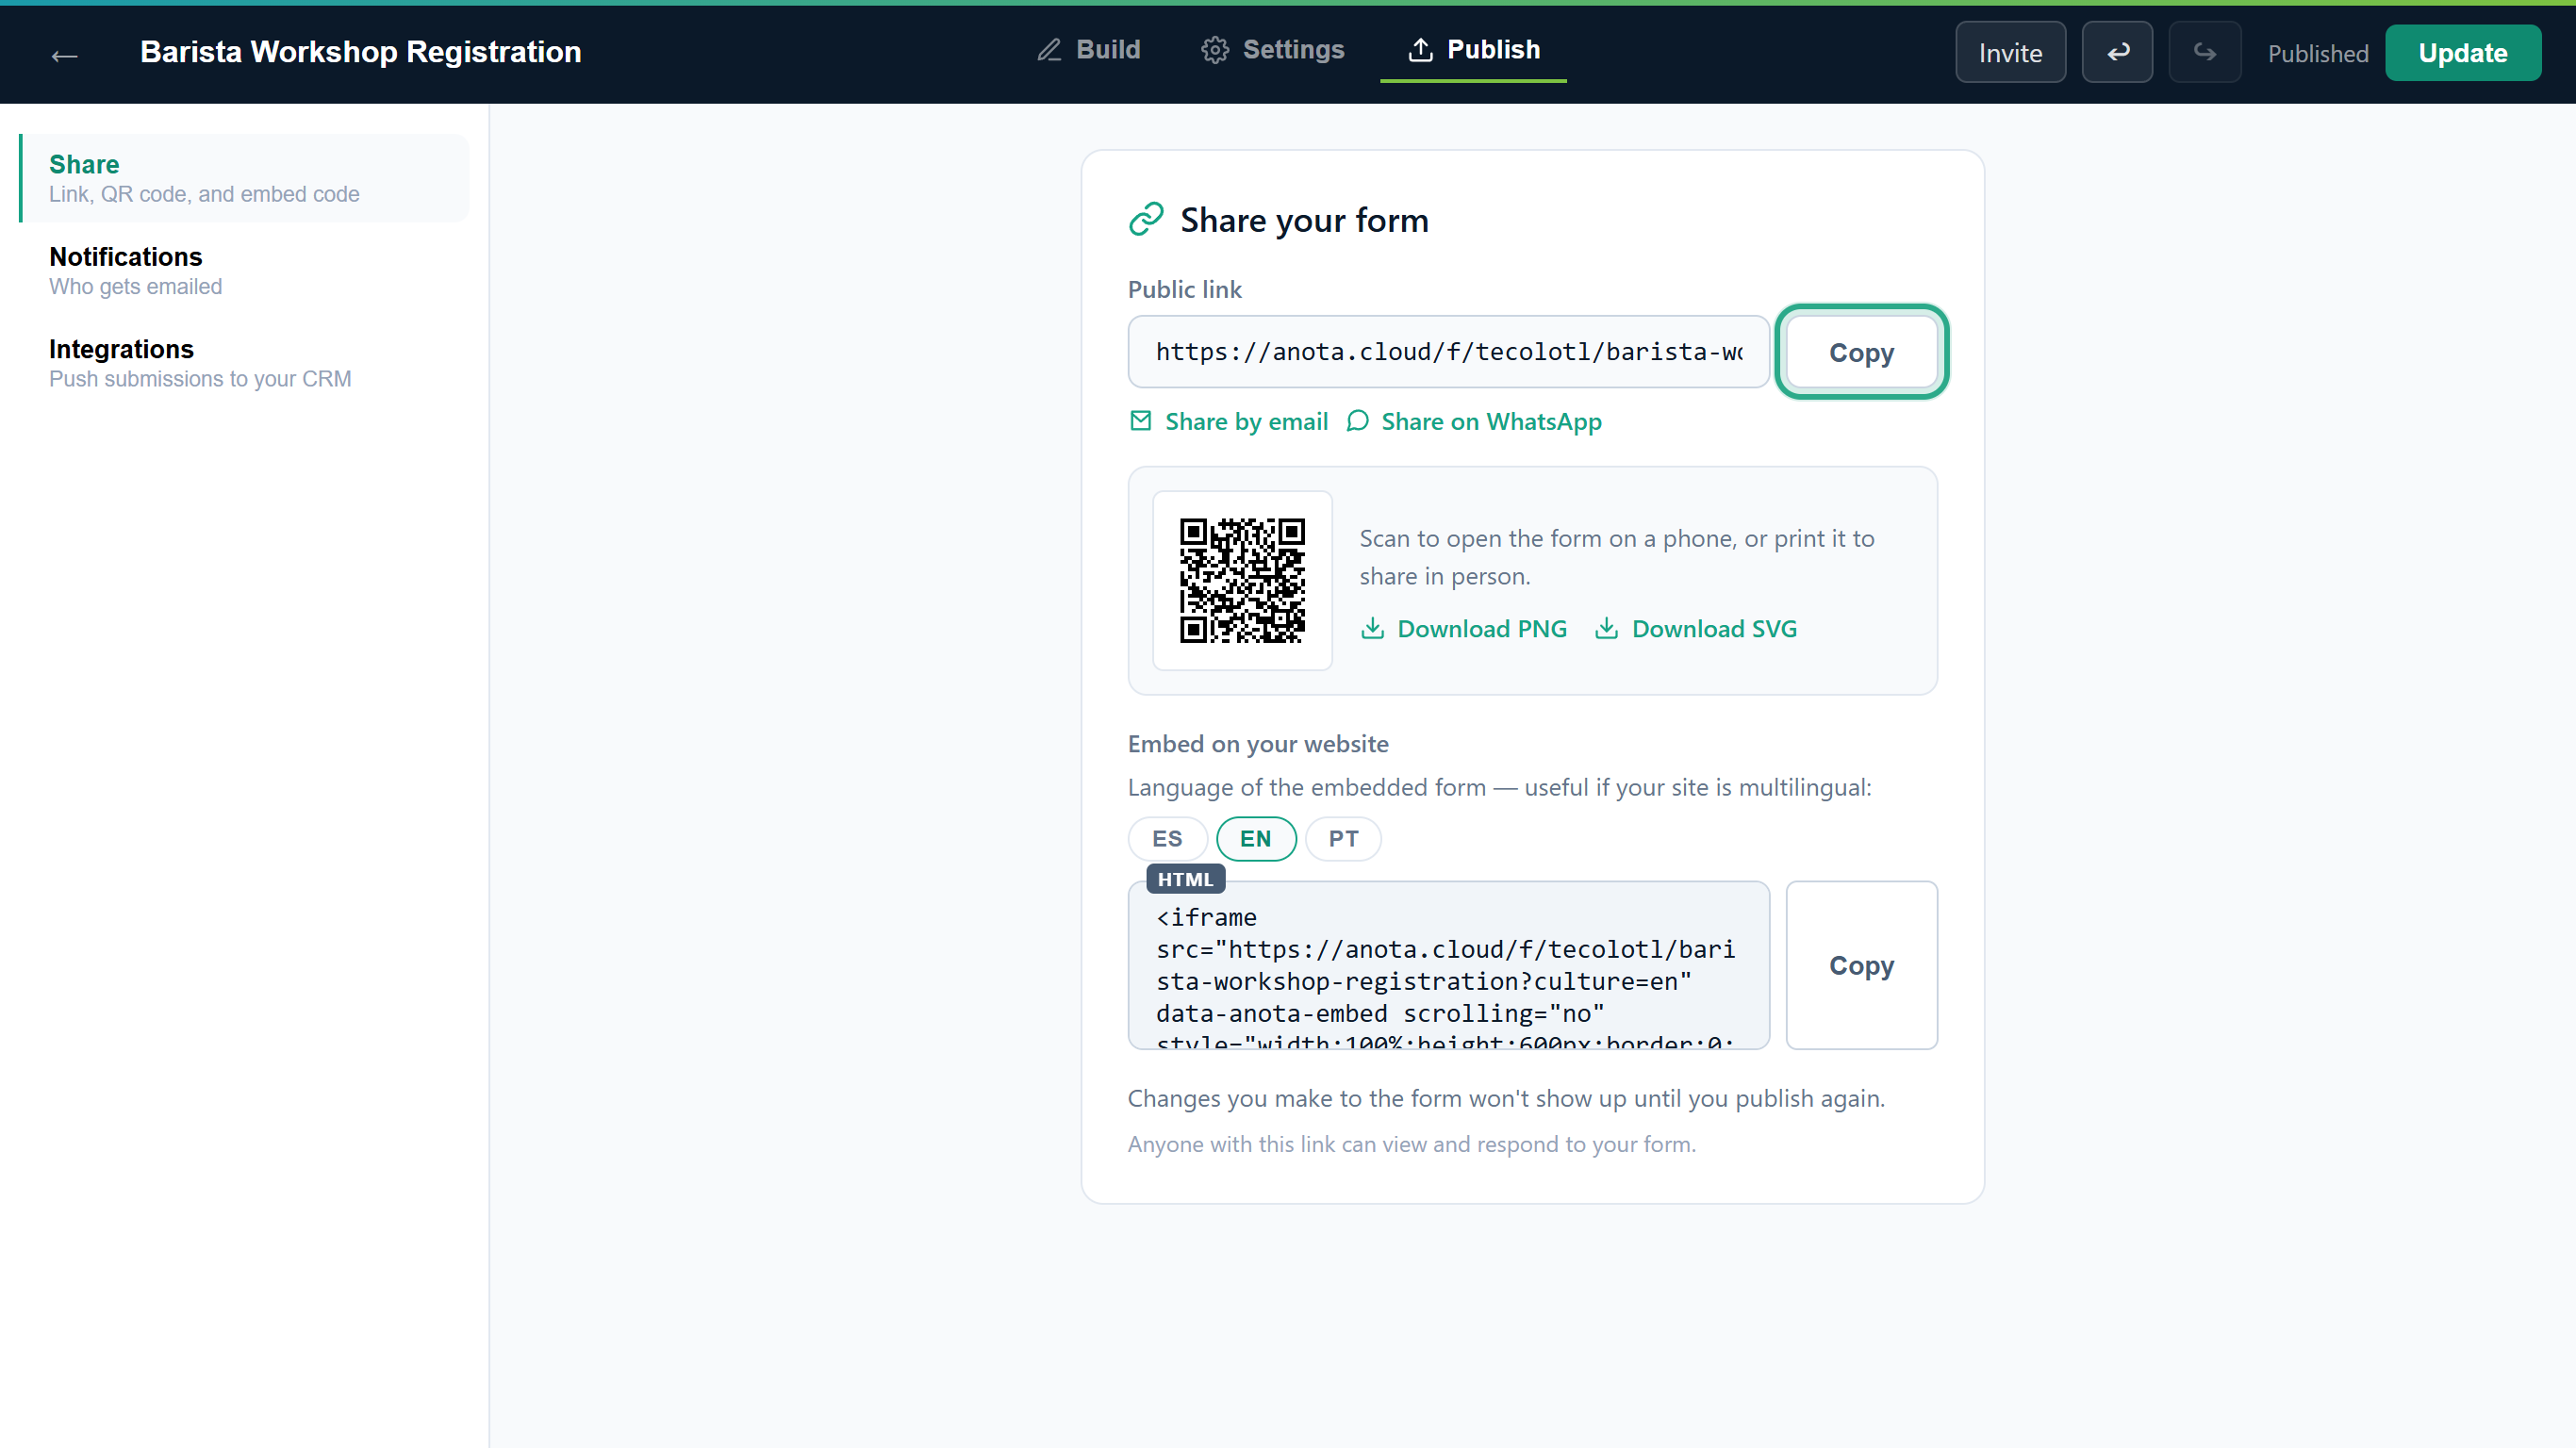 Everything you need to share the form is on the Share panel.
About the link: the link is based on the form's title (here
…/barista-workshop-registration). Rename the form before publishing if you want a different link: after the first publish the link stays the same even if you rename the form.This is what your customer sees when they open the link. They fill in the fields and click Submit.
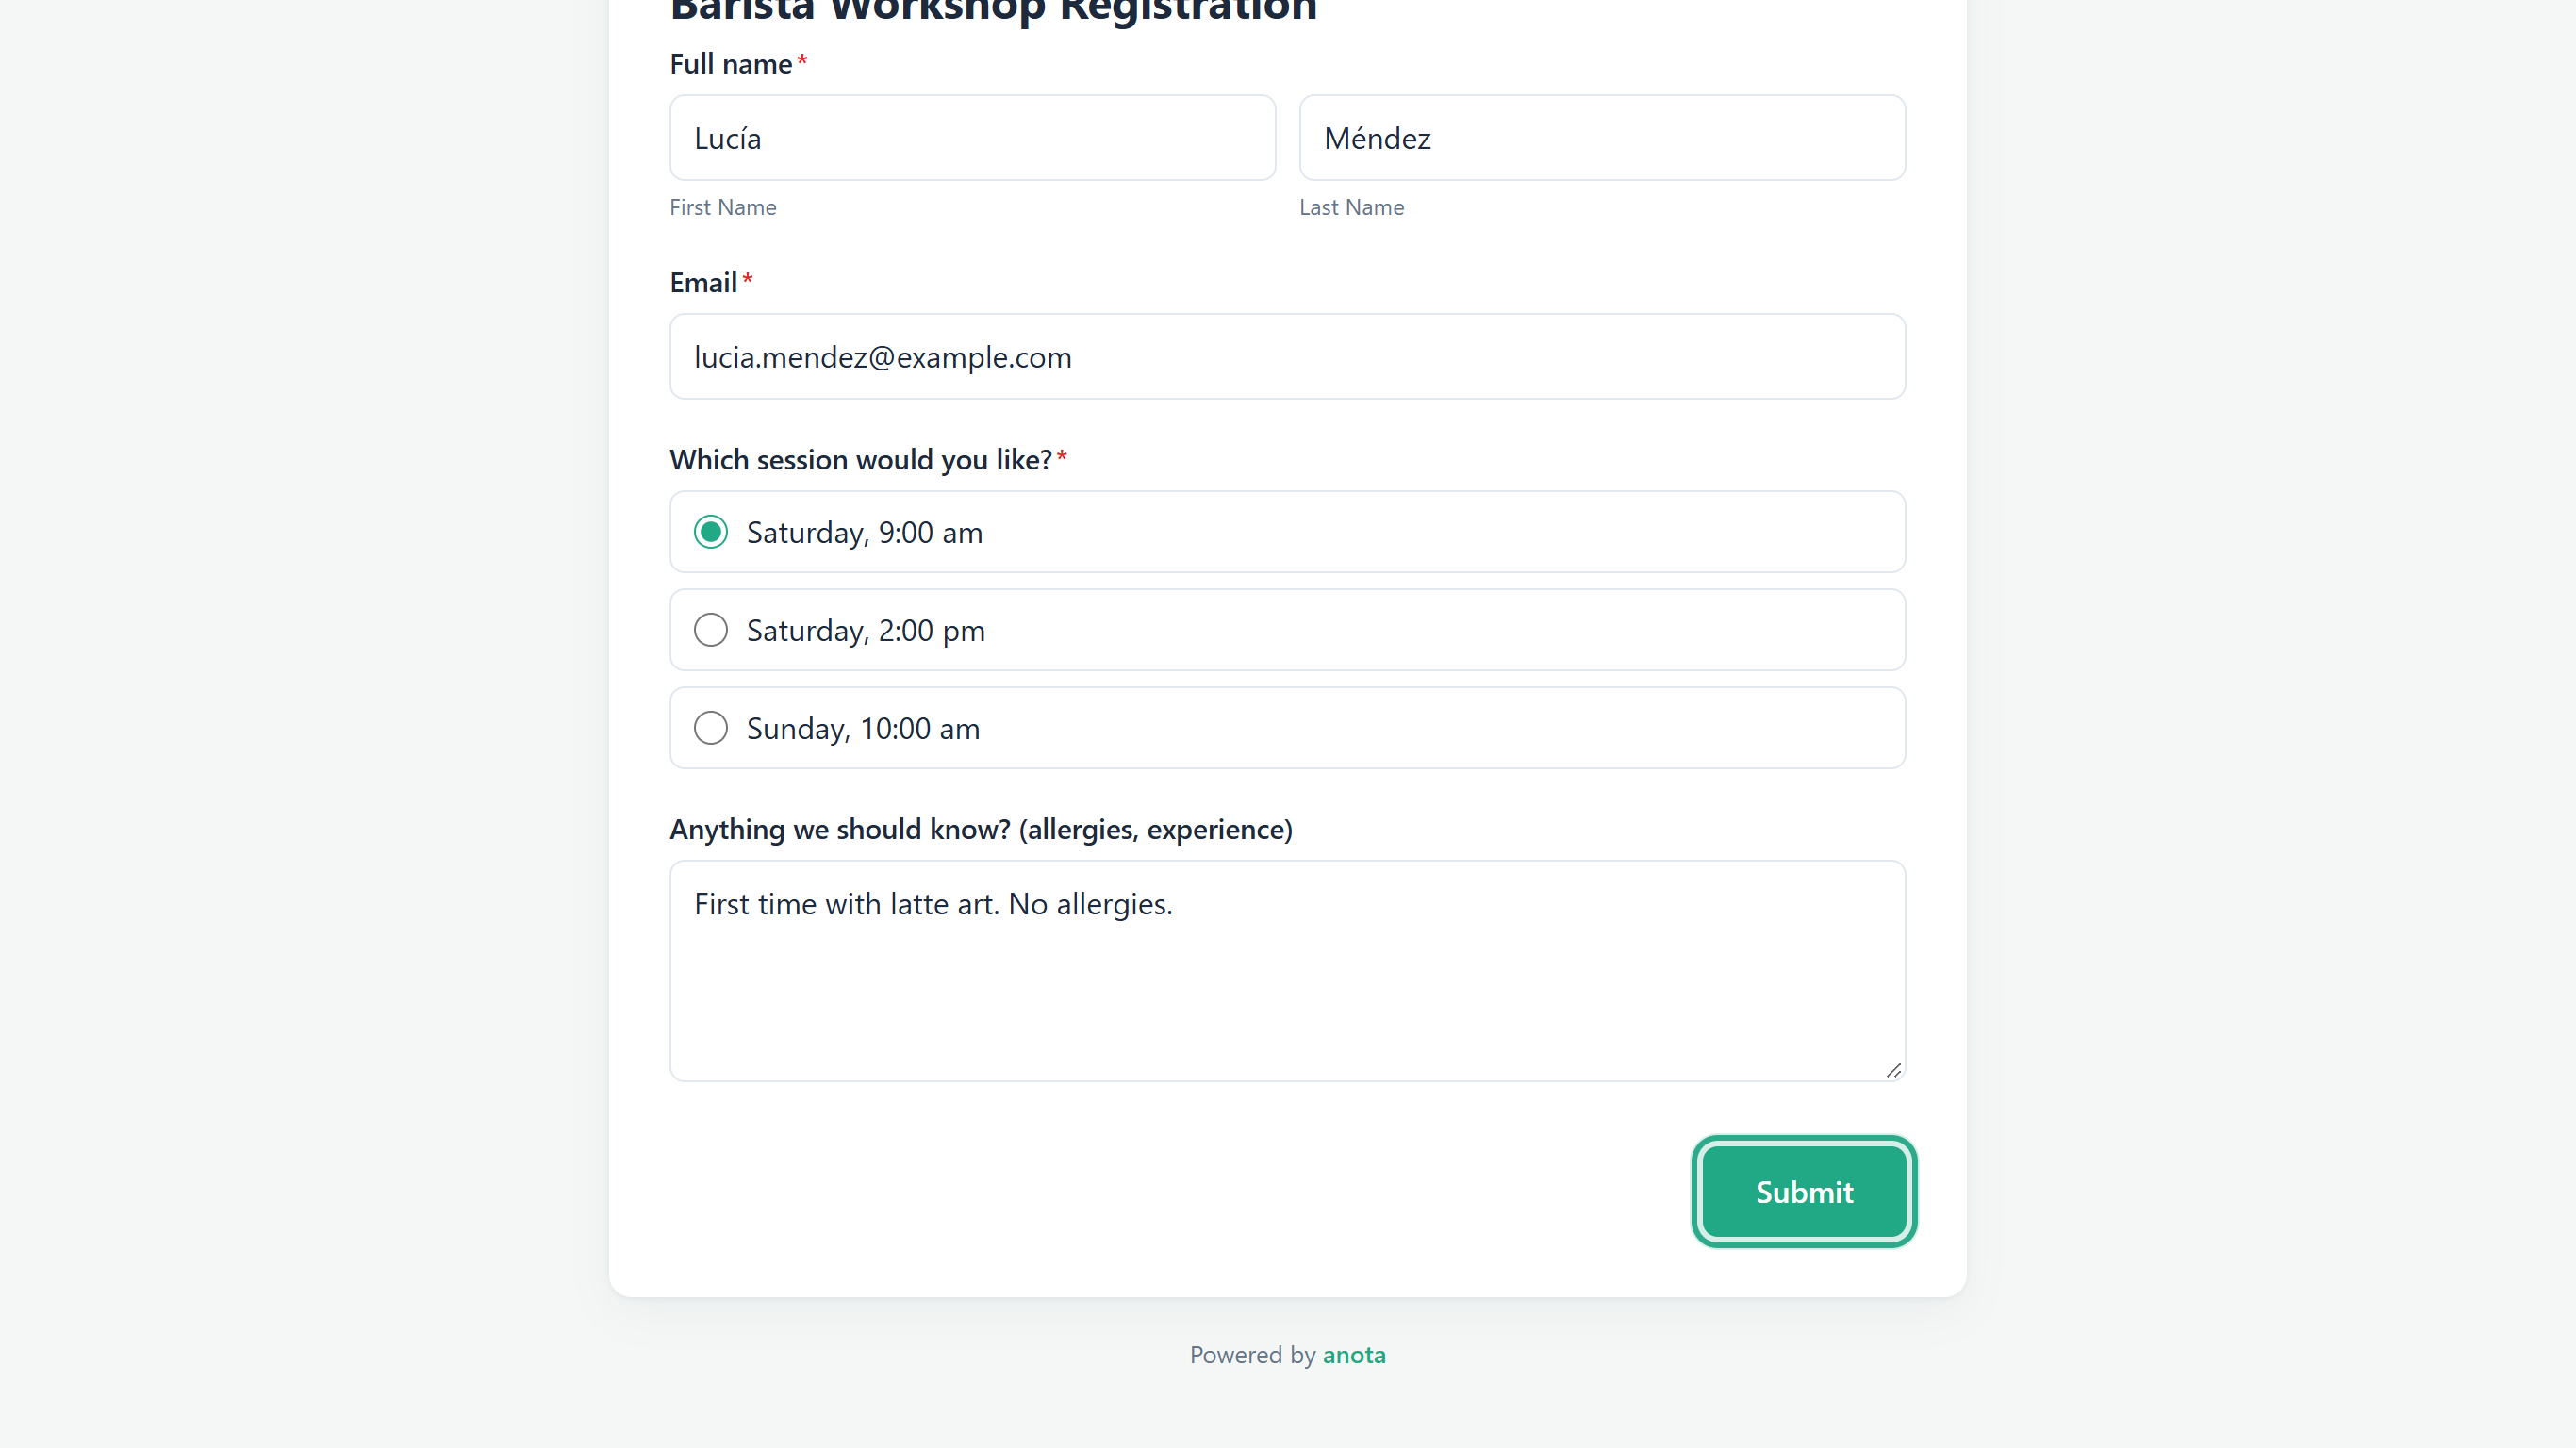 The public form, filled in by a visitor.
After submitting, they see the thank-you message. You can change this message in the form's Settings tab.
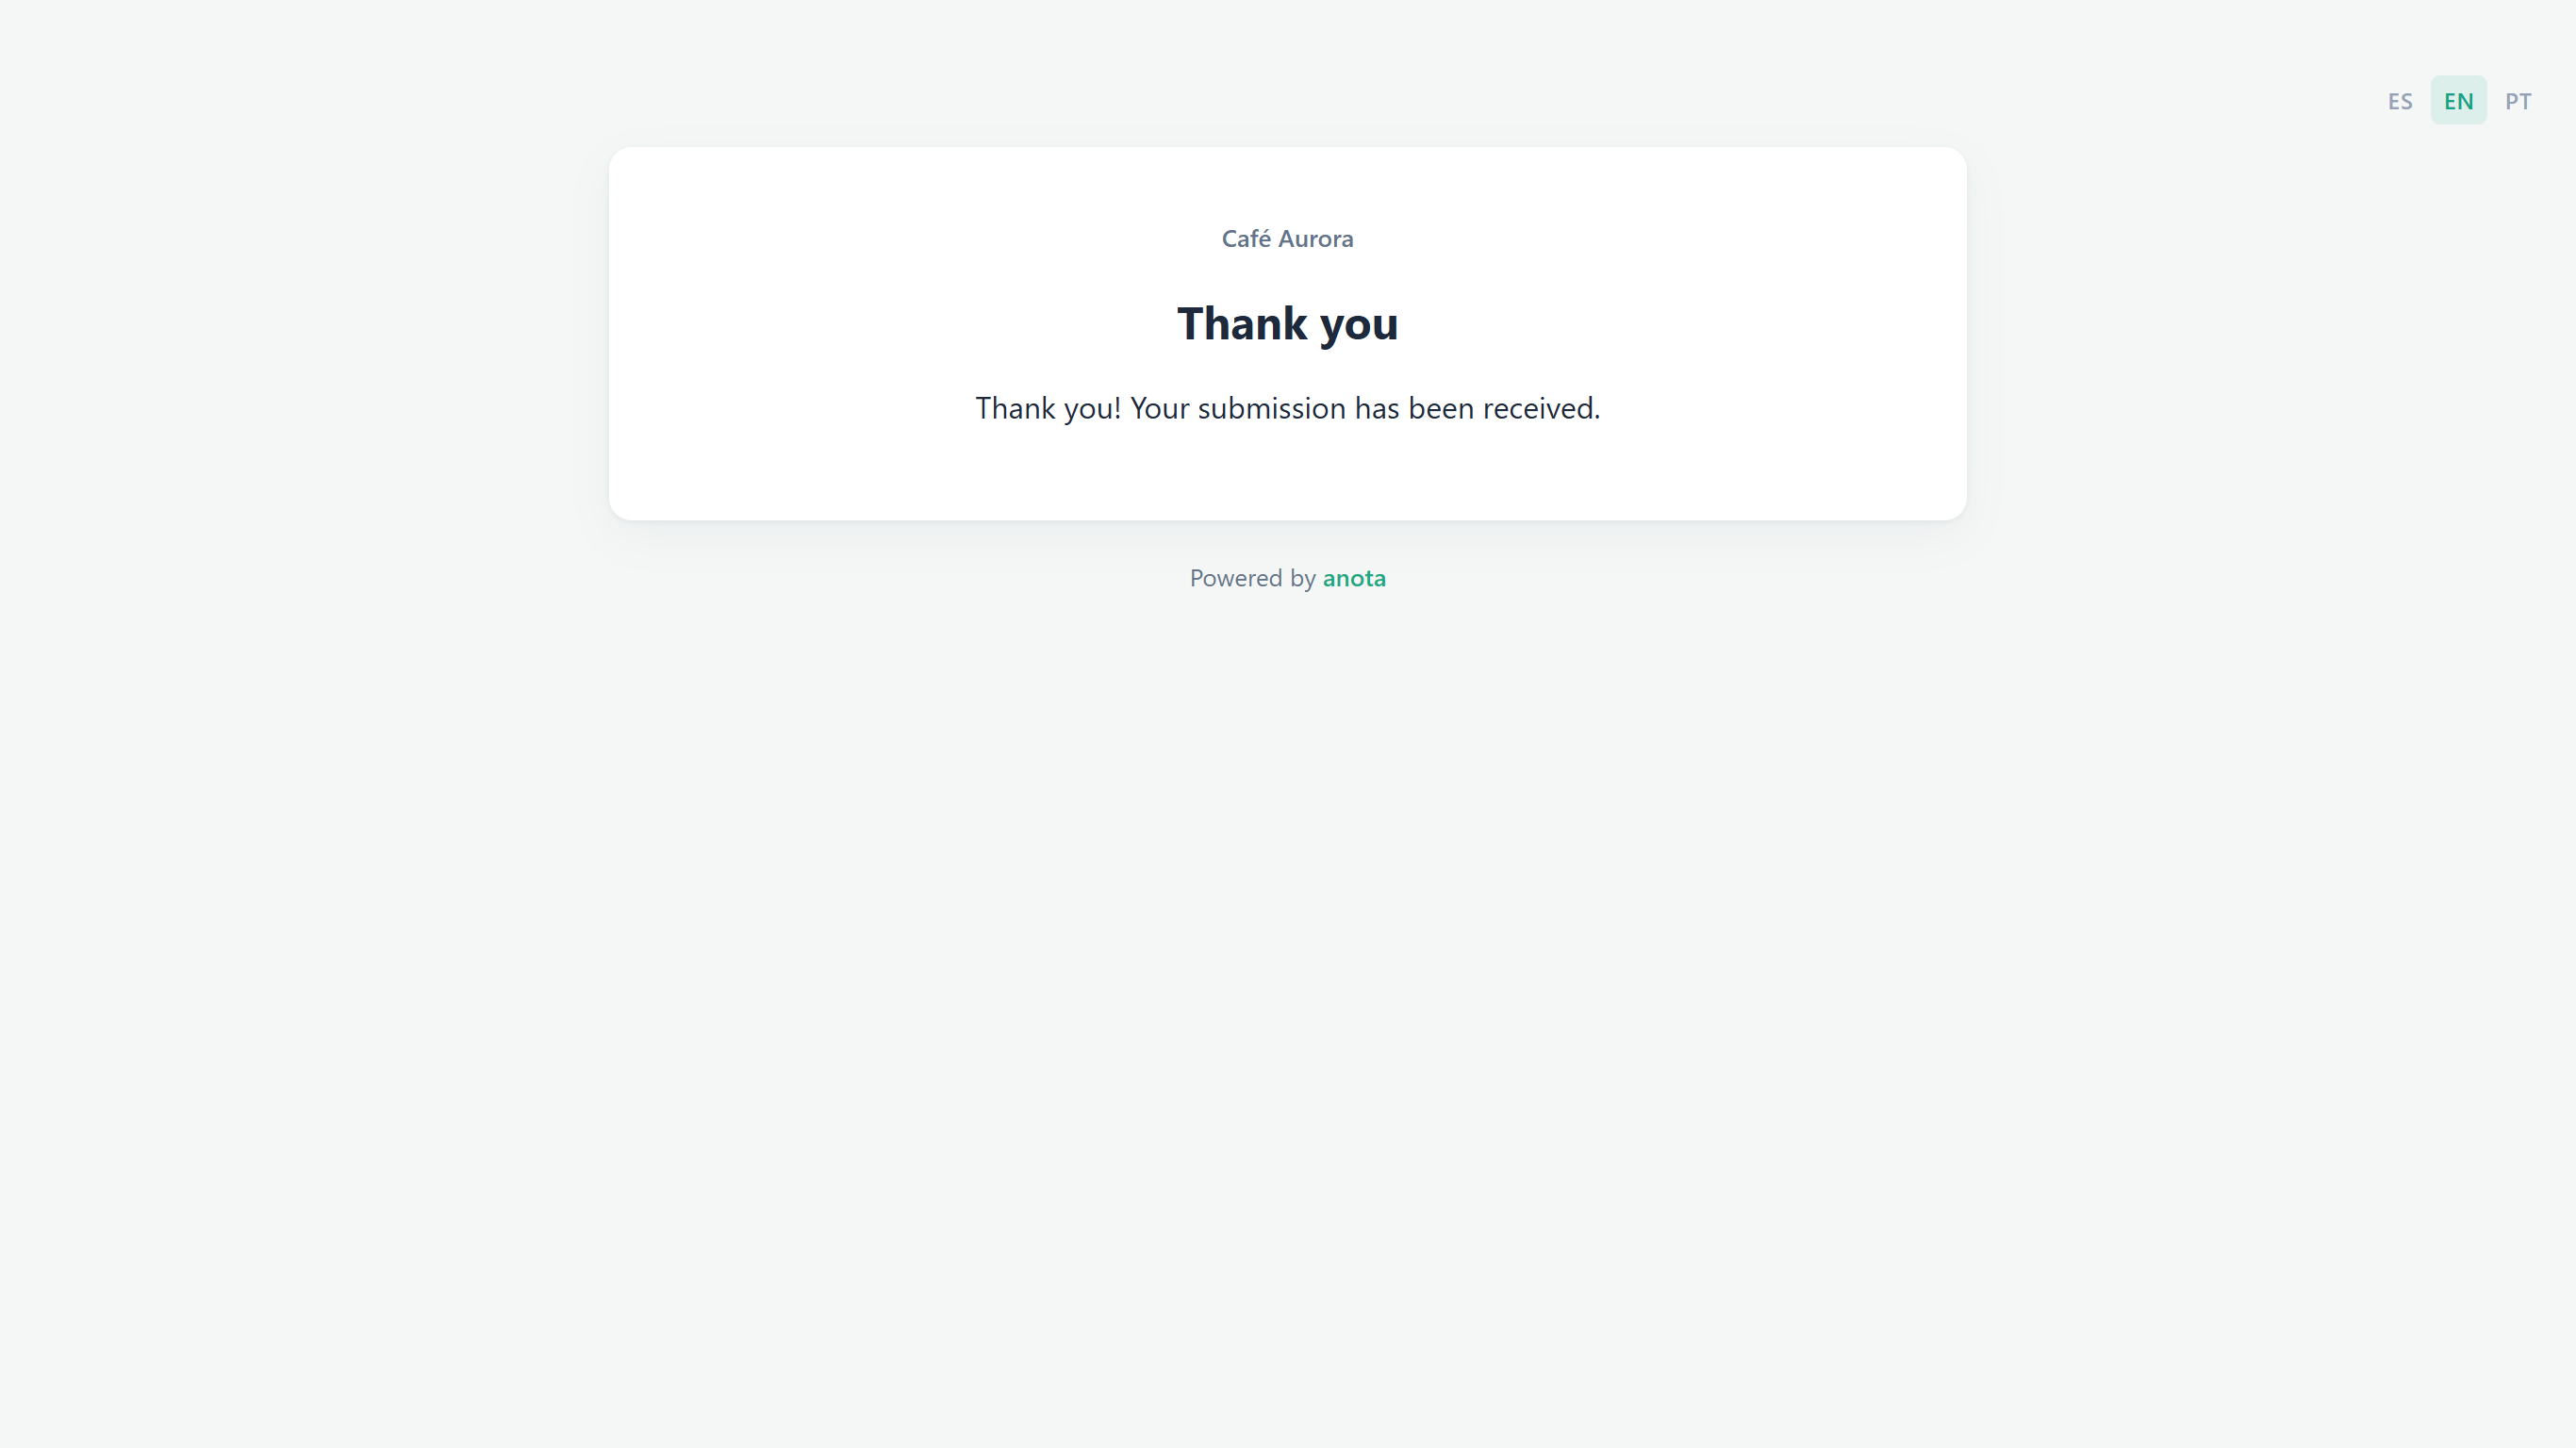 The default thank-you page shows your company name.
Back in anota, open Forms. In your form's row, click View submissions.
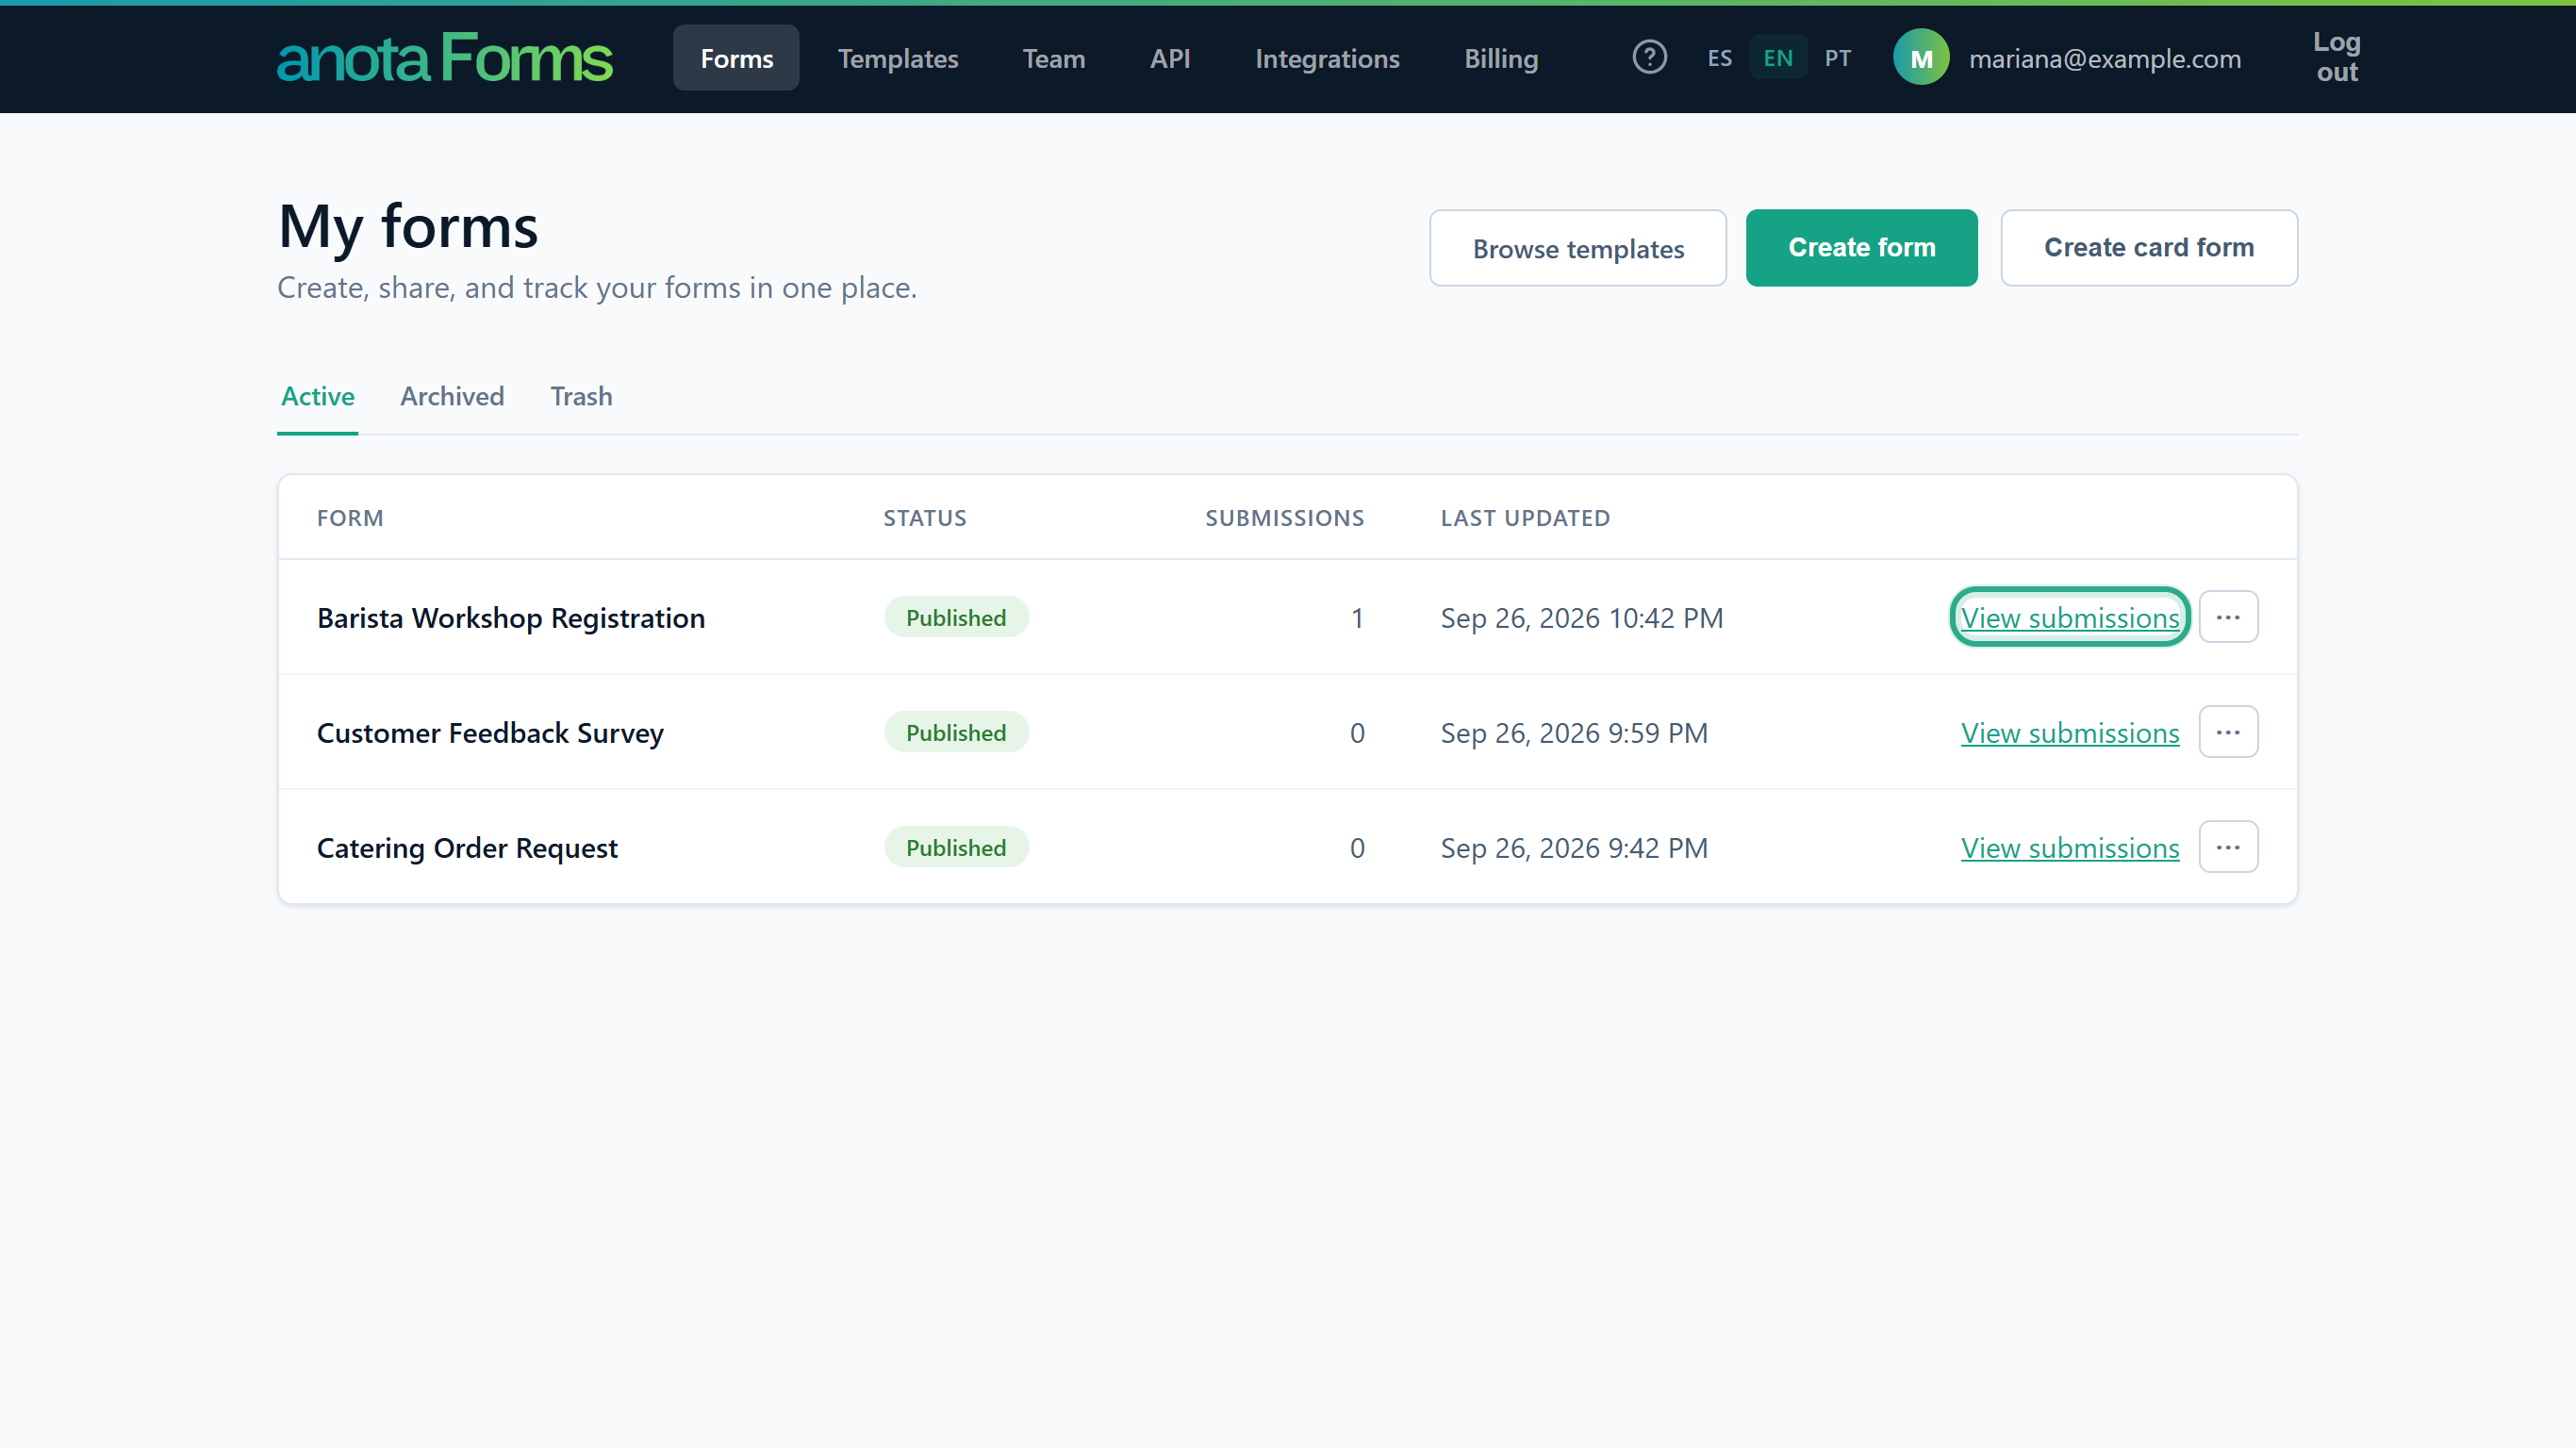 Each form's row links to its submissions.
The inbox lists every response, newest first. The new one is marked New. Click it to see all the answers on the right.
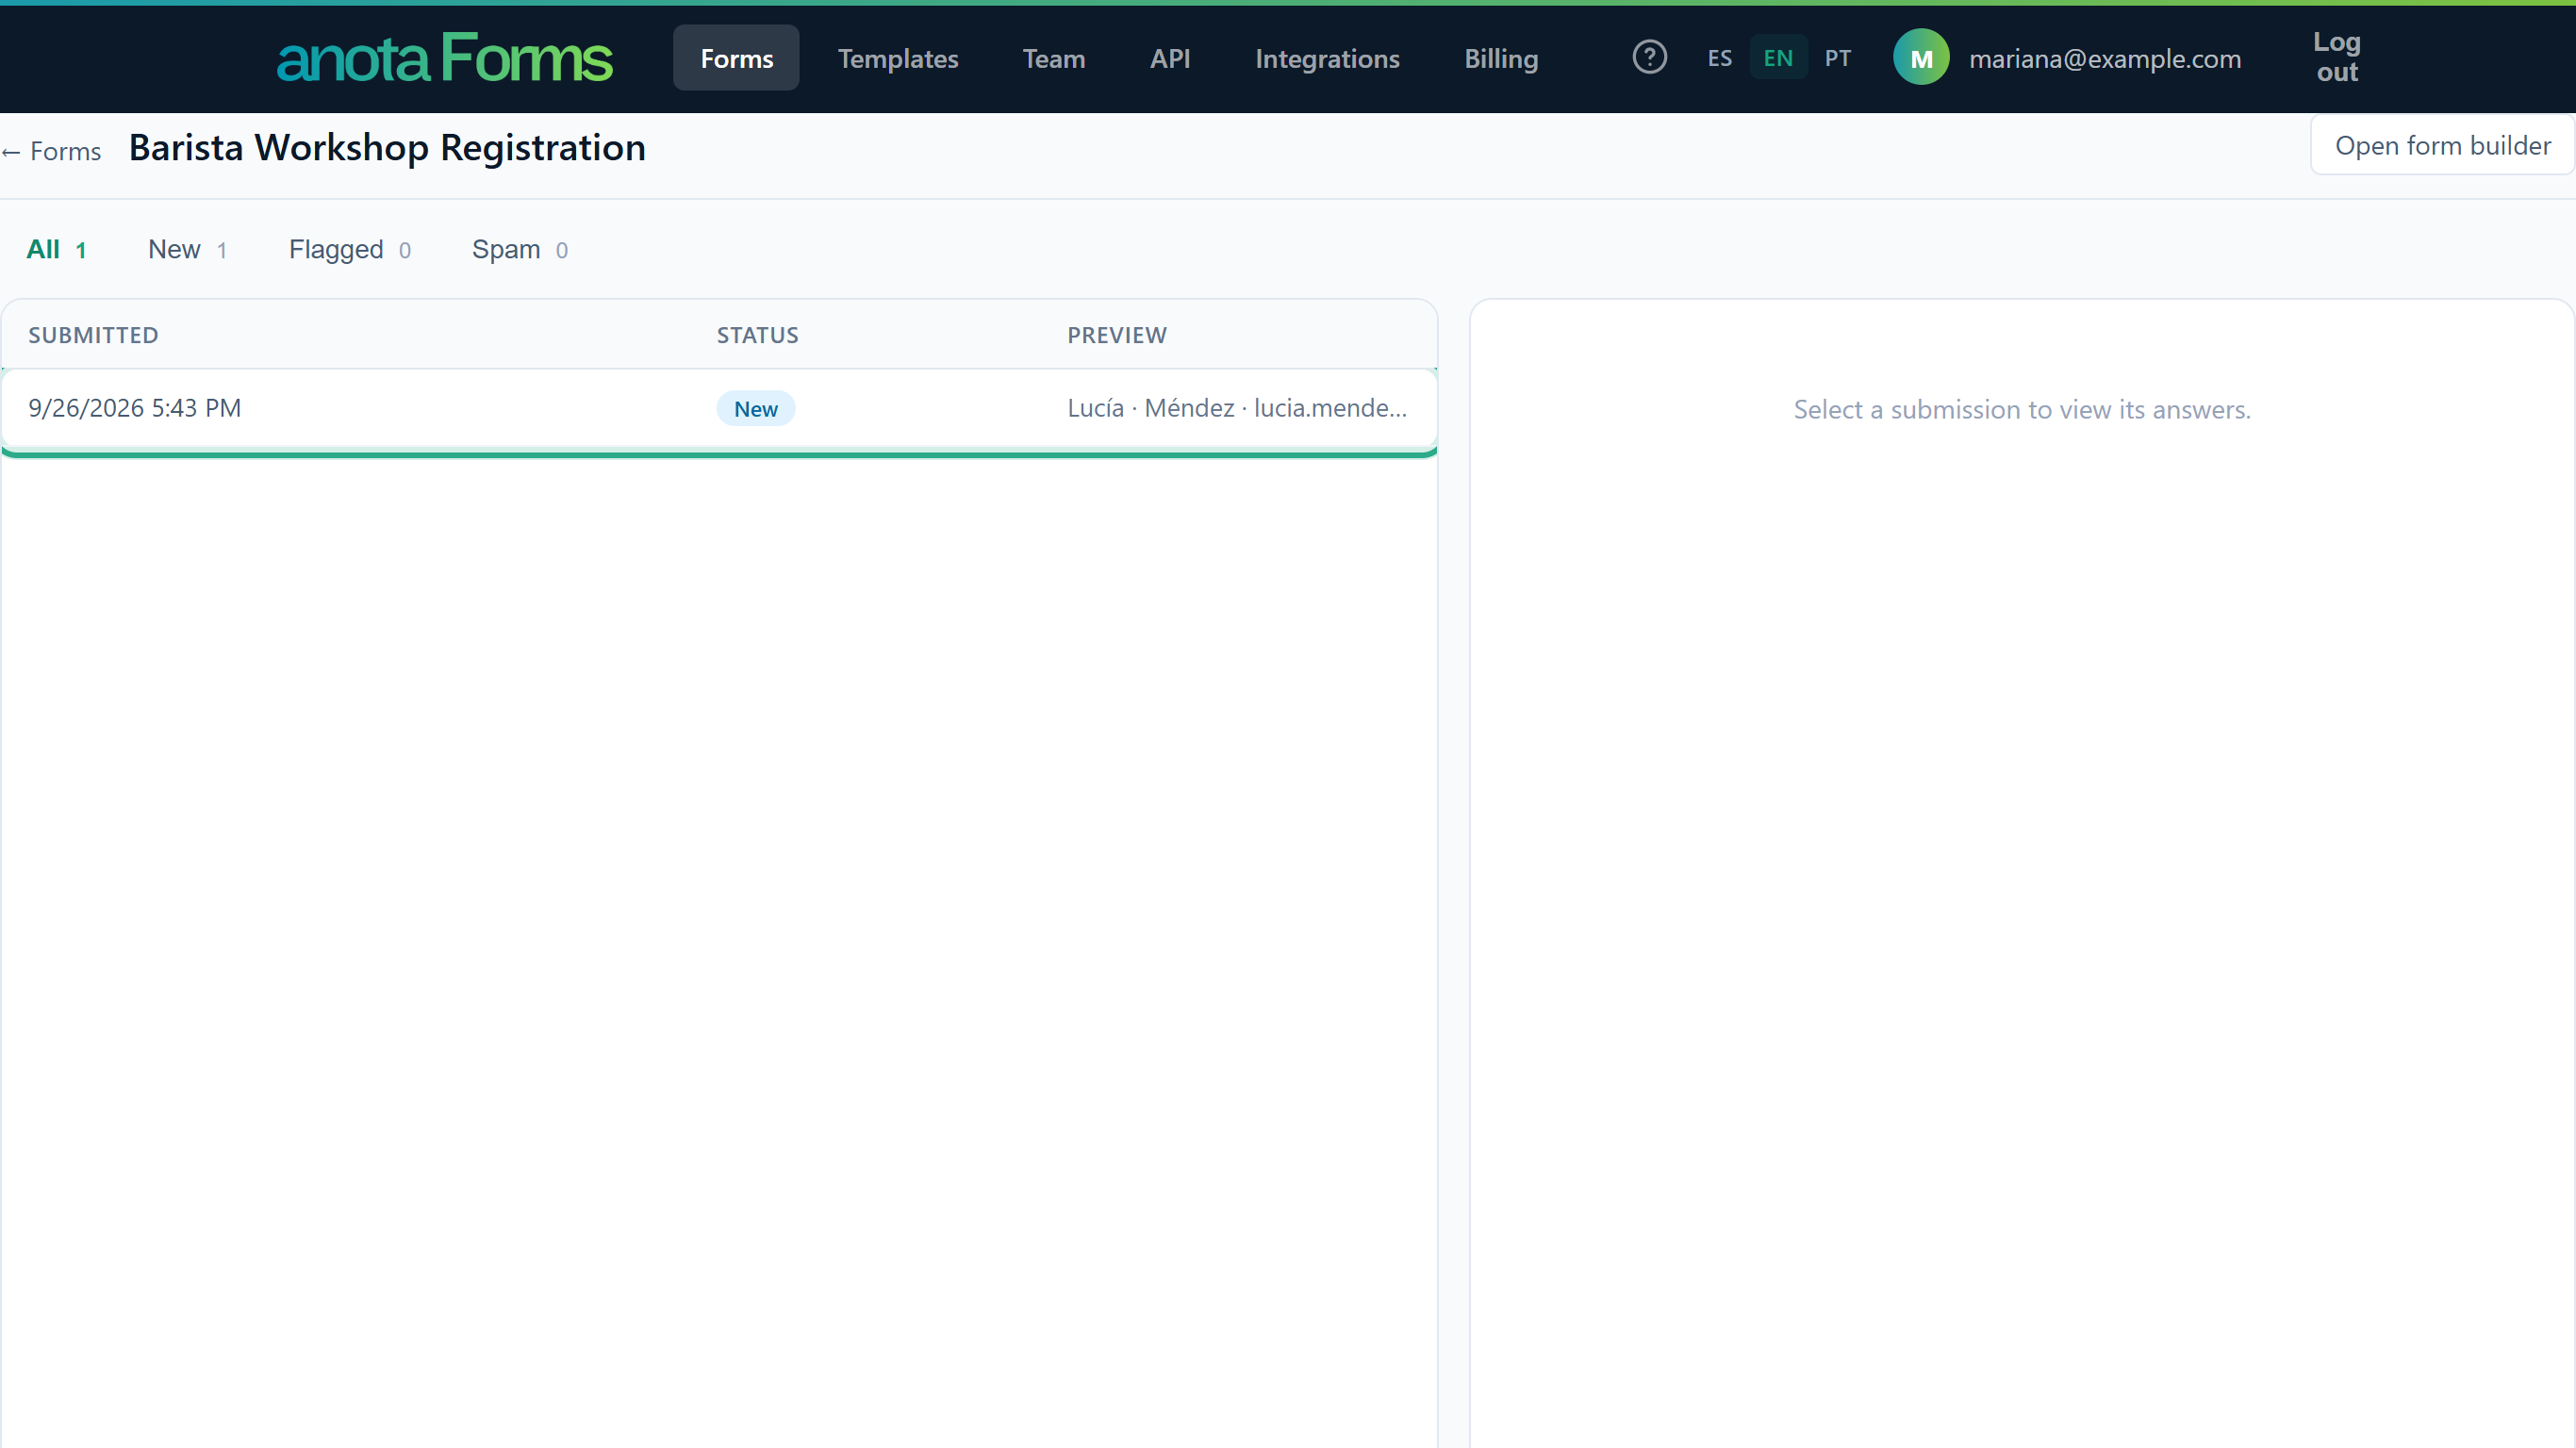 Your first response has arrived.
Result
Your form is working end to end: it's public, it accepts responses and they reach your inbox. By default anota also emails each new response to the workspace owner; to send them to other people, see Email notifications.
What's next
- Add conditions so questions appear only when they apply: Conditional logic.
- Match your brand's colors, font and logo: Theme and appearance.
- Take payments with your form: Products, orders and Stripe payments.
- Invite your team: Invite members.
Field reference
| Category | Fields |
|---|---|
| Basic | Heading, Paragraph, Short text, Long text, Email, Phone number, Number |
| Contact | Full name, Address |
| Choice | Dropdown, Single choice, Multiple choice |
| Date & time | Date, Time, Appointment |
| Survey | Rating, Scale, Matrix |
| Uploads & more | File upload, Signature, Quantity, Image, Divider, Section |
| Payment | Products |
| Security | Verification (CAPTCHA) |
Each field type is described in Field types.
Roles & permissions
| Role | Create and publish forms |
|---|---|
| Owner | Yes |
| Admin | Yes |
| Editor | Yes |
| Viewer | No (view only) |
When you sign up on your own, anota creates a workspace for you and you are its Owner. If you sign up from a team invitation, you join the inviting workspace with the role you were invited with instead. See Roles and permissions.
Troubleshooting
| Symptom | Likely cause | Resolution |
|---|---|---|
| I can't log in right after signing up with email | You haven't confirmed your email yet | Click the link in the confirmation email. On the Log in page, Resend email confirmation sends it again |
| My password isn't accepted when I sign up | It doesn't meet the password rules | Use 6 to 100 characters with at least one uppercase letter, one lowercase letter, one digit and one symbol |
| "An account with this email already exists. Log in with your password and link Google from your profile." | You used Continue with Google with an email that already has a password-based anota account | Log in with your email and password, then link Google from your Account settings |
| The public link doesn't match the form's new title | The form was renamed after its first publish; published links never change so existing links keep working | Nothing to fix: visitors see the form's title. For a different link, clone the form, name the copy and publish it |
| A test response doesn't appear in the inbox | Very fast submissions (under three seconds) are treated as automated spam and discarded, even though the thank-you page appears | Fill in the form at a normal pace and submit again |
| "Your plan allows up to 5 forms. Archive or delete a form to create another." | You reached your plan's form limit | Archive or delete a form, or upgrade (see Plans and billing) |
| The form should stop accepting responses | The form is still enabled | Disable it from the form's menu on My forms. The public page stays reachable but shows your closed-form message |
Related features
Was this page helpful?