Invite members
Invite members
Applies to: anota, plans with more than one seat (see Plans and billing) Roles required: Owner or Admin to invite, resend and revoke; anyone can accept an invitation sent to them Regulatory references: none
Overview
You add people to your workspace by inviting them by email from the Team page. anota emails them a link. They open it, log in or create an account, and join your workspace with the role you chose. Until they accept, the invitation waits under Pending invitations, where you can send it again or cancel it.
This page follows Café Aurora on the Gold plan. Its owner, Mariana Ortega, invites three people. Diego Ramírez, who already has an anota account, joins as an Editor. Ana Torres, who is new to anota, creates an account and joins as a Viewer. Martín Silva's invitation is sent again and then revoked.
Key concepts
- Invitation: a link sent by email that lets one person join your workspace with a set role. It expires 7 days after it was sent or last resent.
- Pending invitation: an invitation that hasn't been accepted or revoked yet. It takes a seat until it expires.
- Seat: every member and every unexpired pending invitation takes one seat. See Team and roles.
- Role: Admin, Editor or Viewer. Nobody can be invited as Owner. See Roles and permissions.
Task 1 — Invite someone
Prerequisites
- You're the workspace's Owner or an Admin.
- At least one seat is free. If every seat is taken, the invite form is replaced by the seat-limit message; see Team and roles.
Step-by-step
Click Team in the top bar. In the Invite a member card, type the person's address in Email.
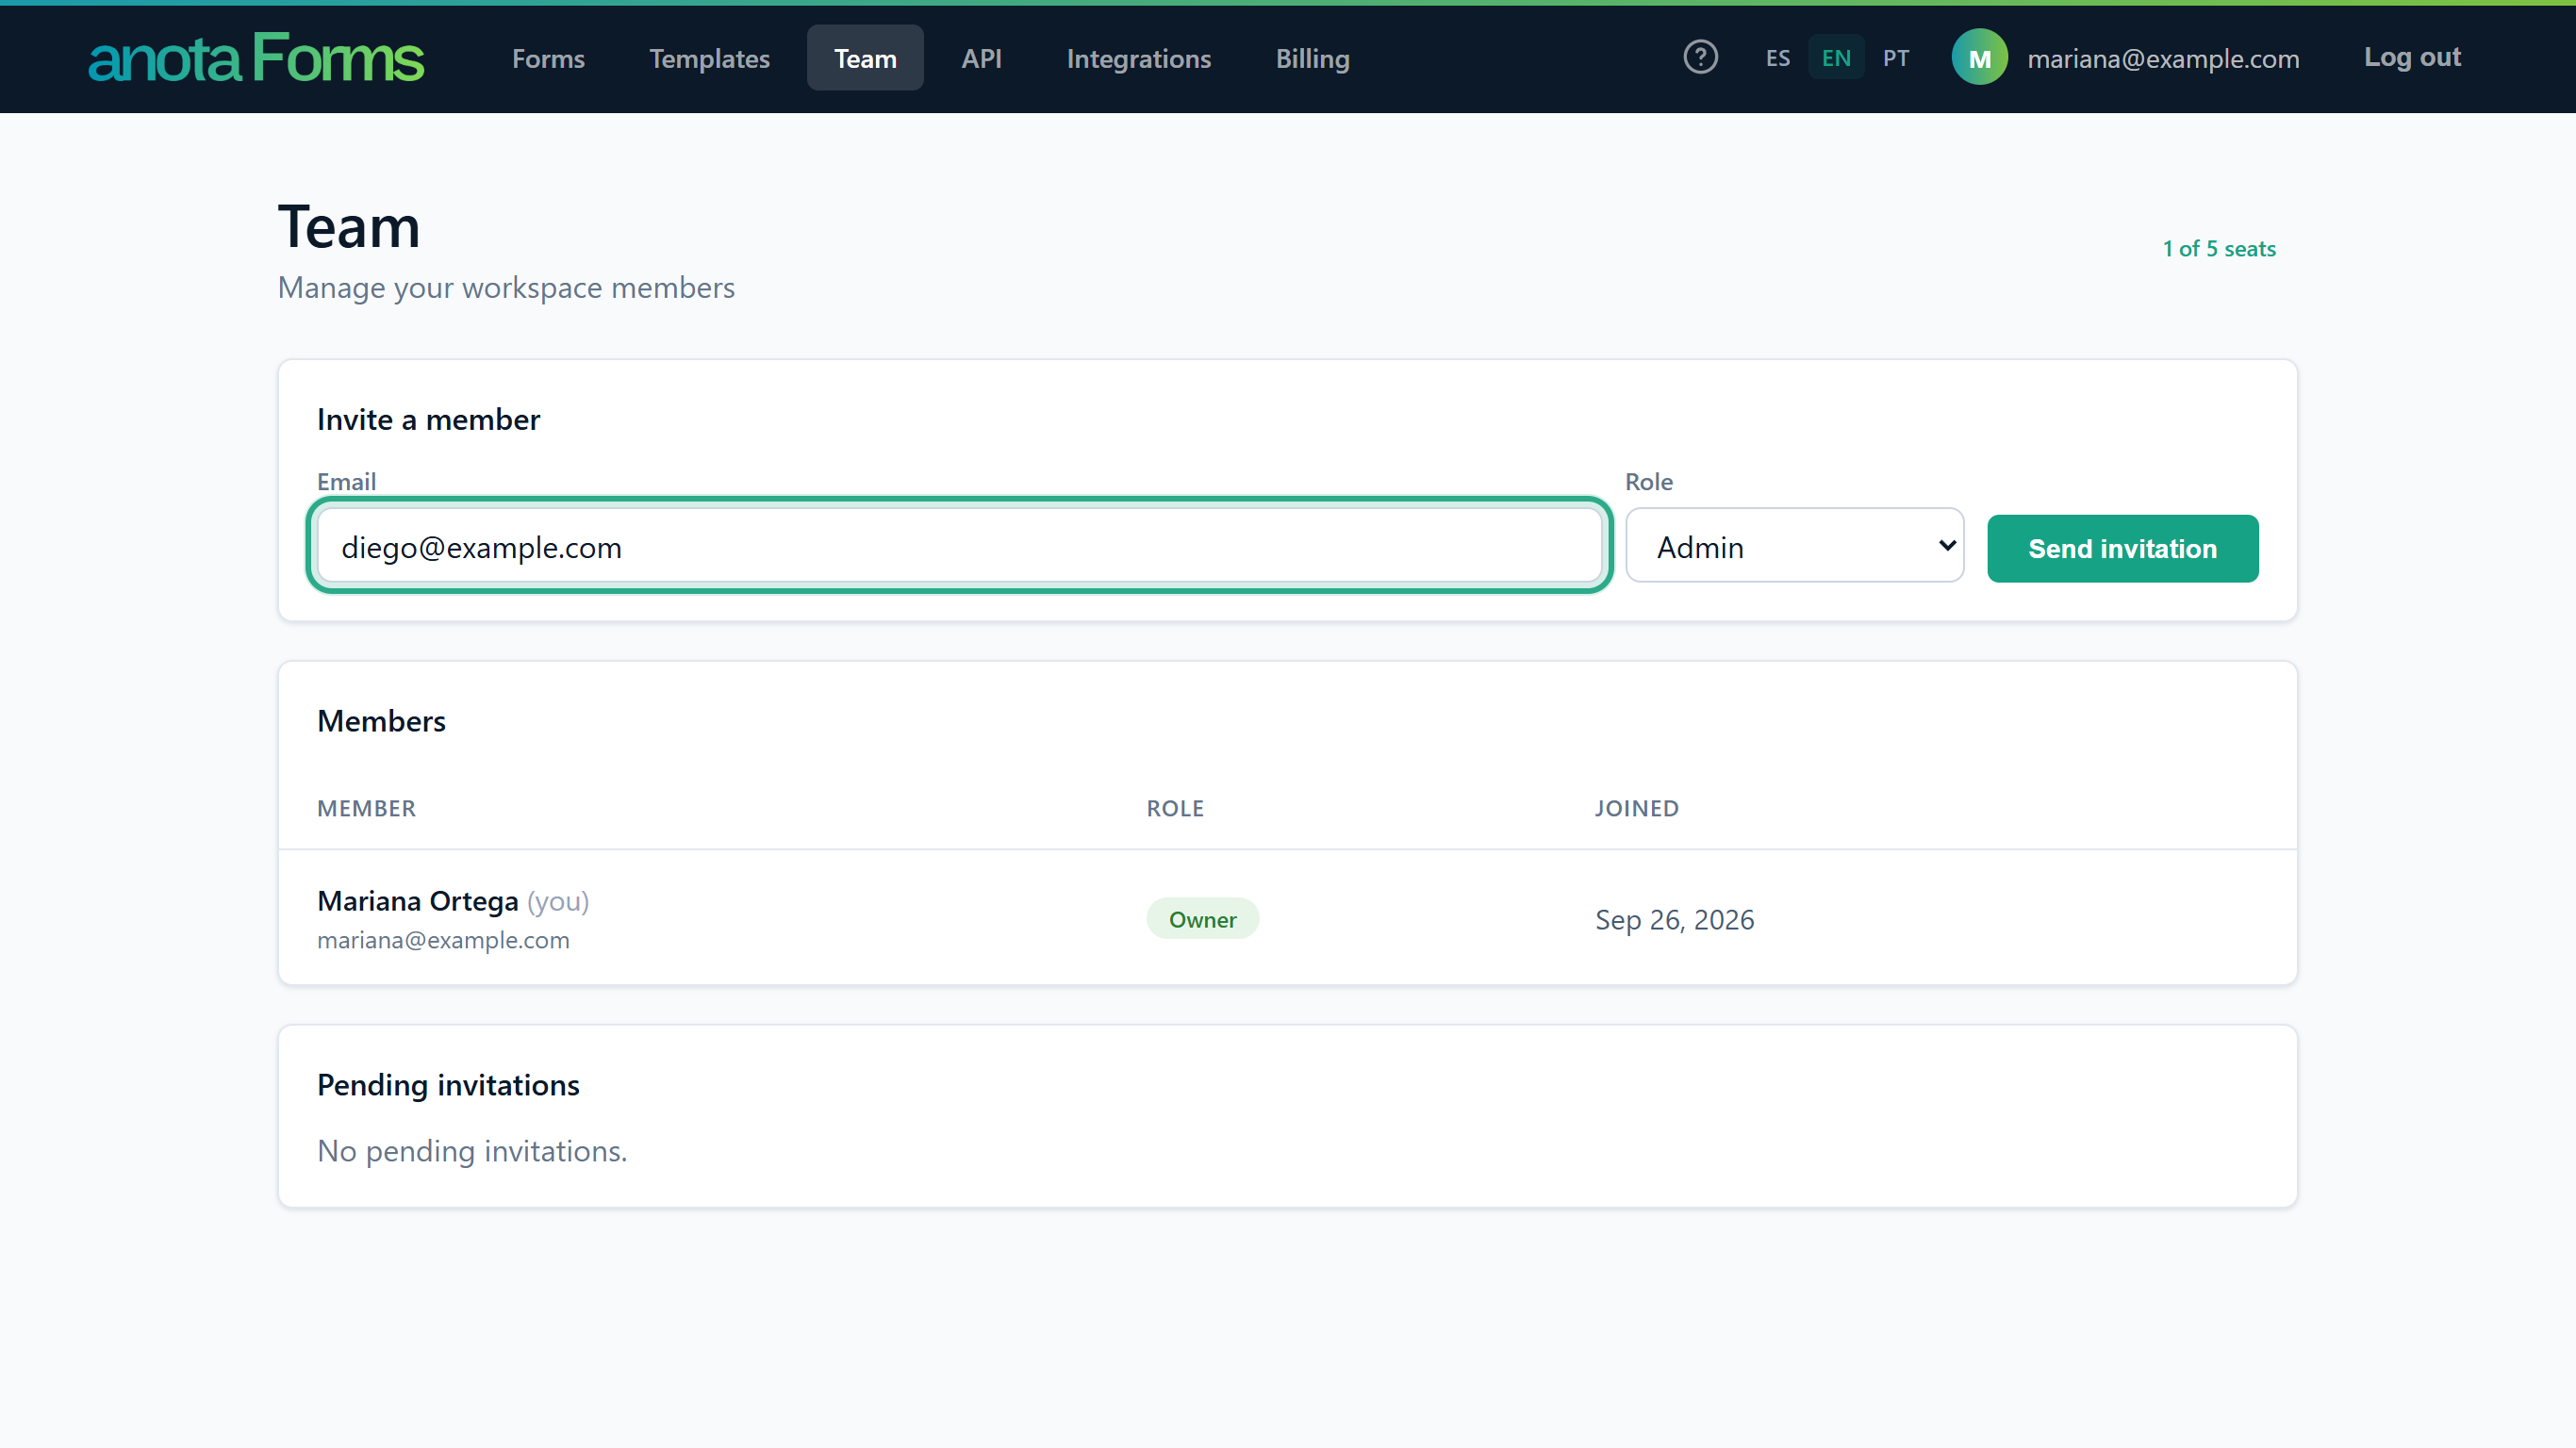 One address per invitation.
Choose their role in Role. The Owner can choose Admin, Editor or Viewer; an Admin can choose only Editor or Viewer. The first option in the list is already selected, so check it before you send.
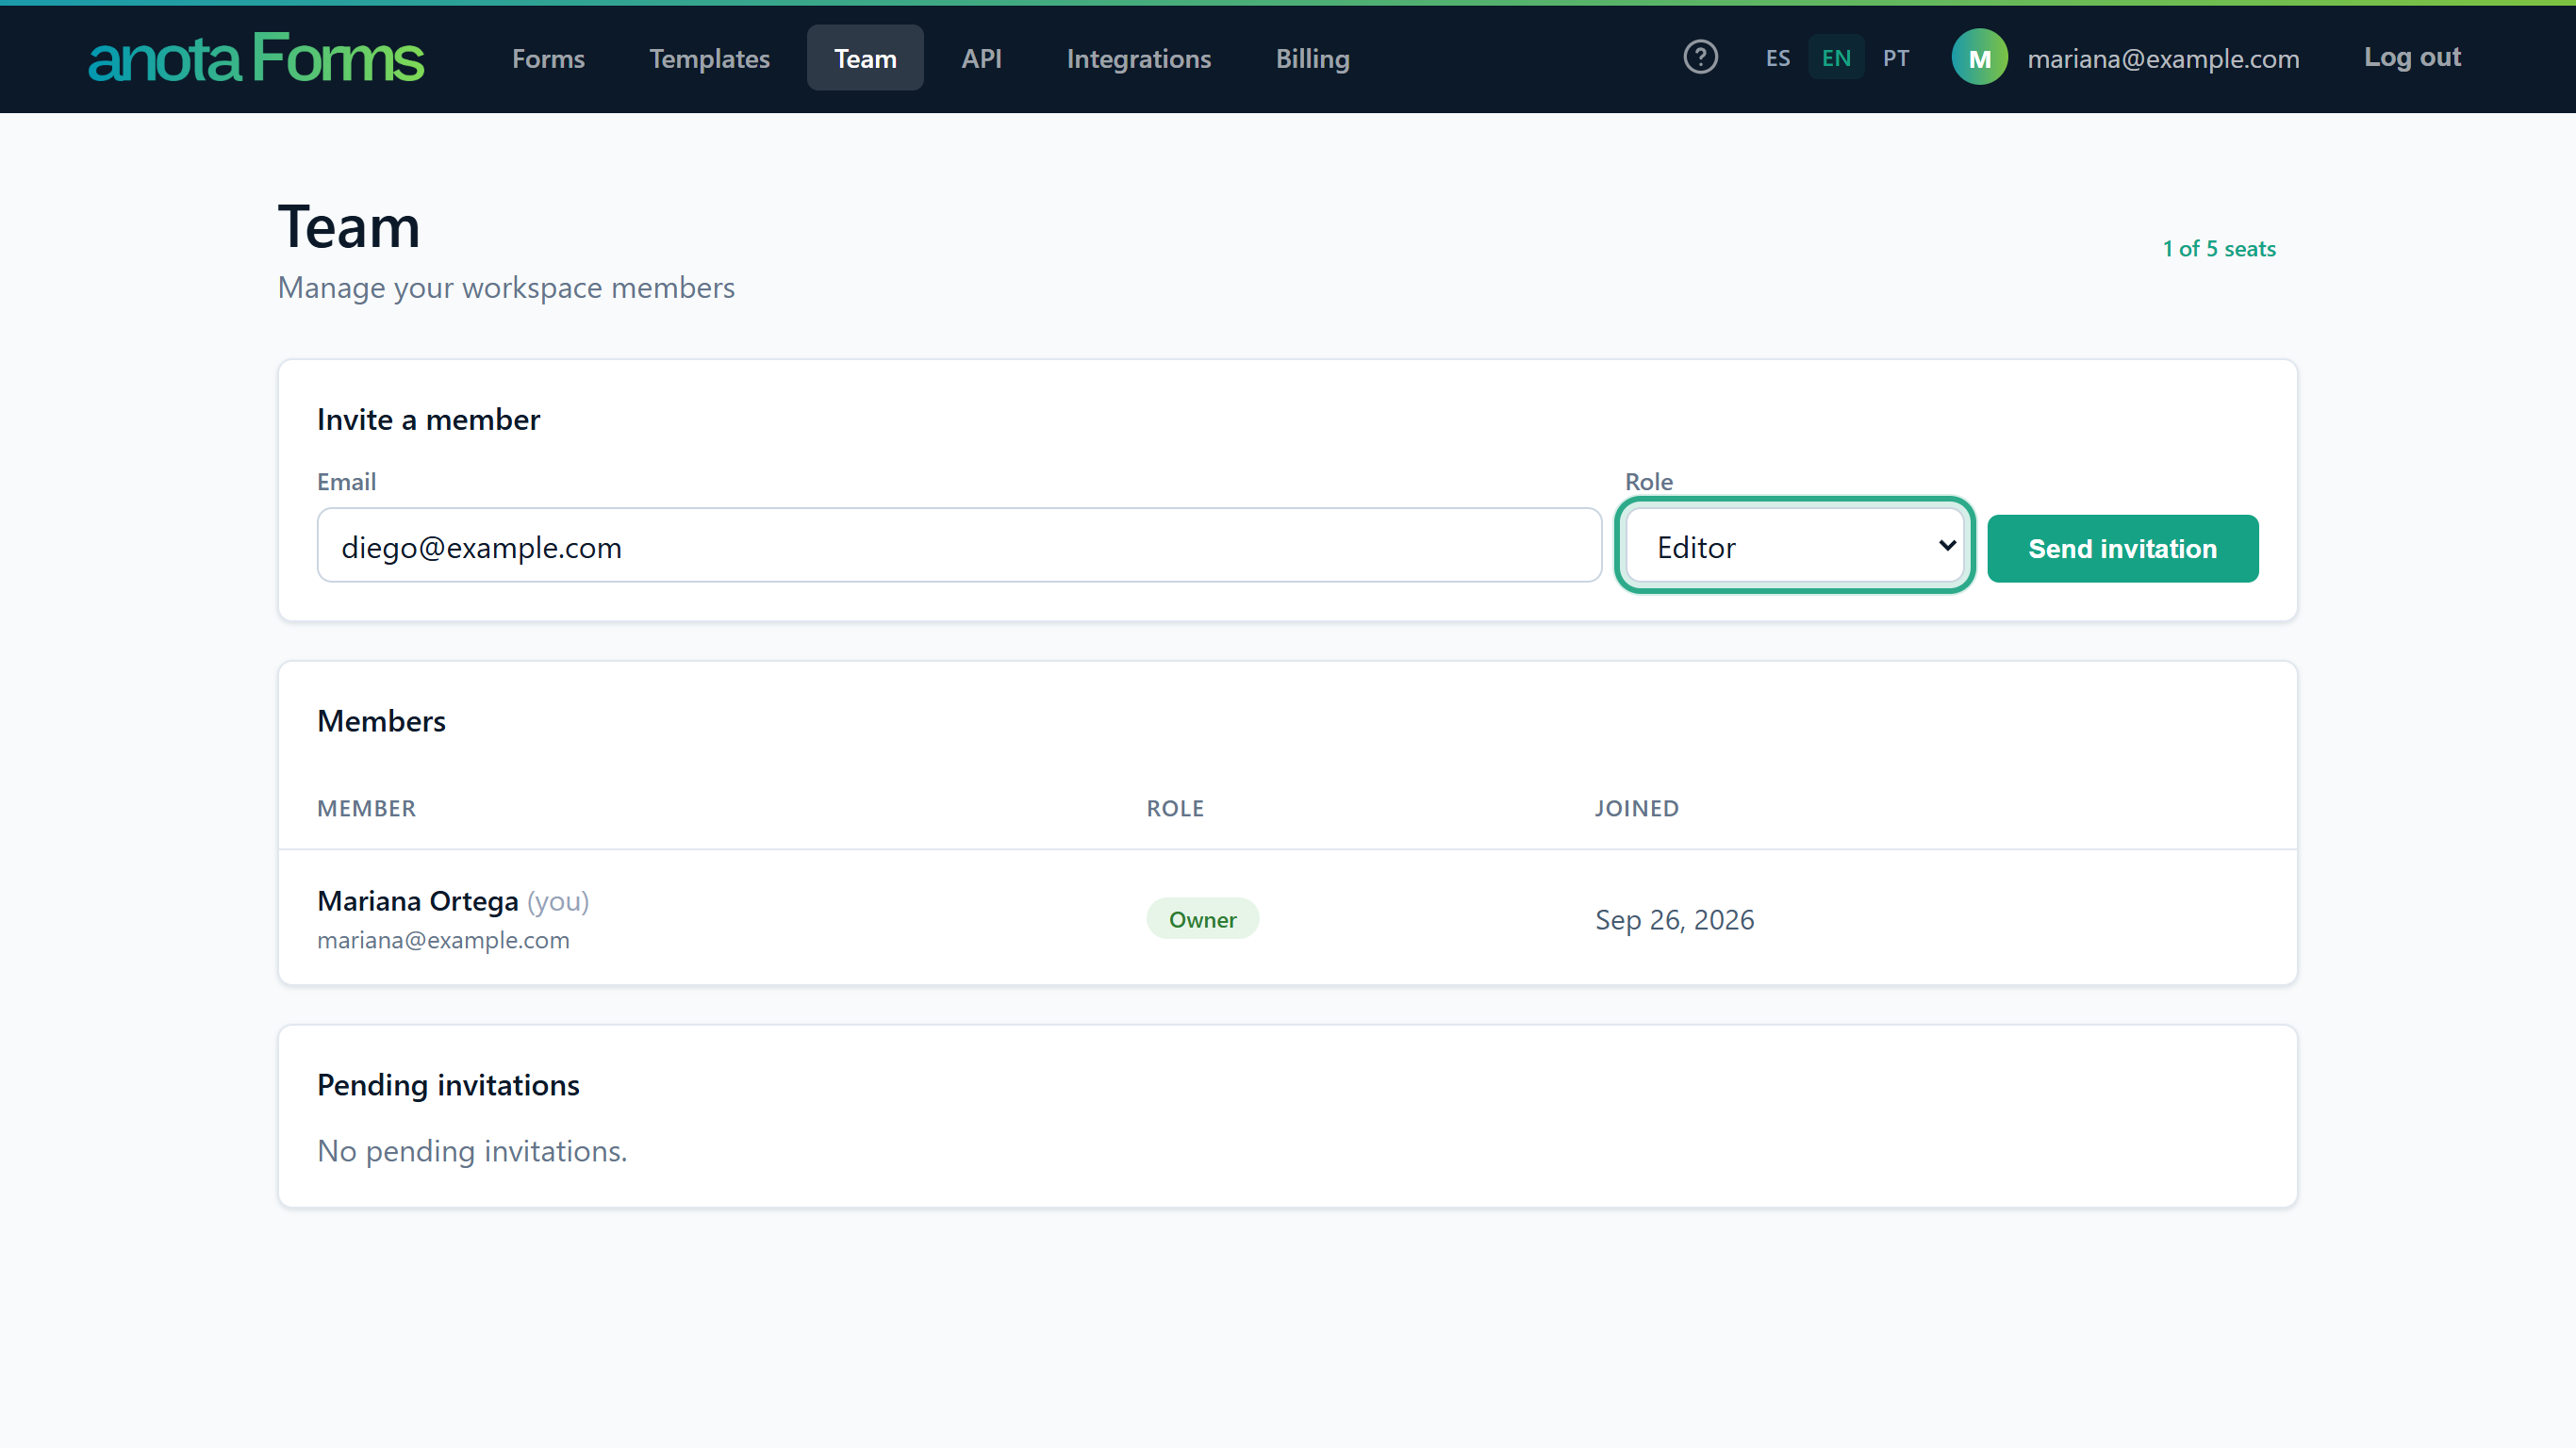 Diego will design forms, so he joins as an Editor.
Click Send invitation.
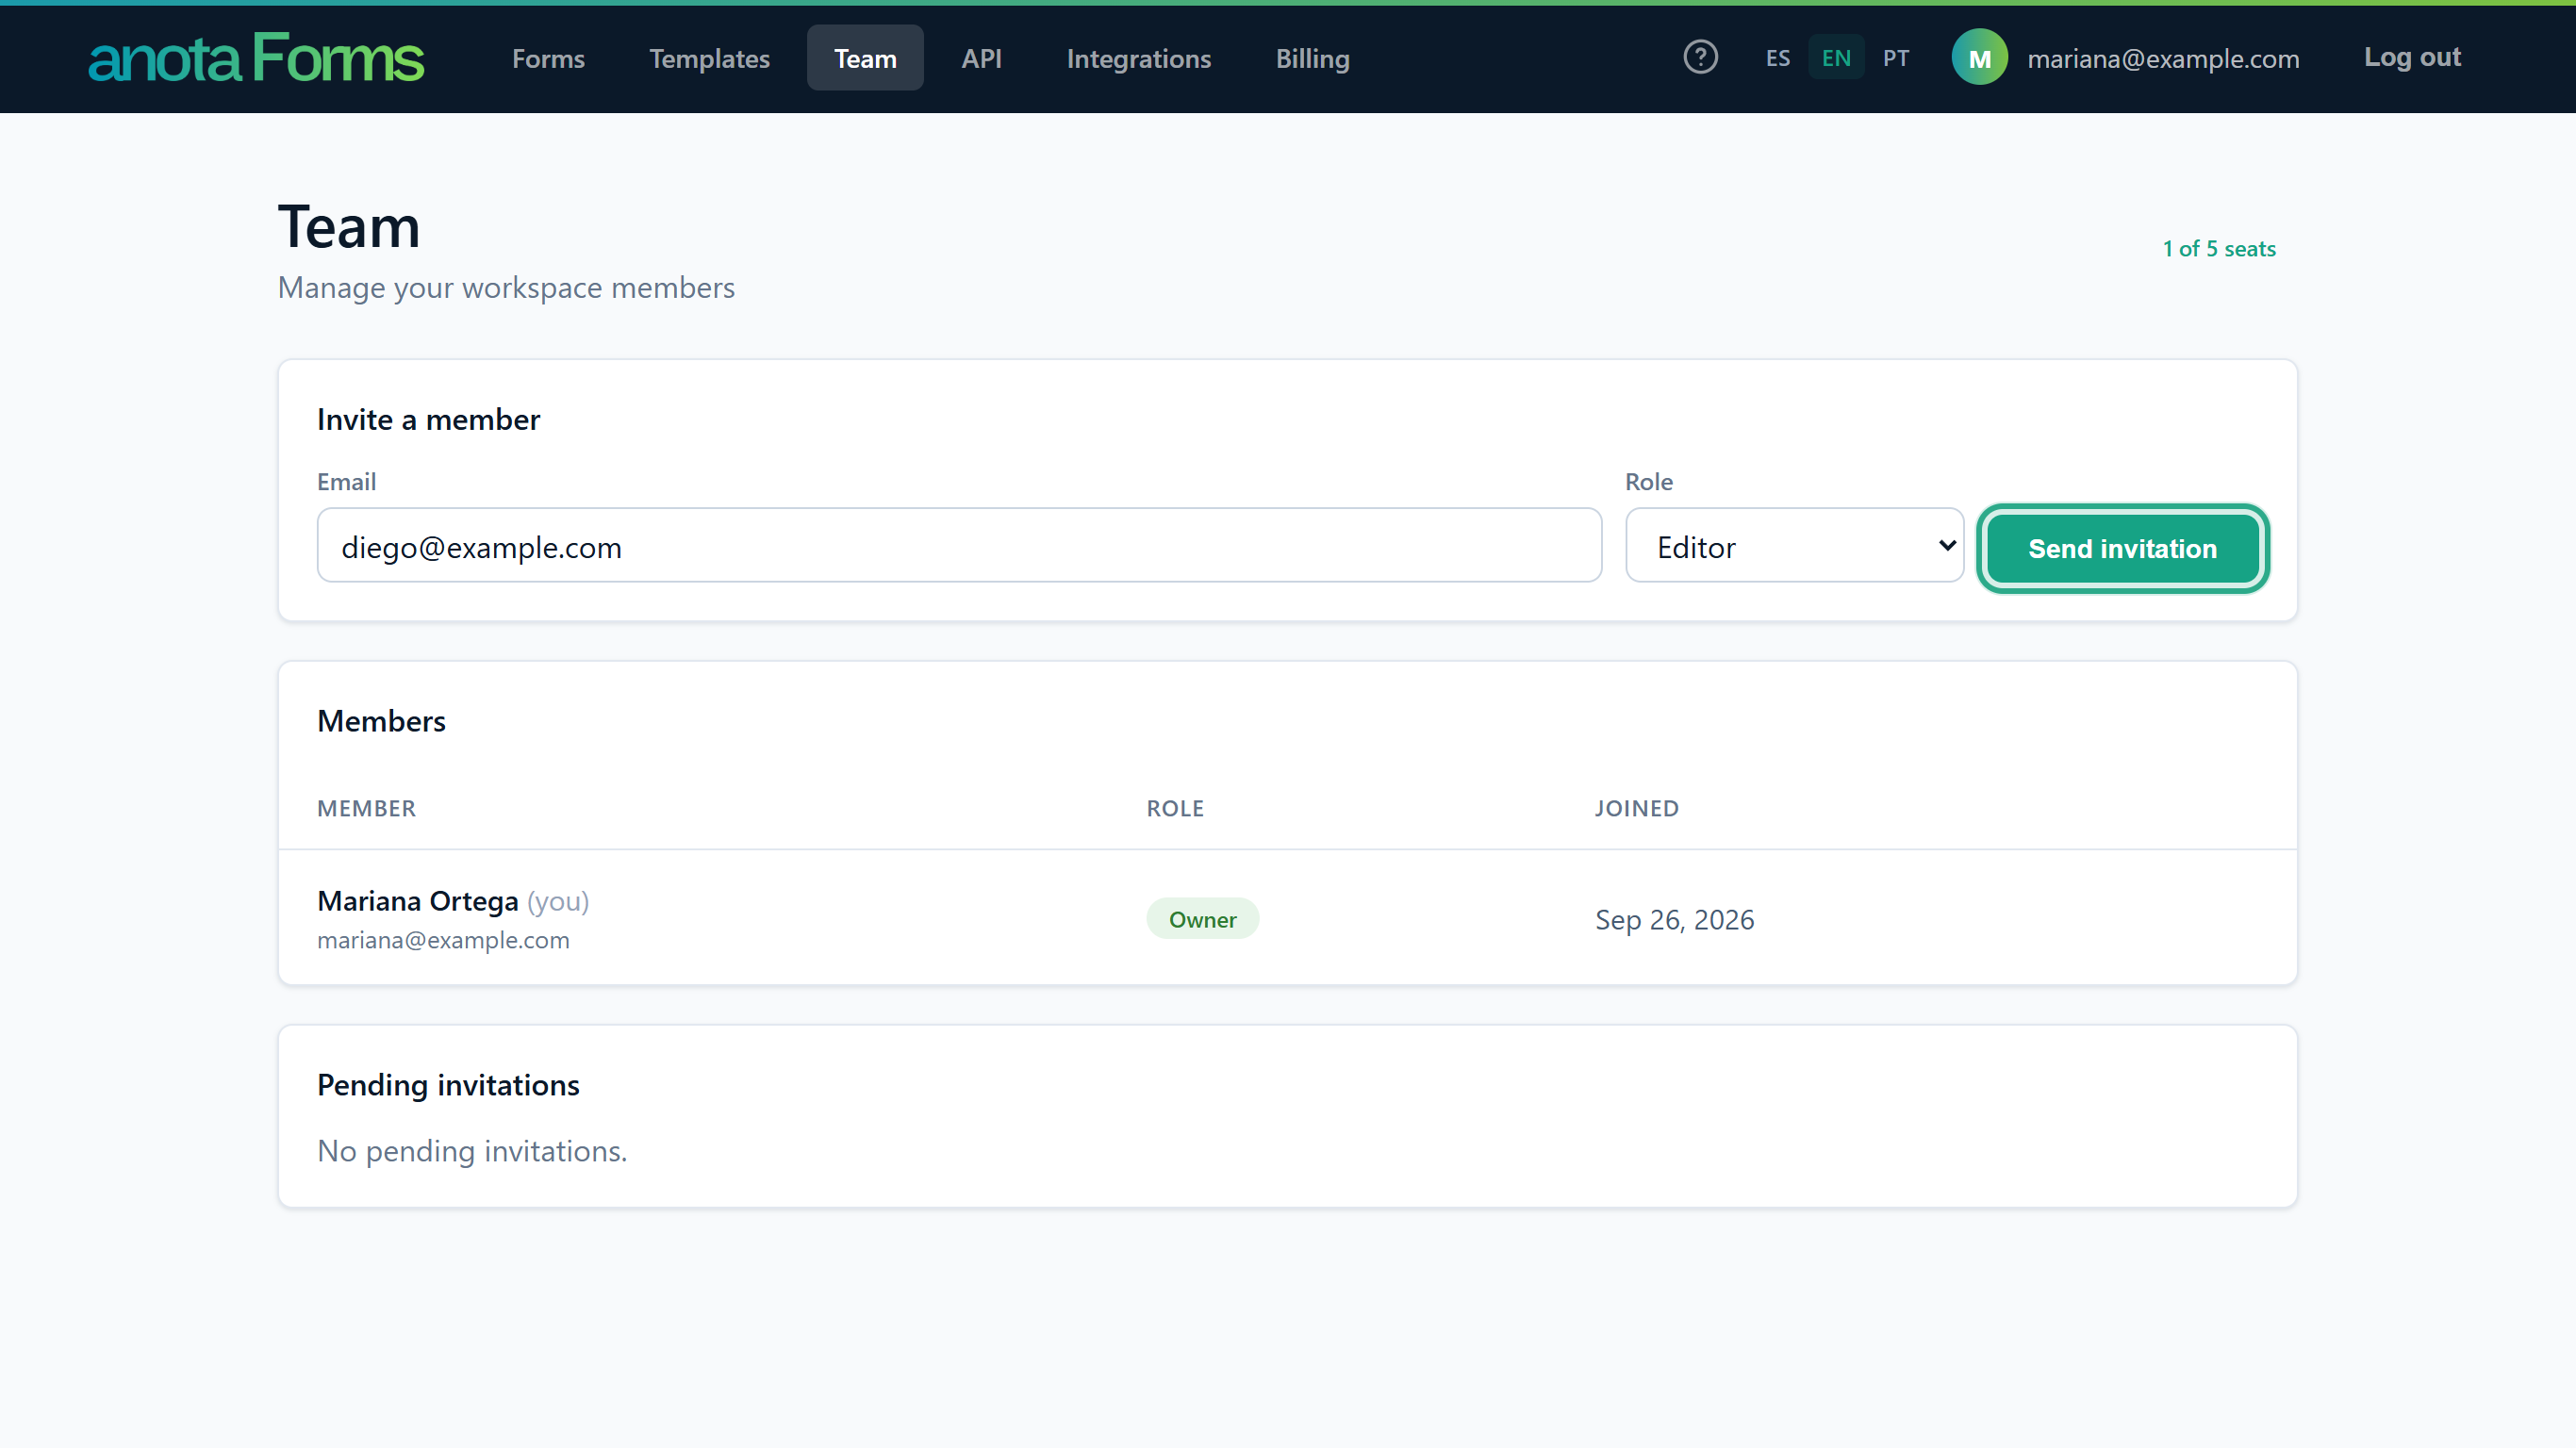 anota emails the link straight away.
The page shows "Invitation sent to diego@example.com." and the invitation appears under Pending invitations with its role, the date it was sent and the status Pending. It takes a seat now, even though nobody has accepted it yet.
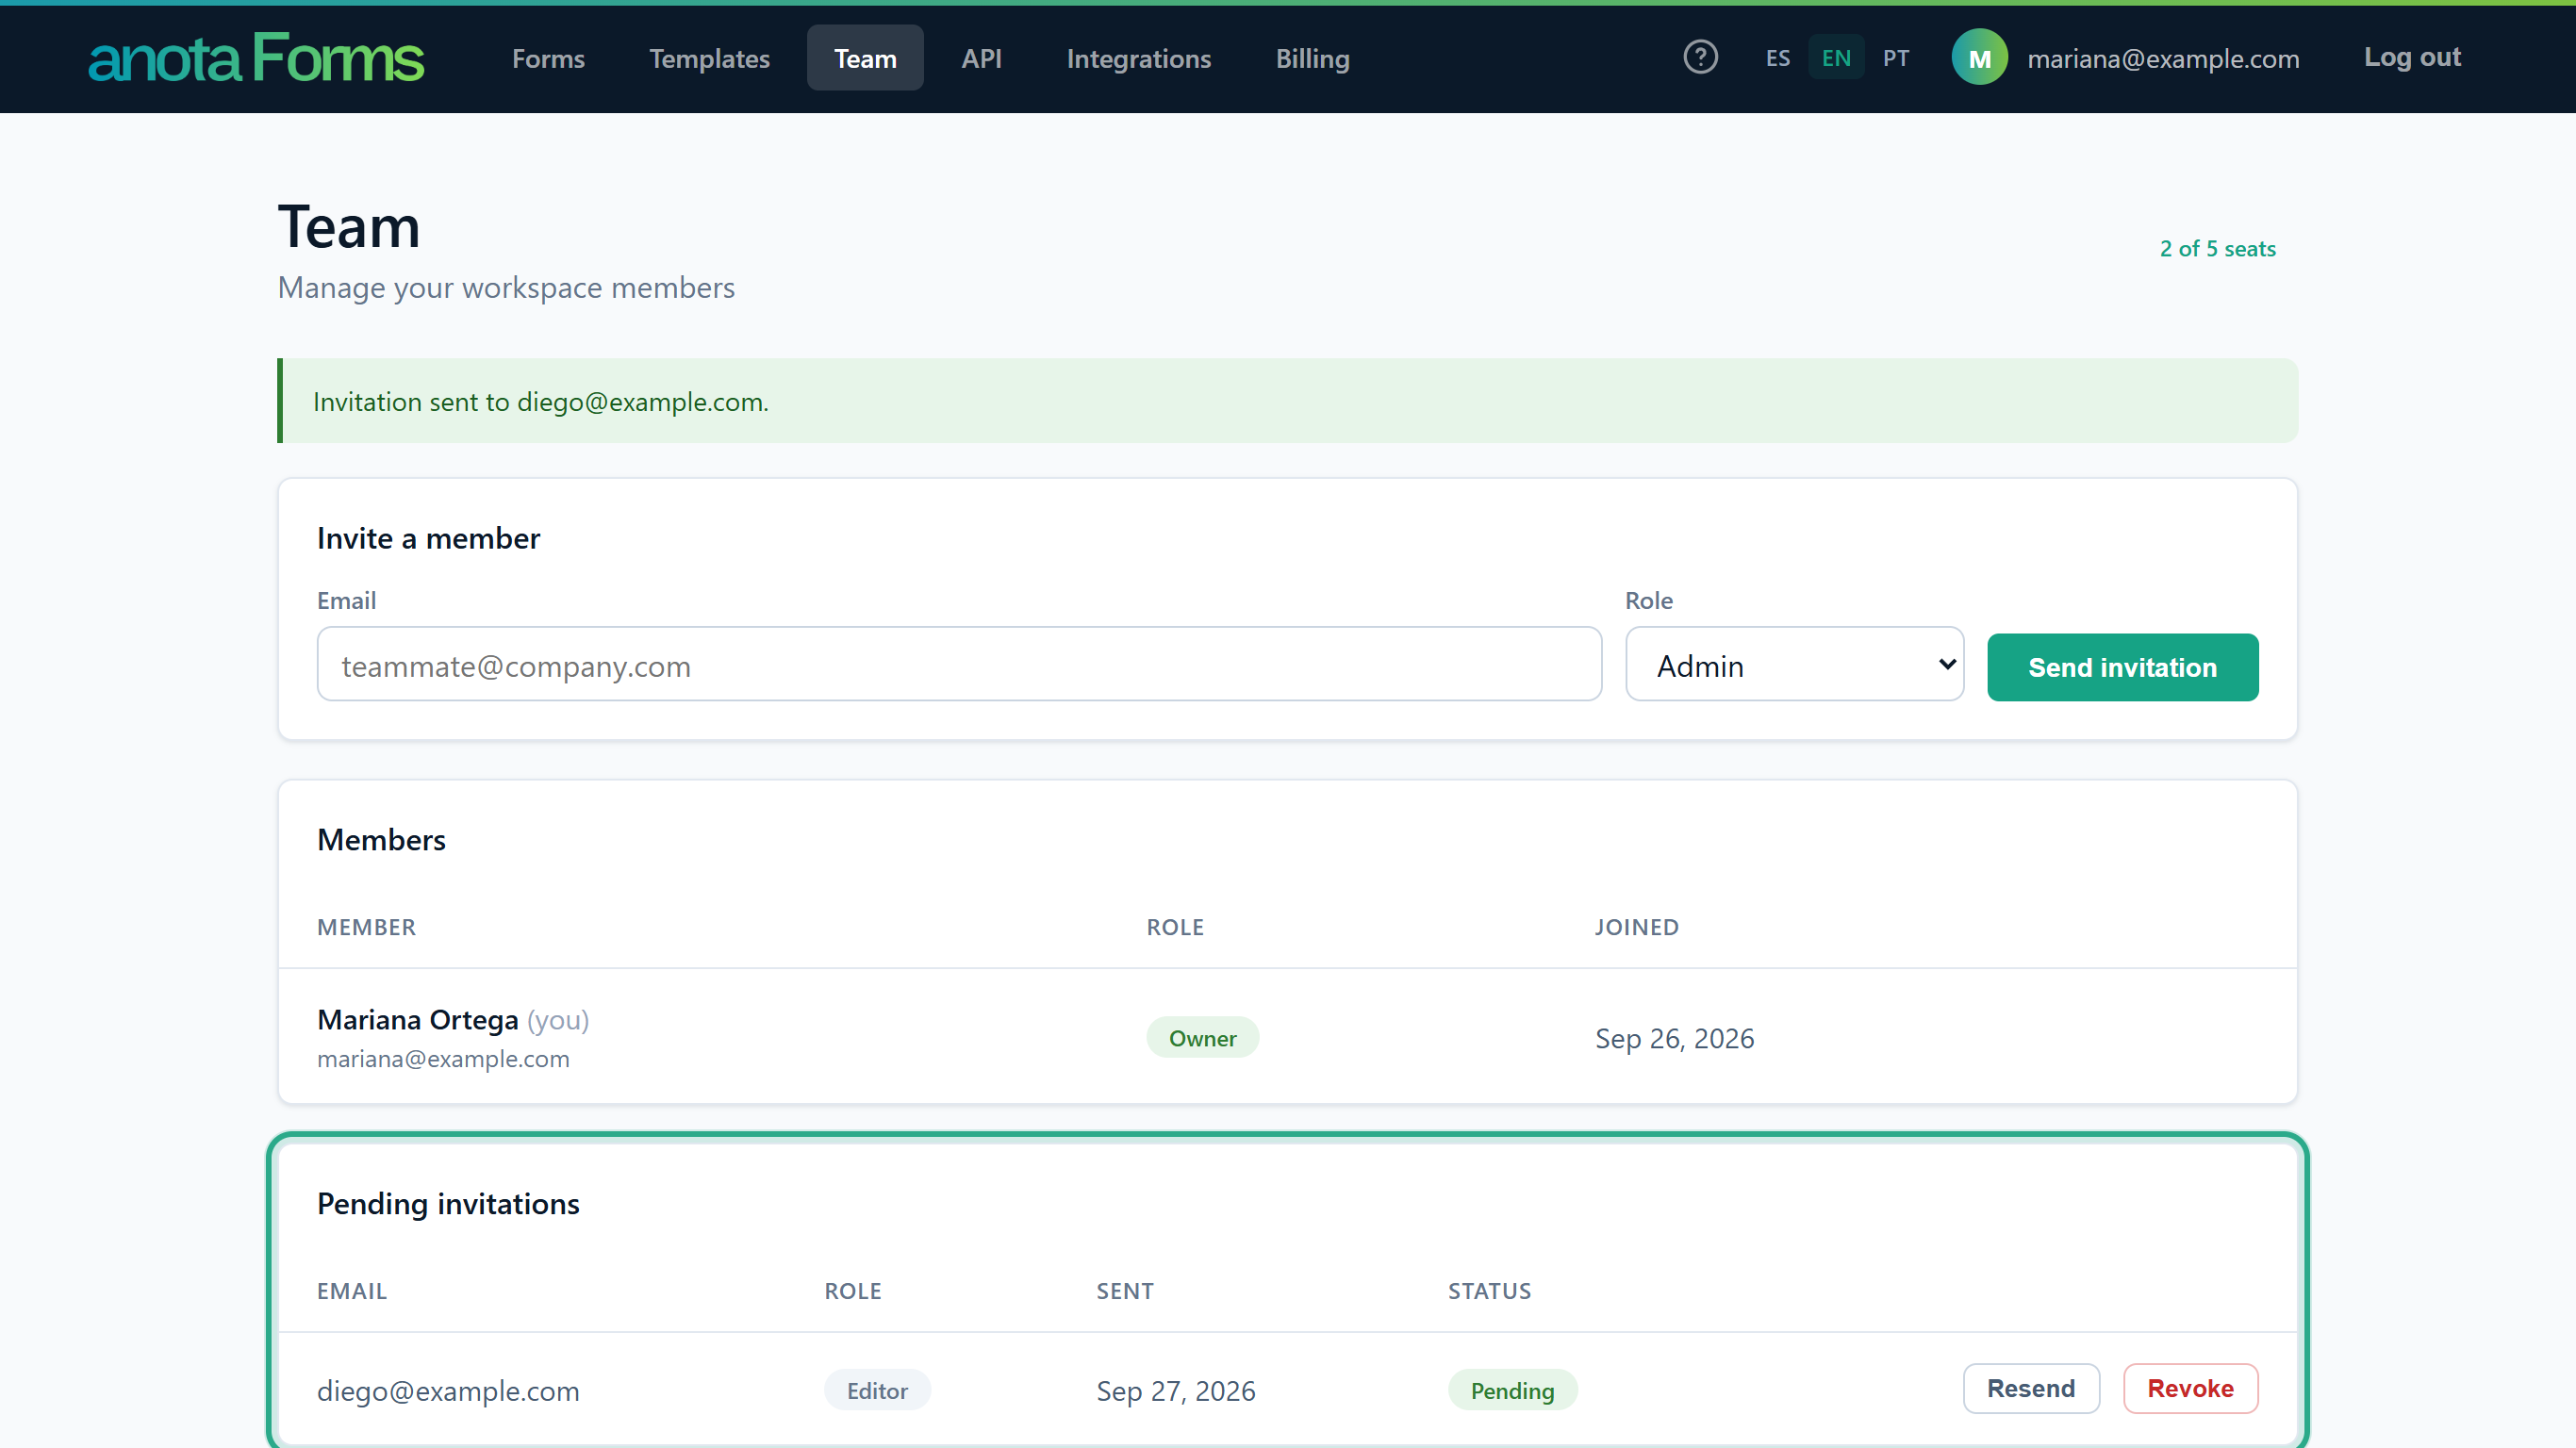 The seat count goes up by one.
Result
The person gets an email with the subject "You've been invited to join Café Aurora on anota". The email uses the company name from Company and branding when one is set.
If the invitation isn't sent, the card shows one of these messages:
| Message | Cause |
|---|---|
| "That person is already a team member." | That address belongs to a member of this workspace. |
| "There's already an active invitation for that email. Use Resend." | That address already has a pending invitation that hasn't expired. |
| "You've reached your plan's seat limit. Upgrade your plan to invite more members." | Members plus pending invitations fill every seat. See plans opens Billing. |
| "Enter a valid email address." | The address isn't valid. |
| "You can't assign that role." | Your role can't grant the role you chose (for example, an Admin granting Admin). |
| "You don't have permission to do this." | Your role is no longer Owner or Admin. |
Task 2 — Accept an invitation when you already have an account
Step-by-step
Open the invitation email and click Accept invitation. The email says who invited you, to which workspace and with which role.
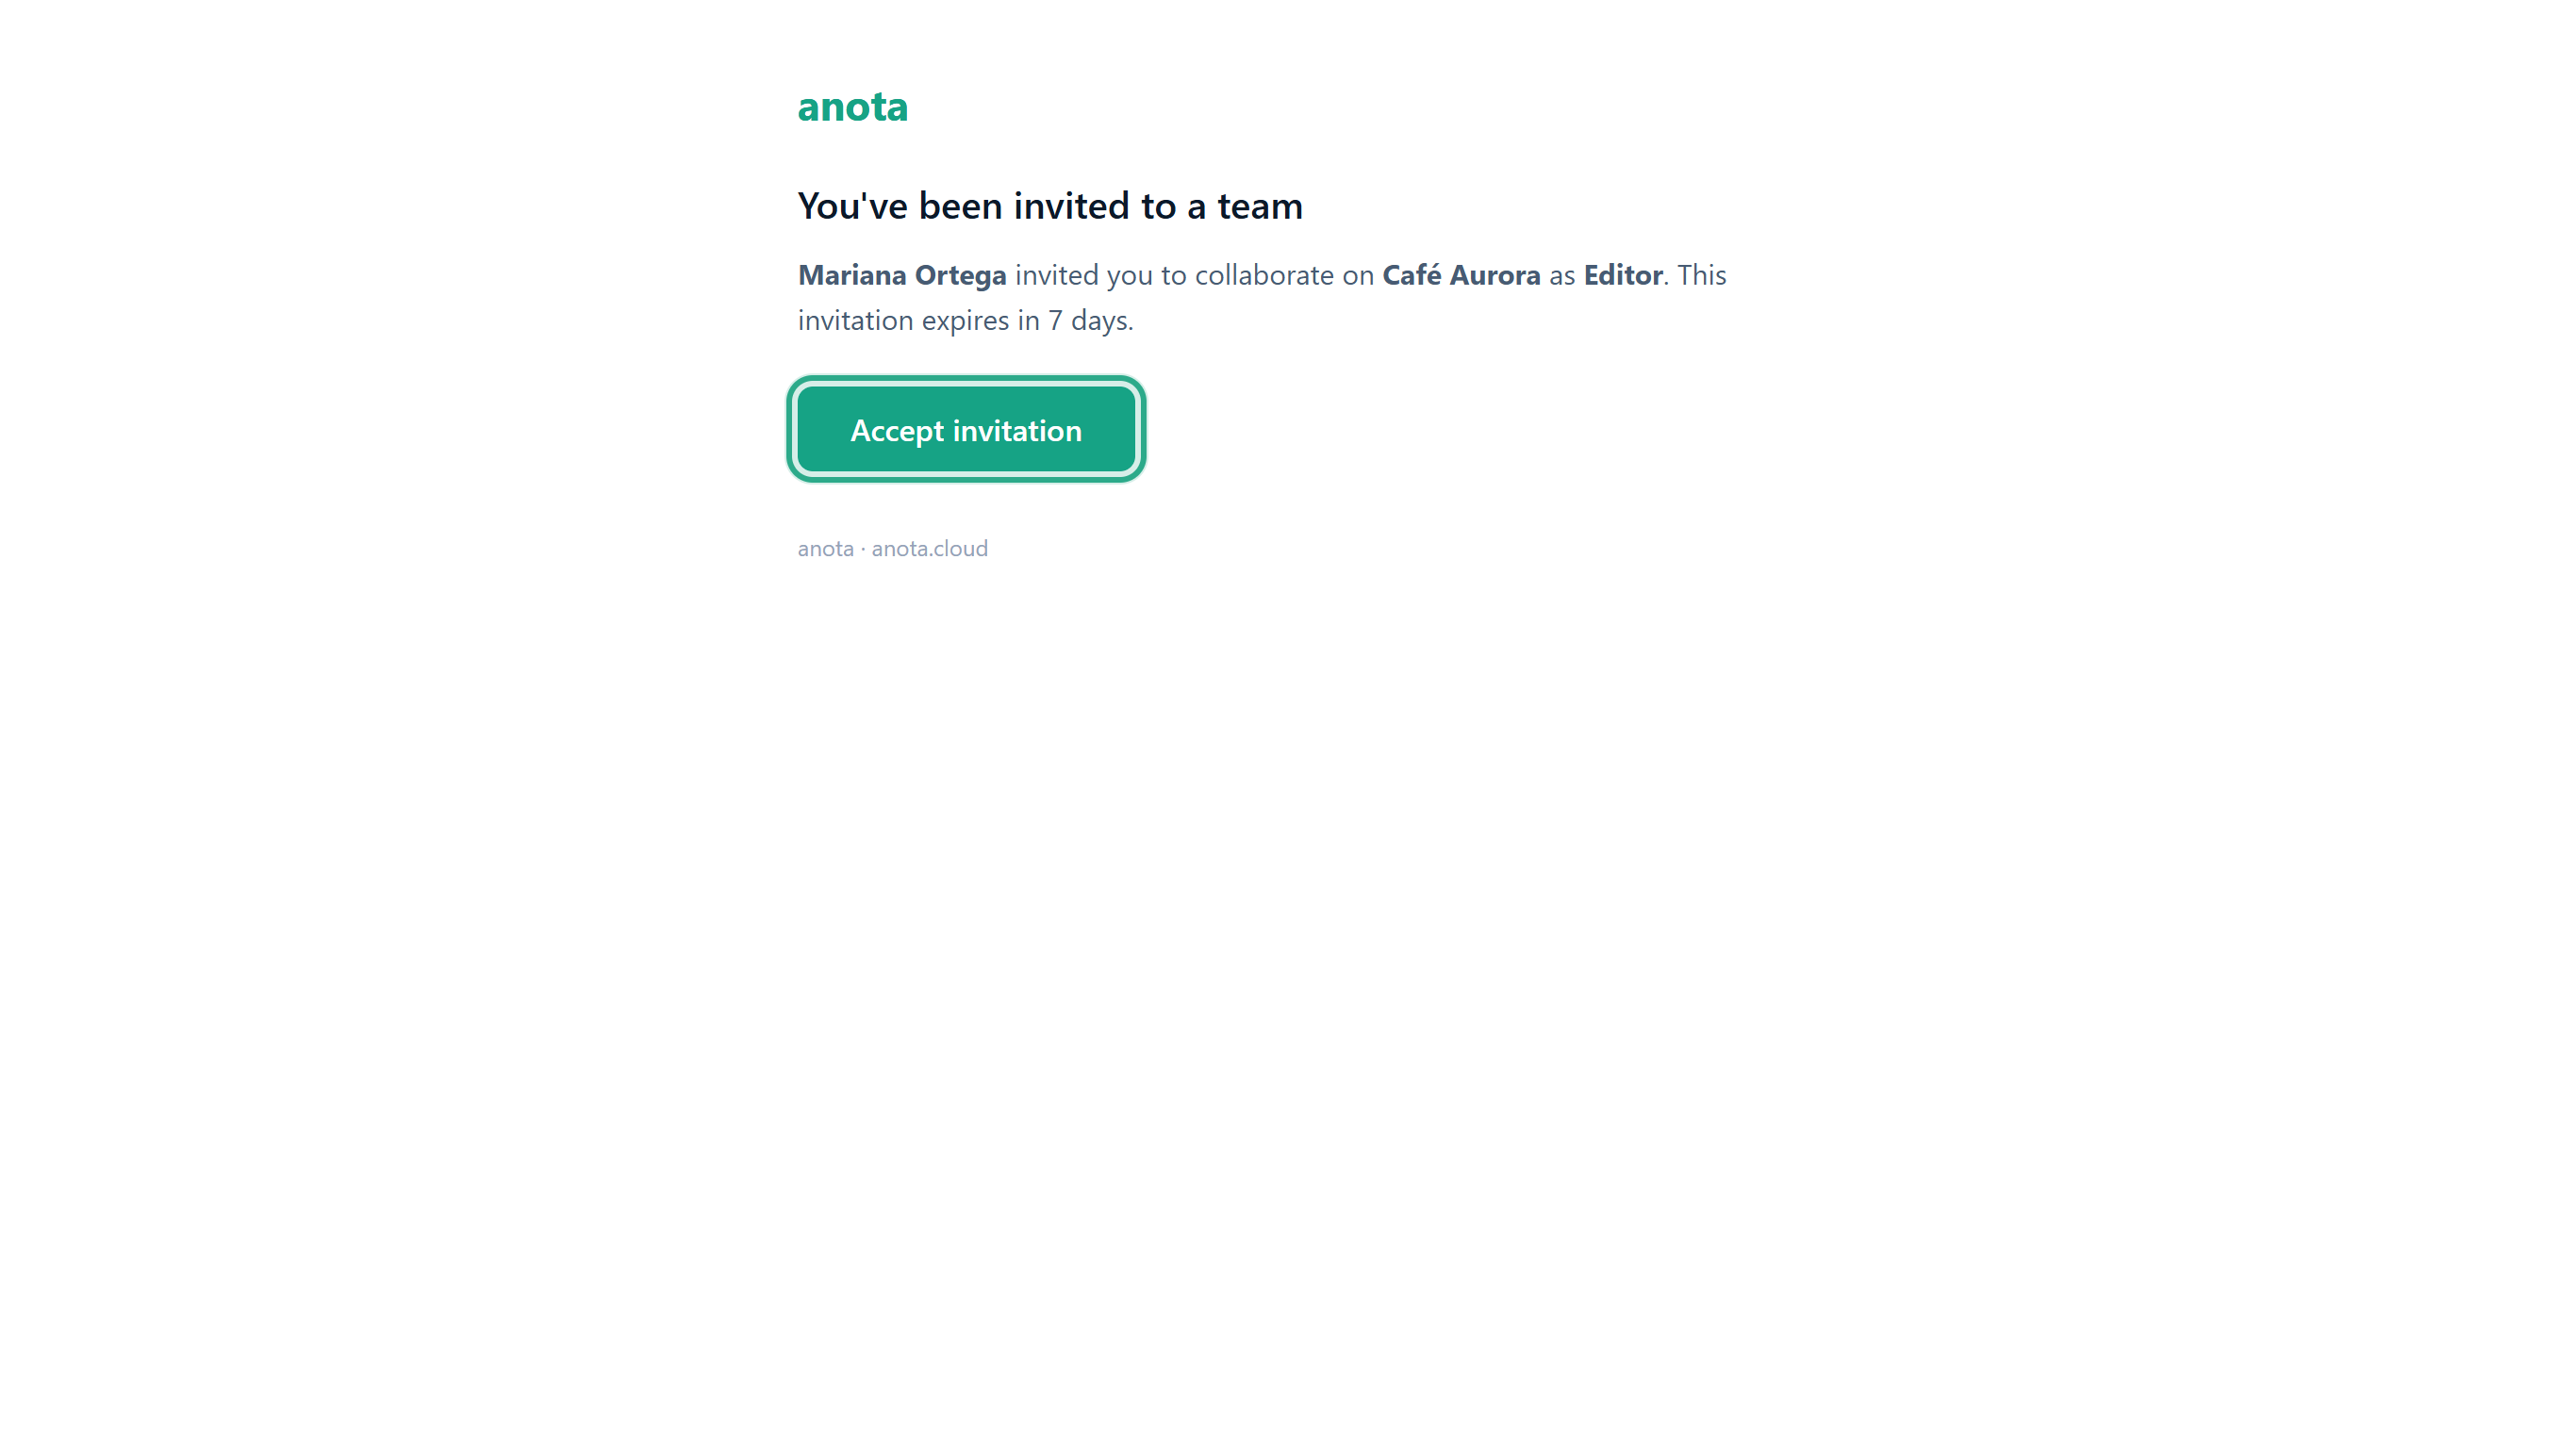 The link works once, for 7 days.
The You've been invited to a team page opens: "You've been invited to join Café Aurora as Editor." If you aren't logged in, click Log in.
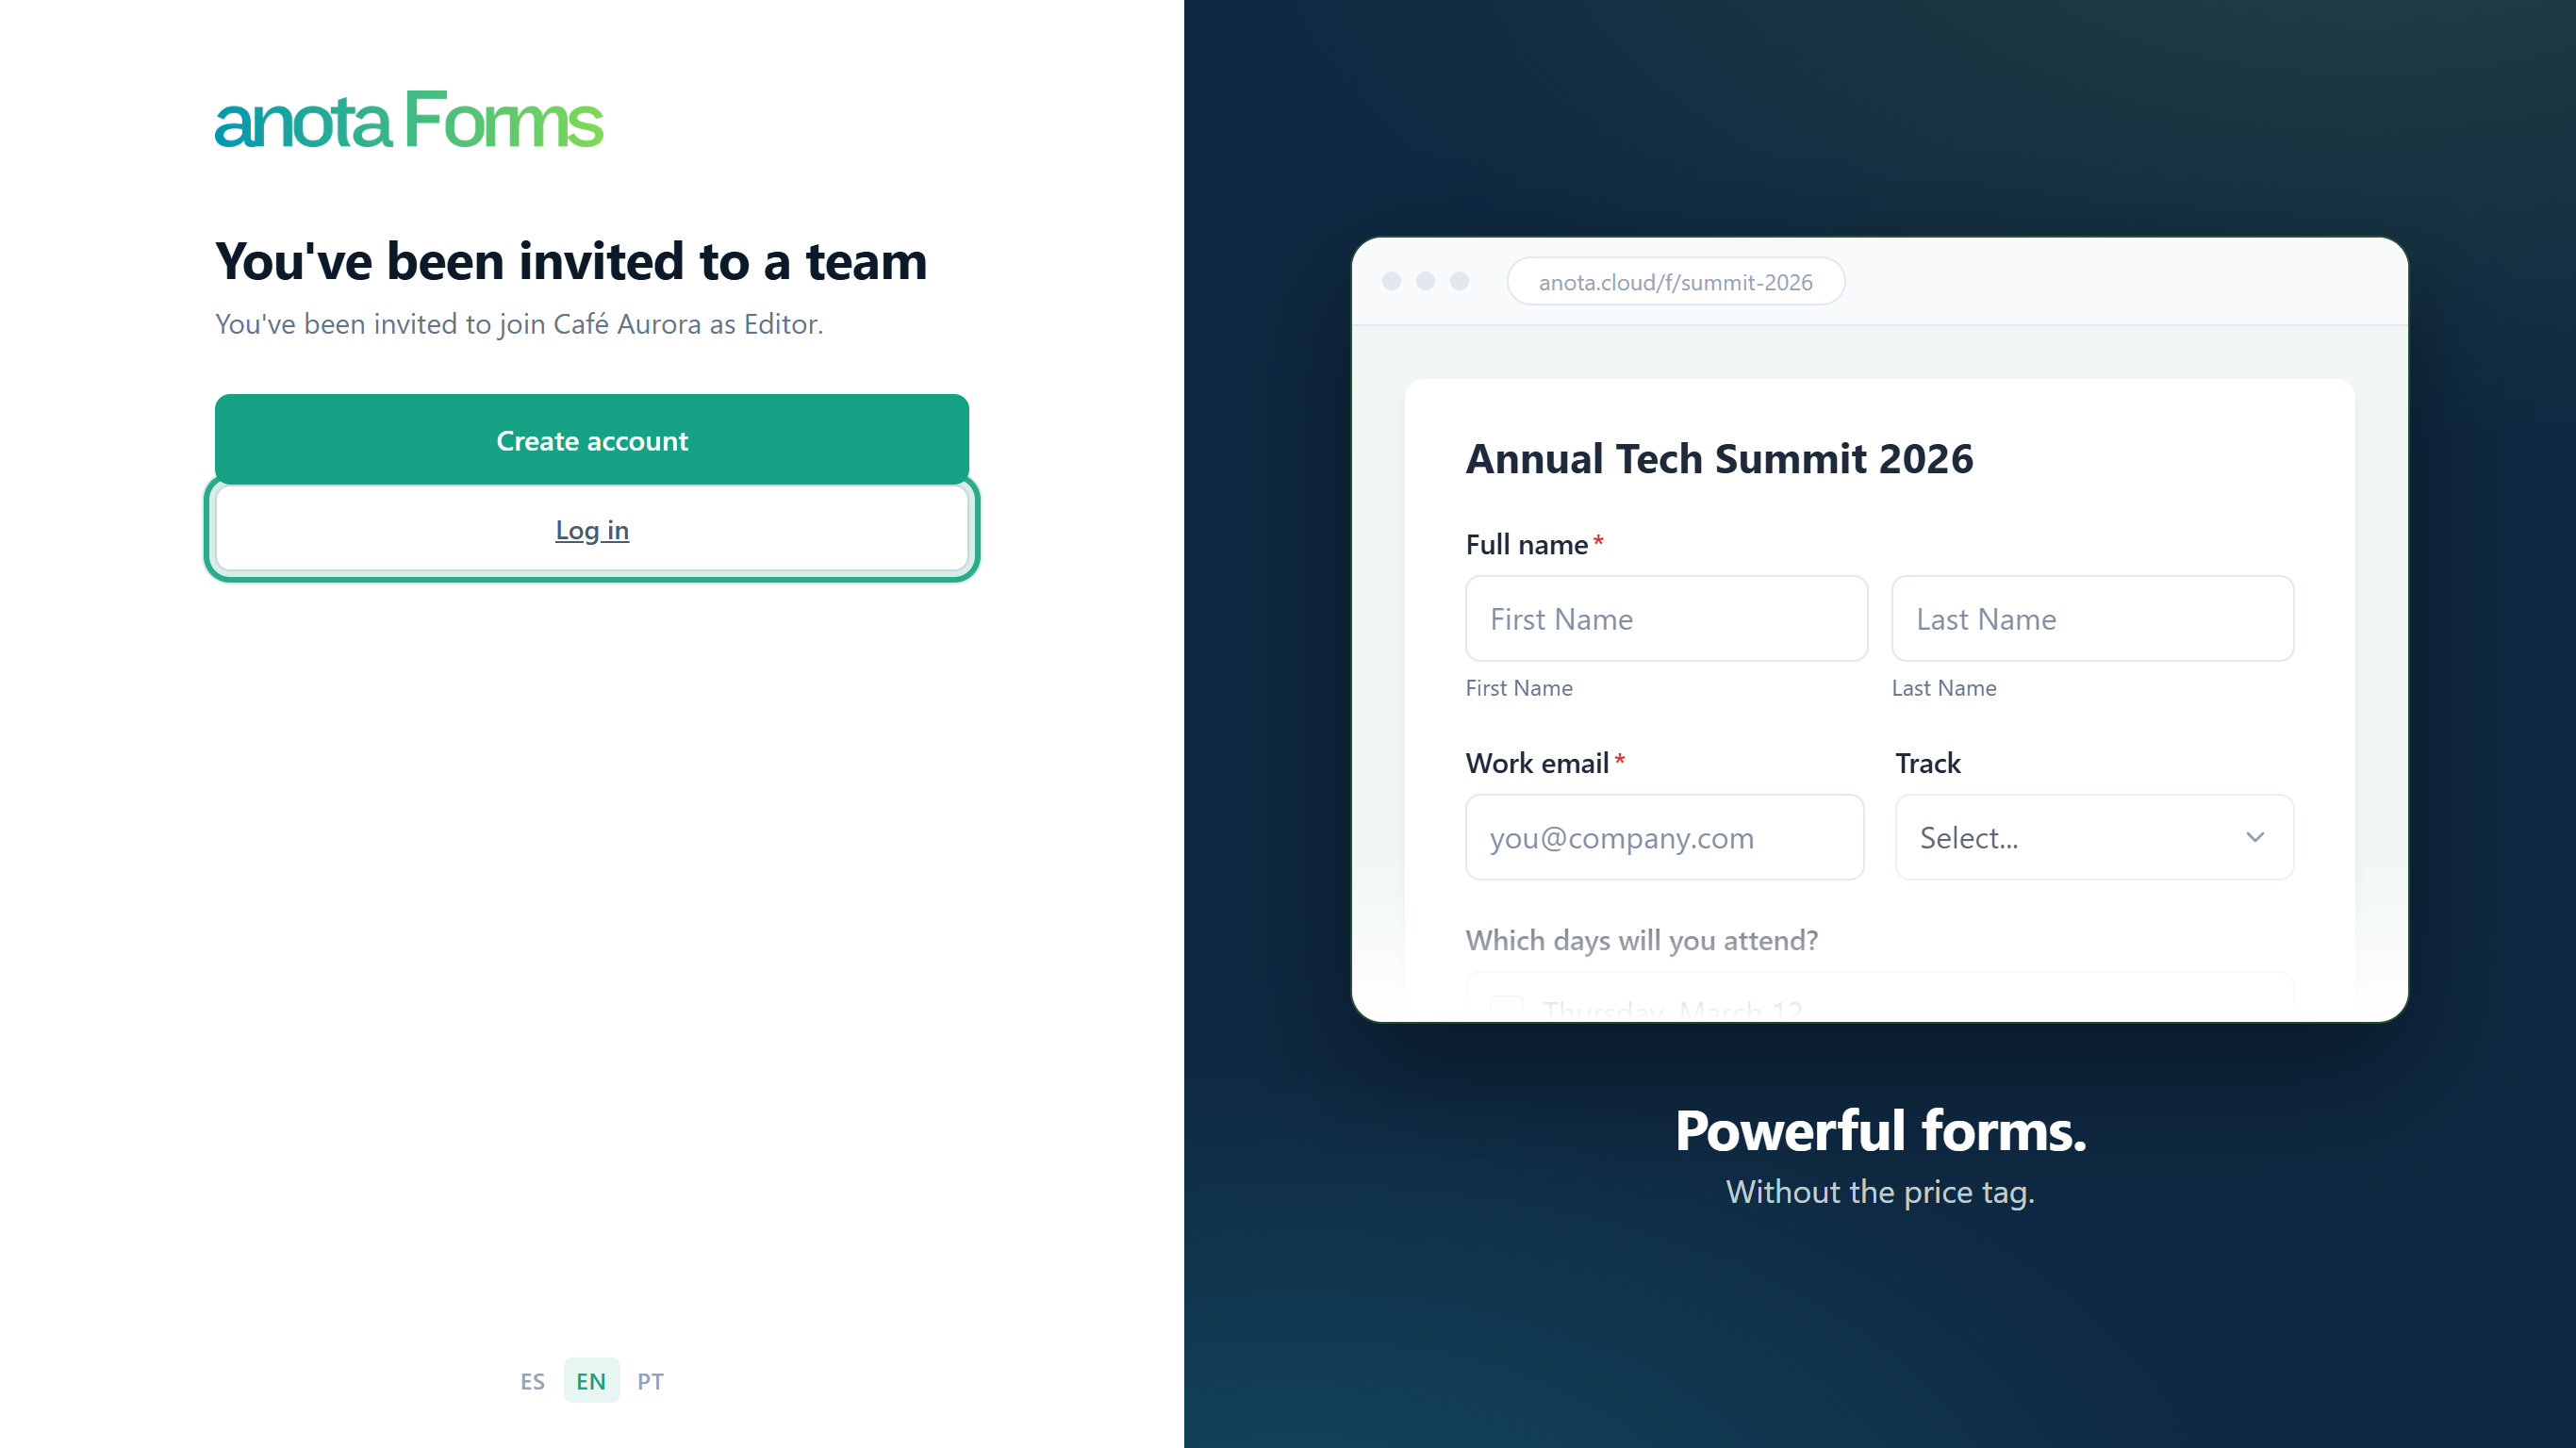 If you're already logged in, you go straight to the next step.
Log in with your usual email and password and click Log in. You come back to the invitation page.
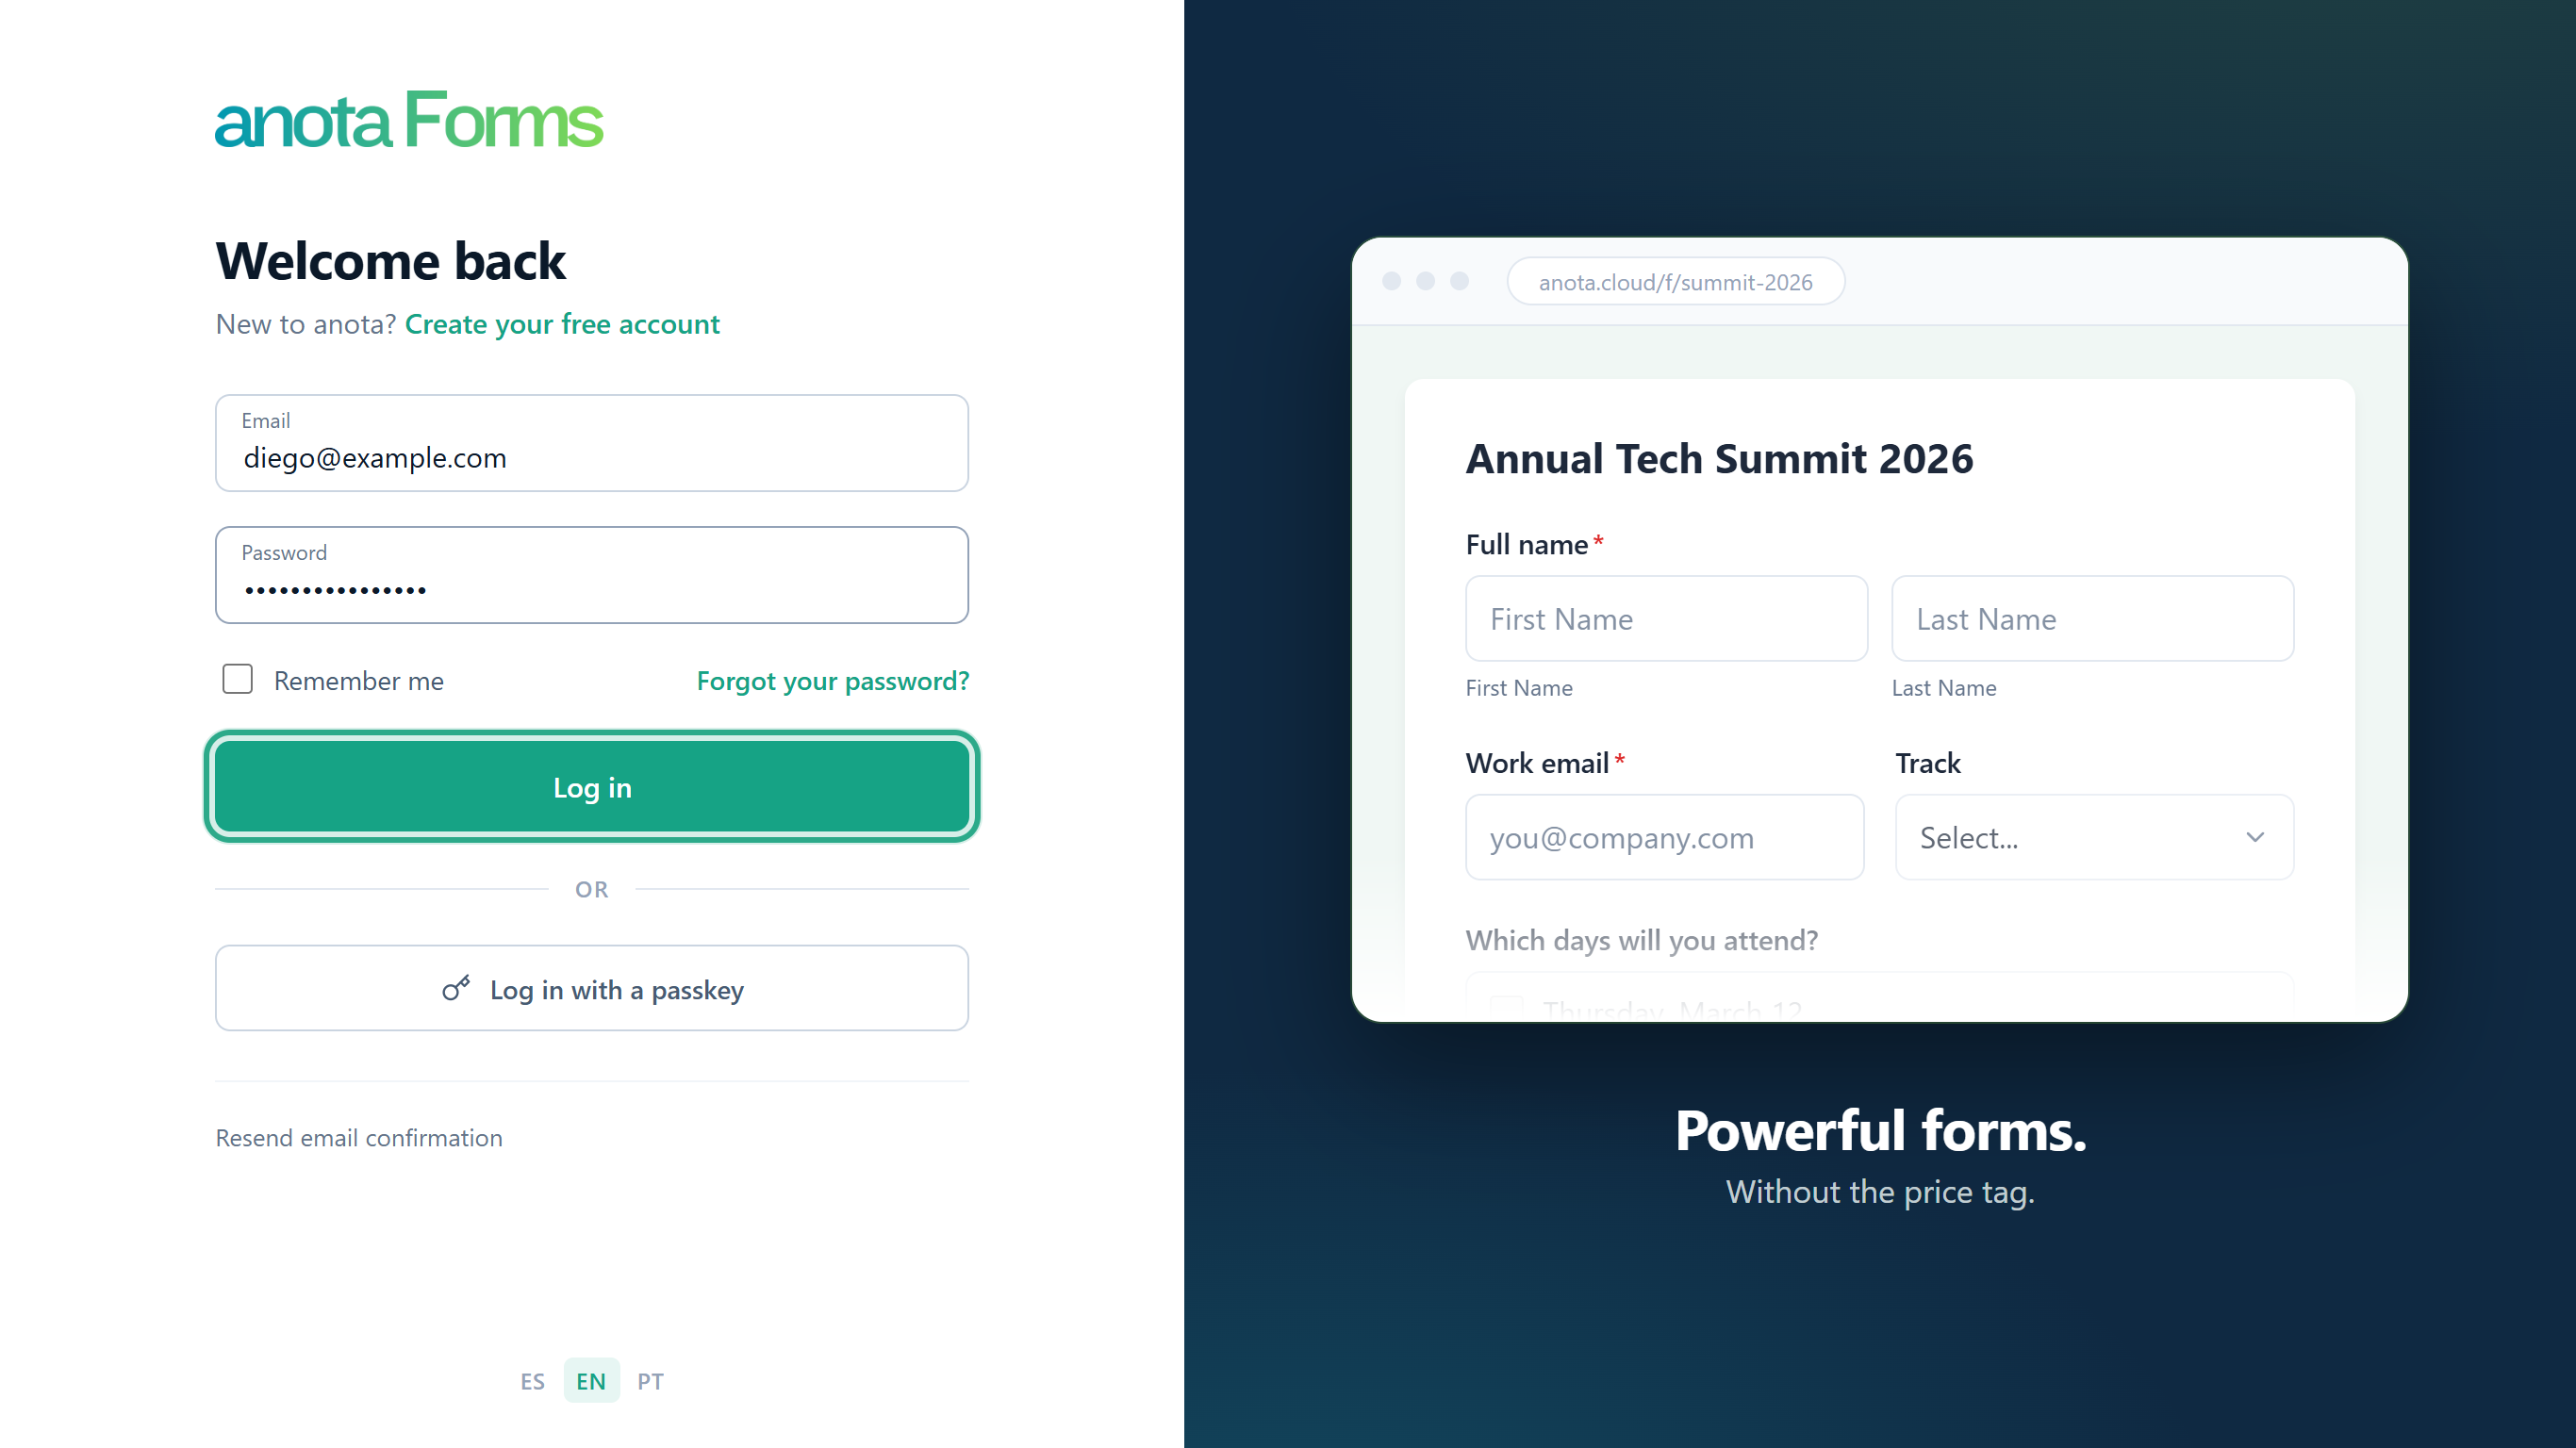 Any account can accept the link, so share it only with the person it's for.
Click Join workspace.
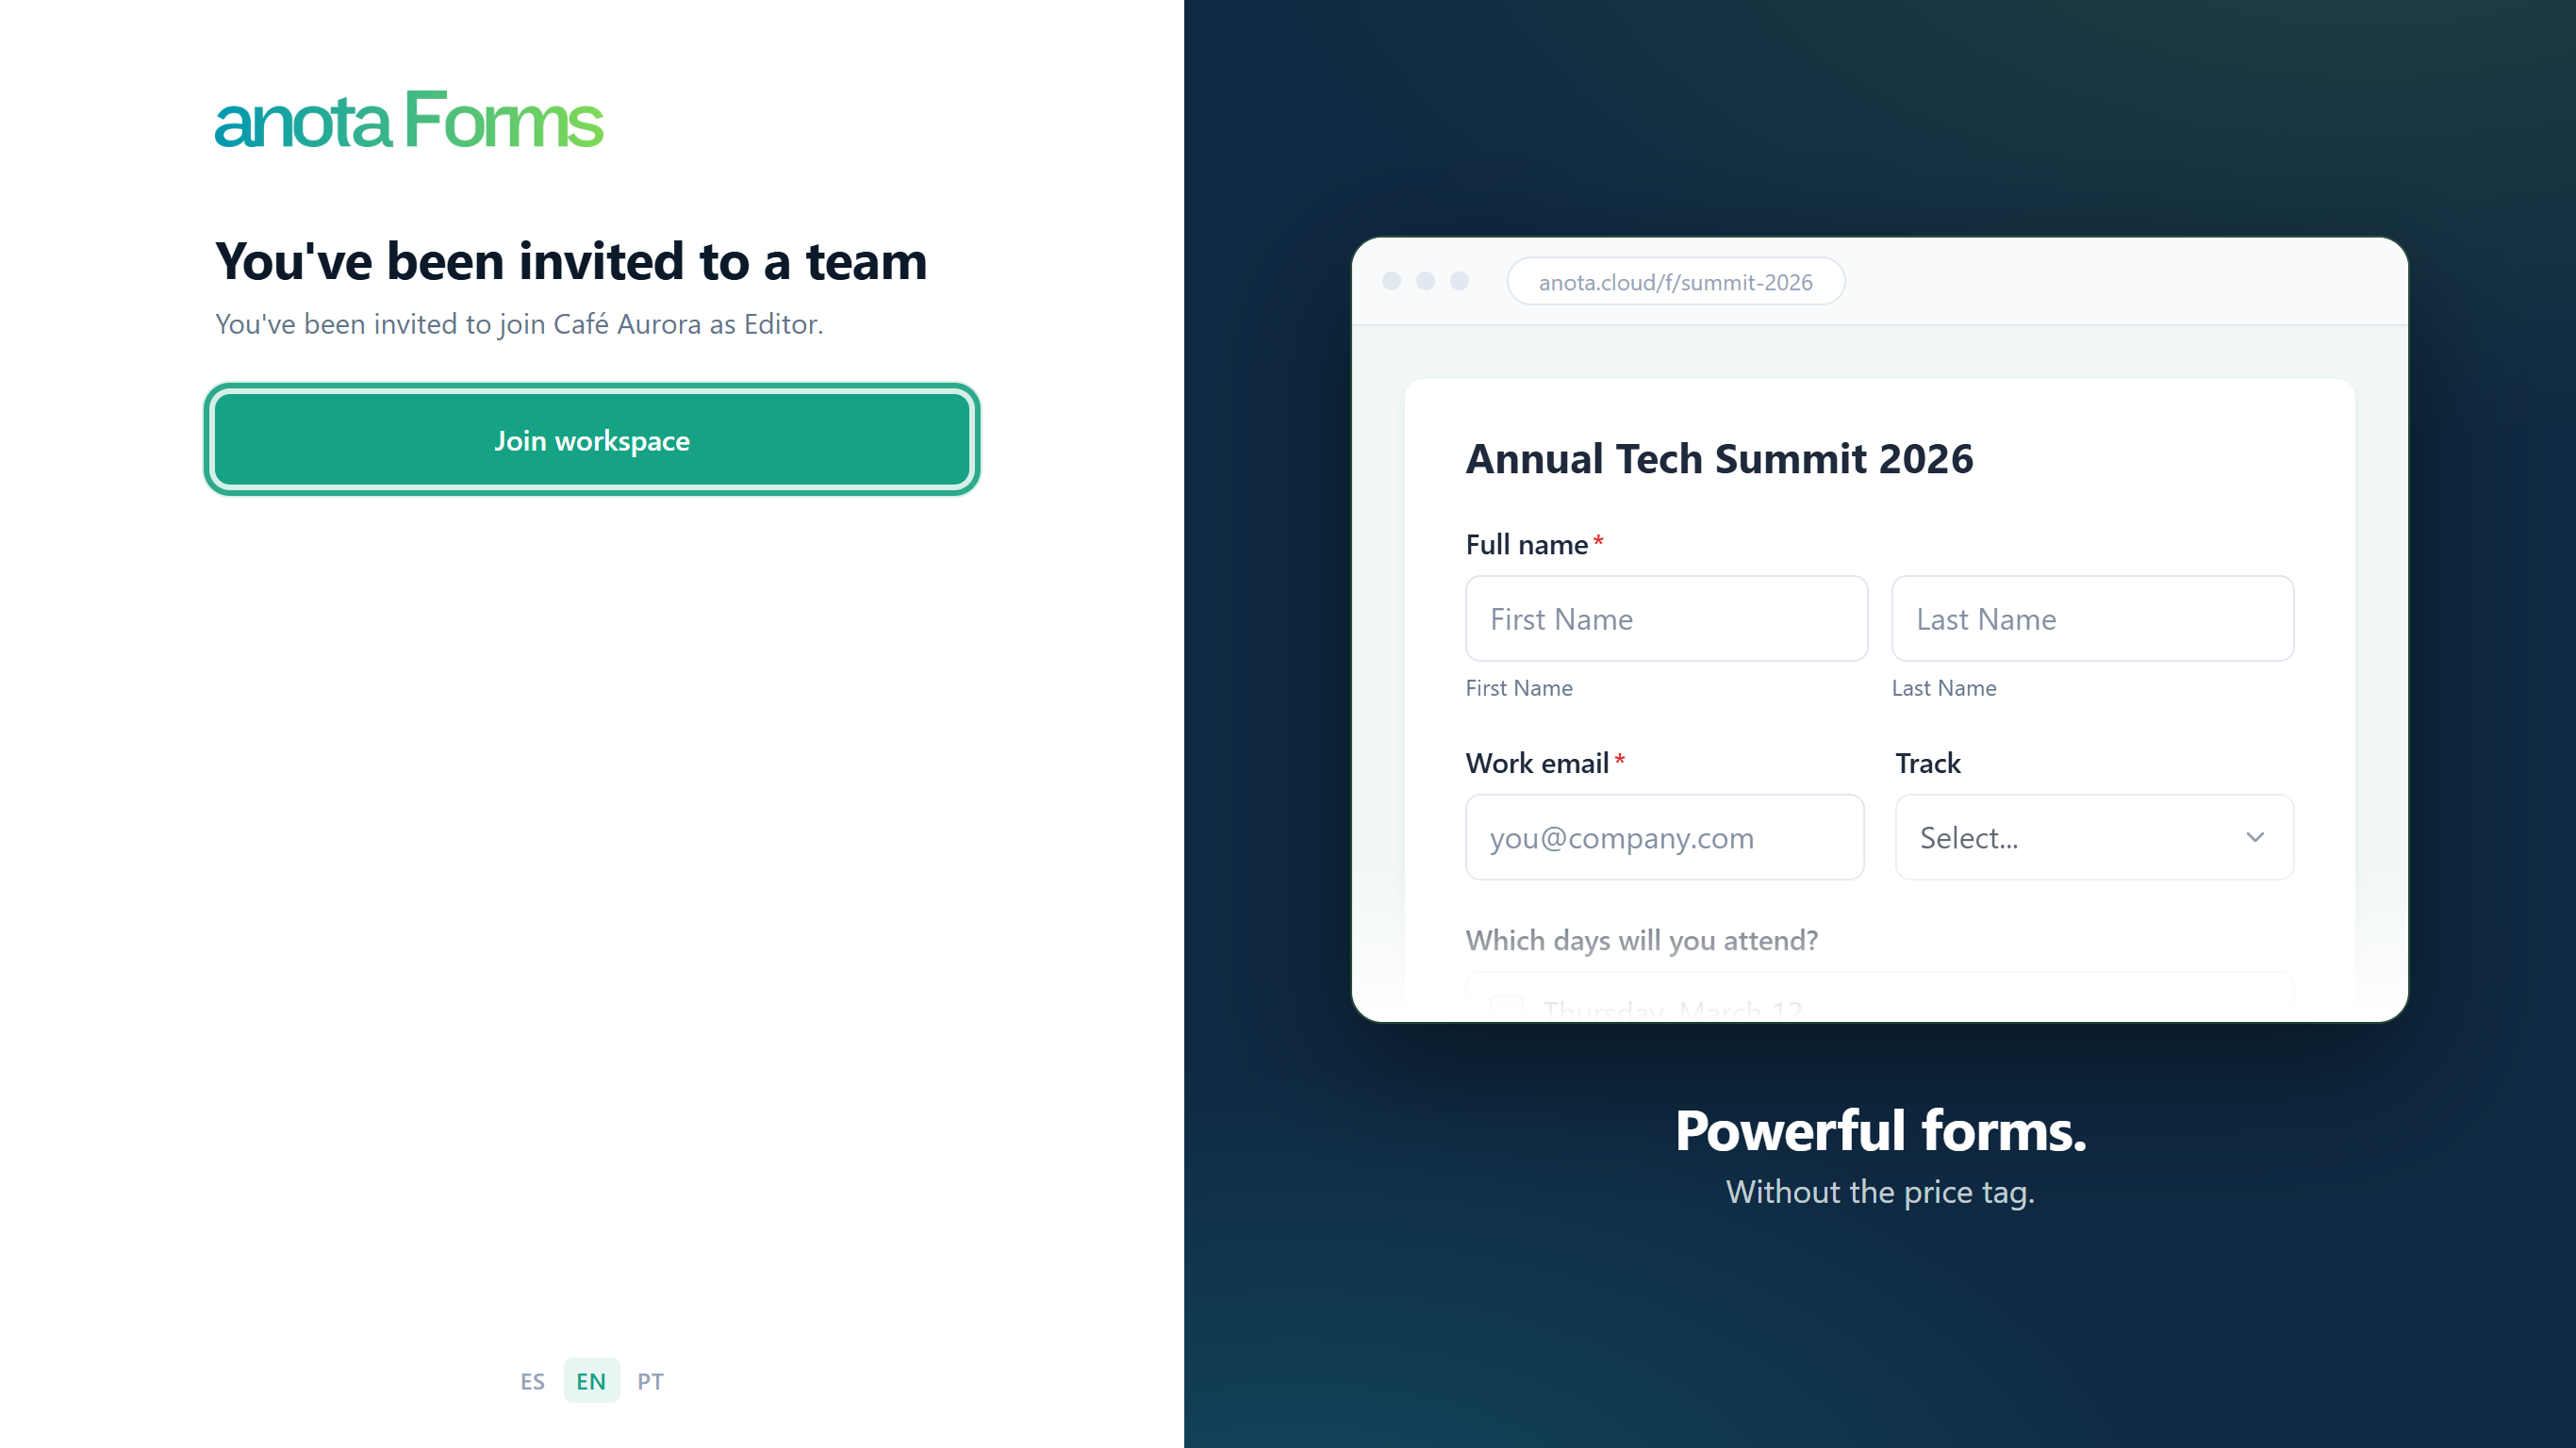 You join with the role shown on the page.
anota opens Forms in the workspace you joined. Because you now belong to two workspaces, the workspace list appears in the top bar; see Team and roles.
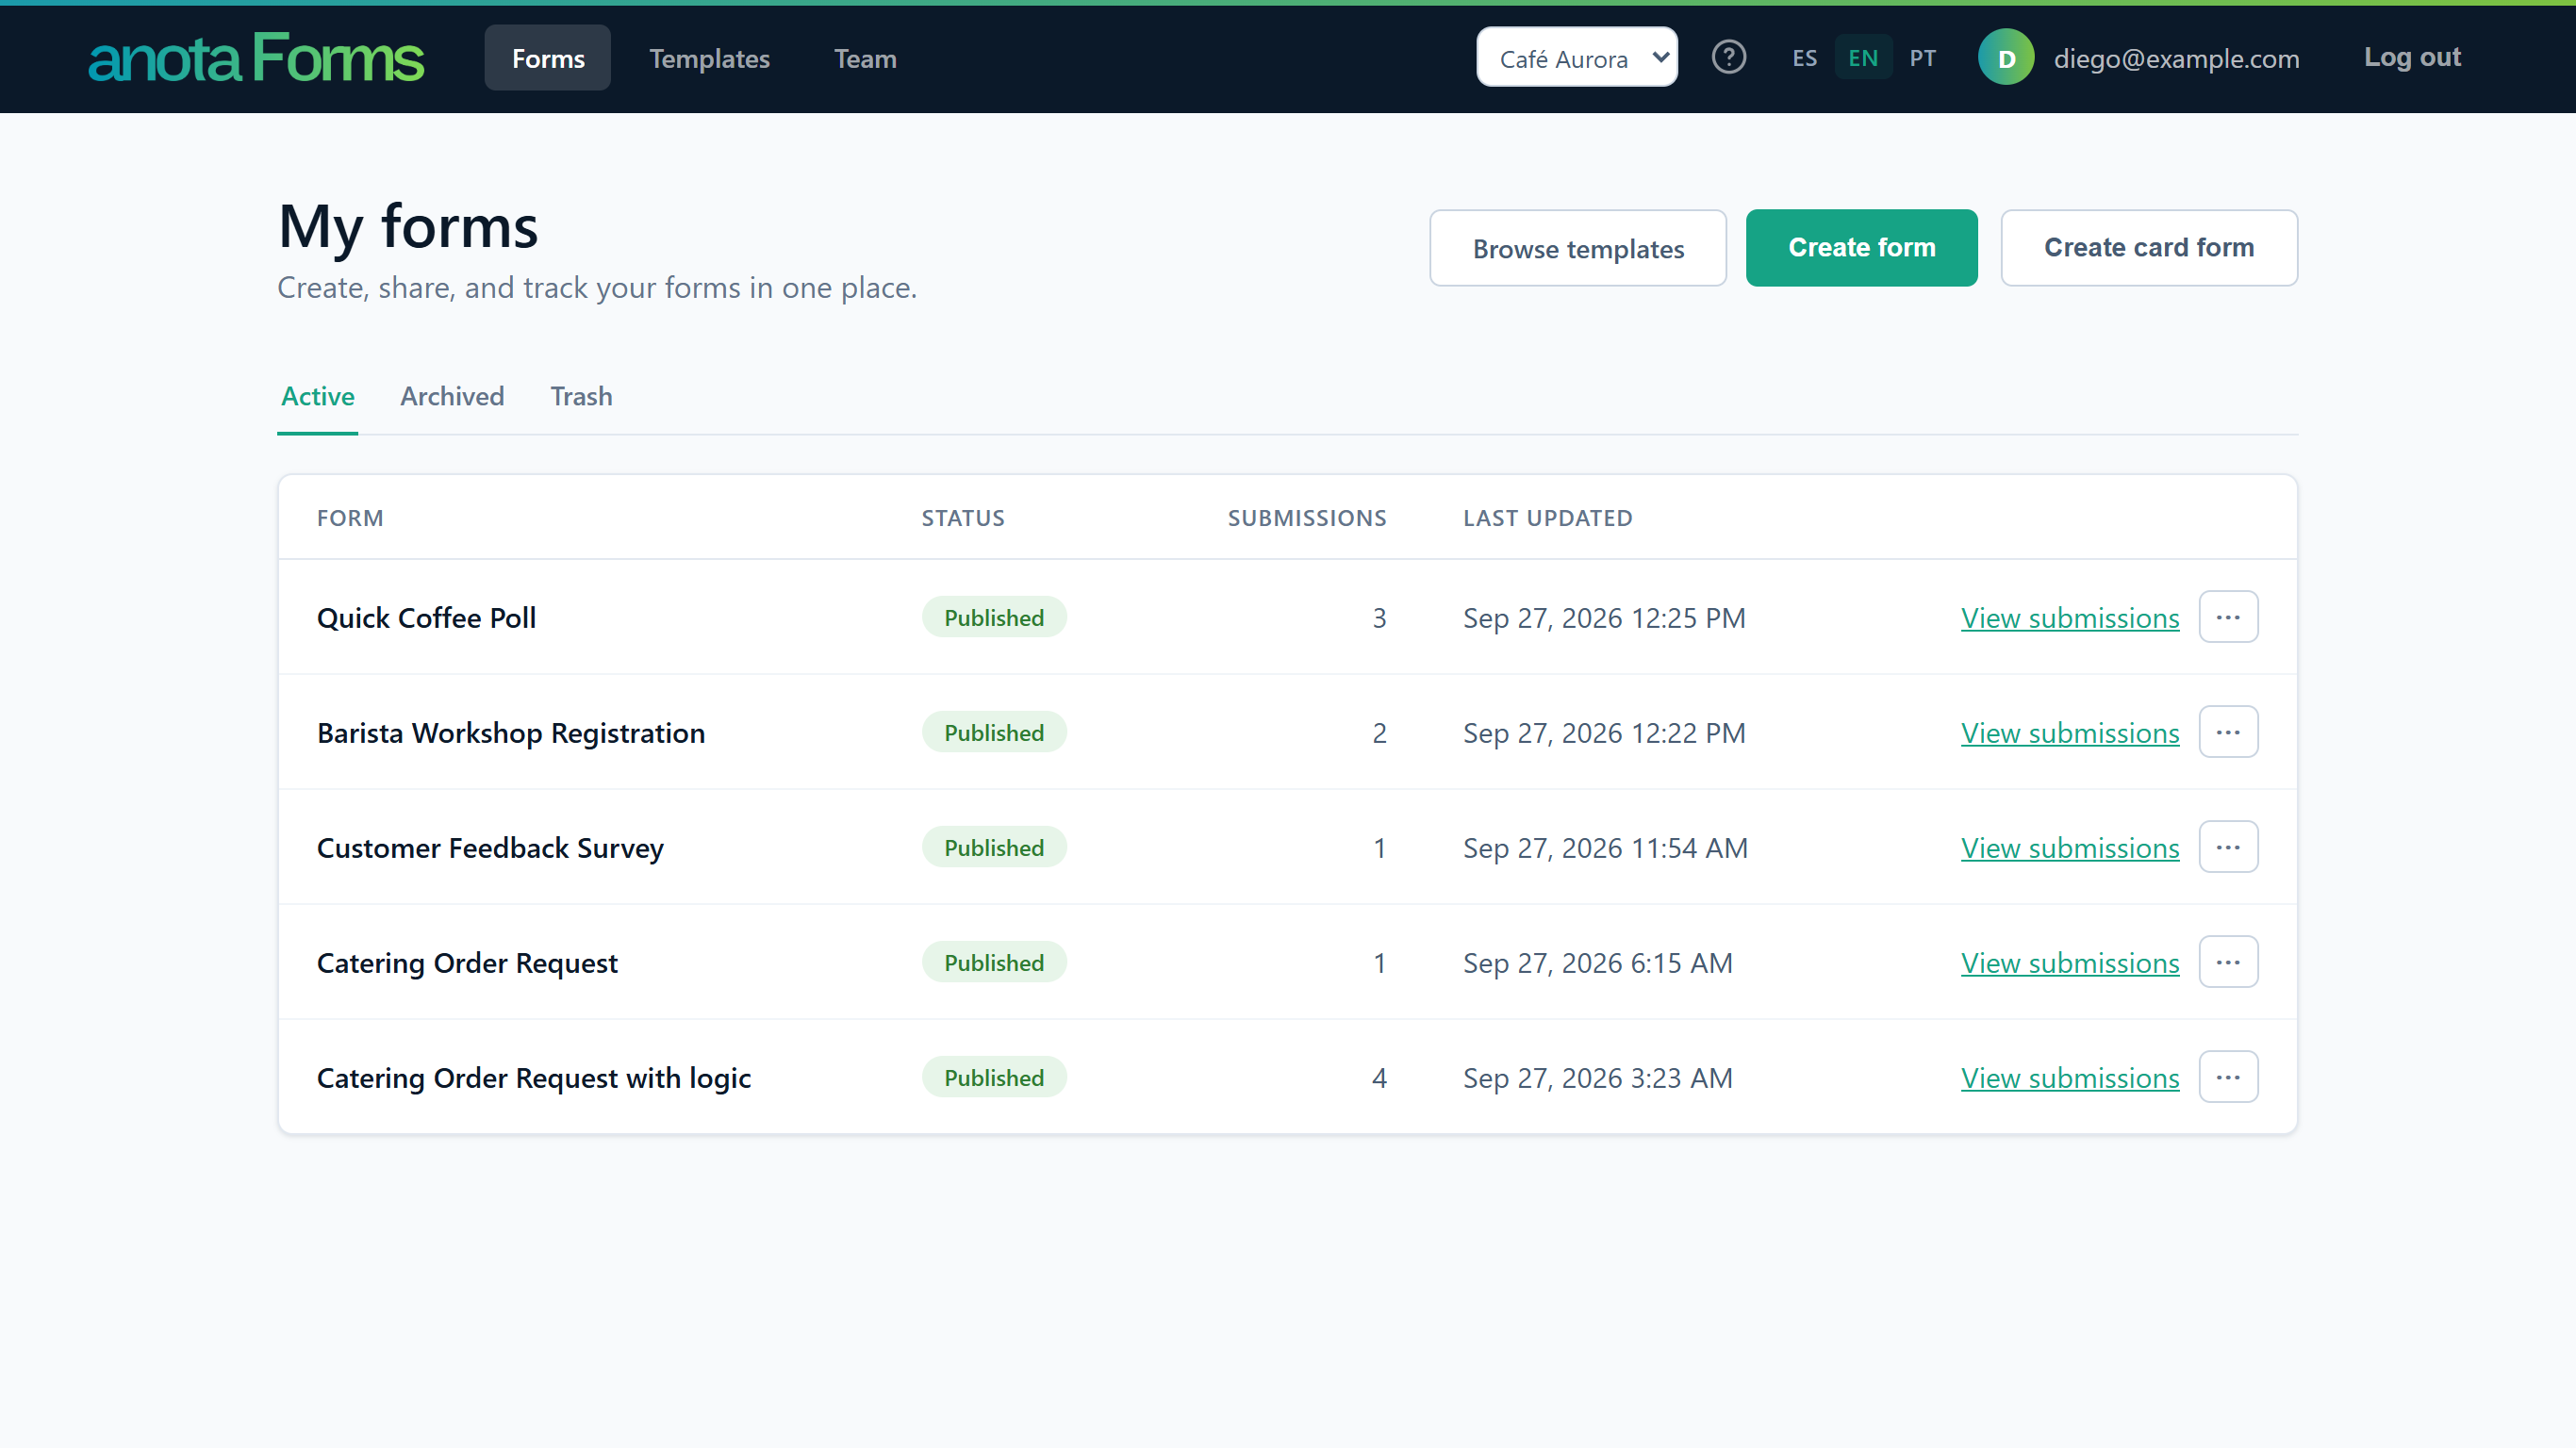 Your own workspace is still there, one click away in the workspace list.
Result
You're a member of the workspace with the role you were invited with, and the invitation disappears from the inviter's Pending invitations.
Task 3 — Accept an invitation with a new account
Step-by-step
Open the invitation email, click Accept invitation, and on the invitation page click Create account.
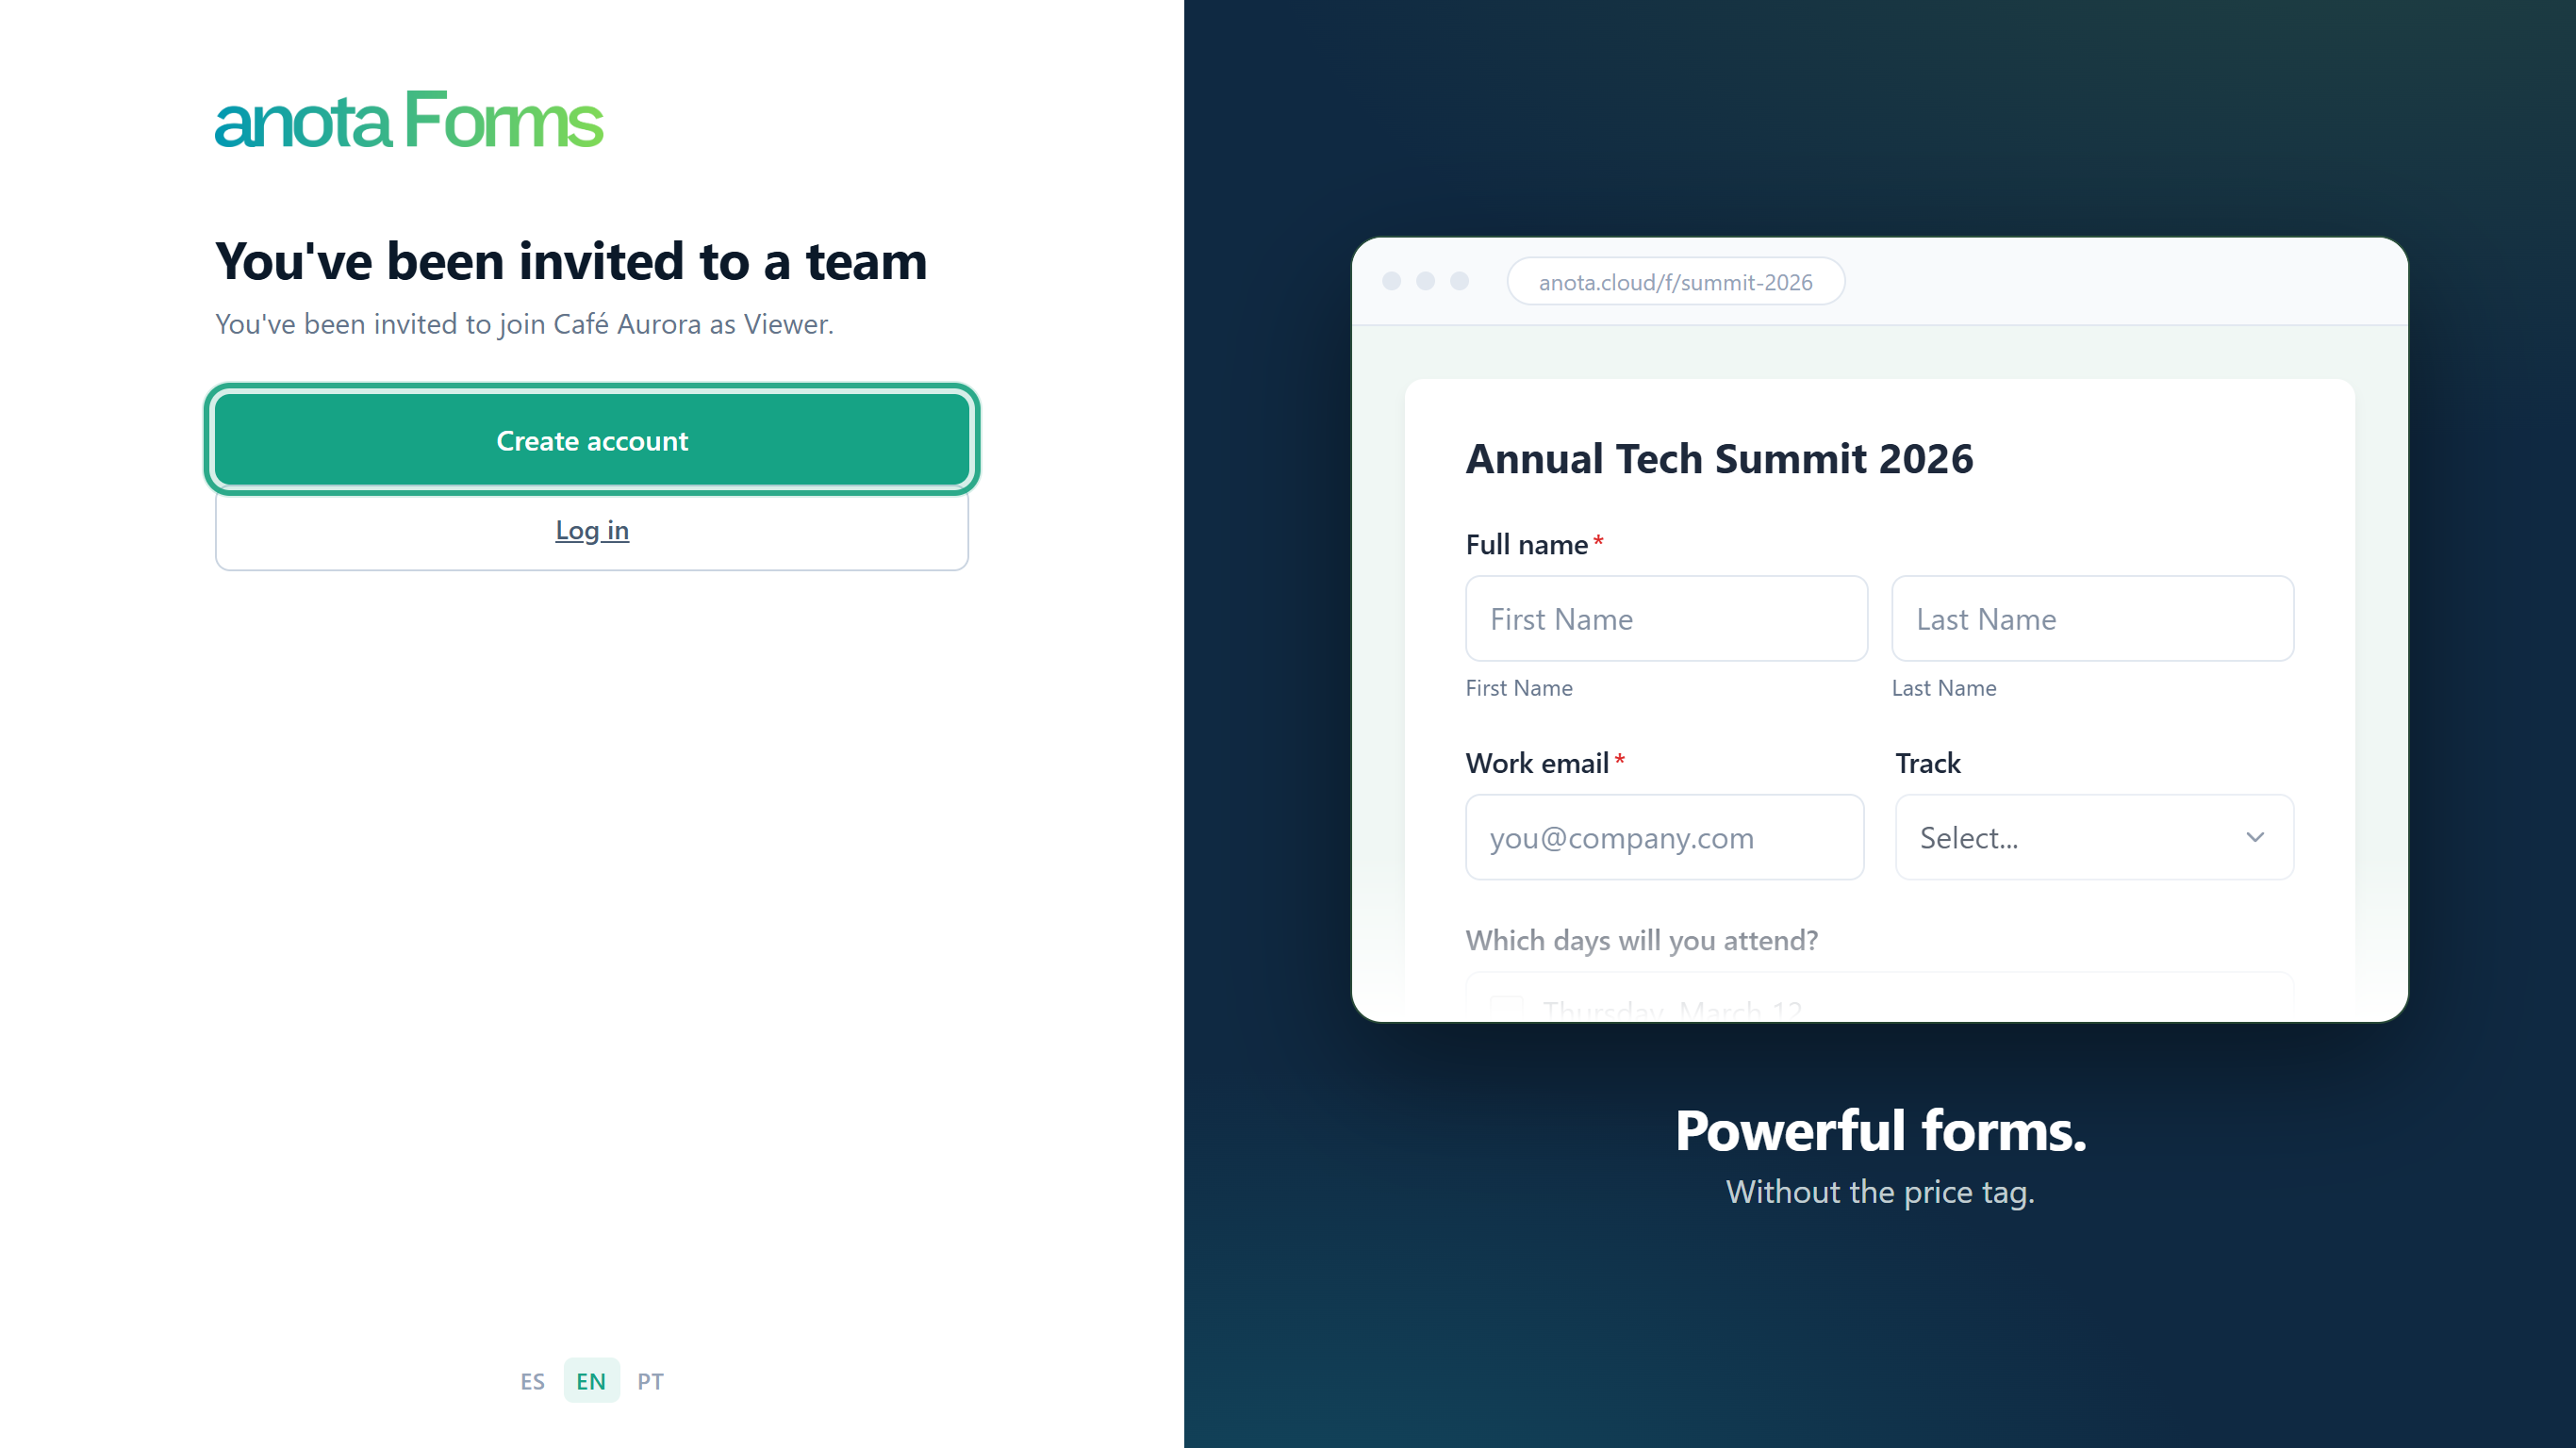 No anota account yet? Create it from here.
The Create your account page opens with the invited address already in Email. Type a password twice and click Create account. You can change the address, but the invitation still goes to whoever opens the link.
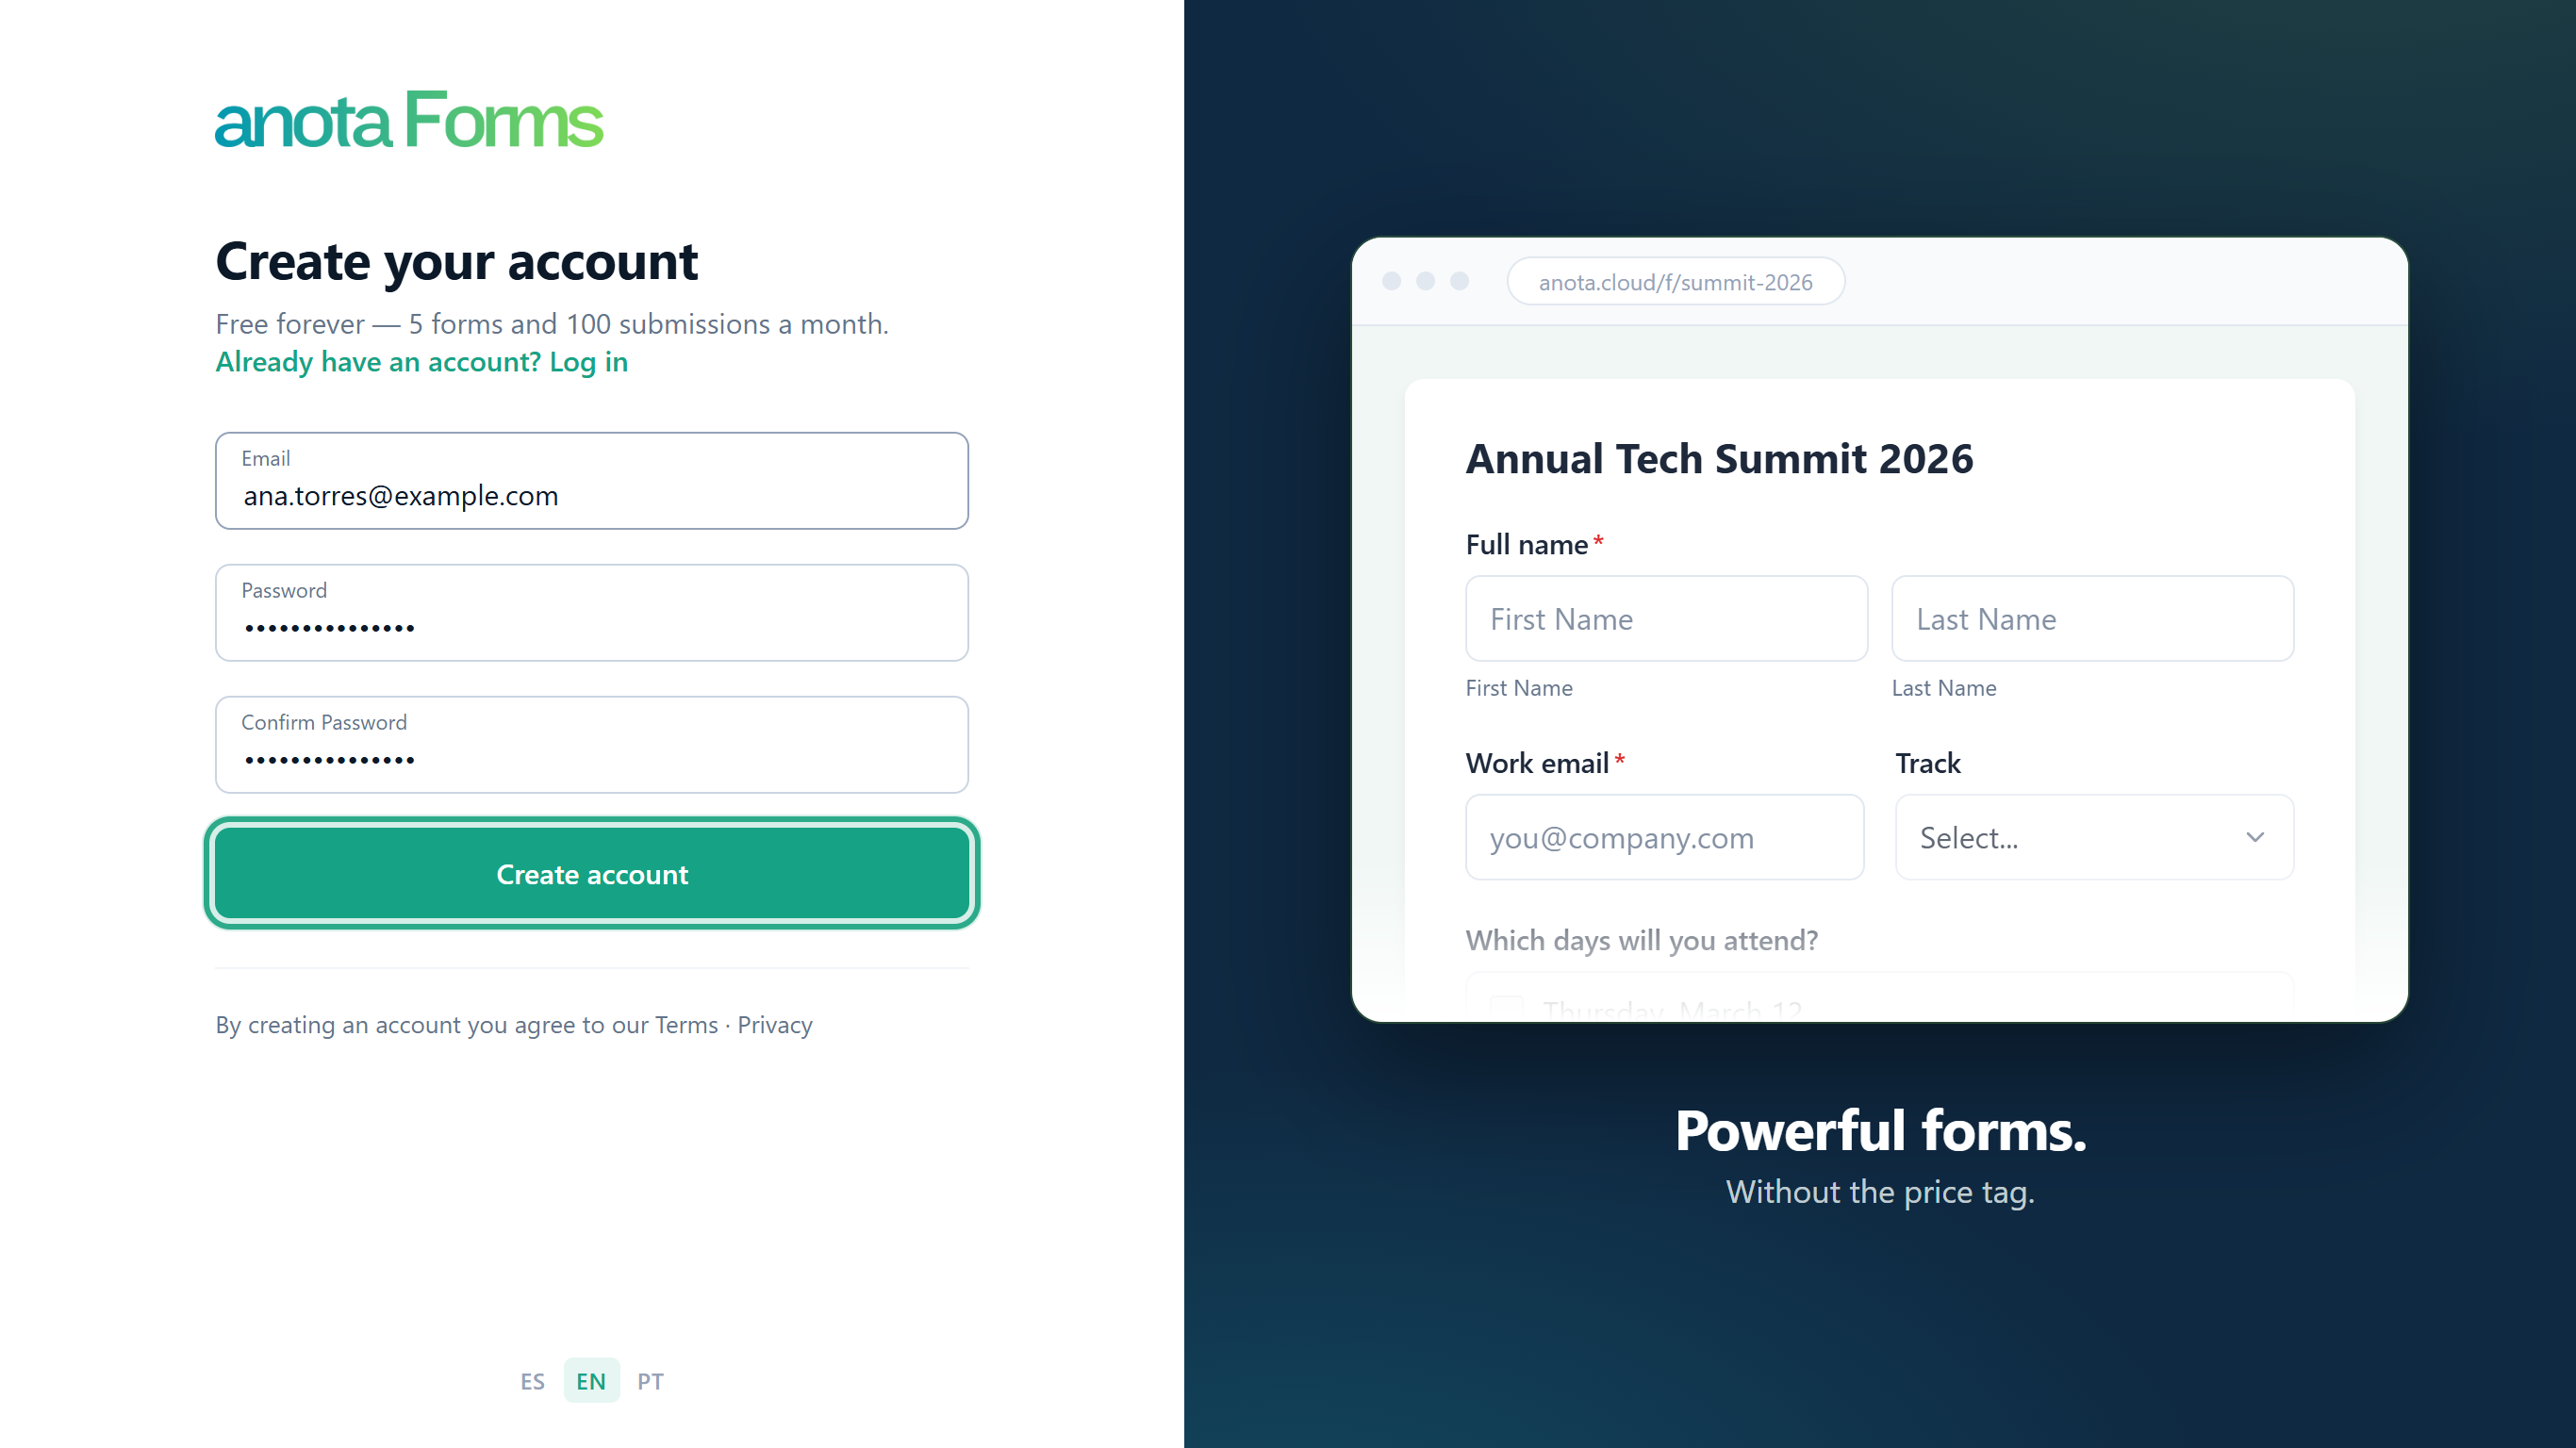 anota sends a confirmation email to the address you typed.
Open the confirmation email and click its link. The Confirm email page says "Thank you for confirming your email." Click Log in and log in with your new password.
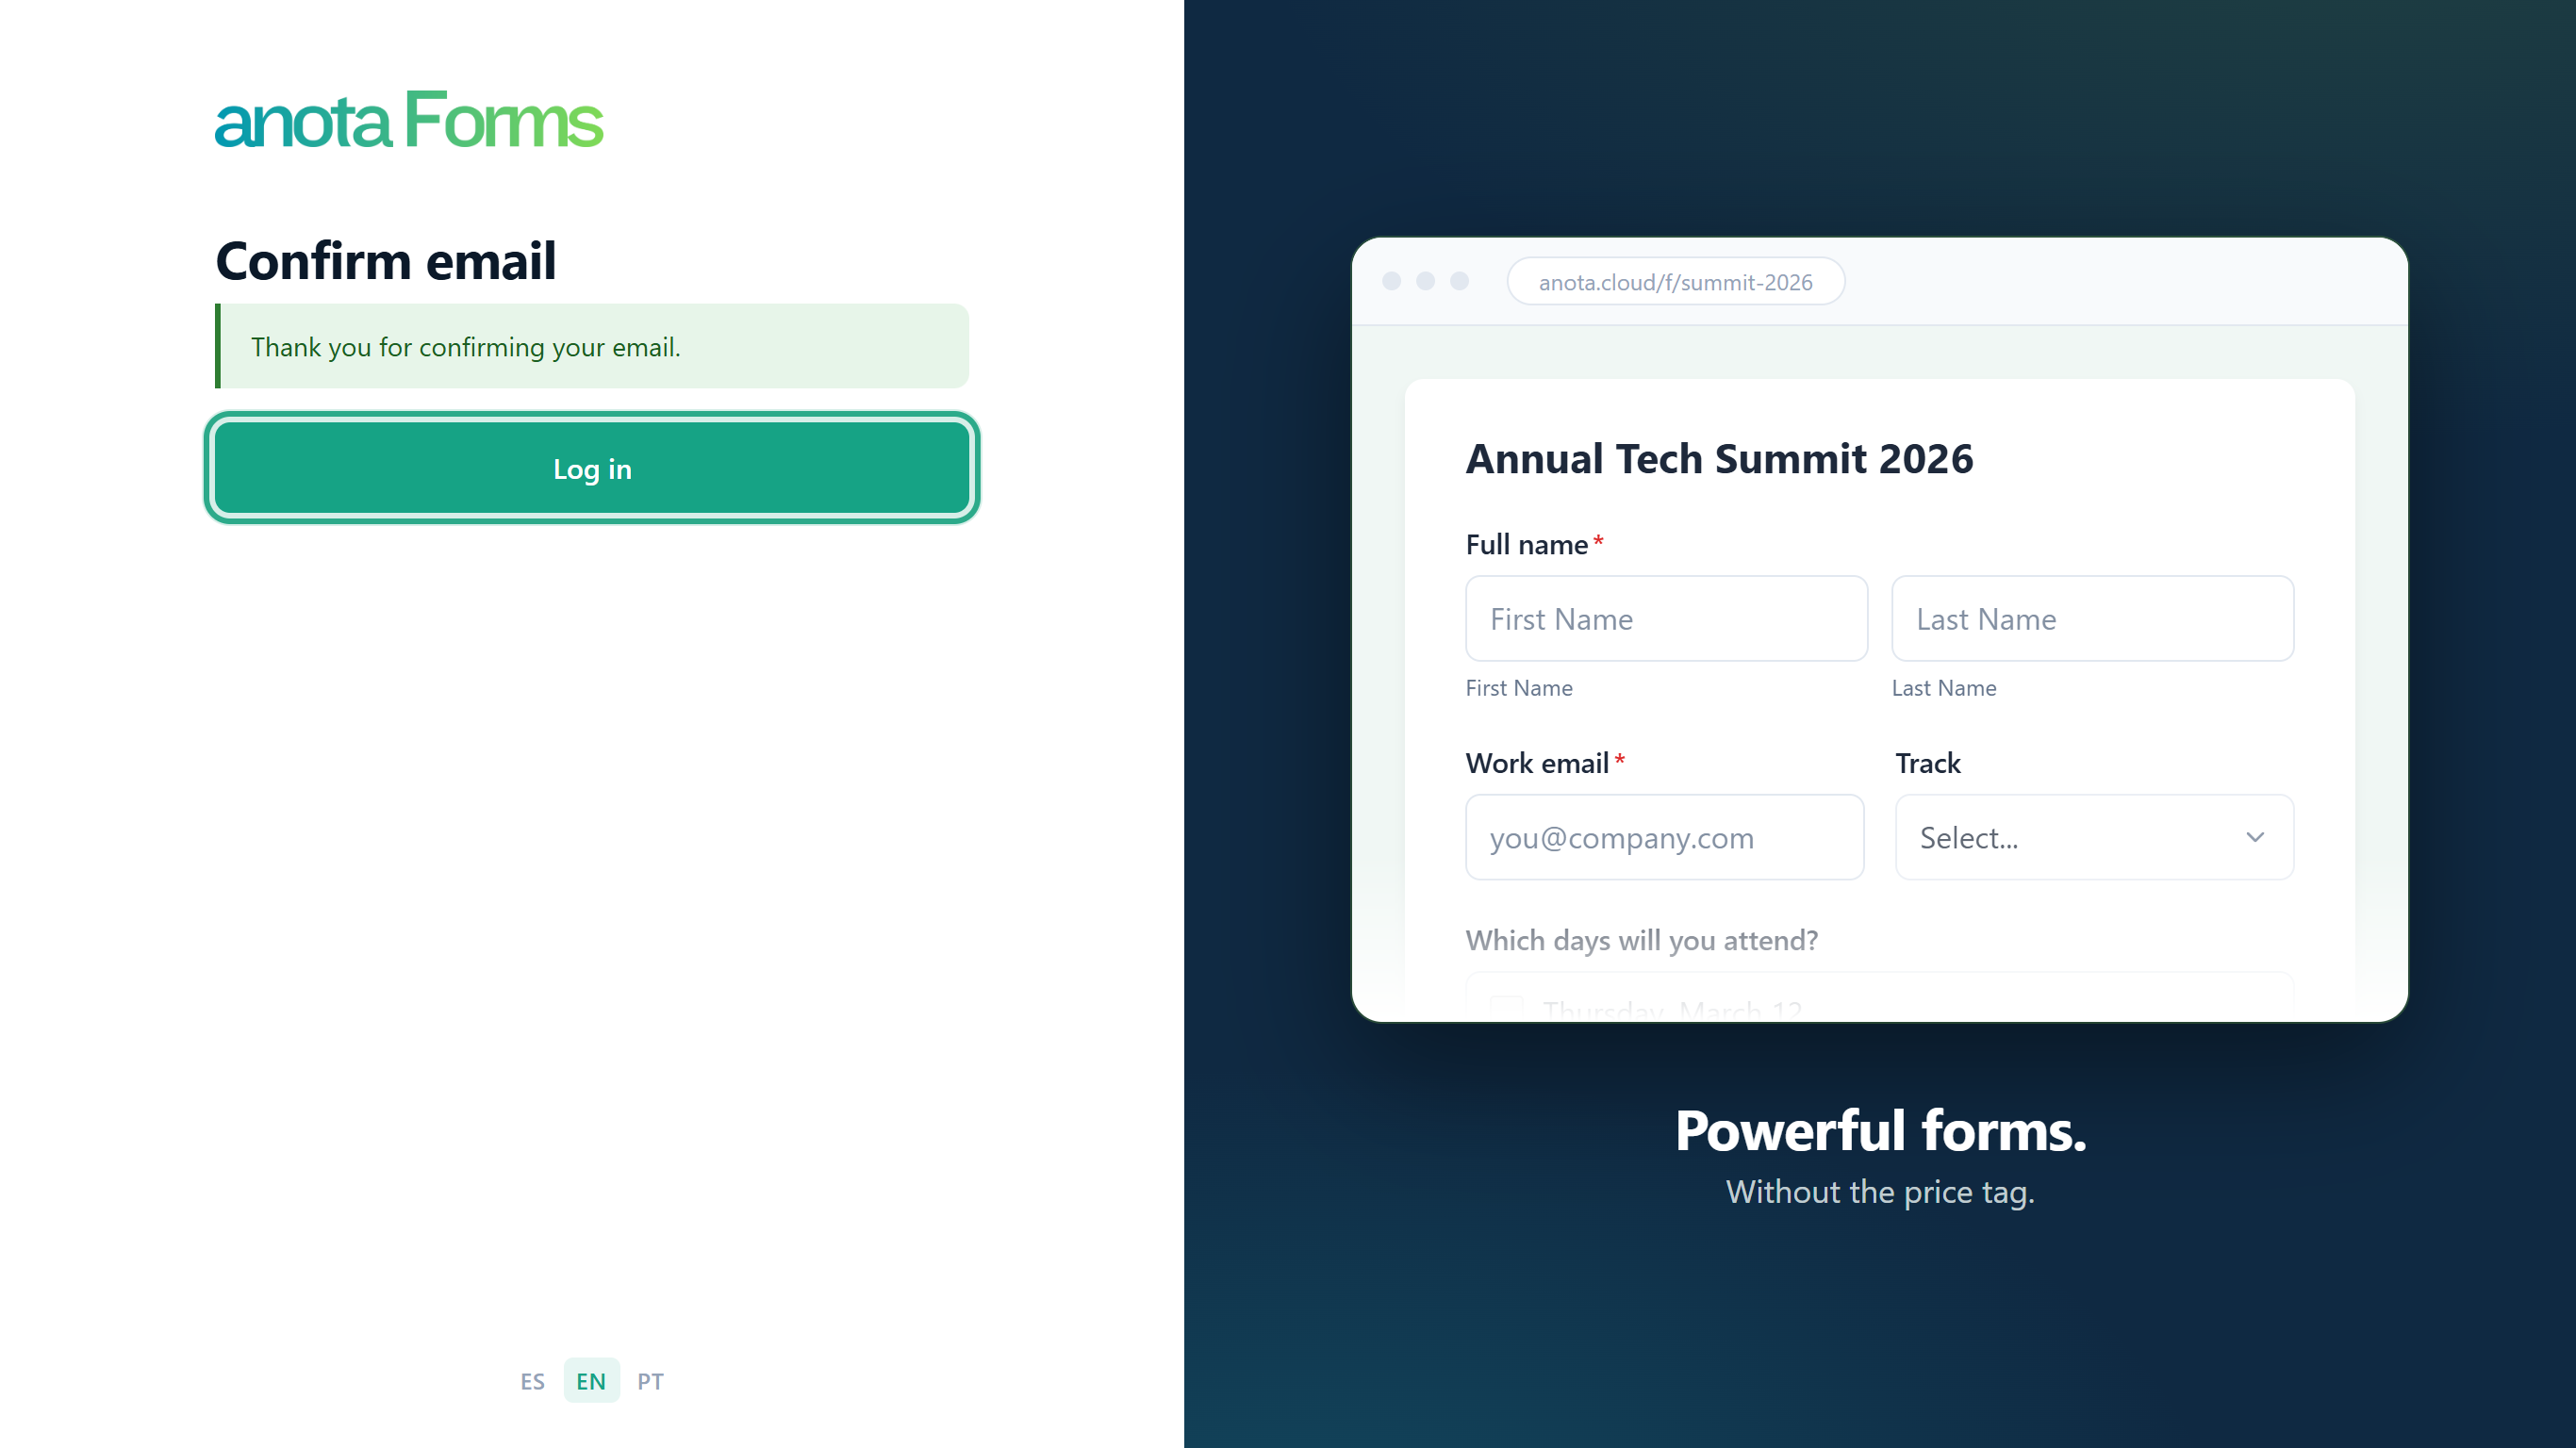 After logging in you come back to the invitation.
Click Join workspace.
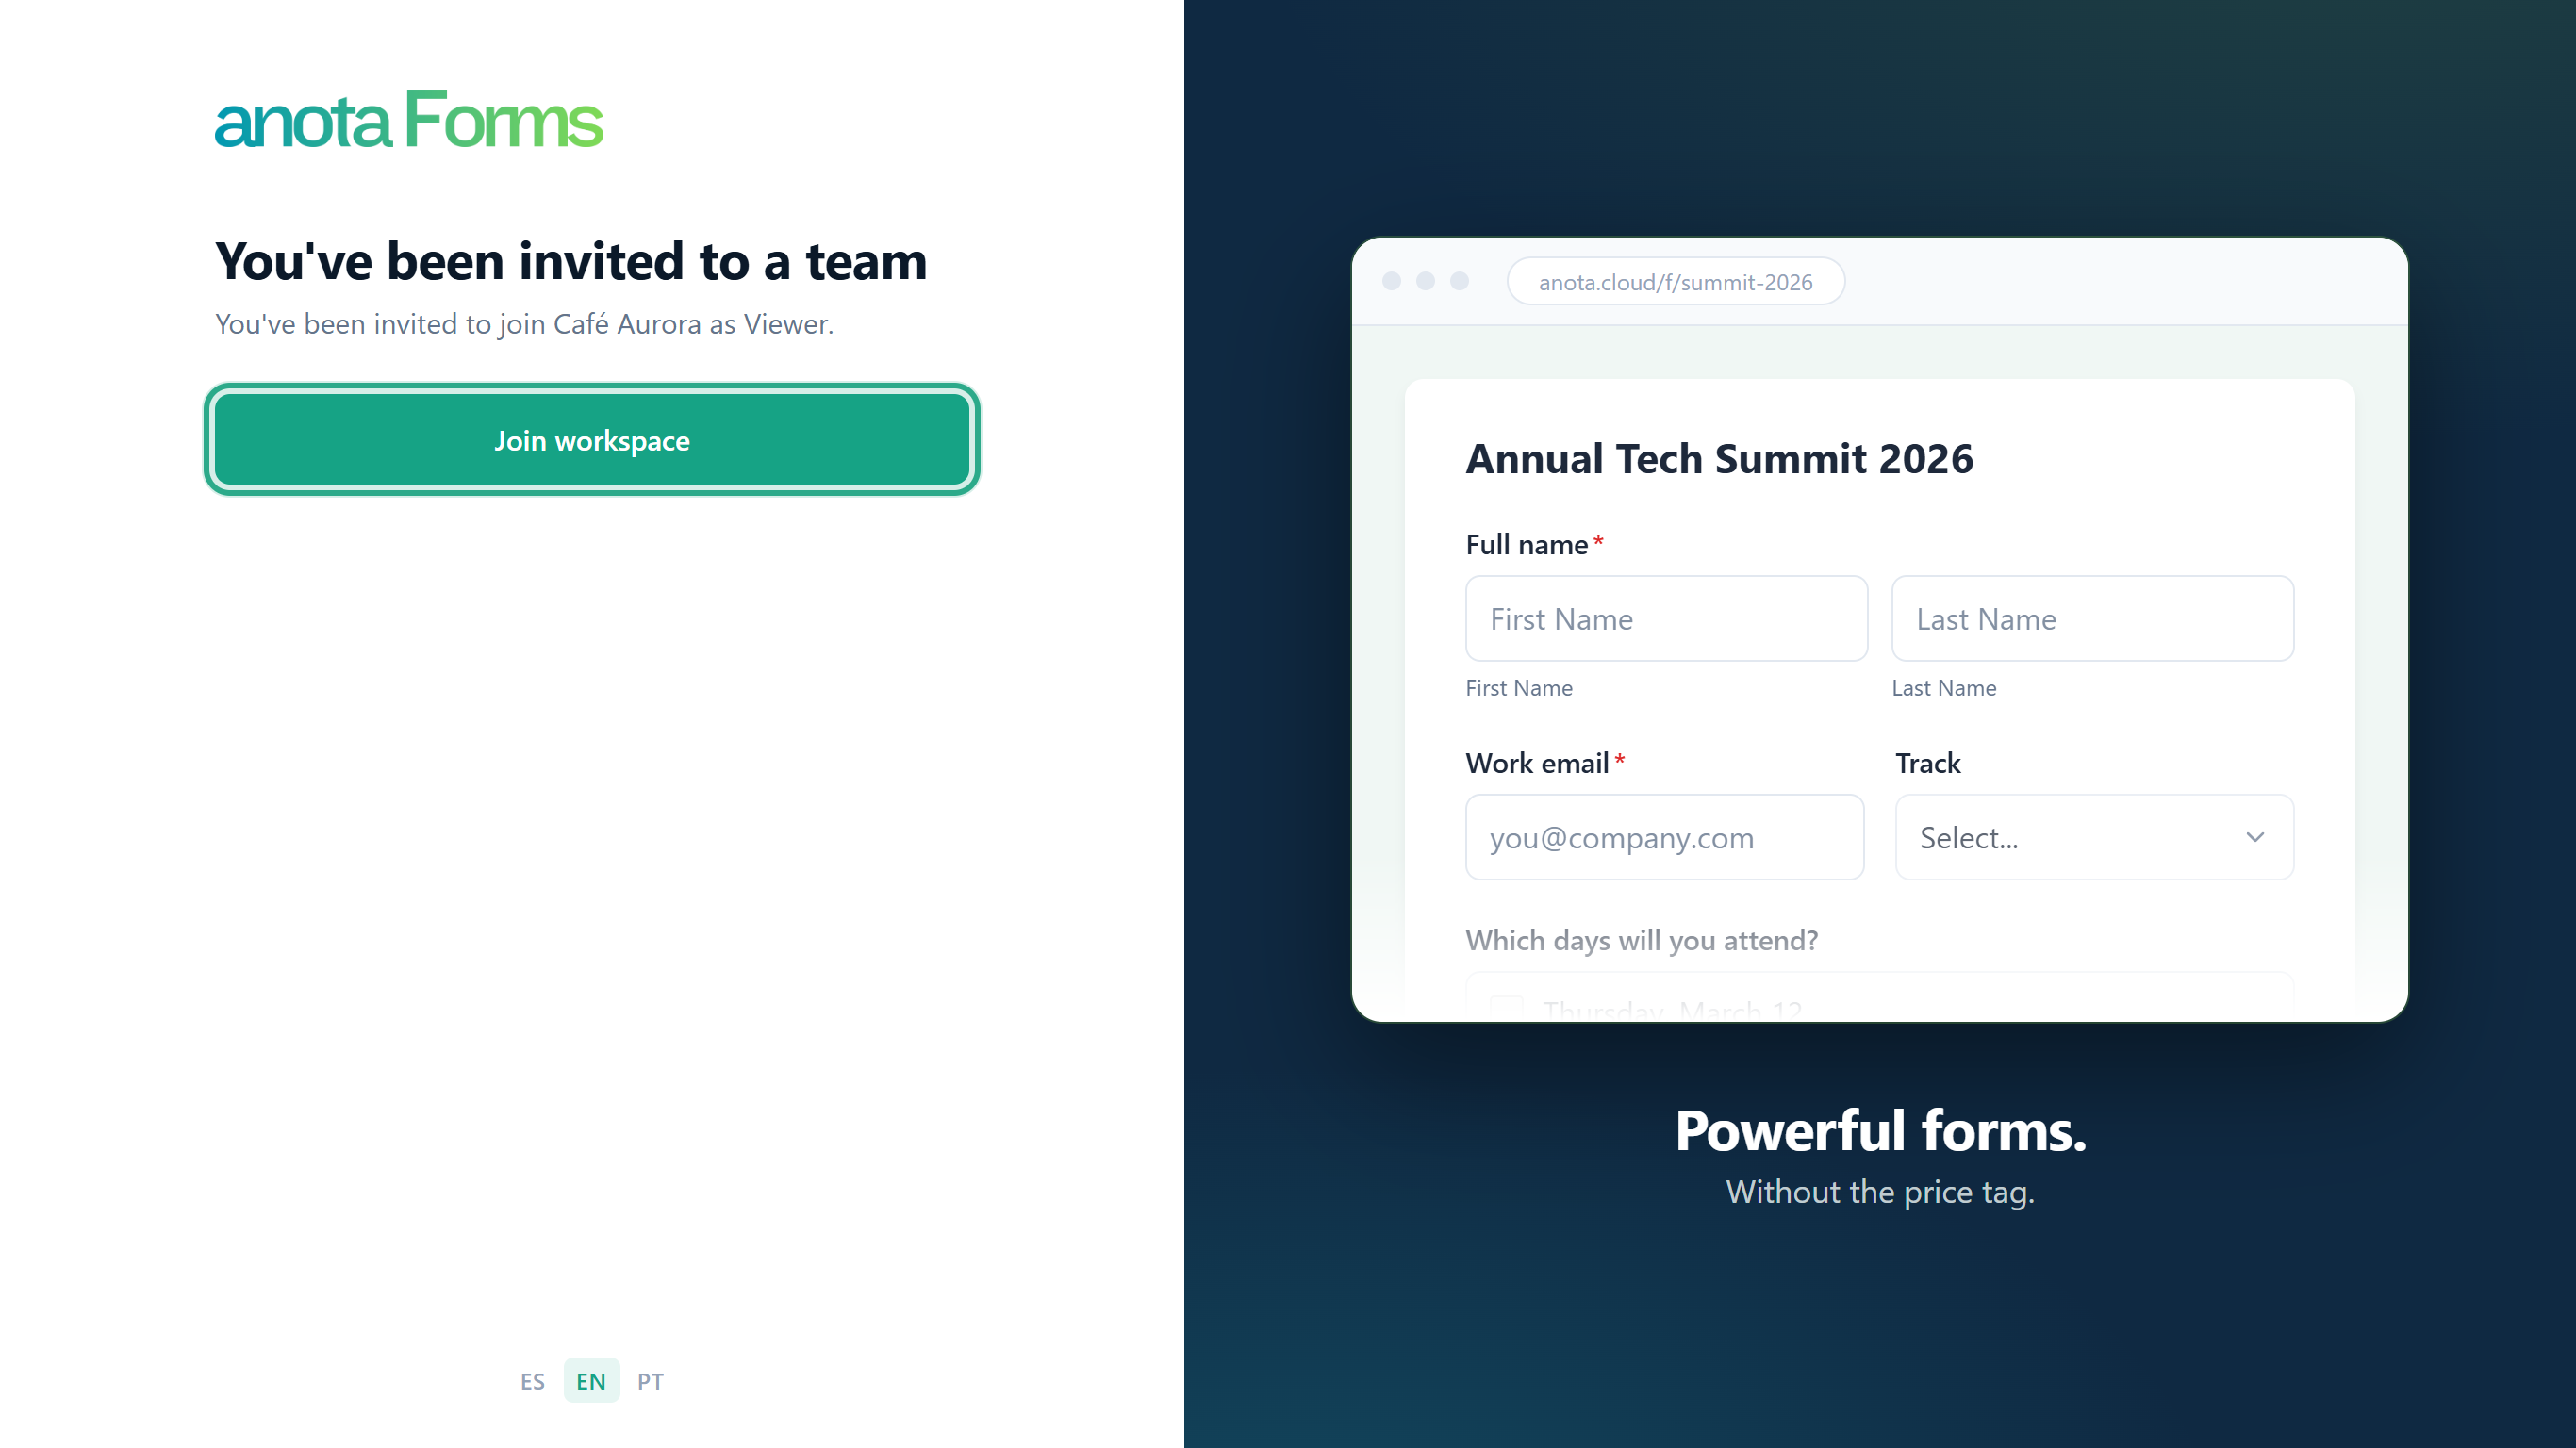 You join with the role shown on the page.
anota opens Forms in the workspace you joined. As a Viewer, Ana sees the forms and their submissions but no Create form buttons.
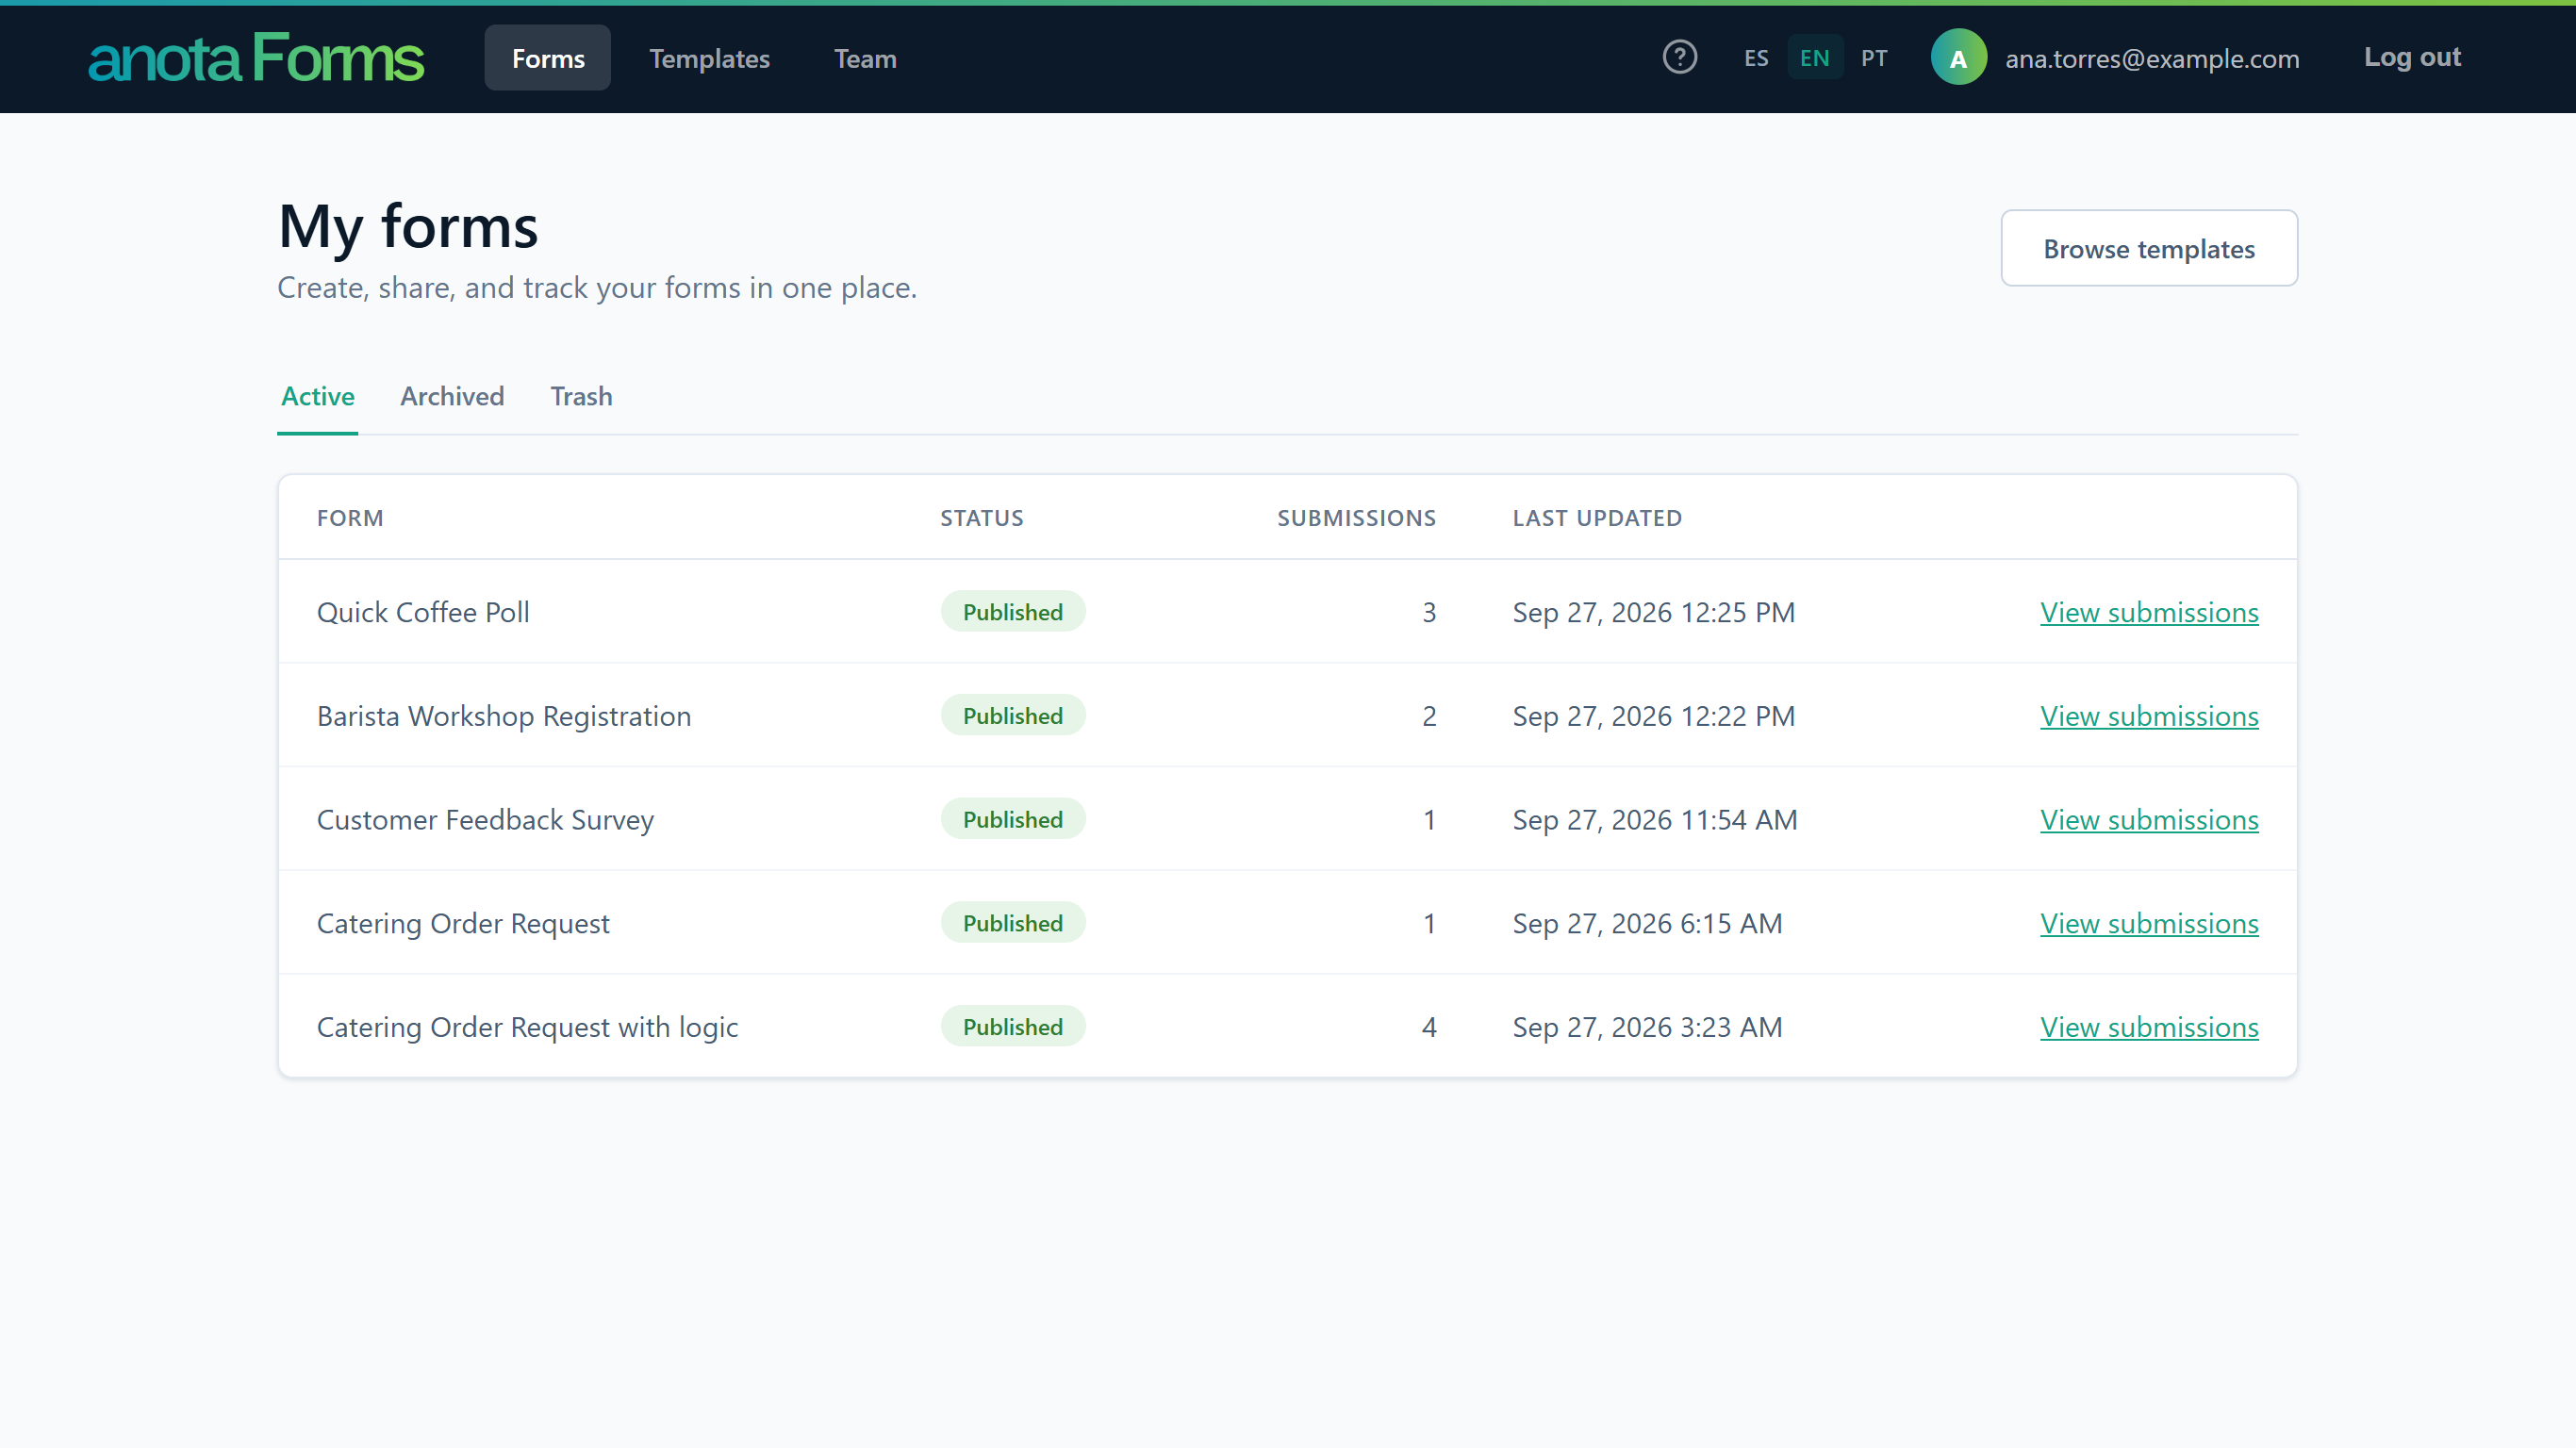 What you can do depends on your role; see Roles and permissions.
Result
You have an anota account and you're a member of the workspace. An account created from an invitation doesn't get a workspace of its own at sign-up.
If something goes wrong when you click Join workspace:
- "You're already a member of this workspace." You were already in it. anota opens Forms there, and the invitation is used up.
- "This workspace has reached its plan's seat limit. Ask your admin to upgrade the plan." The workspace has no free seat left for new members.
- Invalid invitation: the link has expired, was revoked, was replaced by a newer one or was already used (see step 19).
Task 4 — Resend or revoke a pending invitation
Prerequisites
- You're the workspace's Owner or an Admin.
Step-by-step
Under Pending invitations, find the invitation and click Resend. Use it when the person lost the email or the invitation shows Expired.
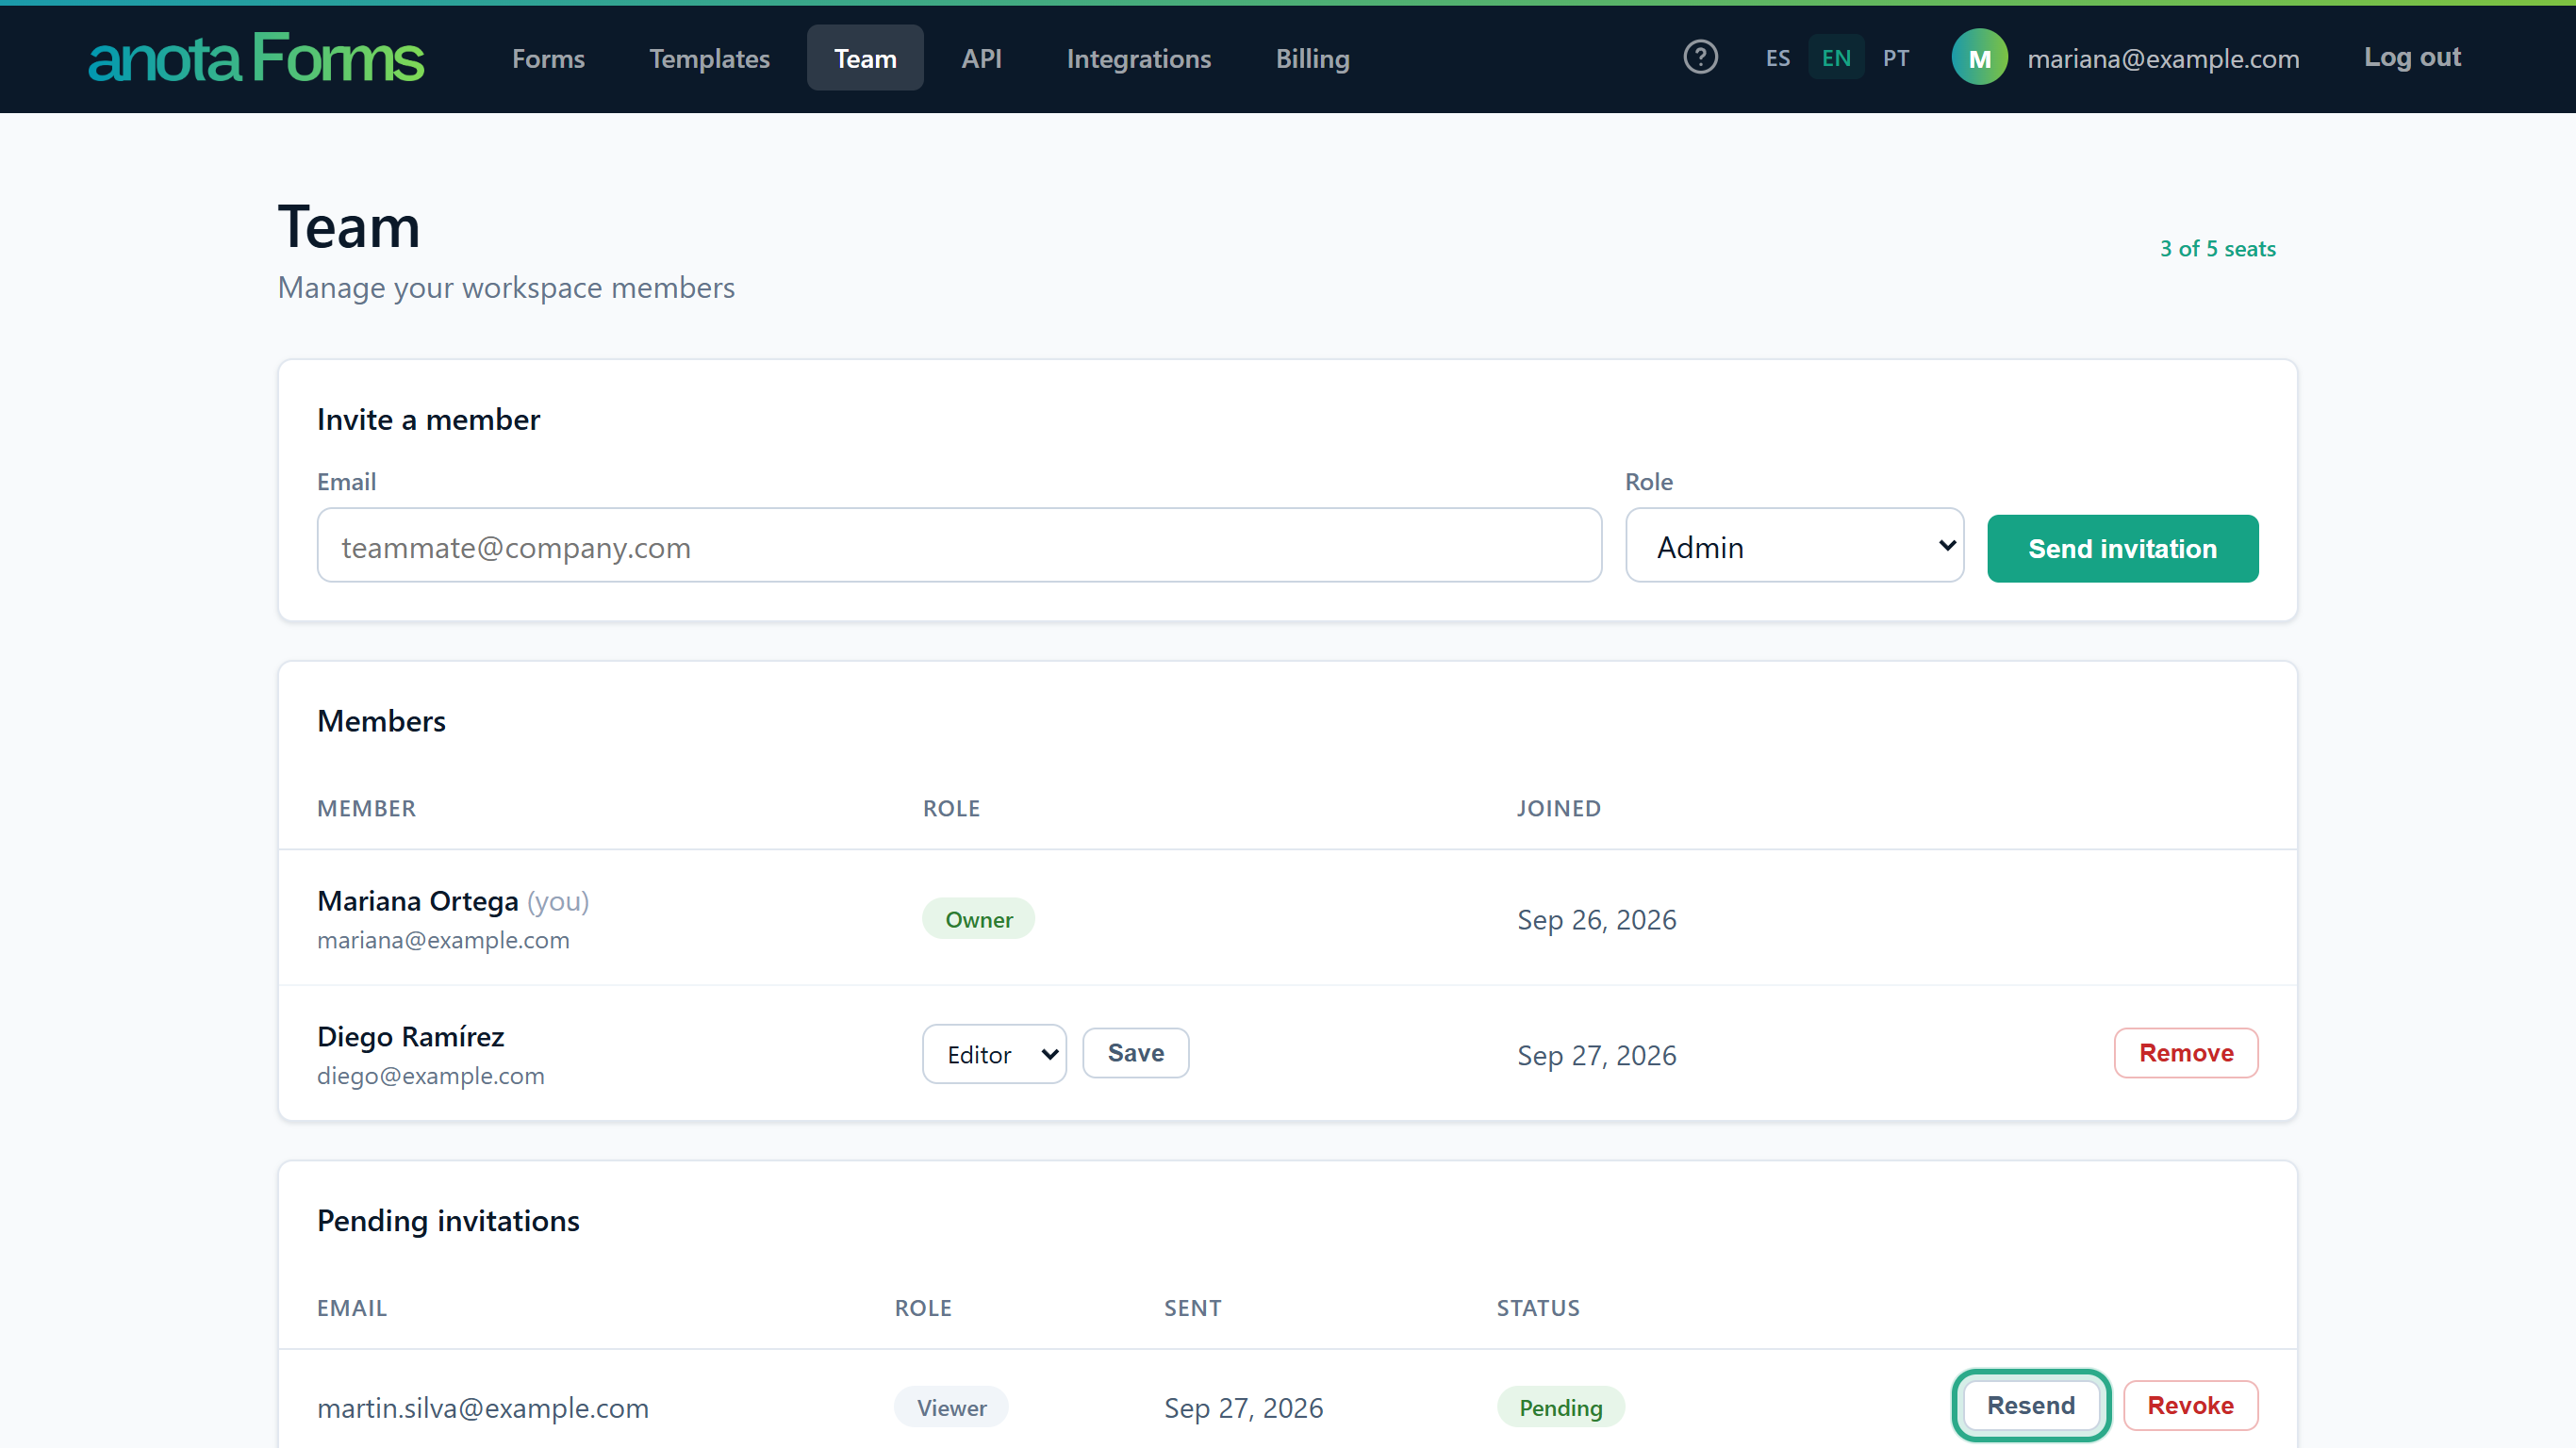 Expired invitations can be resent too.
The page shows "Invitation resent." anota emails a new link, the old link stops working, and the 7 days start again.
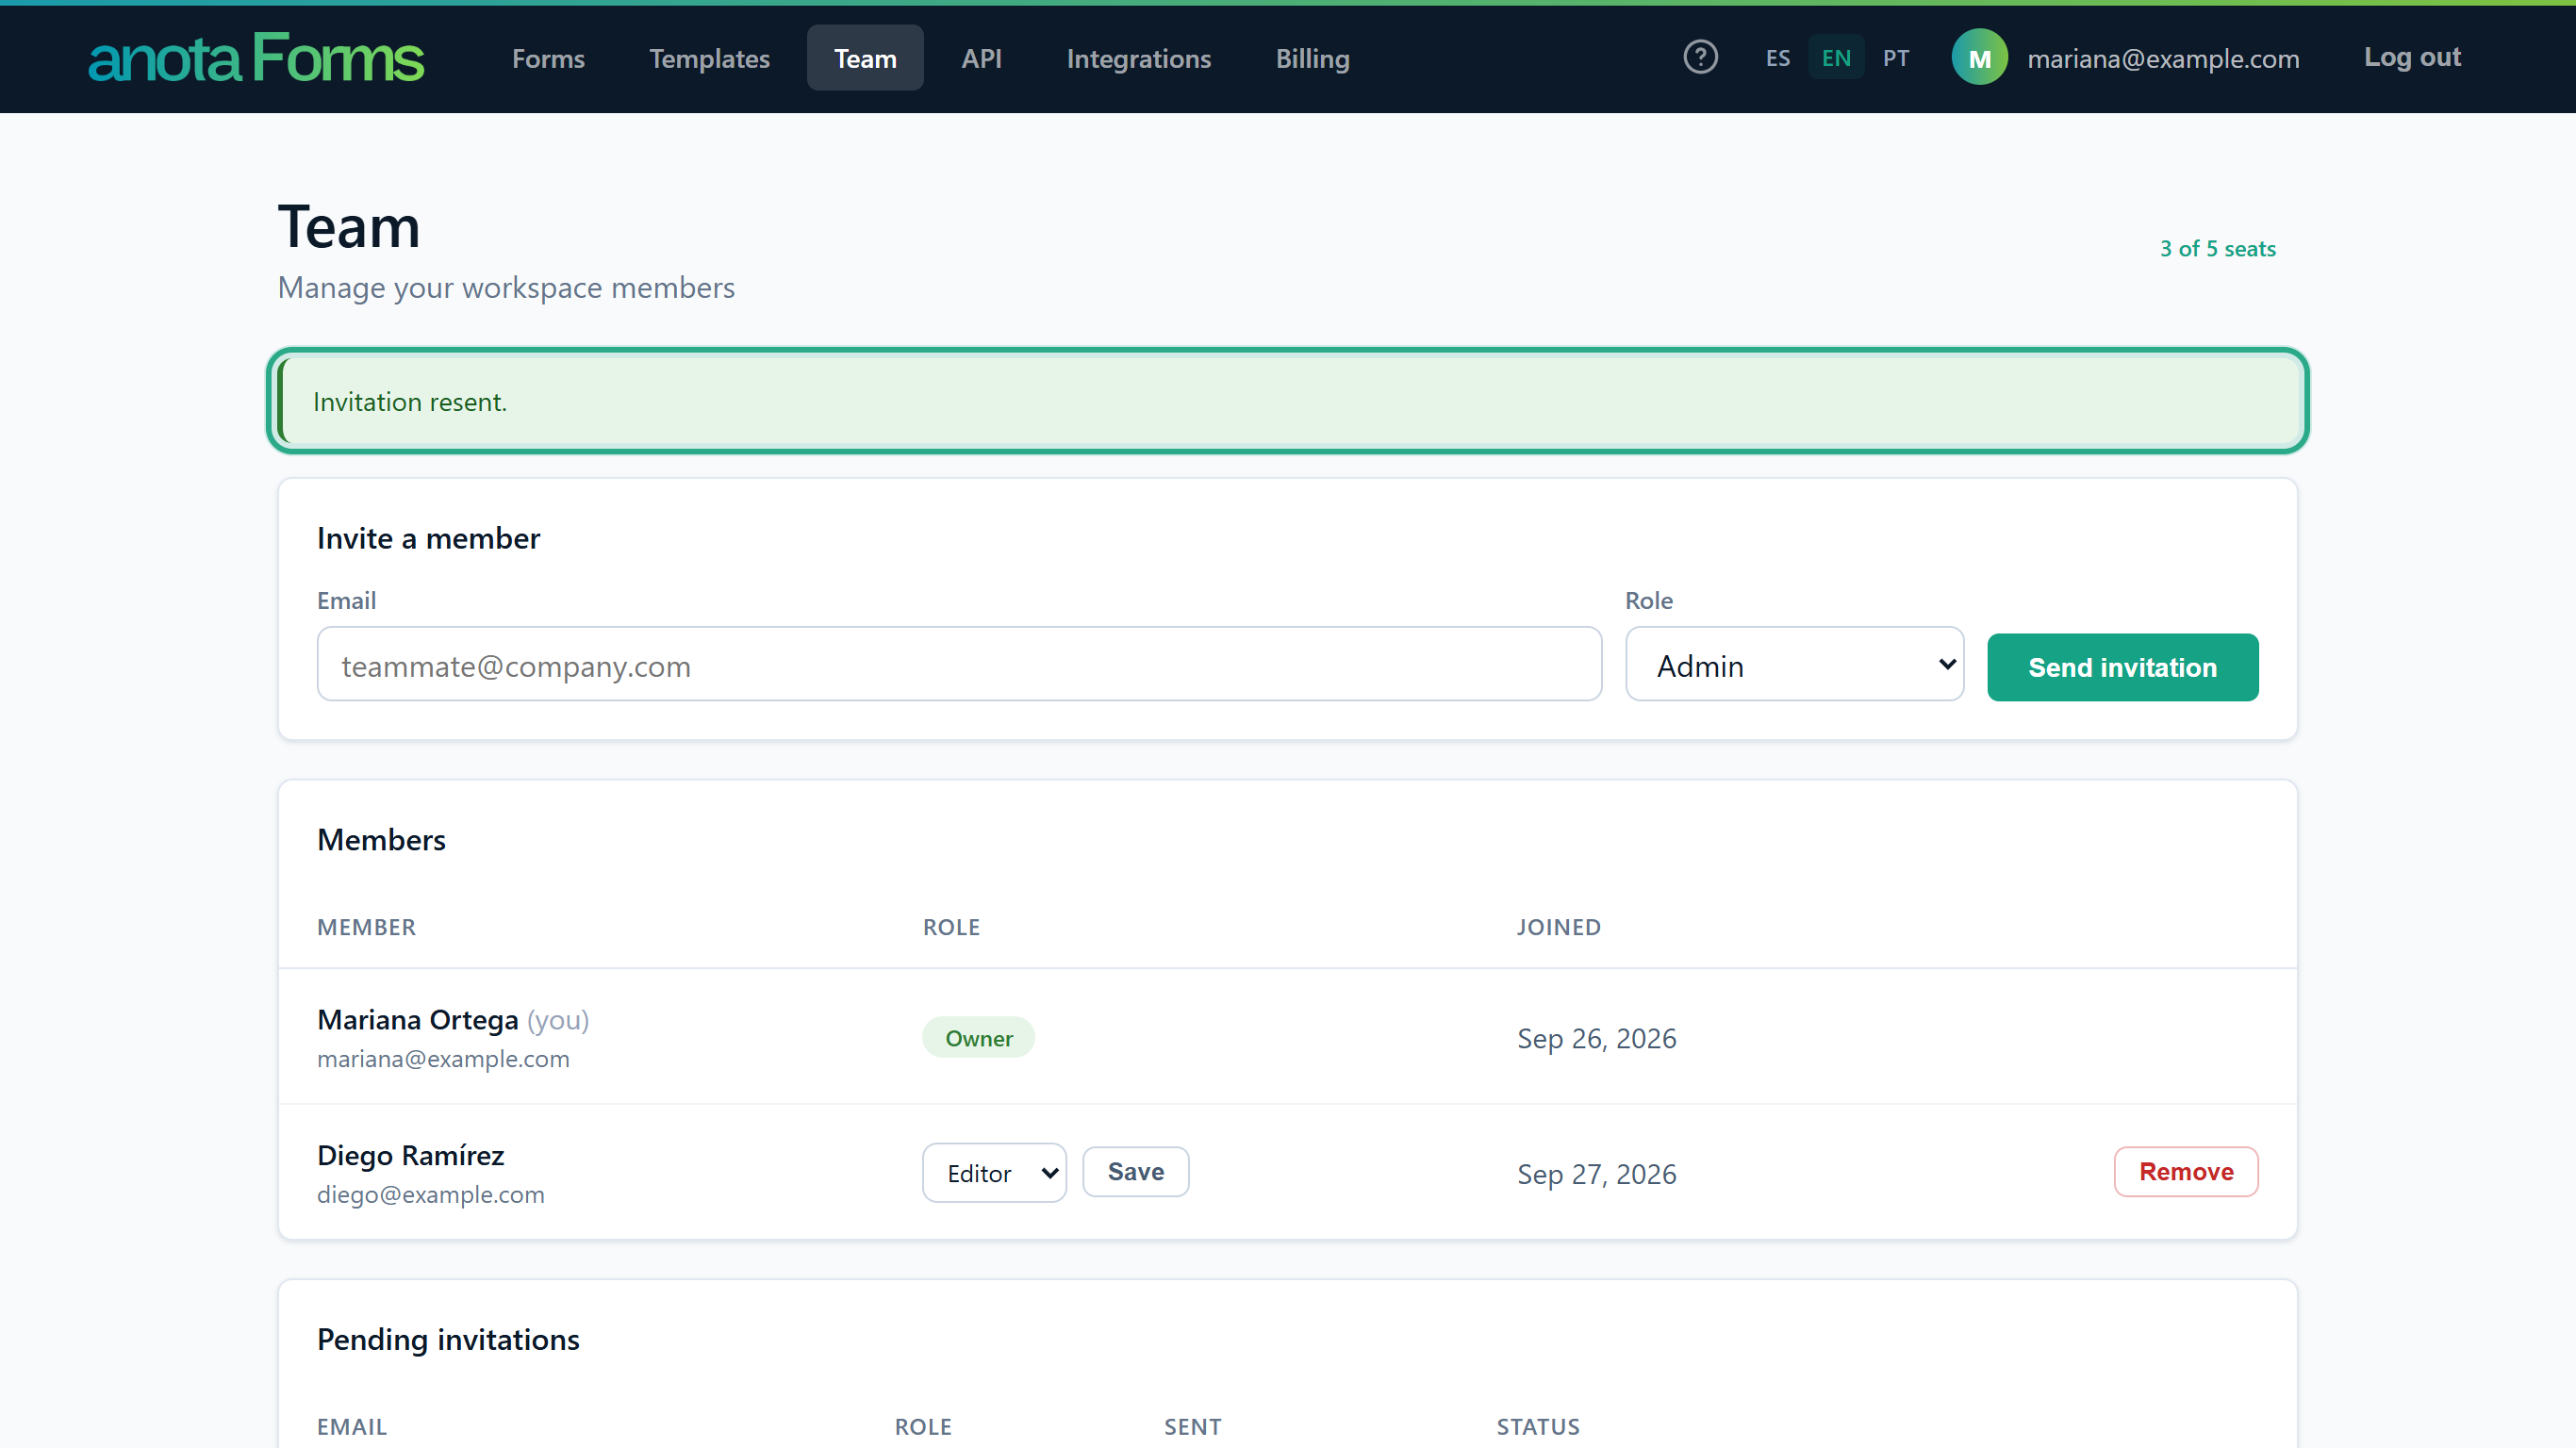 You can resend the same invitation once a minute; sooner, the page says "Wait a moment before resending."
To cancel an invitation, click Revoke and confirm "Revoke this invitation? The link will stop working."
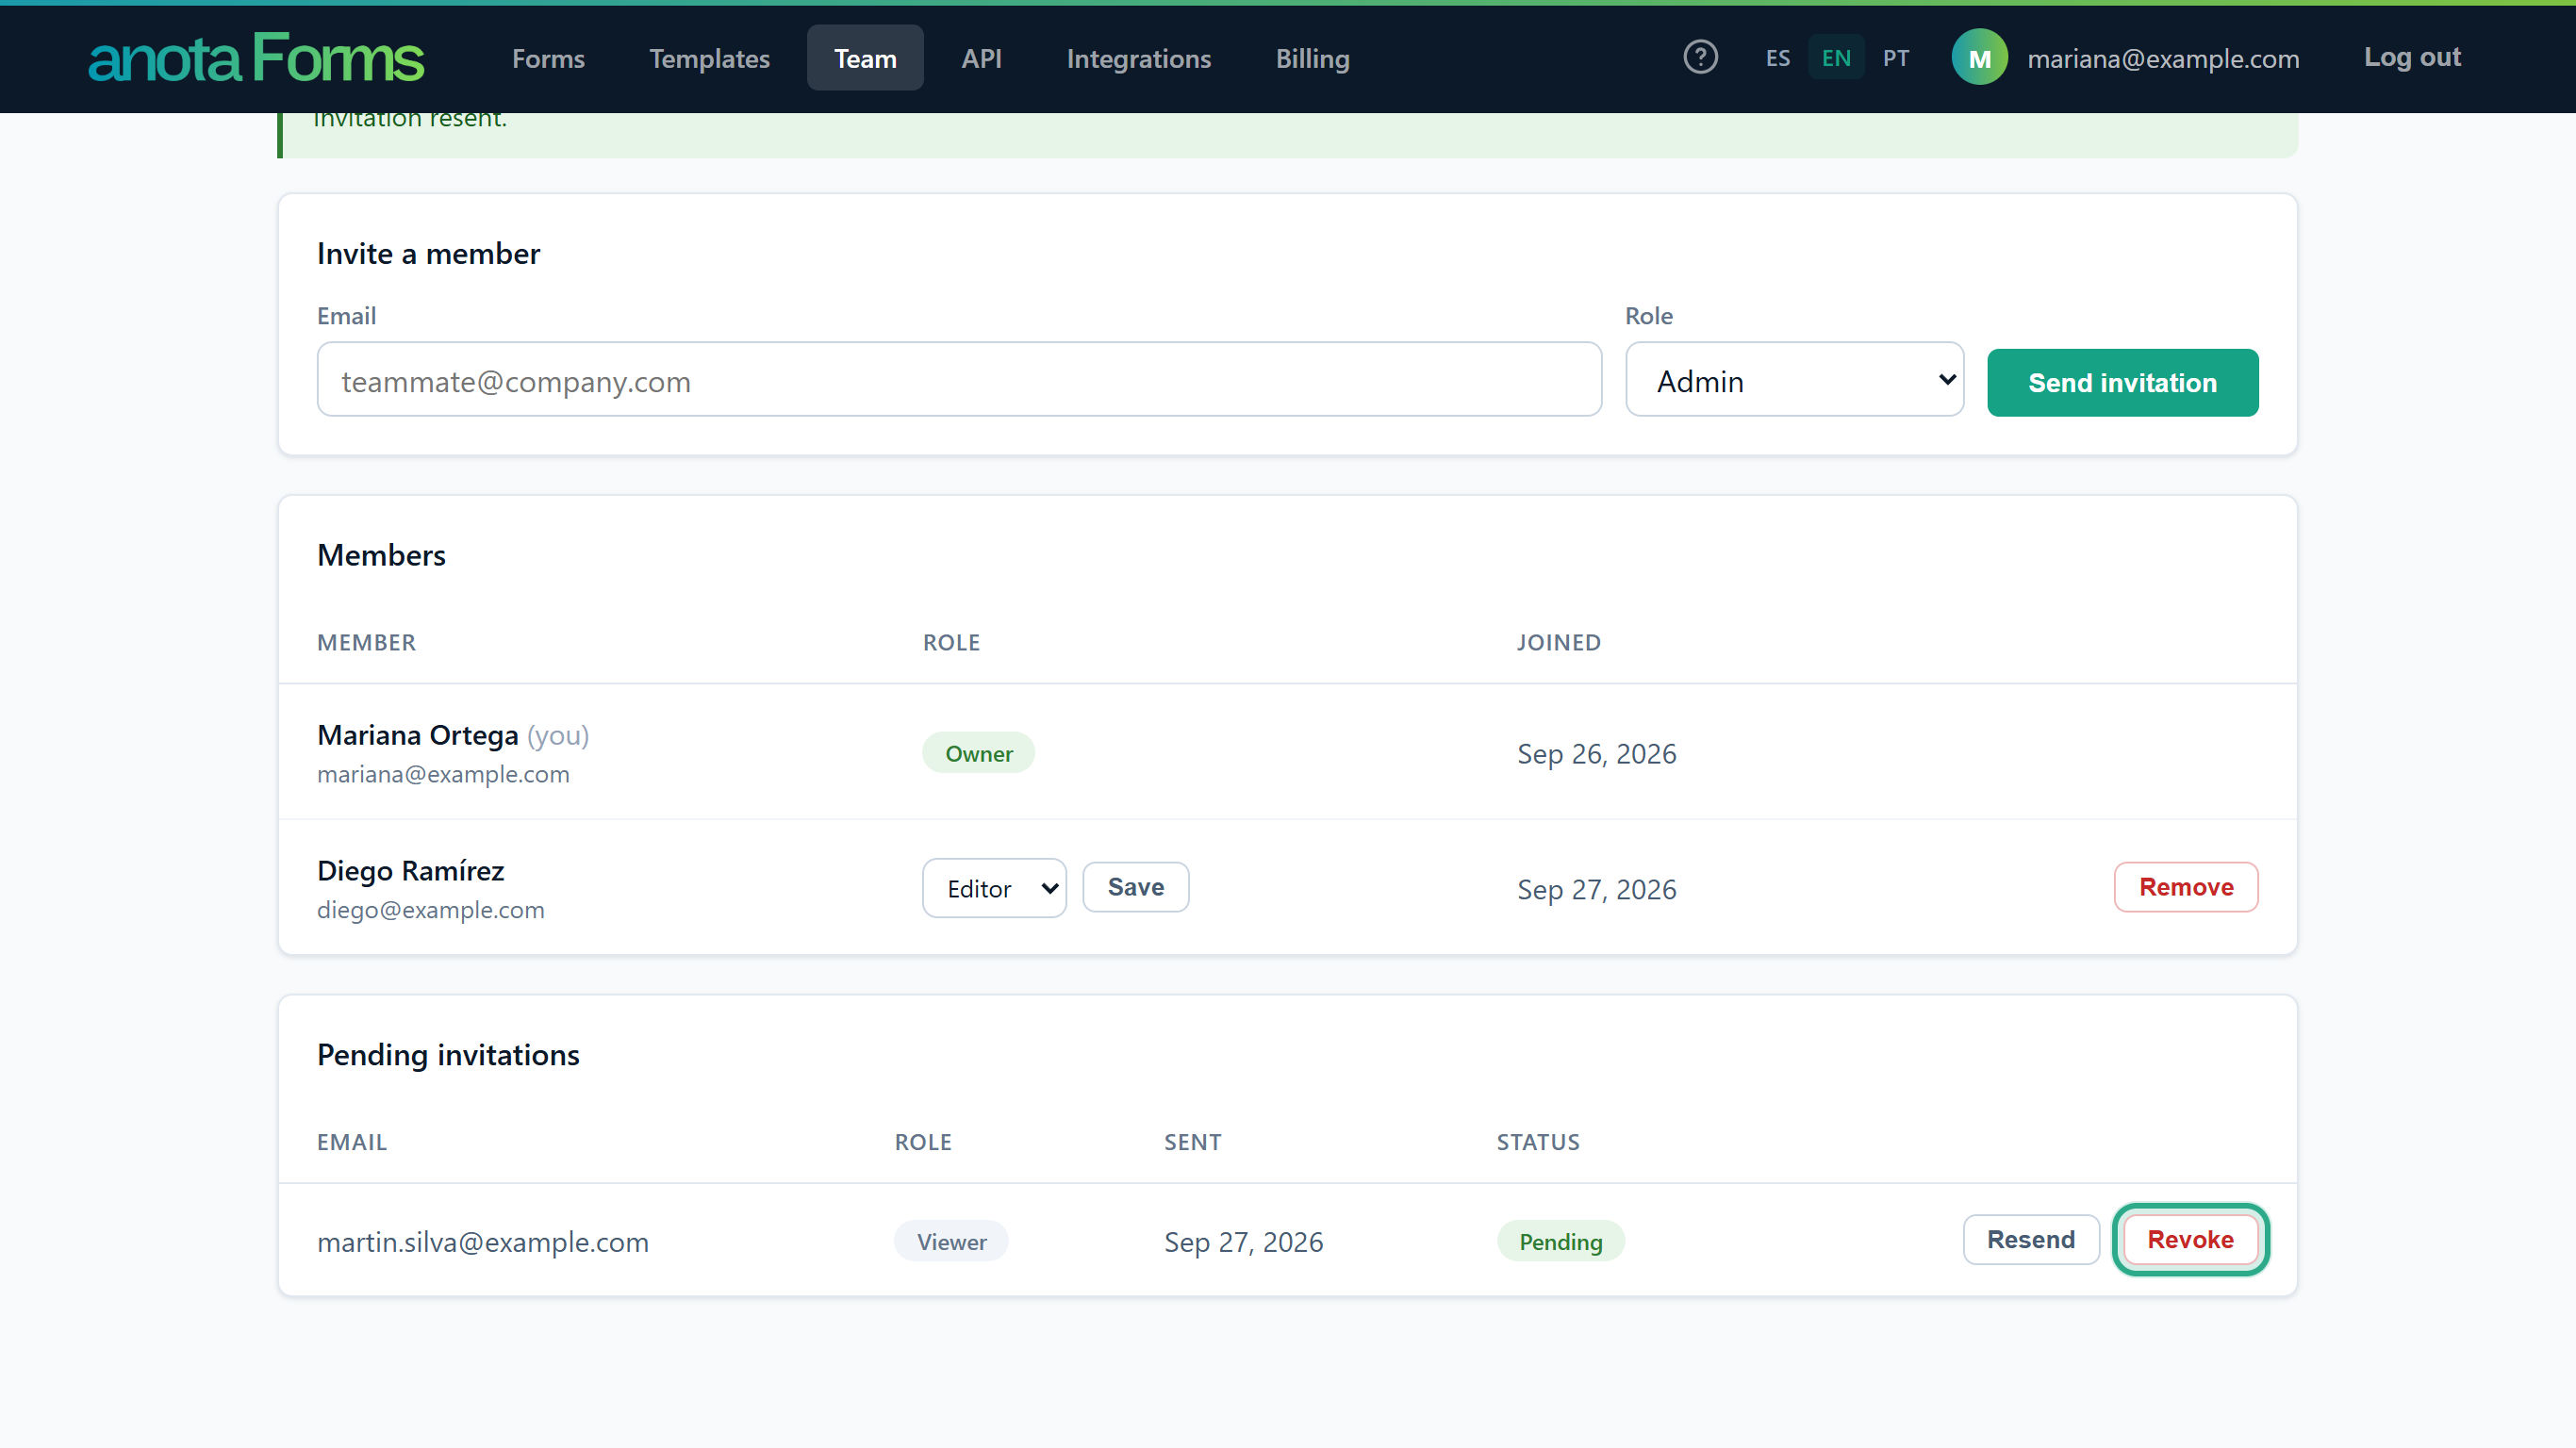 Revoking can't be undone; send a new invitation if you change your mind.
The page shows "Invitation revoked.", the invitation leaves the table and its seat is free again.
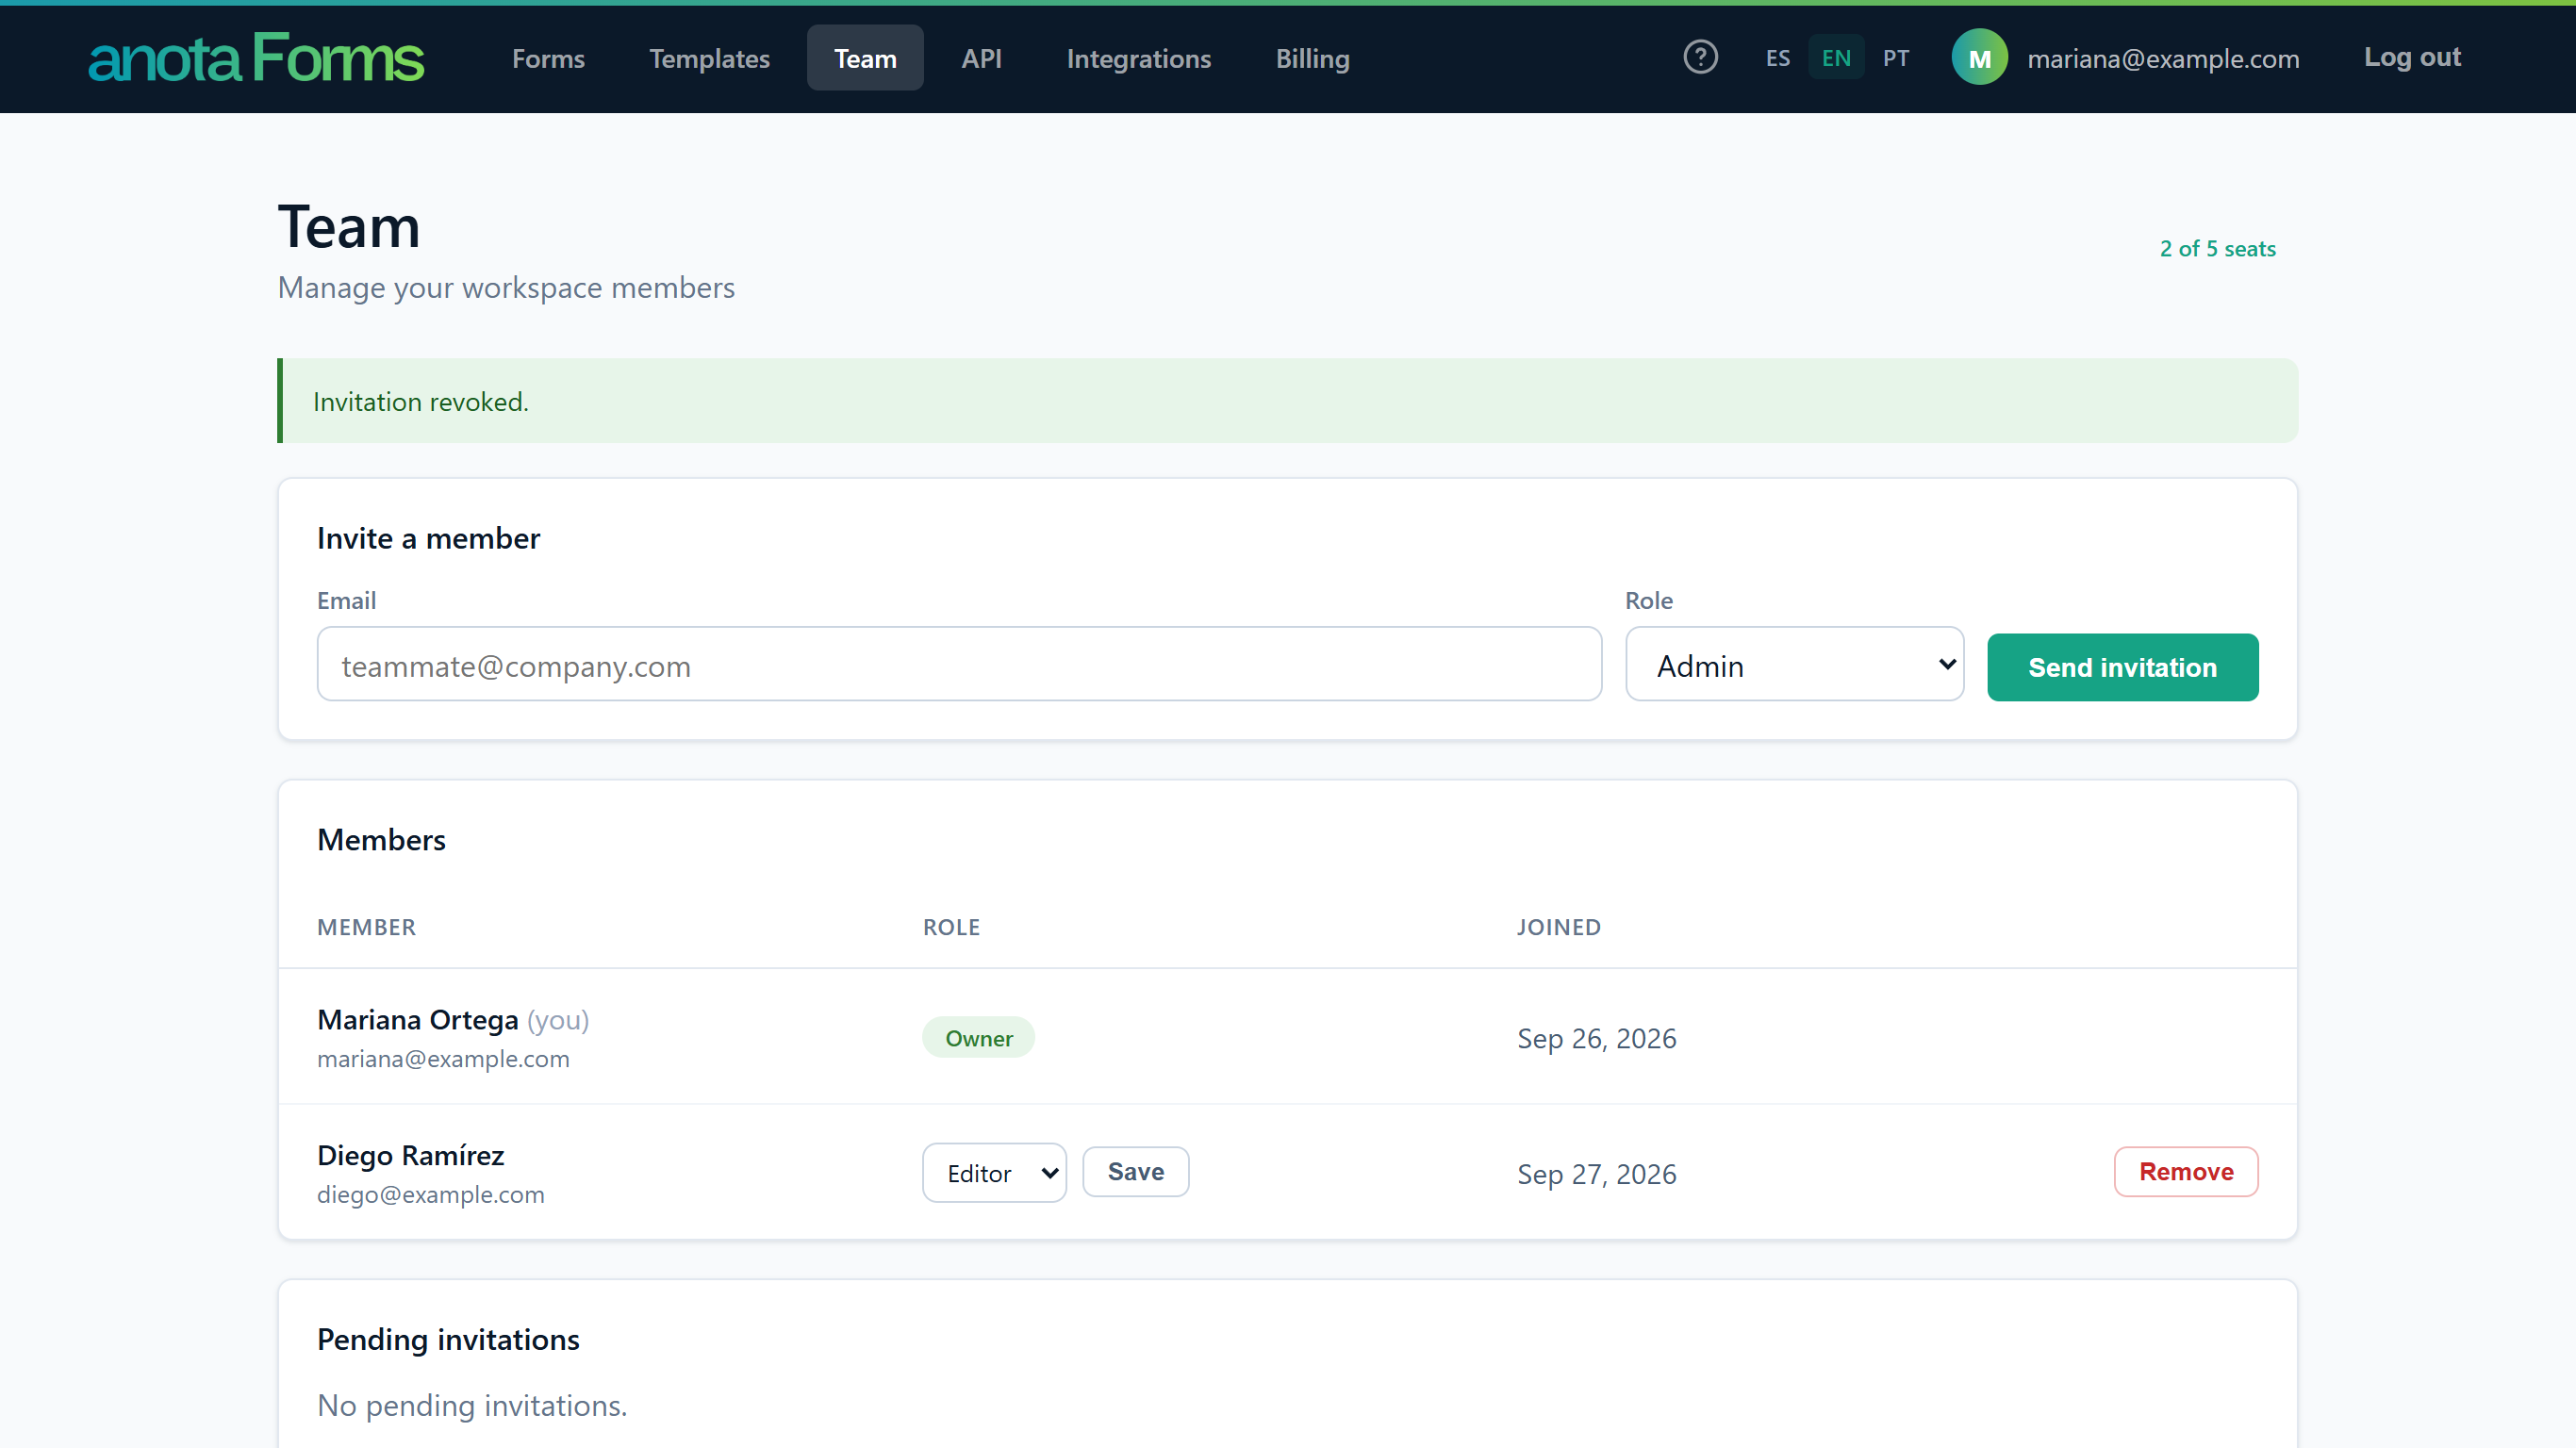 When nothing is pending, the table says "No pending invitations."
Anyone who opens a revoked, replaced, expired or used link sees Invalid invitation: "This invitation is invalid or has expired. Ask your admin to resend it."
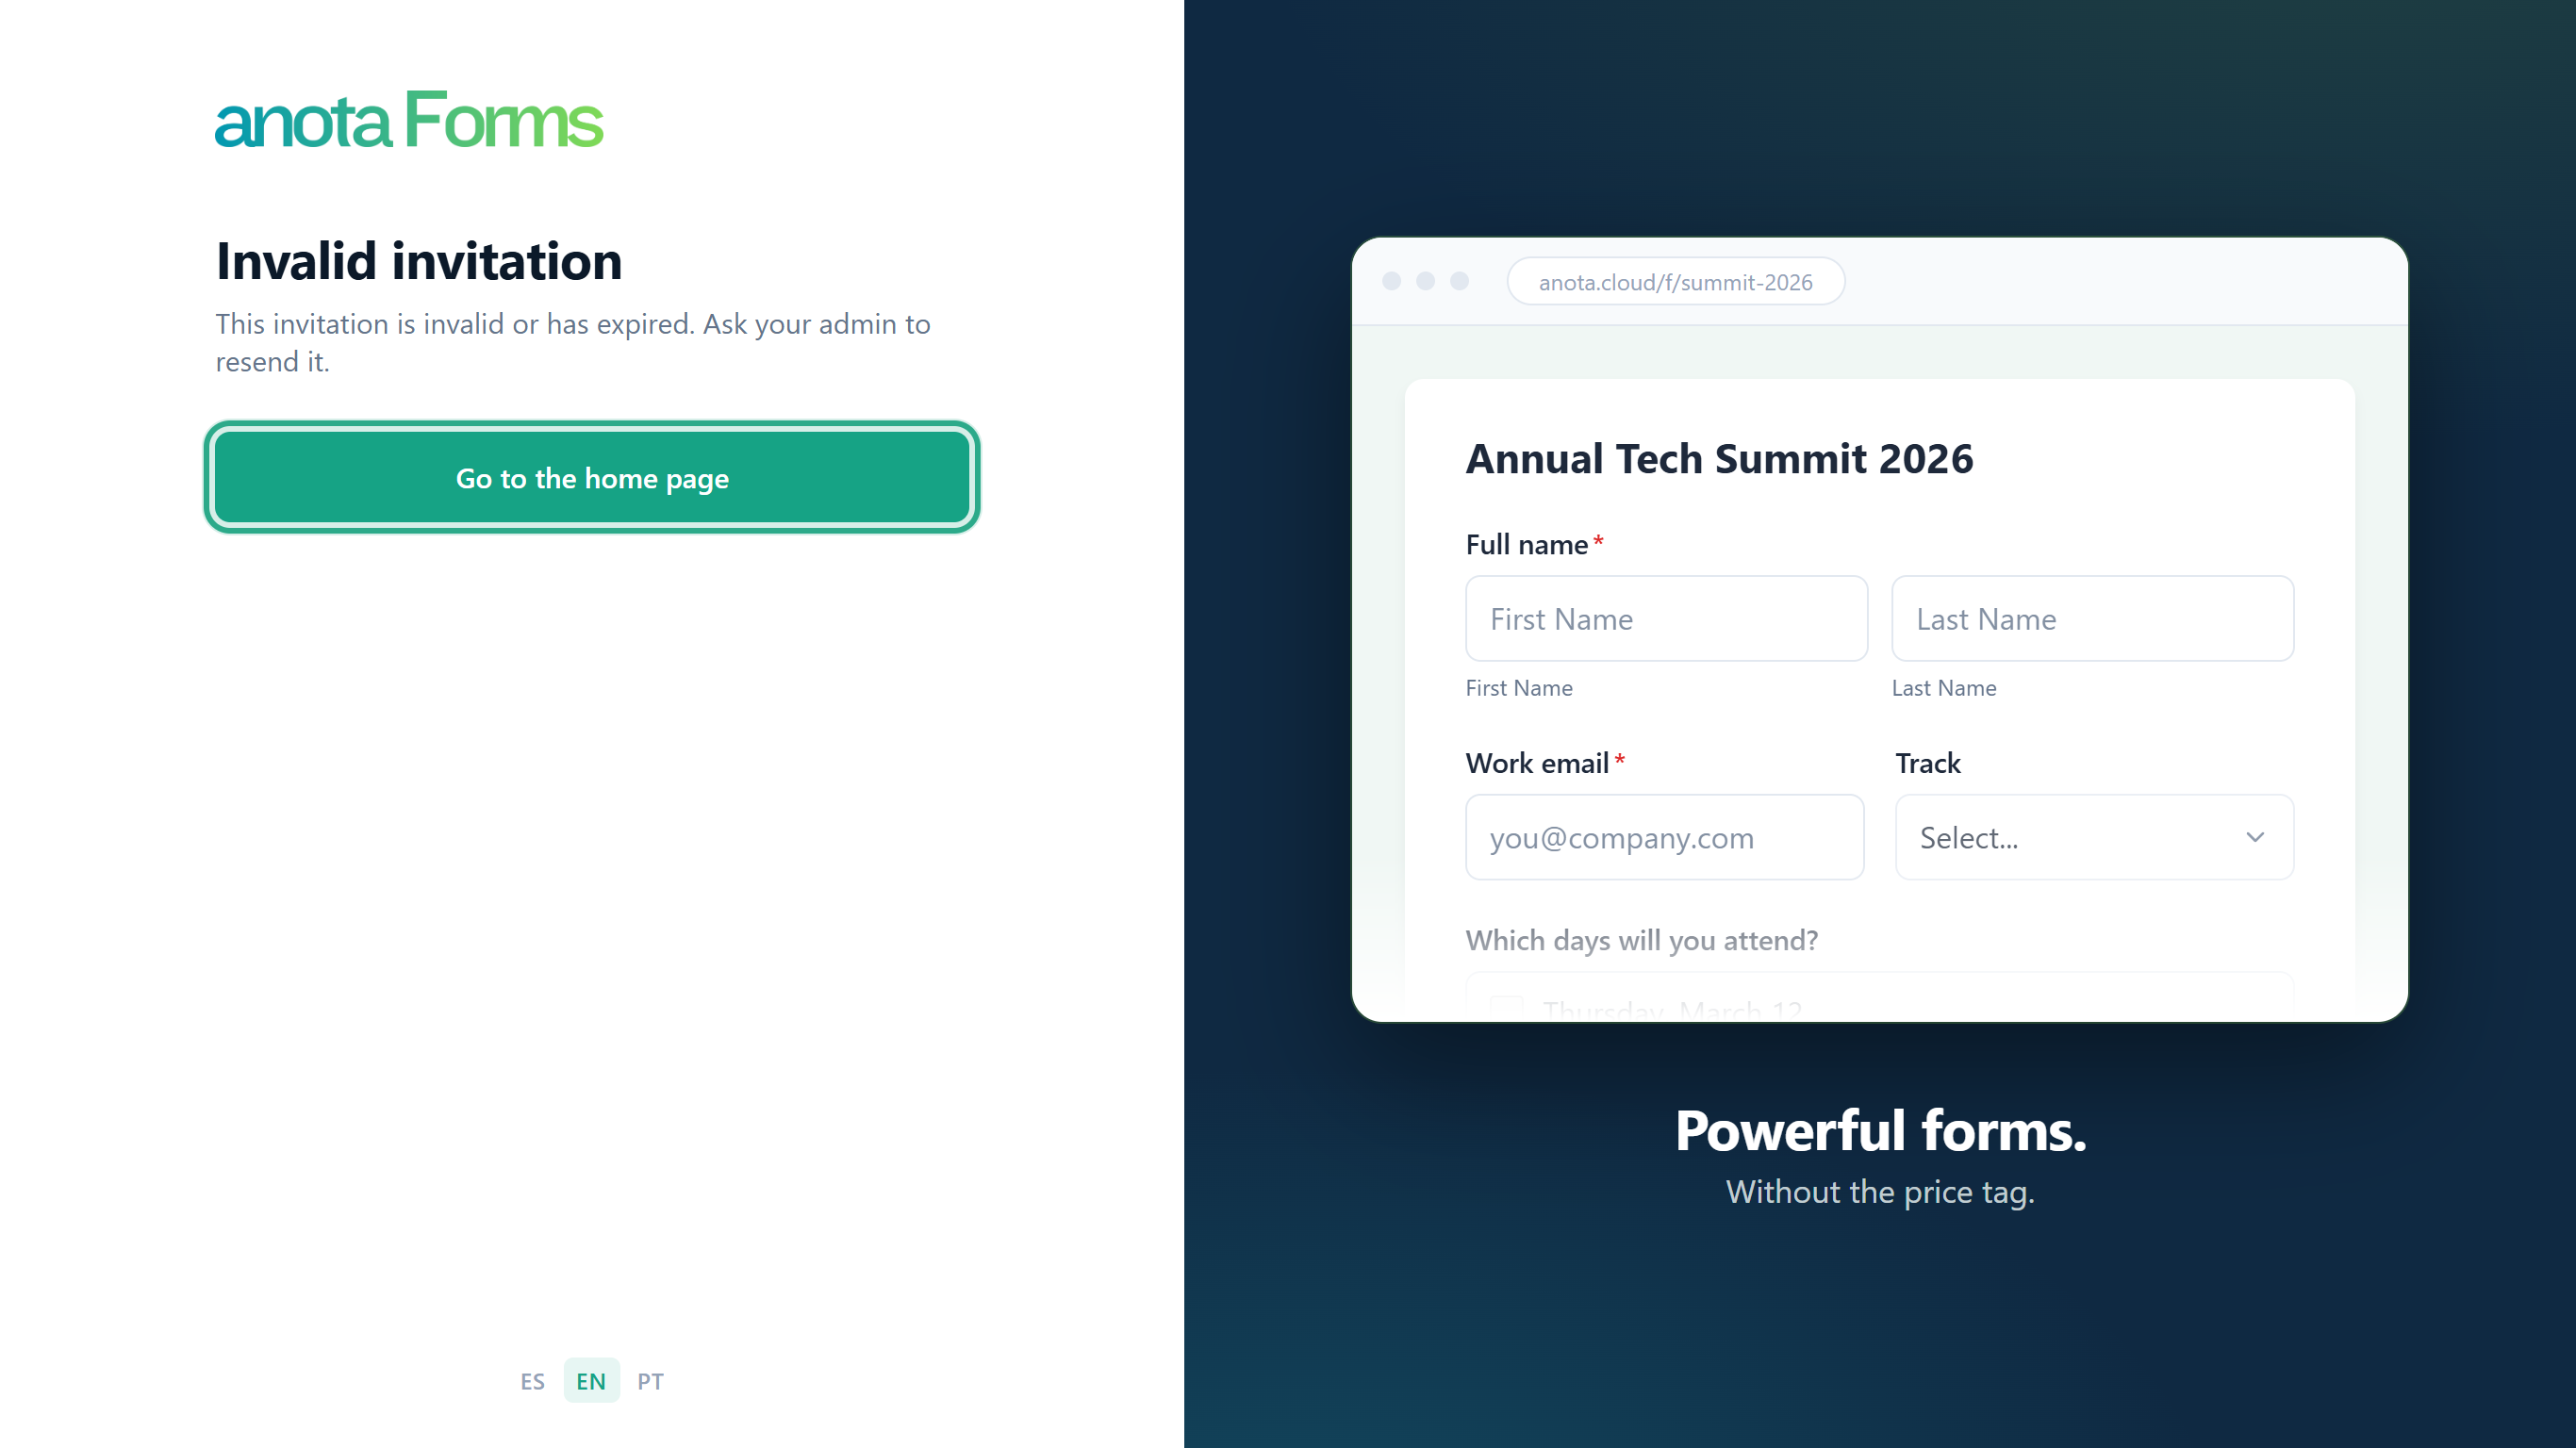 The person needs a new invitation from an Owner or Admin.
Result
The person has a fresh link, or the invitation is cancelled and its seat is free. If the invitation was already accepted or revoked by someone else, you see "That invitation no longer exists."
Field reference
| Field | Required | Description |
|---|---|---|
| Yes | Address of the person to invite, up to 256 characters. | |
| Role | Yes | Admin, Editor or Viewer for the Owner; Editor or Viewer for an Admin. The first option is selected by default. |
Troubleshooting
| Symptom | Likely cause | Resolution |
|---|---|---|
| You don't see Invite a member | Your role is Editor or Viewer | Ask the Owner or an Admin to send the invitation. |
| "You've reached your plan's seat limit…" | Members plus pending invitations fill every seat | Click See plans to upgrade, or remove a member or revoke a pending invitation. |
| "There's already an active invitation for that email. Use Resend." | That address already has a pending invitation | Click Resend on it under Pending invitations. |
| The person sees Invalid invitation | The link expired, was revoked, was replaced by a resend or was already used | Click Resend (or invite them again if you revoked it) and ask them to use the newest email. |
| "Wait a moment before resending." | That invitation was sent less than a minute ago | Wait a minute and click Resend again. |
| The invited person joined but can't find their own forms | They're in your workspace now | They choose their own workspace in the workspace list in the top bar. See Team and roles. |
Related features
Was this page helpful?