Company and branding
Company and branding
Applies to: anota, all plans (no "Powered by anota" footer: Silver and Gold) Roles required: Owner or Admin for the Company name and logo; Editor or above for a form's own logo settings Regulatory references: none
Overview
Your brand reaches visitors in two ways: the Company name and logo you set once for the workspace, and each form's own logo settings. This page explains where the name and logo appear, how one form can use a different logo or leave them off, and the "Powered by anota" footer that the Silver and Gold plans remove. It's for workspace Owners and Admins who set up the brand, and for Editors who build the forms.
The step-by-step for the Company name and logo themselves (uploading, replacing, removing, file rules) is in Company name and logo. The examples use Café Aurora's workspace and its Barista Workshop Registration form.
Key concepts
- Company identity: the Company name and Company logo from Account settings > Company. They're set for the whole workspace, and every form uses them by default.
- Logo URL: a box in each form's Designer panel. An image address typed there replaces the company logo on that form only.
- Show Company name and logo: a checkbox in the same panel, ticked by default. Unticked, the form shows neither the name nor the logo.
- "Powered by anota" footer: the line at the bottom of your public forms and their payment pages. It's part of anota, not your brand. The Silver and Gold plans don't show it.
Task 1 — Set your Company name and logo once
Prerequisites
- The Owner or Admin role.
Step-by-step
Go to Account settings > Company (click your email address at the top right, then Company). Fill in Company name and click Save, then choose your logo and click Upload logo. The detailed steps are in Company name and logo.
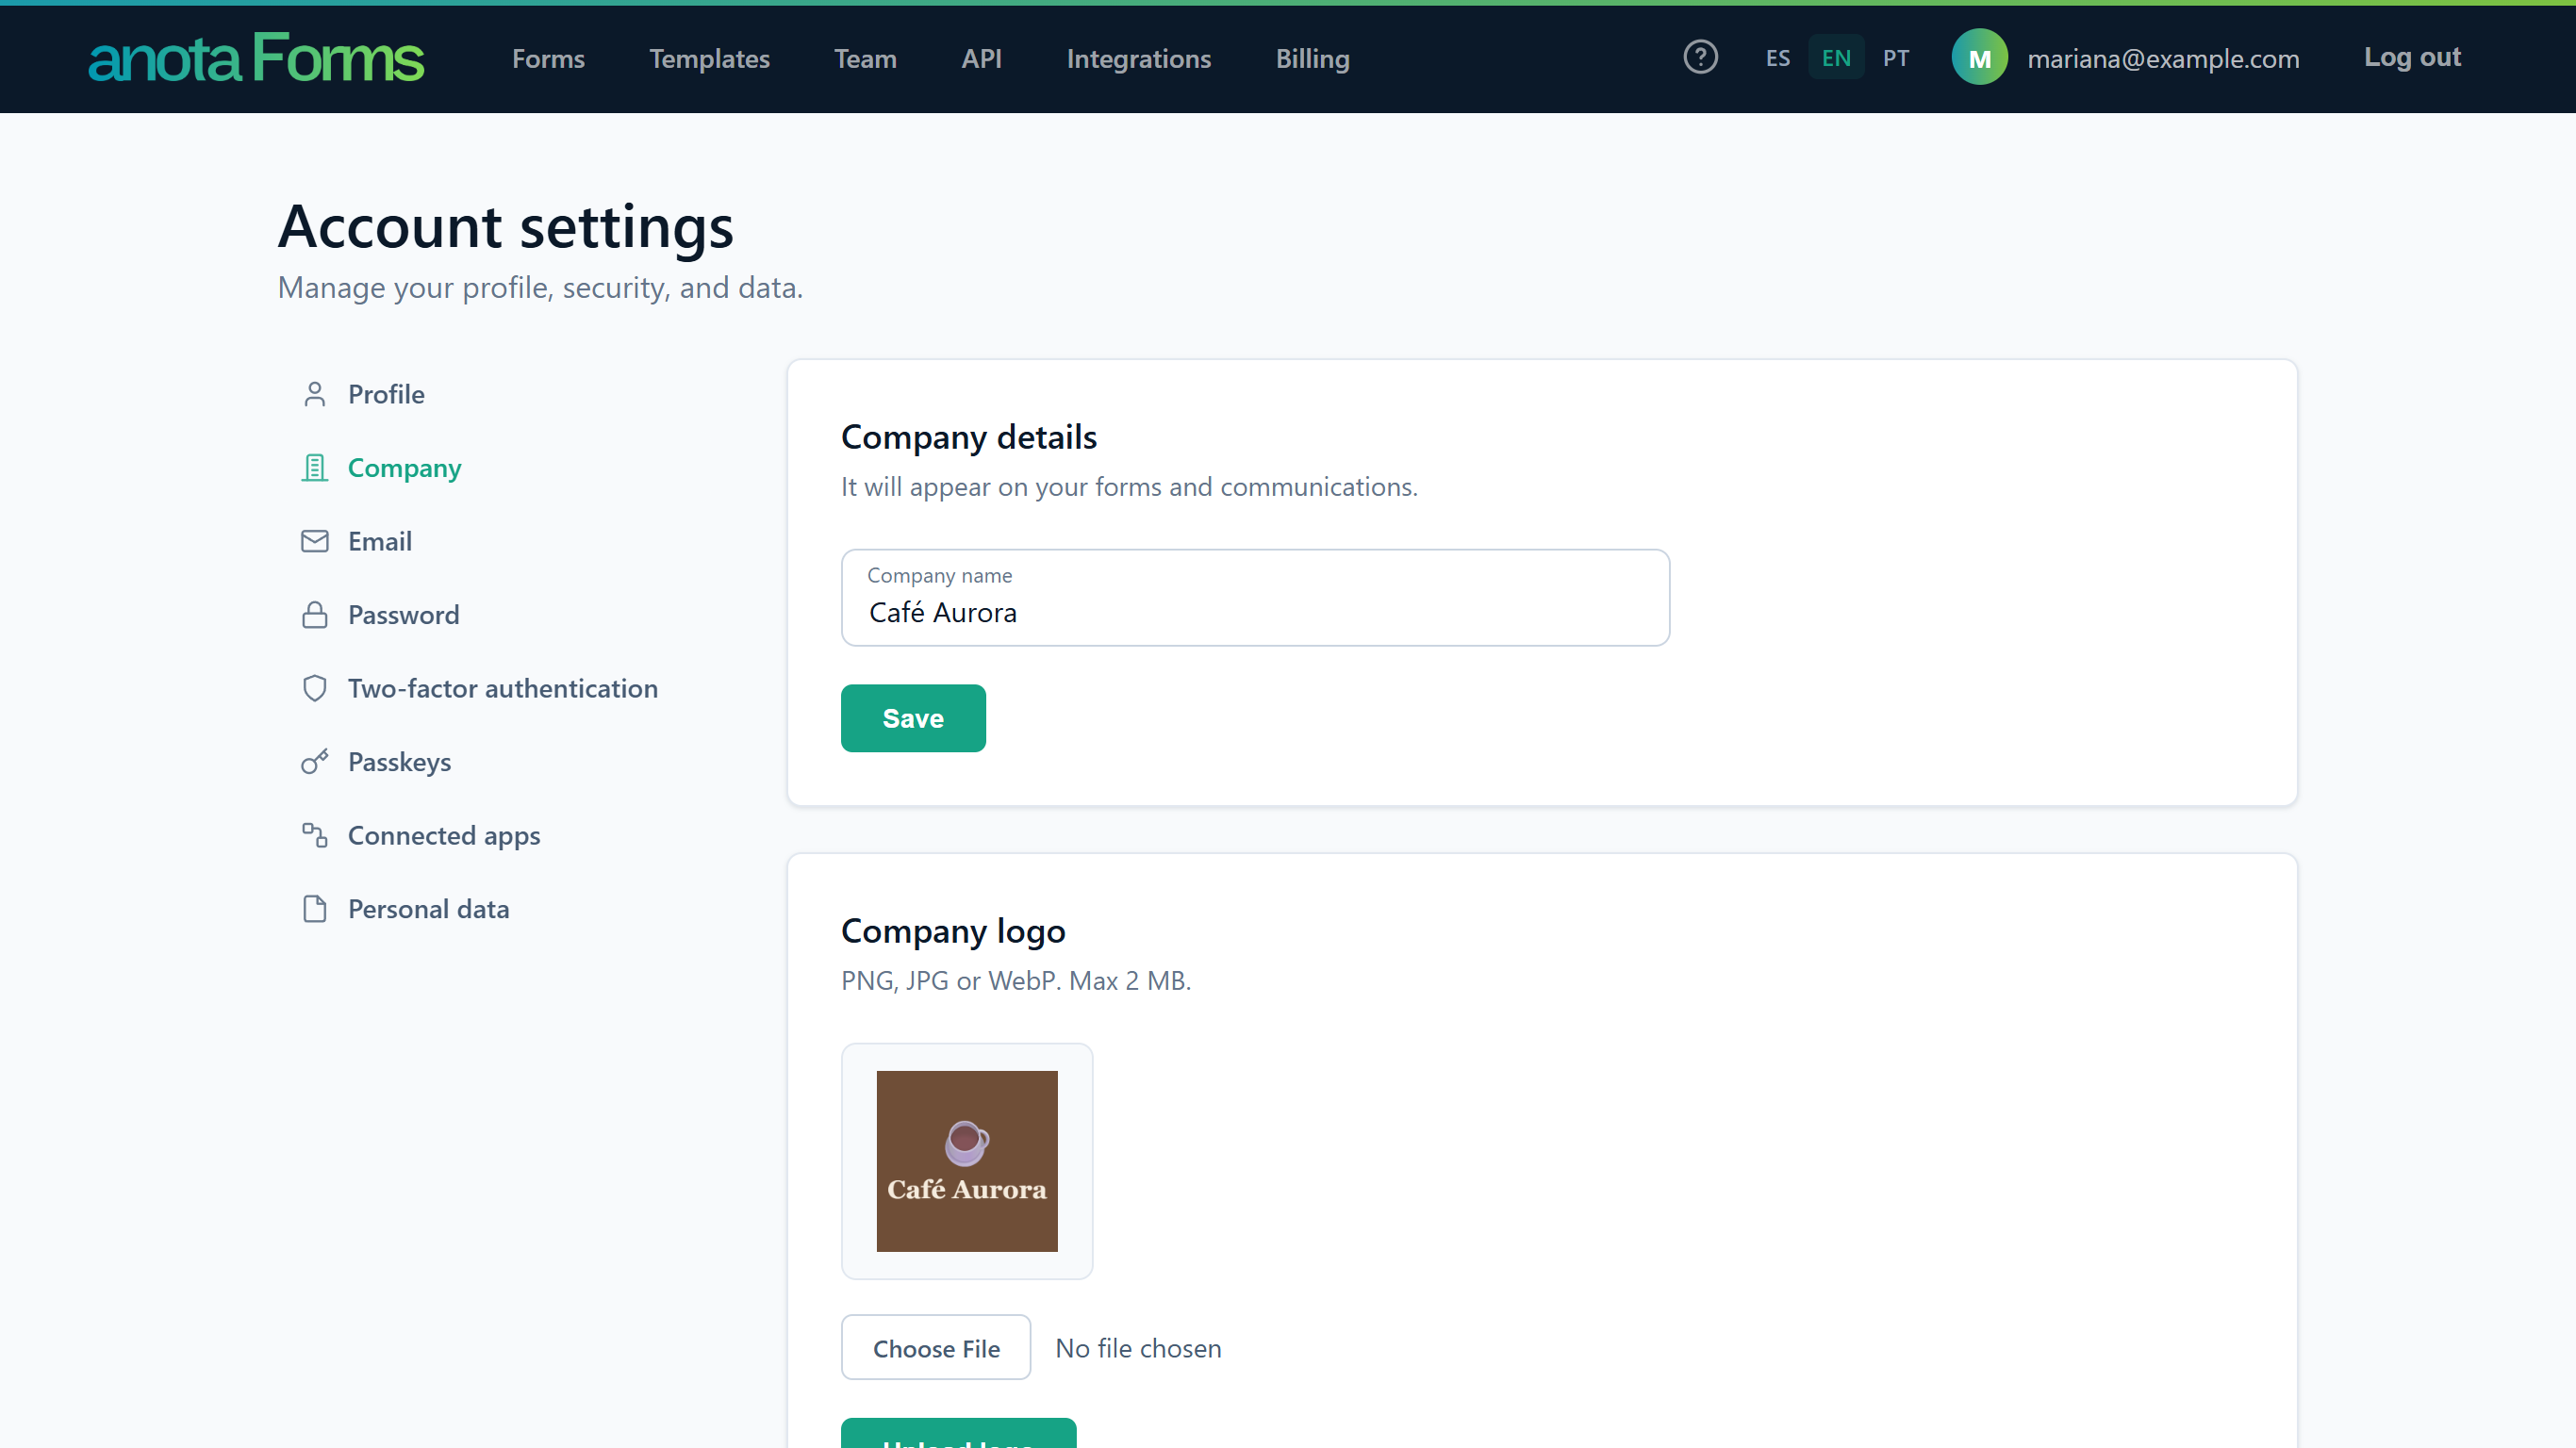 One name and one logo for the whole workspace.
Result
Every form in the workspace uses the name and logo straight away, including forms that are already published. You don't need to click Update on each form.
Task 2 — See where visitors find your brand
Step-by-step
Open a published form's public link. The logo and the company name sit at the top of the form, above its title.
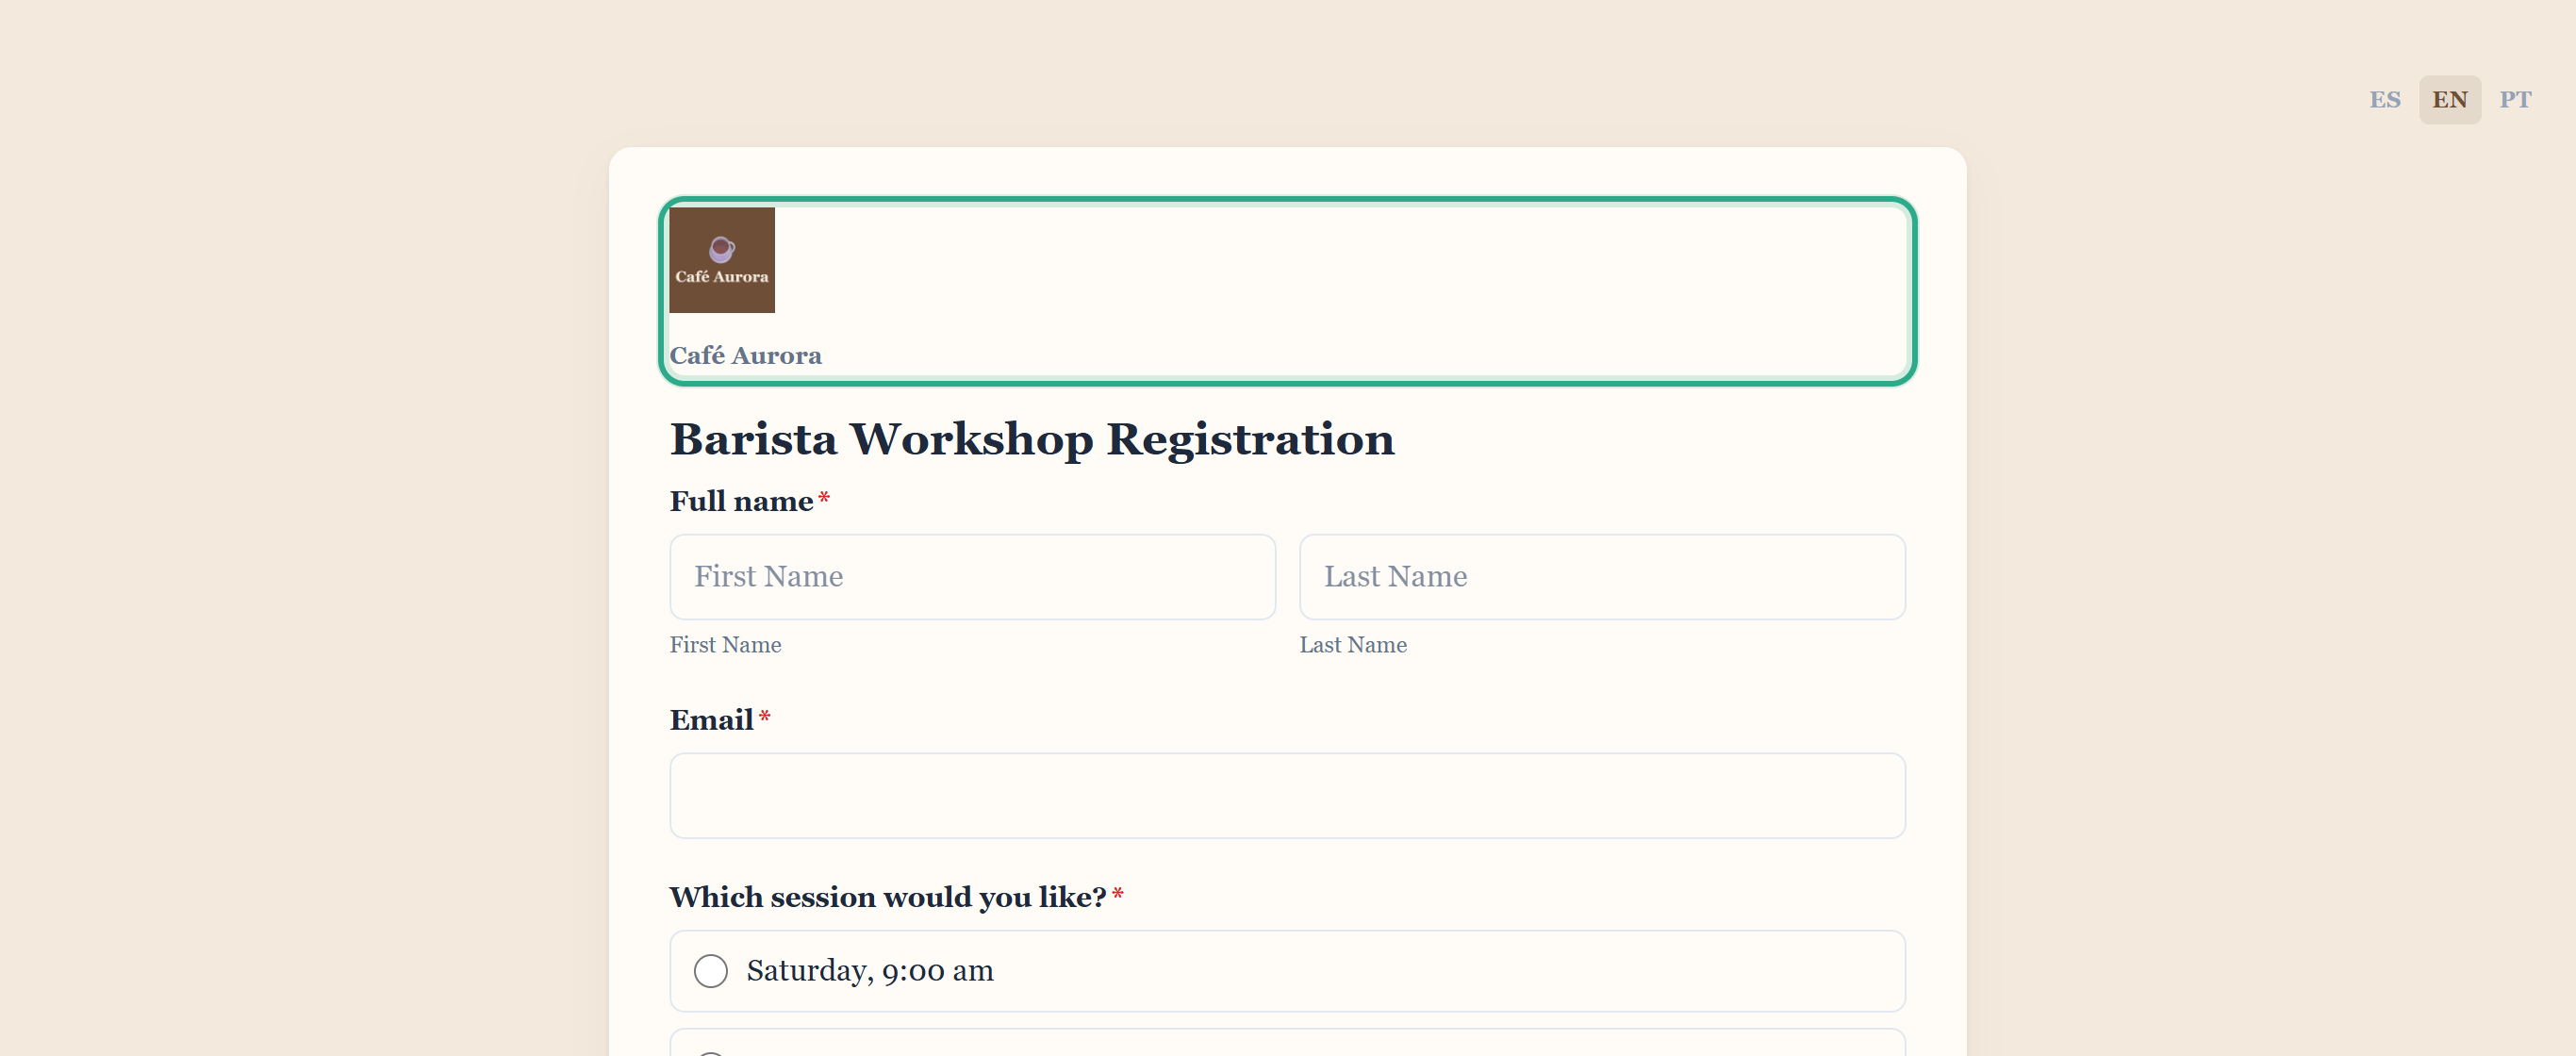 The name appears under the logo, in a smaller type.
Result
Visitors see your company identity in these places:
| Where | Logo | Company name |
|---|---|---|
| Top of a form in the classic layout | Yes | Yes |
| Thank-you screen, after a visitor submits (Classic and Card layouts) | Yes | Yes |
| Closed page (the form is disabled or past its closing date; see Publish and share) | Yes | Yes |
| "This form has reached its submission limit…" page | Yes | Yes |
| Payment required page, when an embedded form needs payment | Yes | Yes |
| Pages after a Stripe payment (payment confirmed, payment retry) | Yes | Yes |
| Submission PDF in the Letterhead or Order layout (download and email attachment; see Export to PDF) | Yes | Yes |
| Submission PDF in the Card, Summary or Report layout | No | Yes |
| Submission PDF in the Agreement, Certificate, Classic or Compact layout | No | No |
| Question cards of a form in the card layout | No | No |
| "This form isn't available" page (drafts, archived forms, wrong addresses) | No | No |
The company name is also used in invitation emails and on the invitation page, as the name of the workspace the person is invited to (see Invite members). Submission notification emails and autoresponders don't include your company name or logo. The PDF copy of a response carries them depending on its layout, as in the table above: the logo is the form's own Logo URL image when it's set, else the company logo, and a Logo URL that points to another website isn't drawn in the PDF.
Task 3 — Use a different logo on one form
Prerequisites
- The Editor role or above.
- The web address of the image you want to use, starting with
https://.
Step-by-step
Open the form in the builder and click the round pencil button, ✏ Design, at the bottom right of the canvas to open the Designer panel. Type the image's address in Logo URL, then click Update to publish the change.
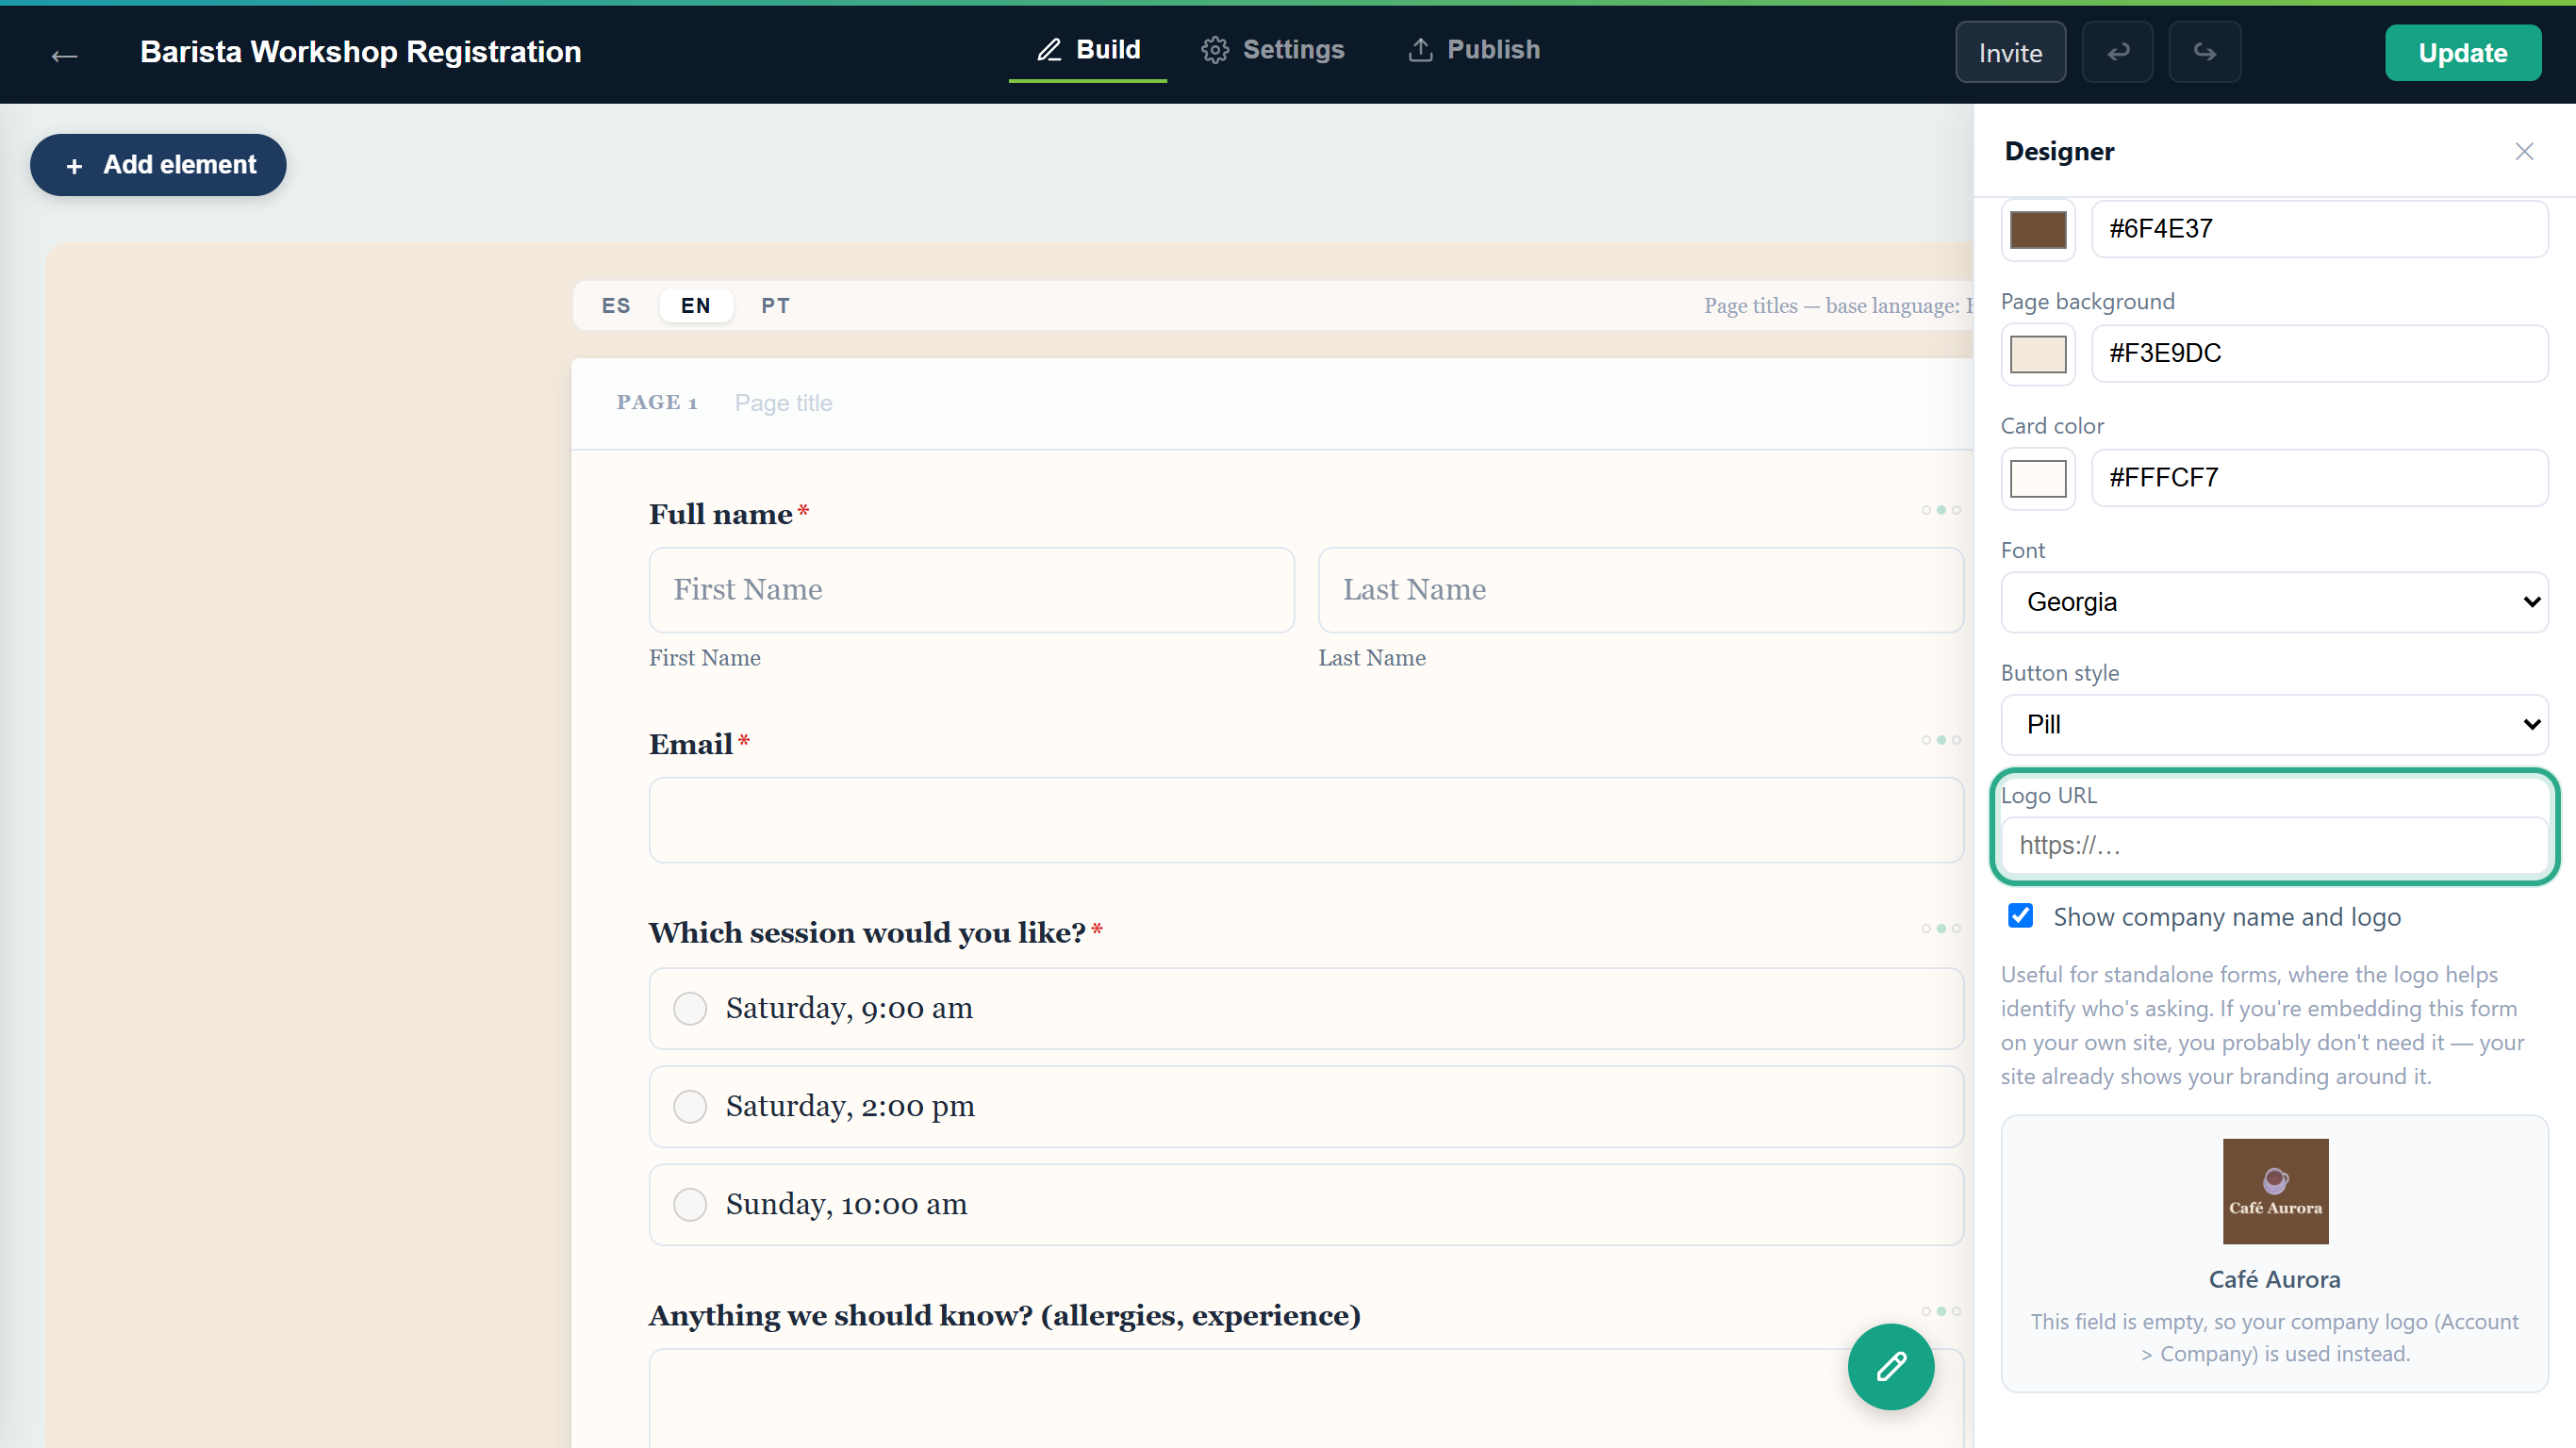 Empty, as here, the form uses the company logo.
Result
That form shows its own logo; every other form keeps the company logo. The company name still appears under the form's logo. To go back to the company logo, clear Logo URL and click Update. More on the Designer panel in Theme and appearance.
Task 4 — Leave the name and logo off one form
Use this for a form you embed on your own website, where your brand already surrounds it.
Step-by-step
In the form's Designer panel, untick Show Company name and logo. The preview box below it changes to "Hidden — the published form won't show a logo or company name." Click Update to publish the change.
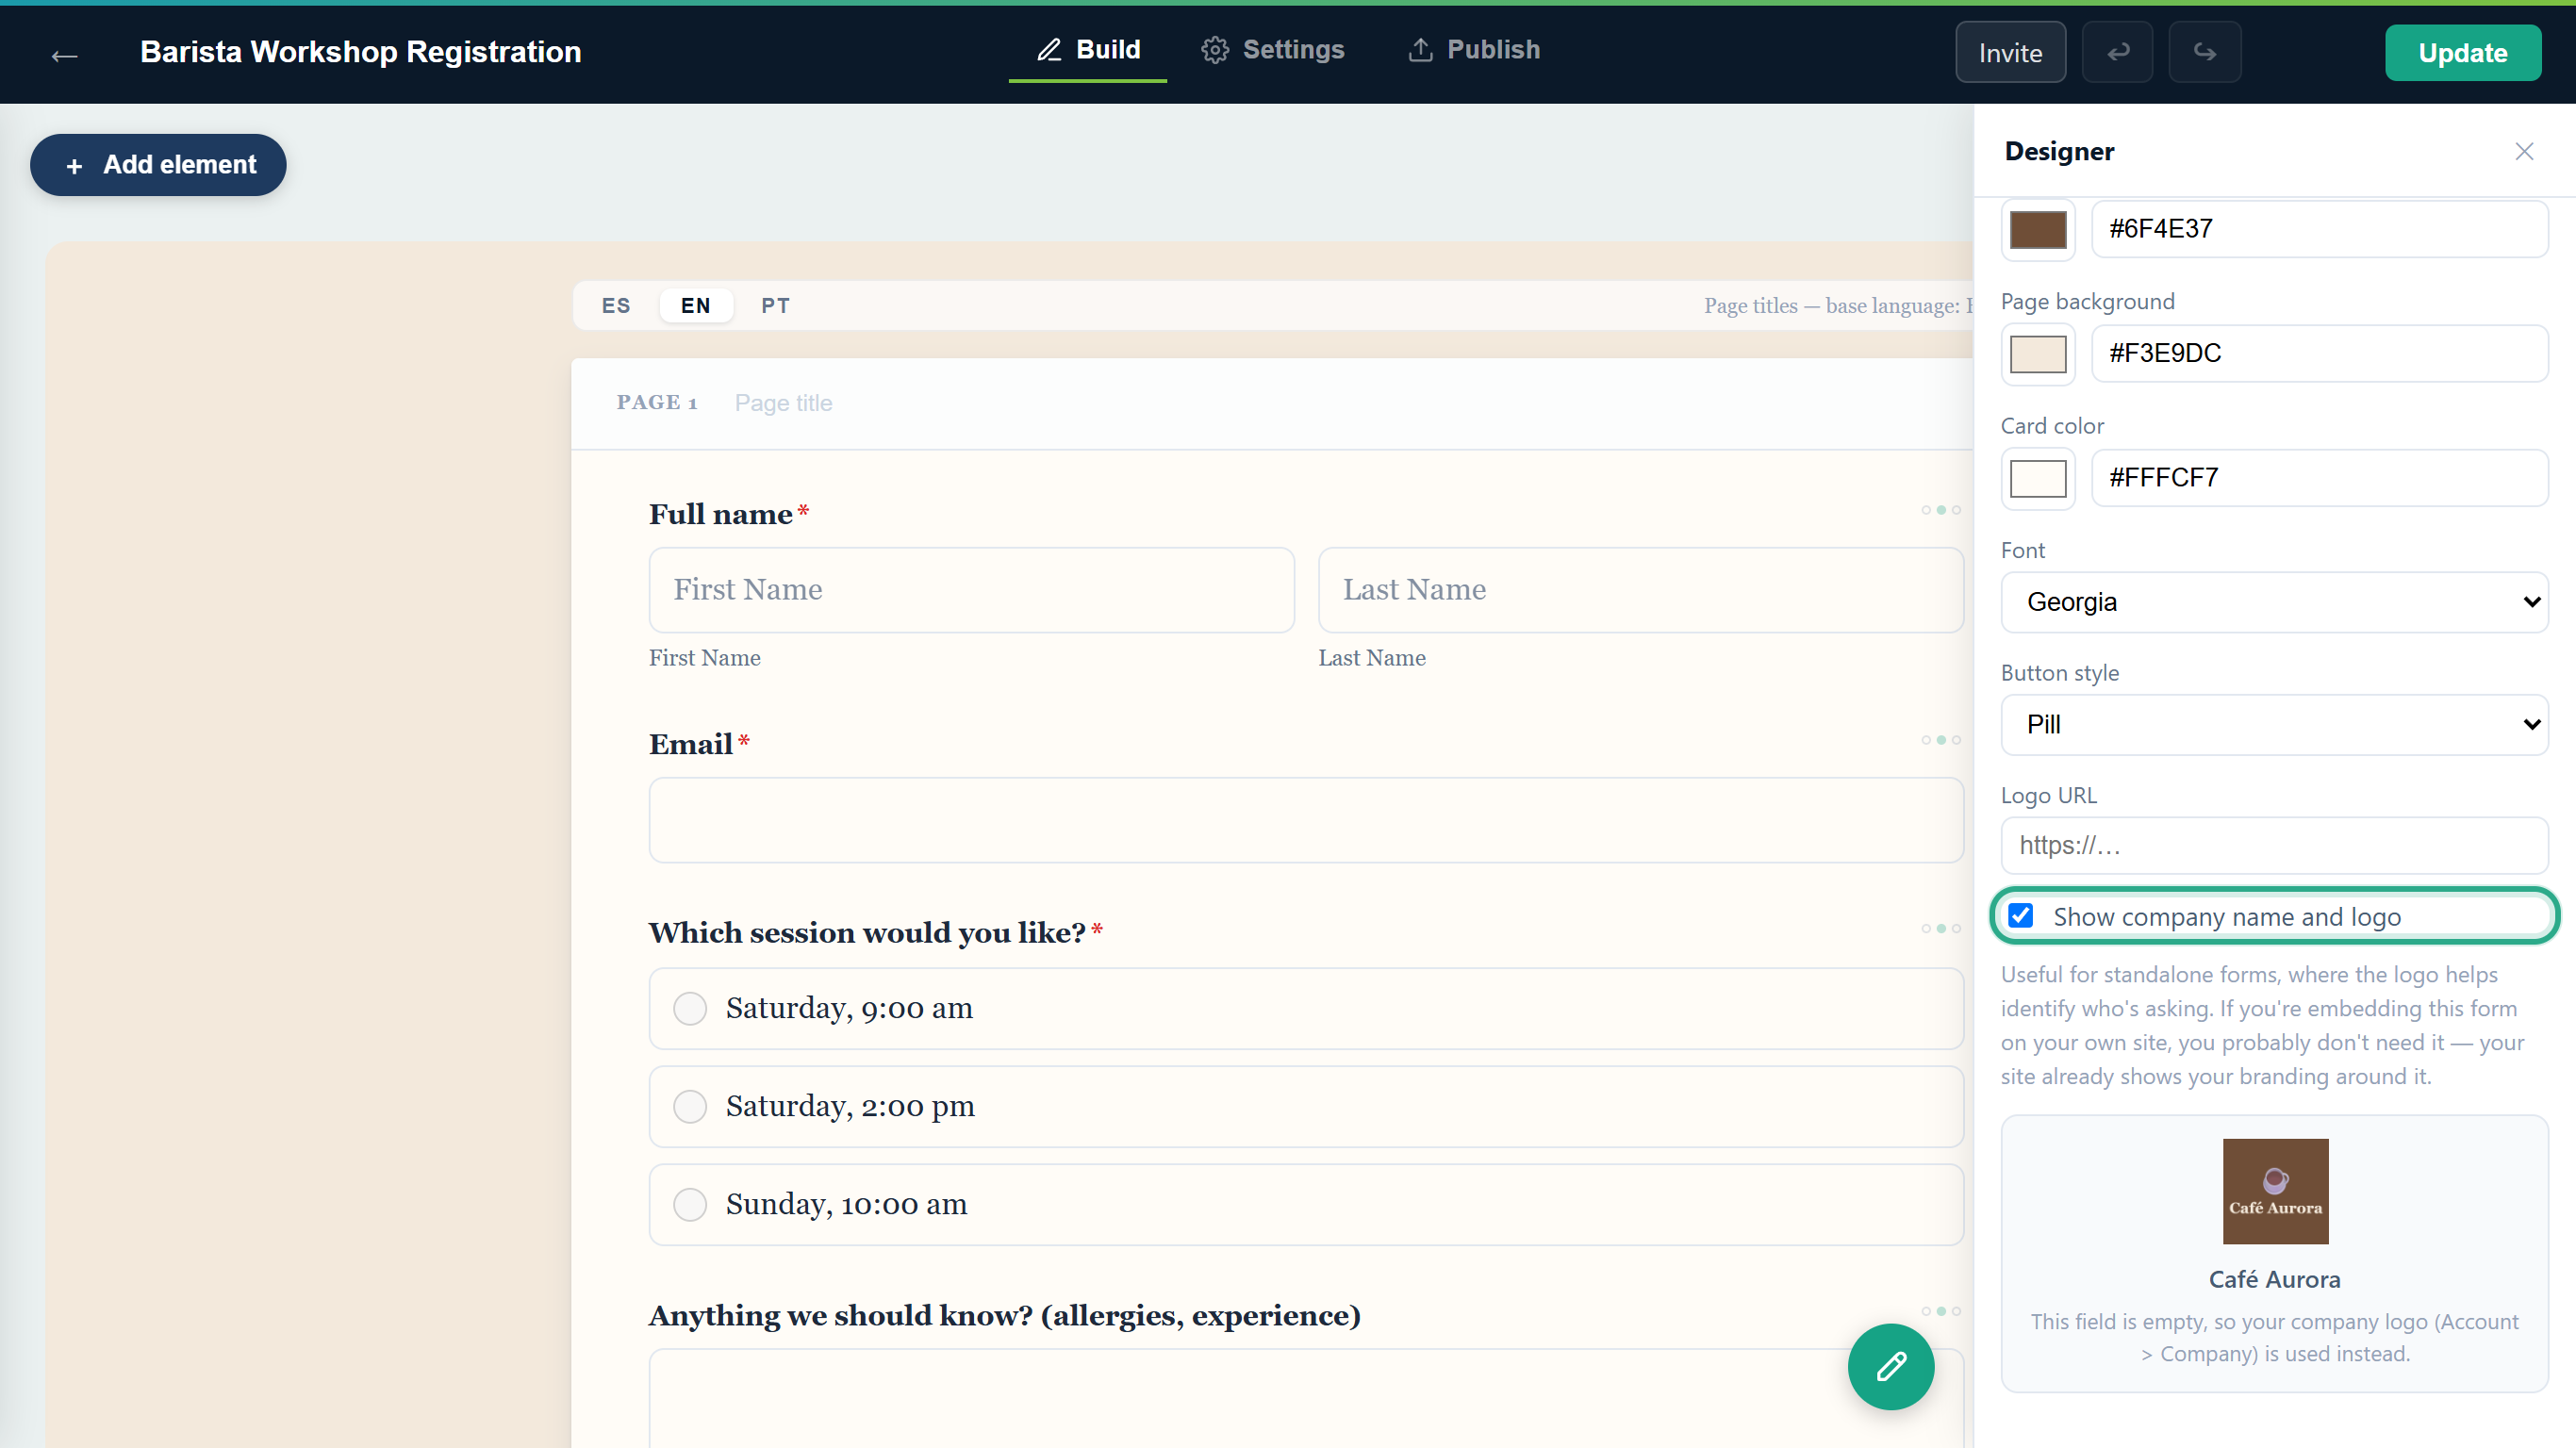 The hint: "Useful for standalone forms, where the logo helps identify who's asking."
Result
The form shows neither the logo nor the company name, on any of its pages. Other forms aren't affected. Tick the box again, and click Update, to bring them back.
Task 5 — Remove the "Powered by anota" footer
On the Starter and Bronze plans, your public forms, their thank-you and closed pages and their payment pages end with "Powered by anota". On the Silver and Gold plans the footer isn't shown. There's no setting to switch: it depends only on the plan.
Step-by-step
Open a public form and scroll to the bottom. On Starter or Bronze you see Powered by anota under the form.
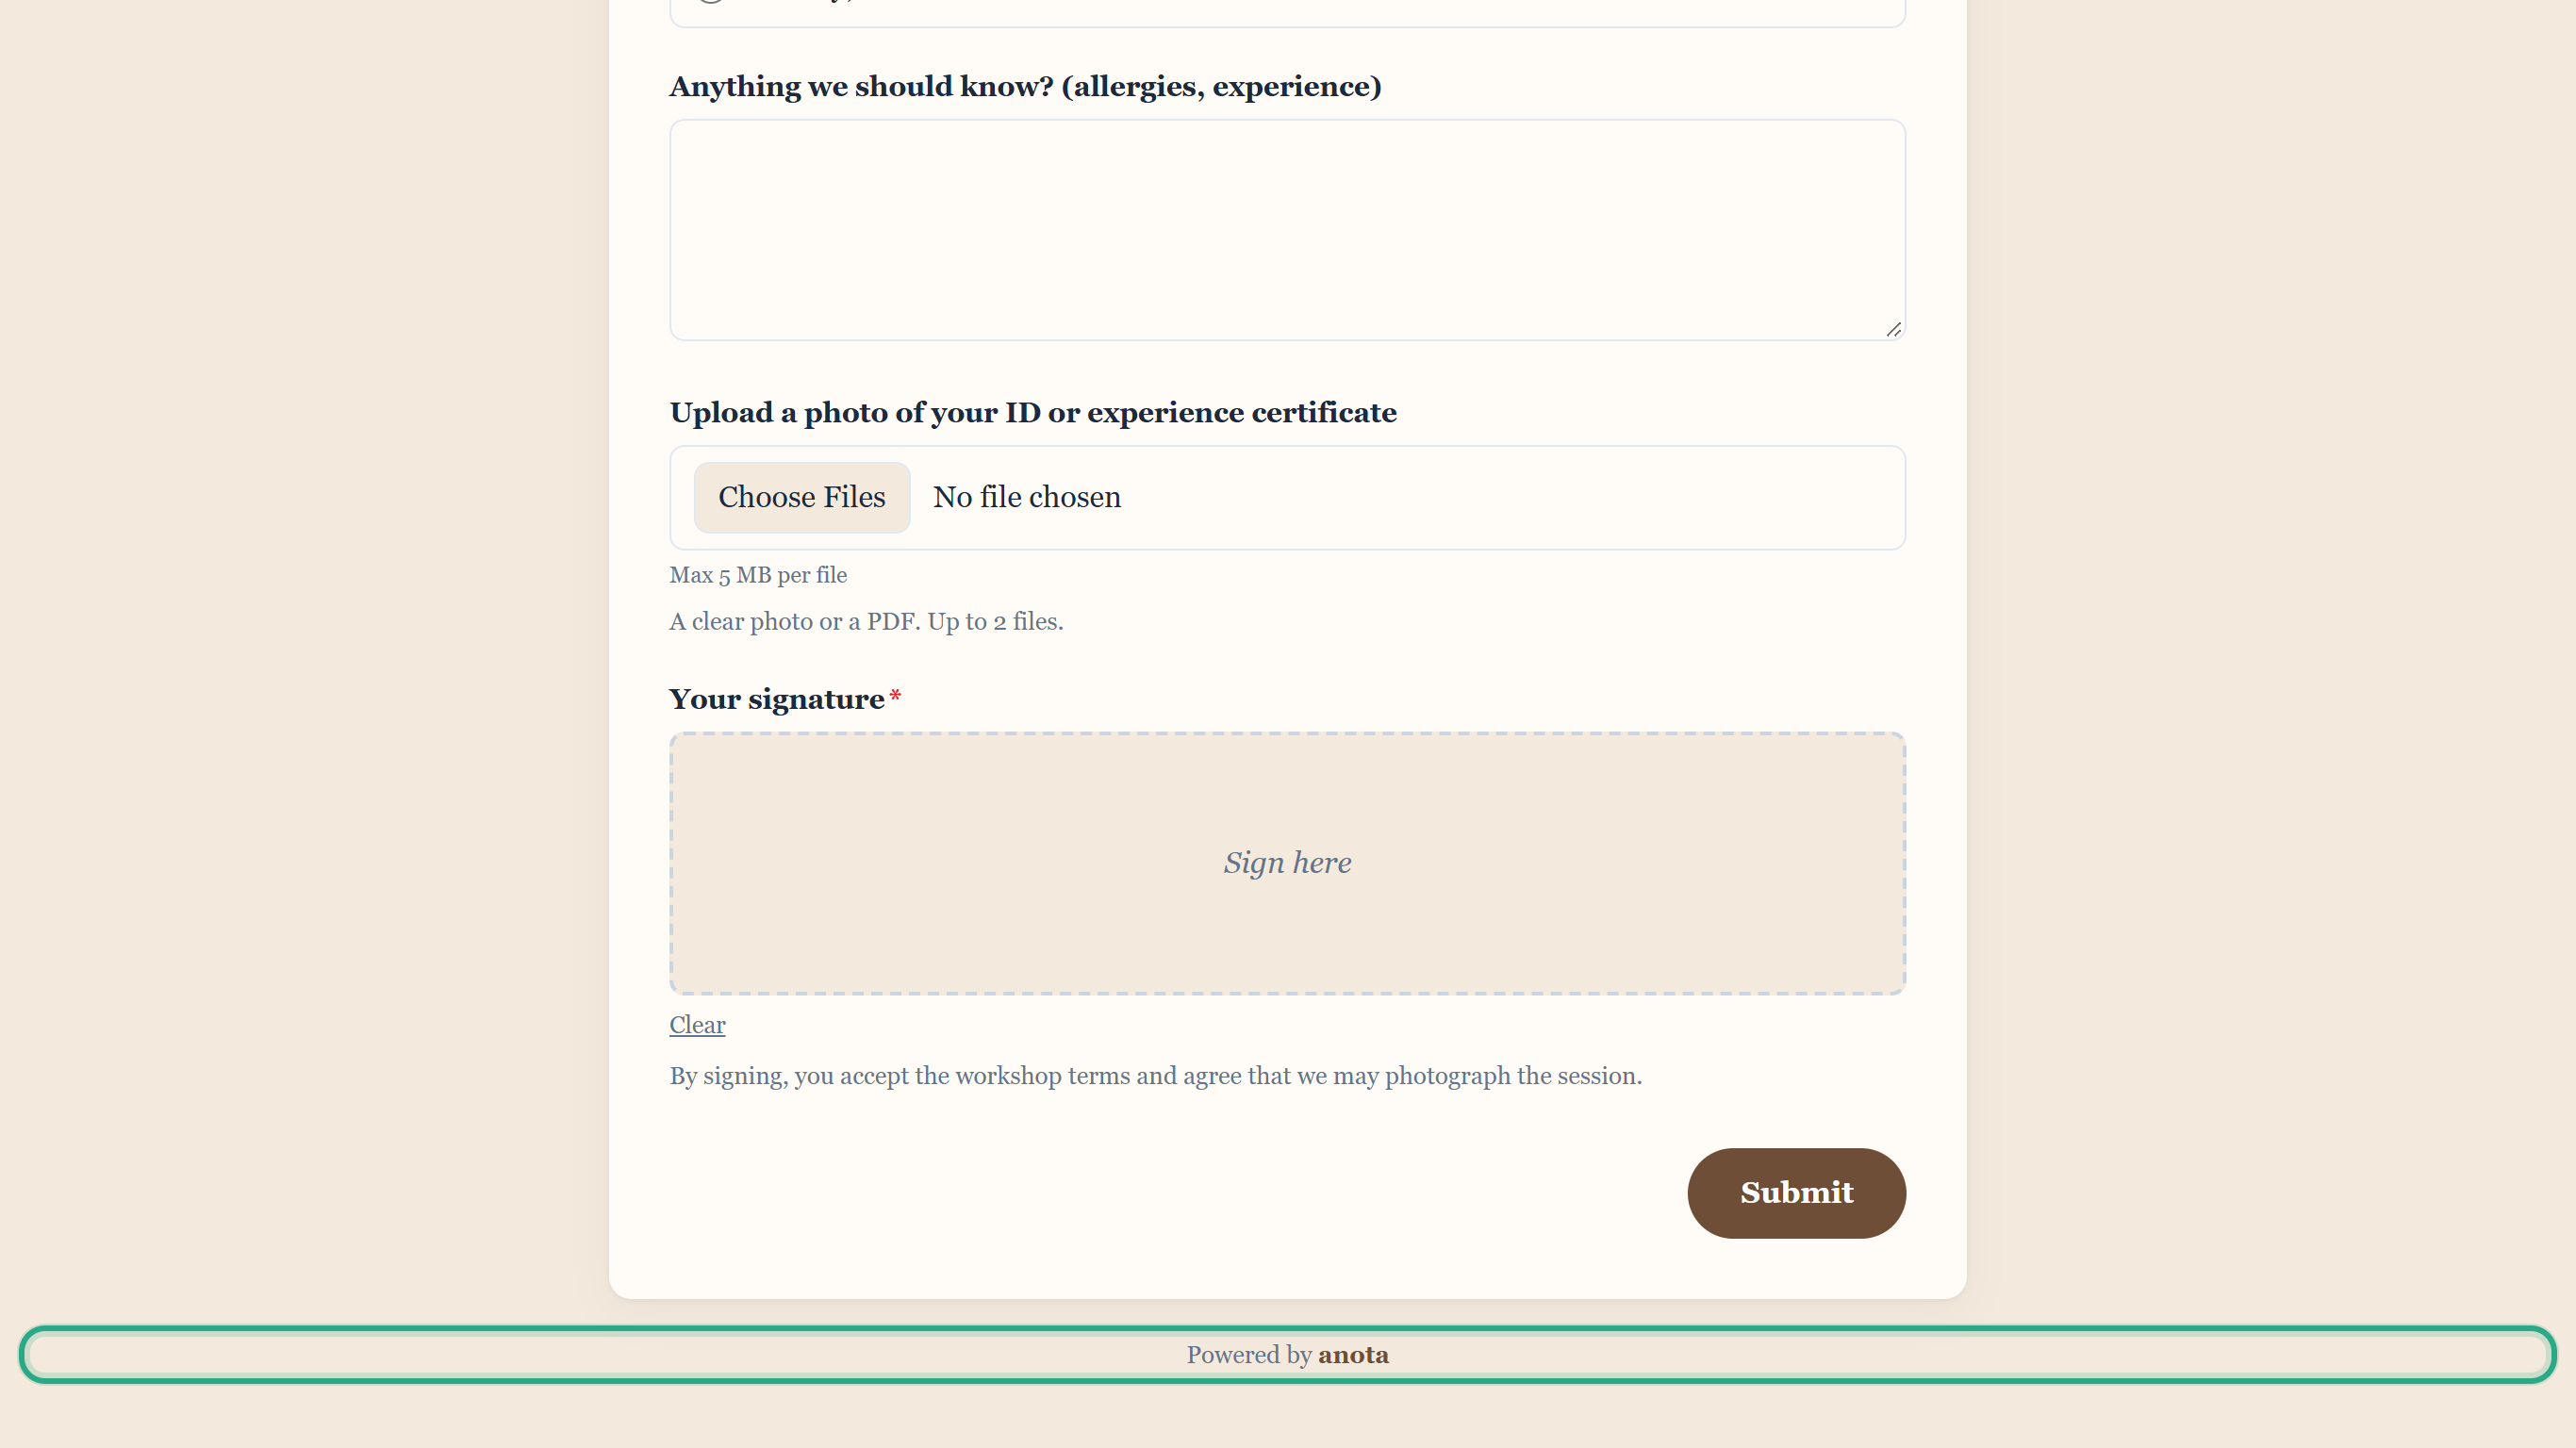 The word anota links to anota's website.
To remove it, go to Billing and choose Silver or Gold. Their cards list ✓ Remove anota branding. See Plans and billing for how to change plans.
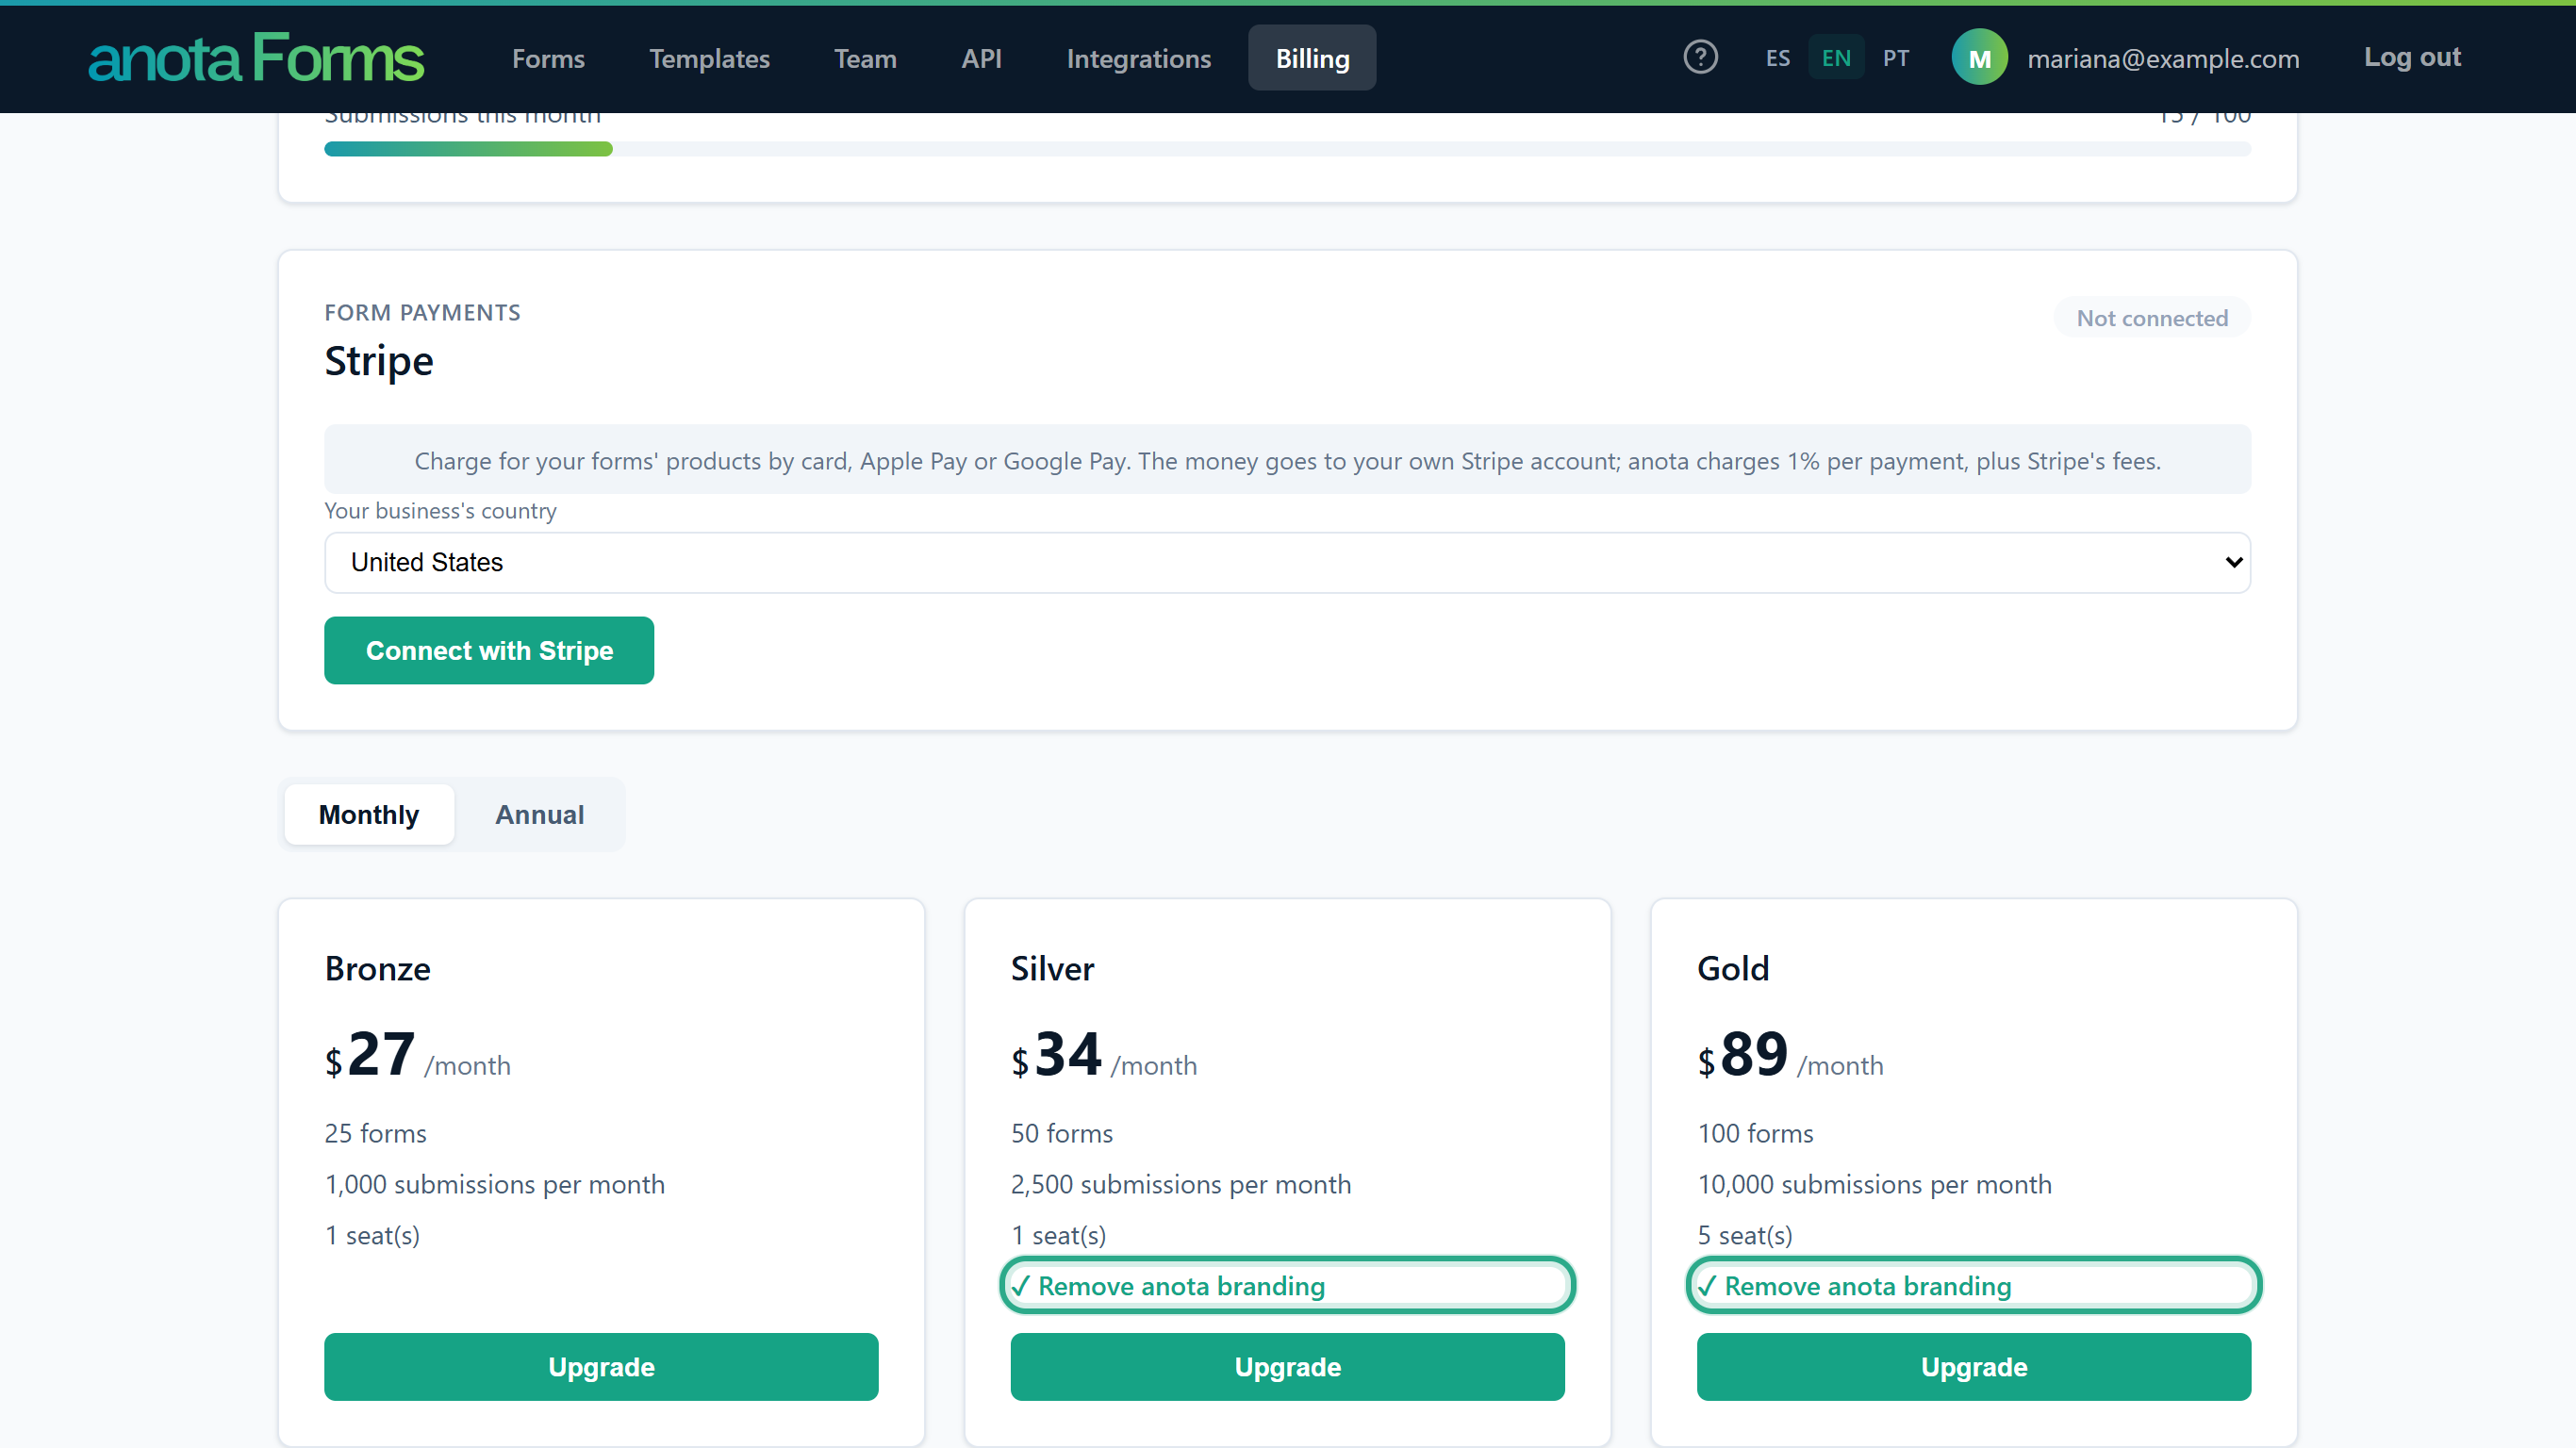 Bronze doesn't include it.
Result
Once the workspace is on Silver or Gold, the footer disappears from all its forms and payment pages. If the workspace moves back to Starter or Bronze, the footer comes back.
Roles and permissions
| Role | Company name and logo (Account settings > Company) | A form's Logo URL and Show Company name and logo |
|---|---|---|
| Owner, Admin | View and change | Change |
| Editor | No access | Change |
| Viewer | No access | No |
Editors and Viewers who open Company see "You don't have permission to view this page."
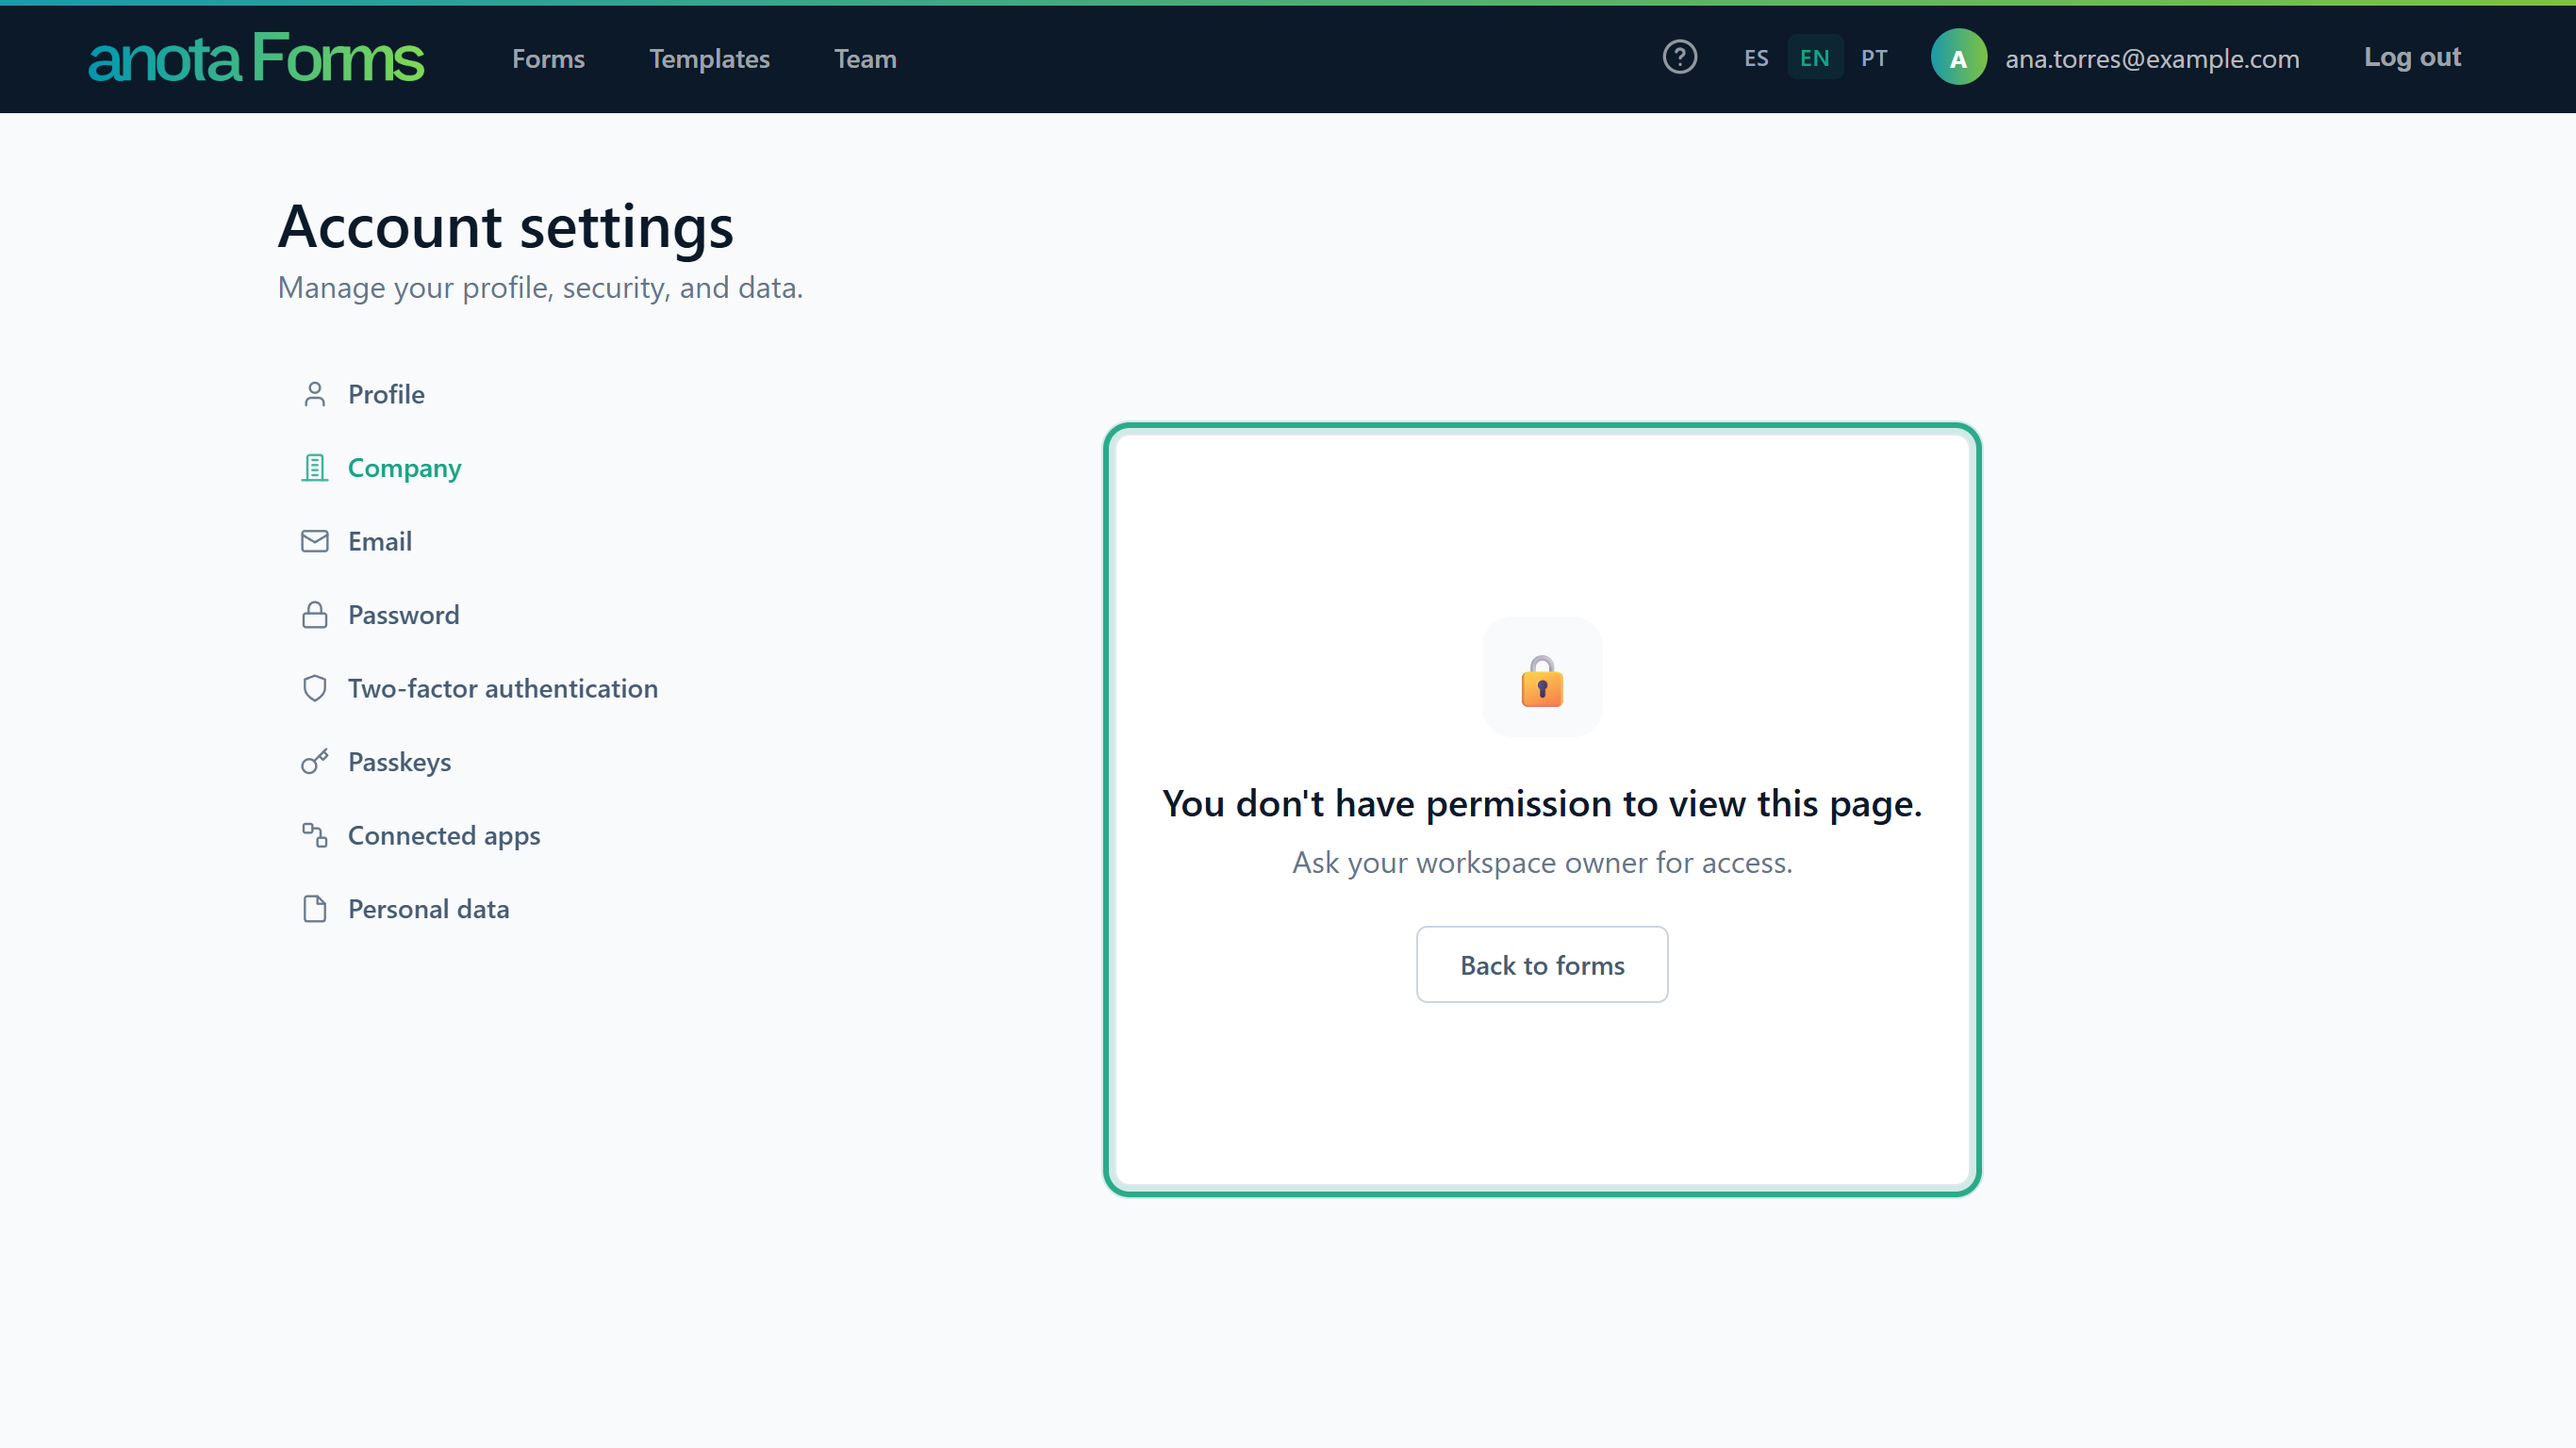 The Company link is in everyone's menu, but only Owners and Admins can open it.
Troubleshooting
| Symptom | Likely cause | Resolution |
|---|---|---|
| A form doesn't show the company logo | The form has its own Logo URL, Show Company name and logo is unticked, or no company logo is uploaded. | In the form's Designer panel, clear Logo URL, tick the checkbox and click Update. Otherwise upload a logo on Account settings > Company. |
| A card-layout form doesn't show the logo on its questions | Card-layout forms show the logo and name on the thank-you screen, not on the question cards. | Nothing to fix. Use the classic layout if the logo must be visible while people answer. |
| The name shows but there's no logo | No company logo is uploaded, and the form has no Logo URL. | Upload a logo (Company name and logo). |
| "Powered by anota" is still on my forms | The workspace is on Starter or Bronze. | Move to Silver or Gold on Billing. |
| "You don't have permission to view this page." on Company | Your role is Editor or Viewer. | Ask the workspace Owner or an Admin. |
Related features
Was this page helpful?