Company name and logo
Company name and logo
Applies to: anota, all plans Roles required: Owner or Admin Regulatory references: none
Overview
Set your company's name and logo once for the whole workspace, on Account settings > Company. From then on they appear at the top of your published forms, and on their thank-you and closed pages, without any setup inside each form. Workspace Owners and Admins use this page so every form looks like it comes from the same business.
The examples use Café Aurora's workspace: its name, "Café Aurora", and its brown square logo with a coffee cup. For where the name and logo appear, how a form can use a different logo or hide them, and the "Powered by anota" footer, see Company and branding.
Key concepts
- Company name: the name shown under the logo on your published forms. Up to 200 characters. Invitation emails also use it as the workspace's name.
- Company logo: one image for the whole workspace: PNG, JPG or WebP, up to 2 MB. Every form uses it unless it has a logo of its own.
- Logo URL (per form): a field in each form's Designer panel. When it's filled in, that form shows that image instead of the company logo. See Theme and appearance.
- Show company name and logo (per form): a checkbox in the same panel, ticked by default. Untick it to leave the name and logo off that form.
Task 1 — Open the Company page
Prerequisites
- The Owner or Admin role in the workspace. Editors and Viewers also see Company in the menu, but opening it shows "You don't have permission to view this page."
Step-by-step
Click your email address at the top right to open Account settings.
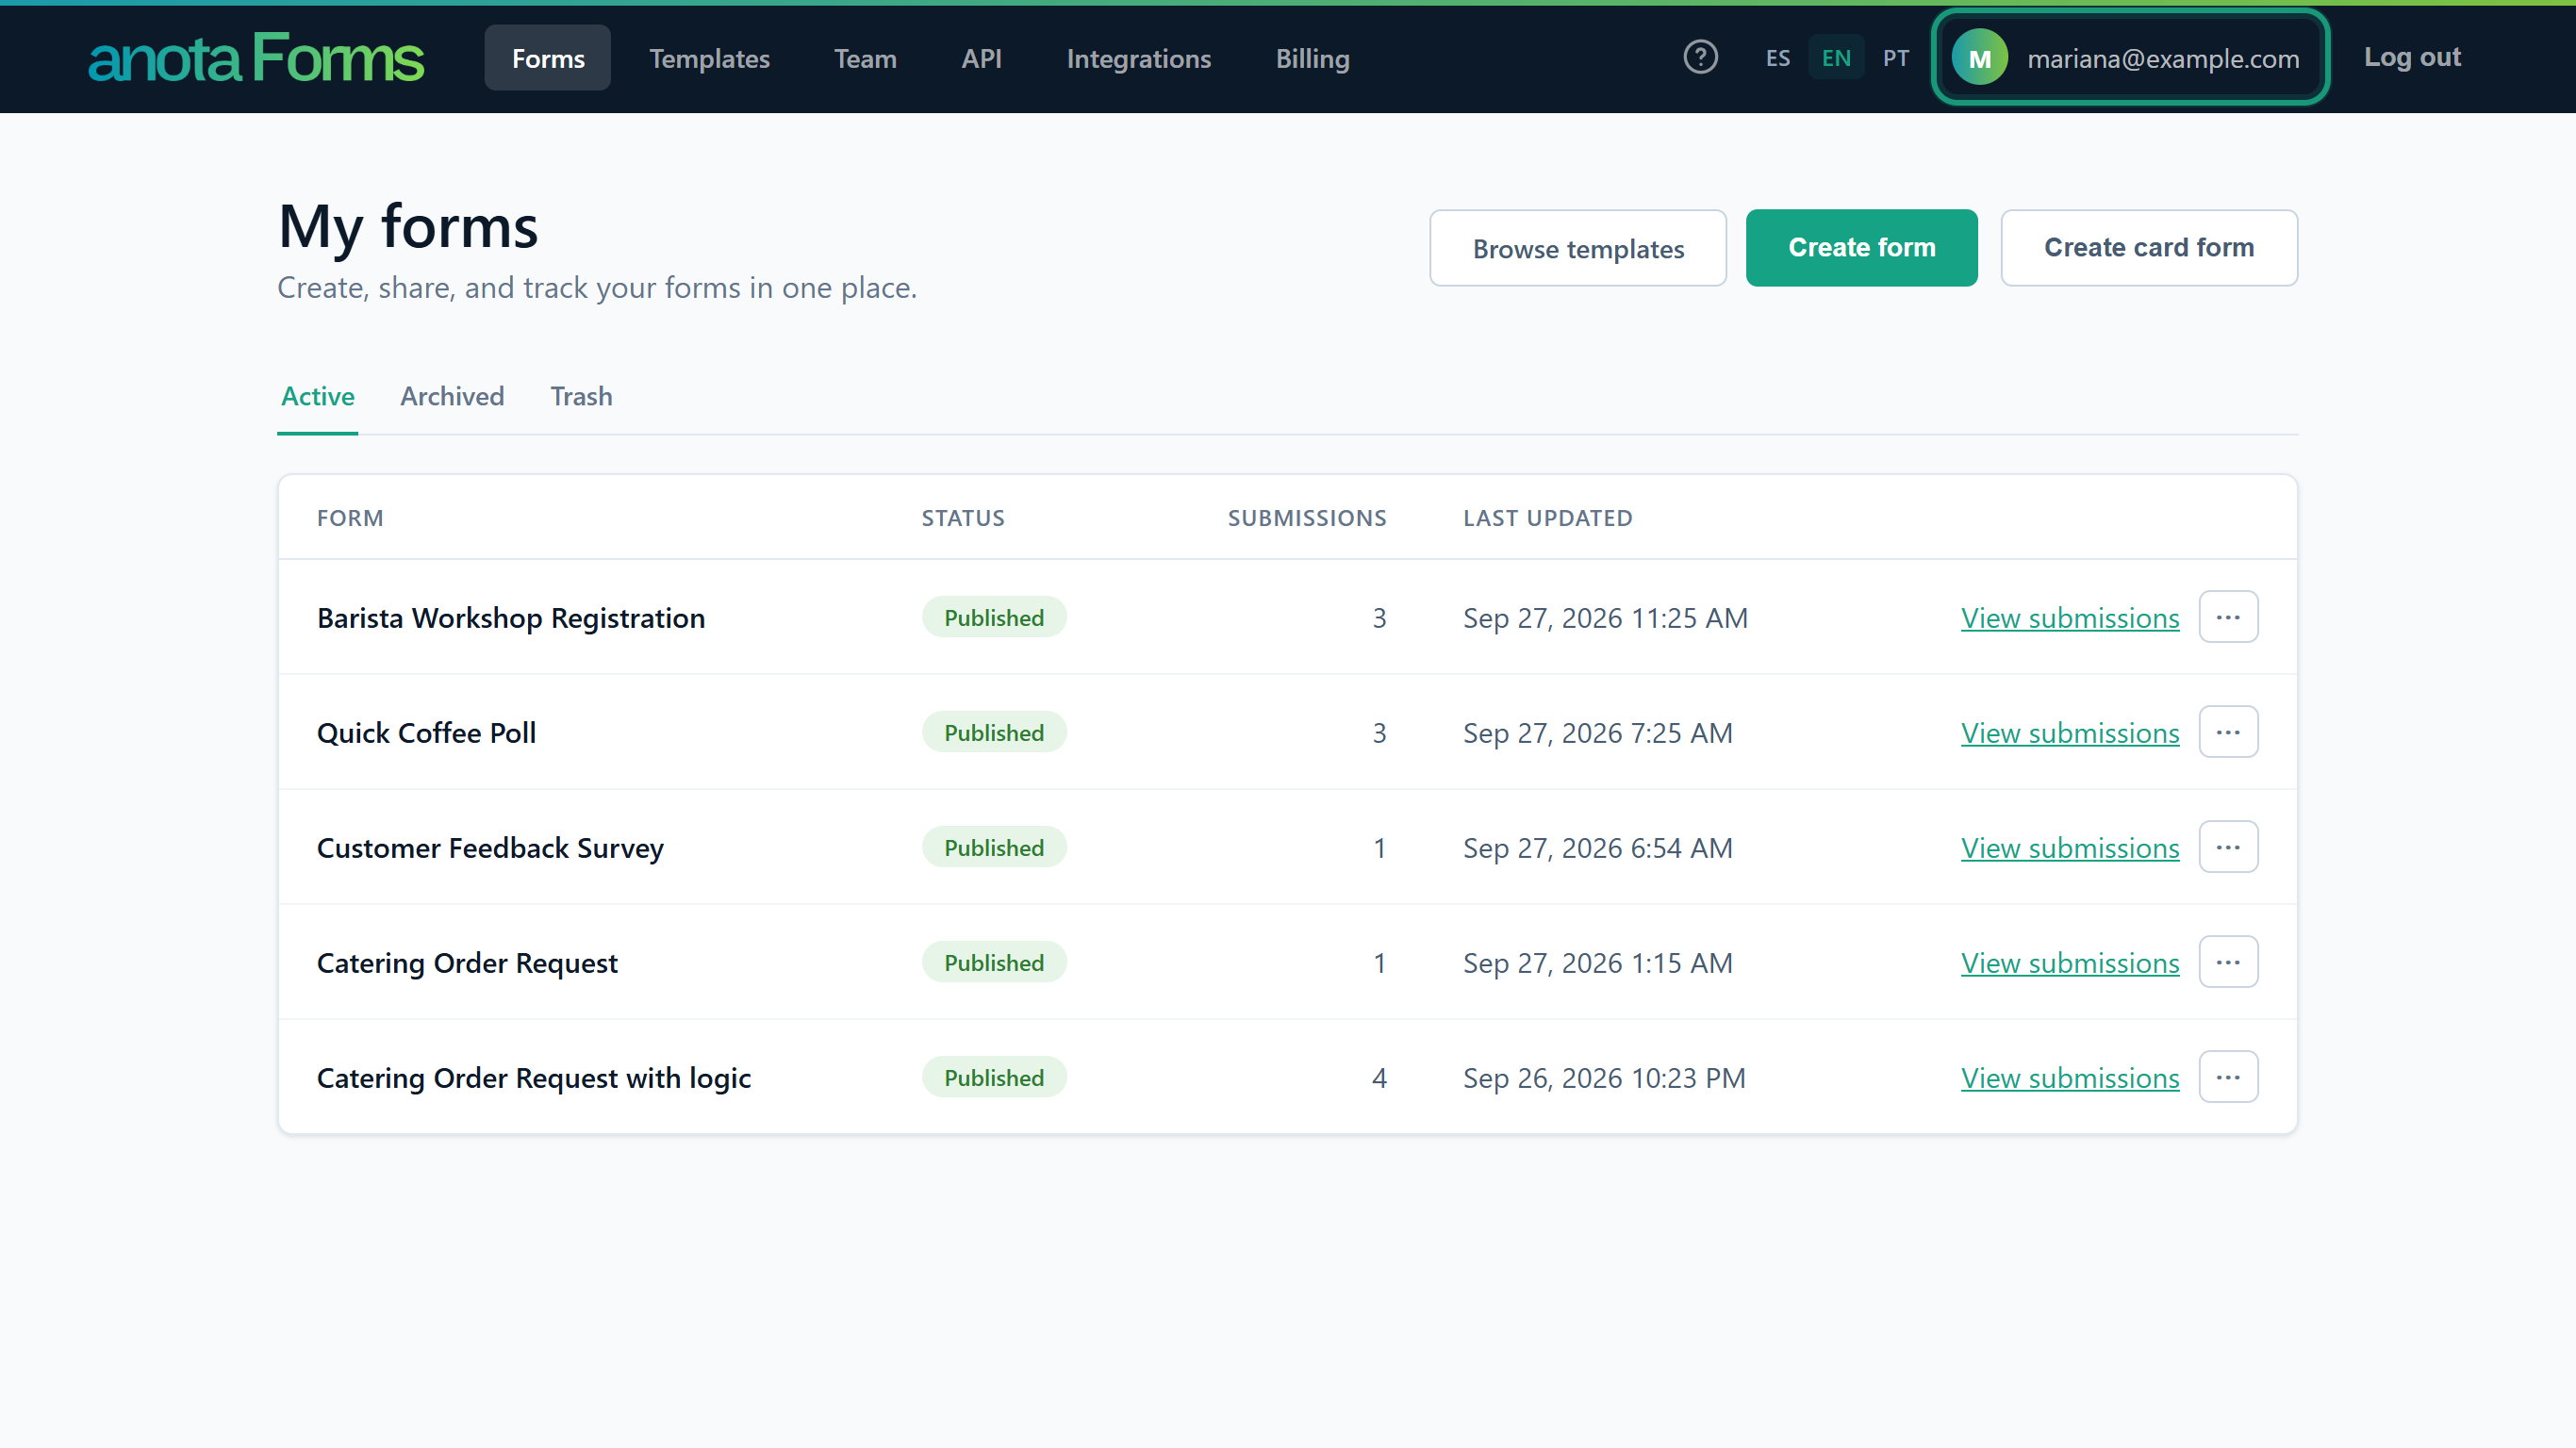 Account settings holds your profile, your security settings and the company details.
In the menu on the left, click Company.
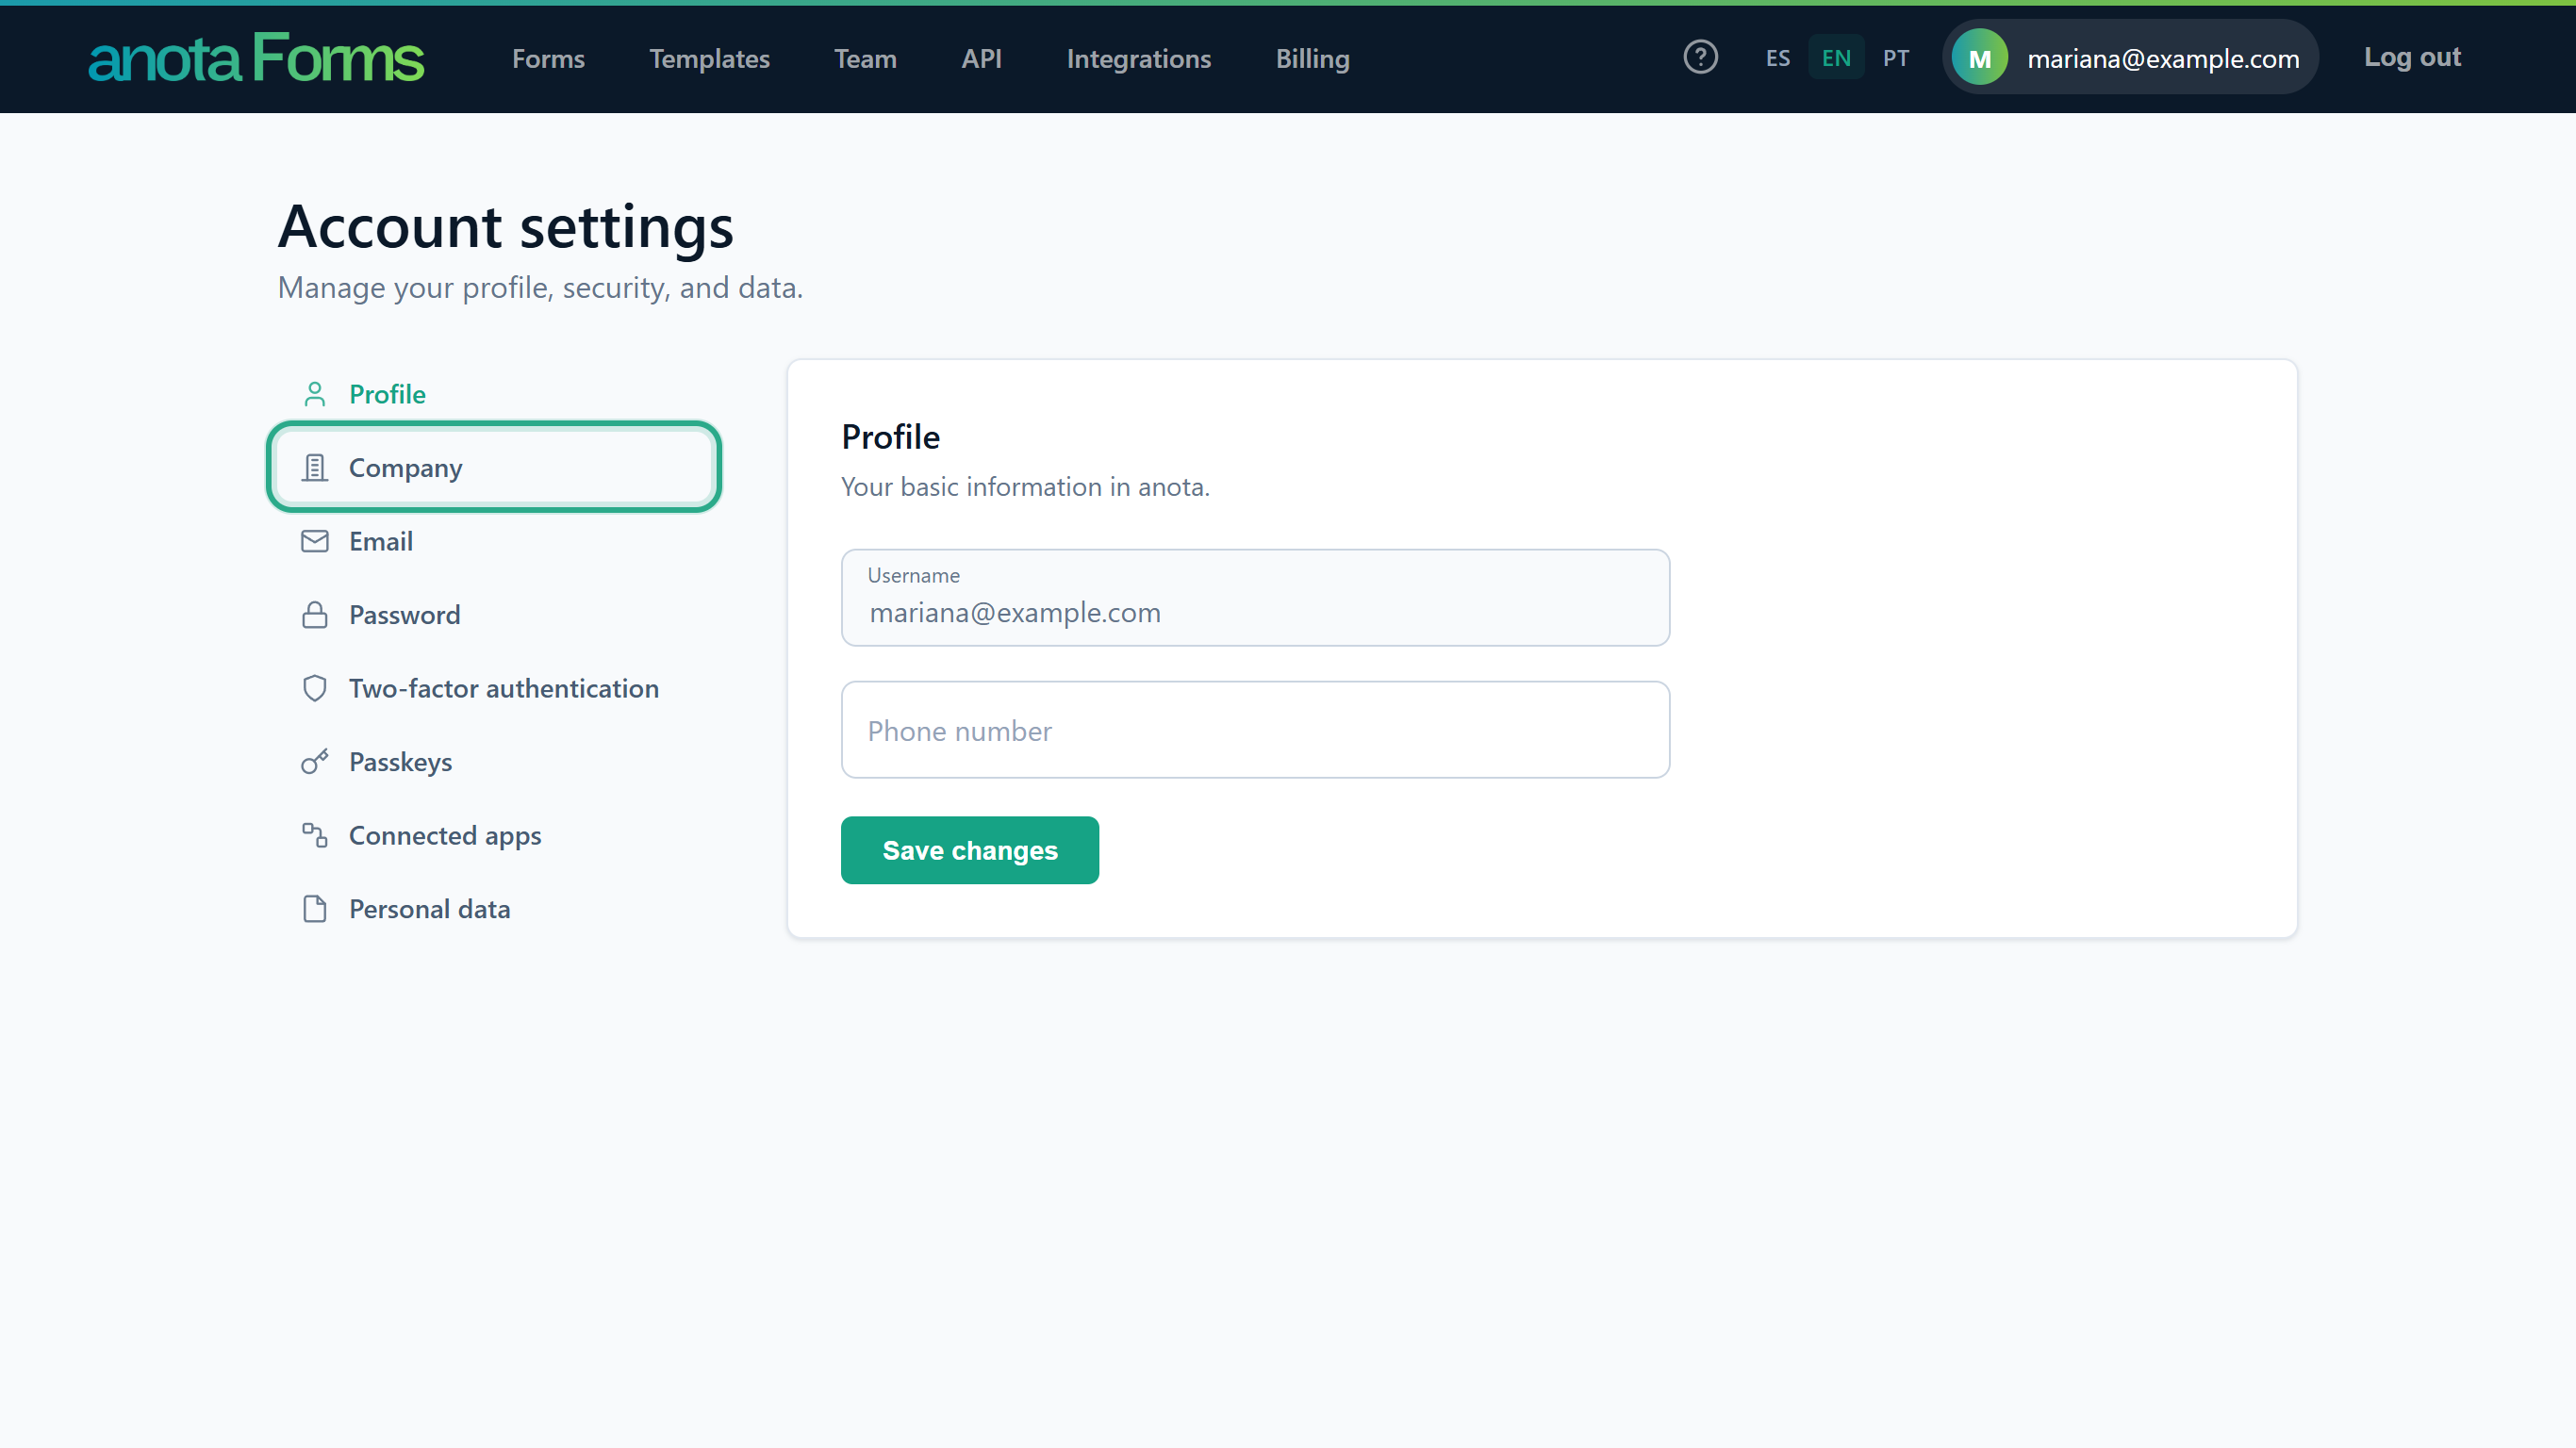 The Company page has two cards: Company details and Company logo.
Result
The Company page opens, with Company details ("It will appear on your forms and communications.") at the top and Company logo below it.
Task 2 — Set the company name
Step-by-step
Under Company details, type your business's name in Company name. Use the name customers know you by, since visitors see it on your forms.
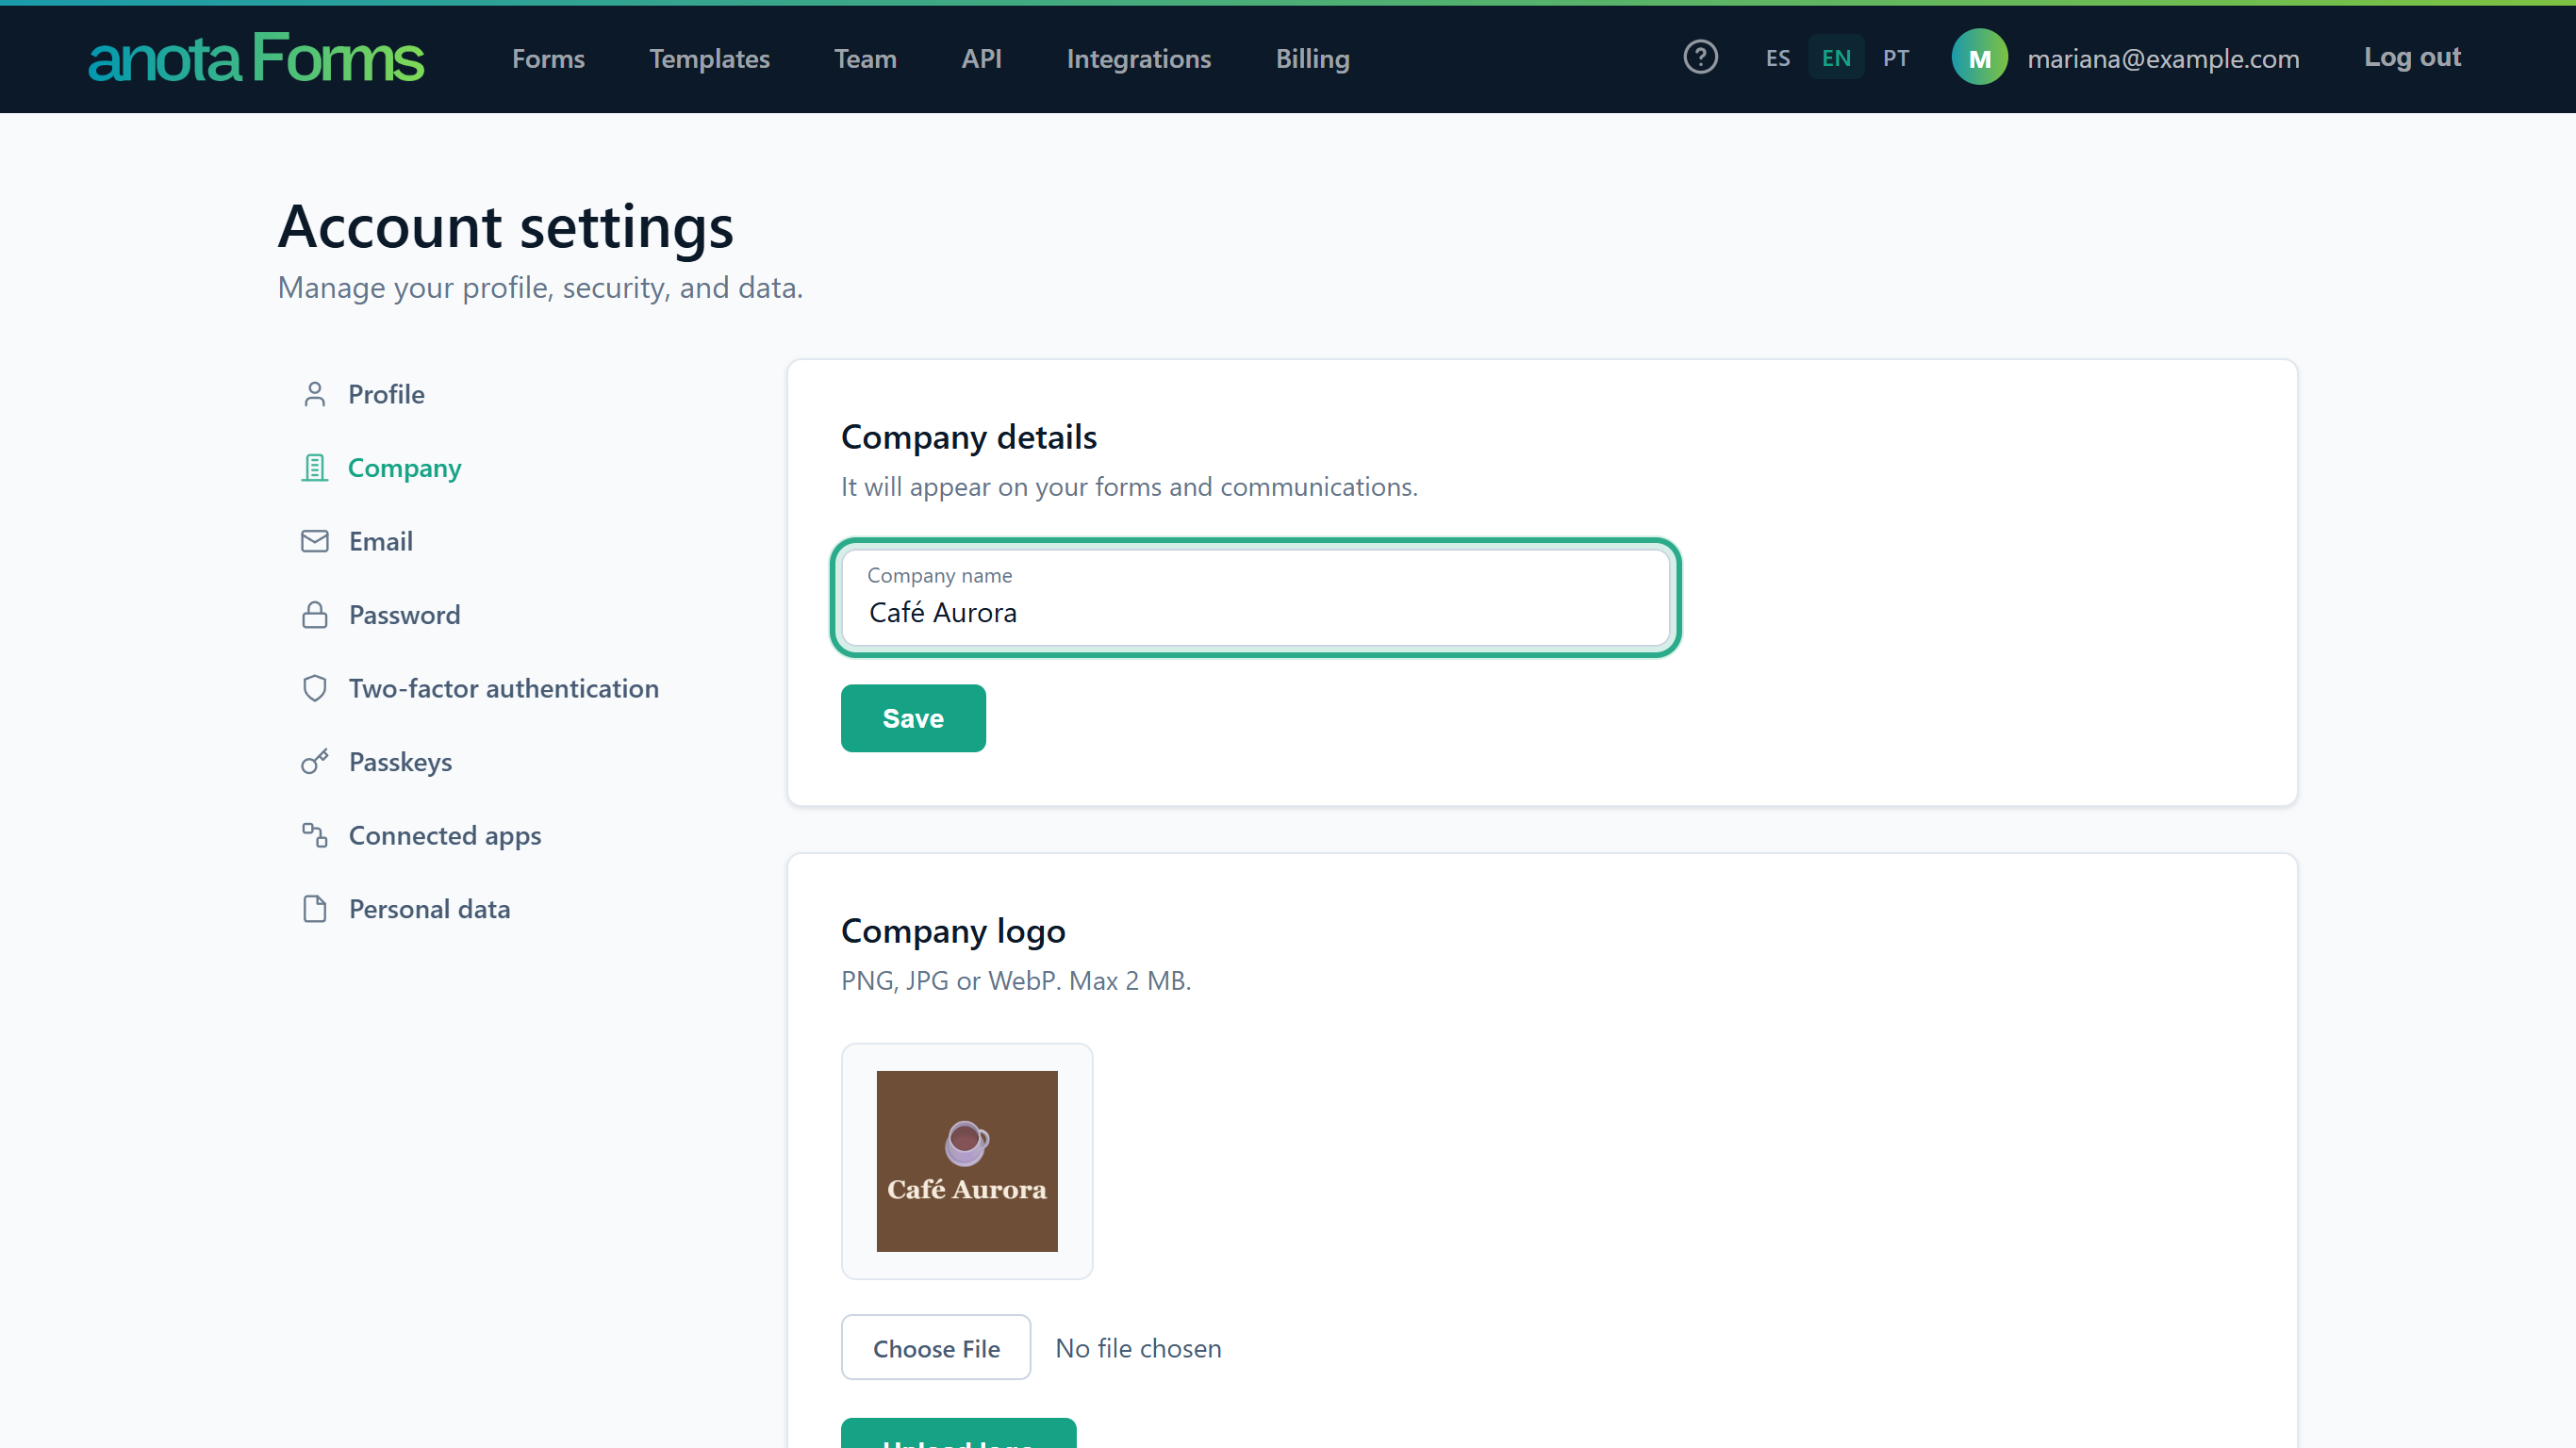 Up to 200 characters. Leave the box empty to show no name.
Click Save.
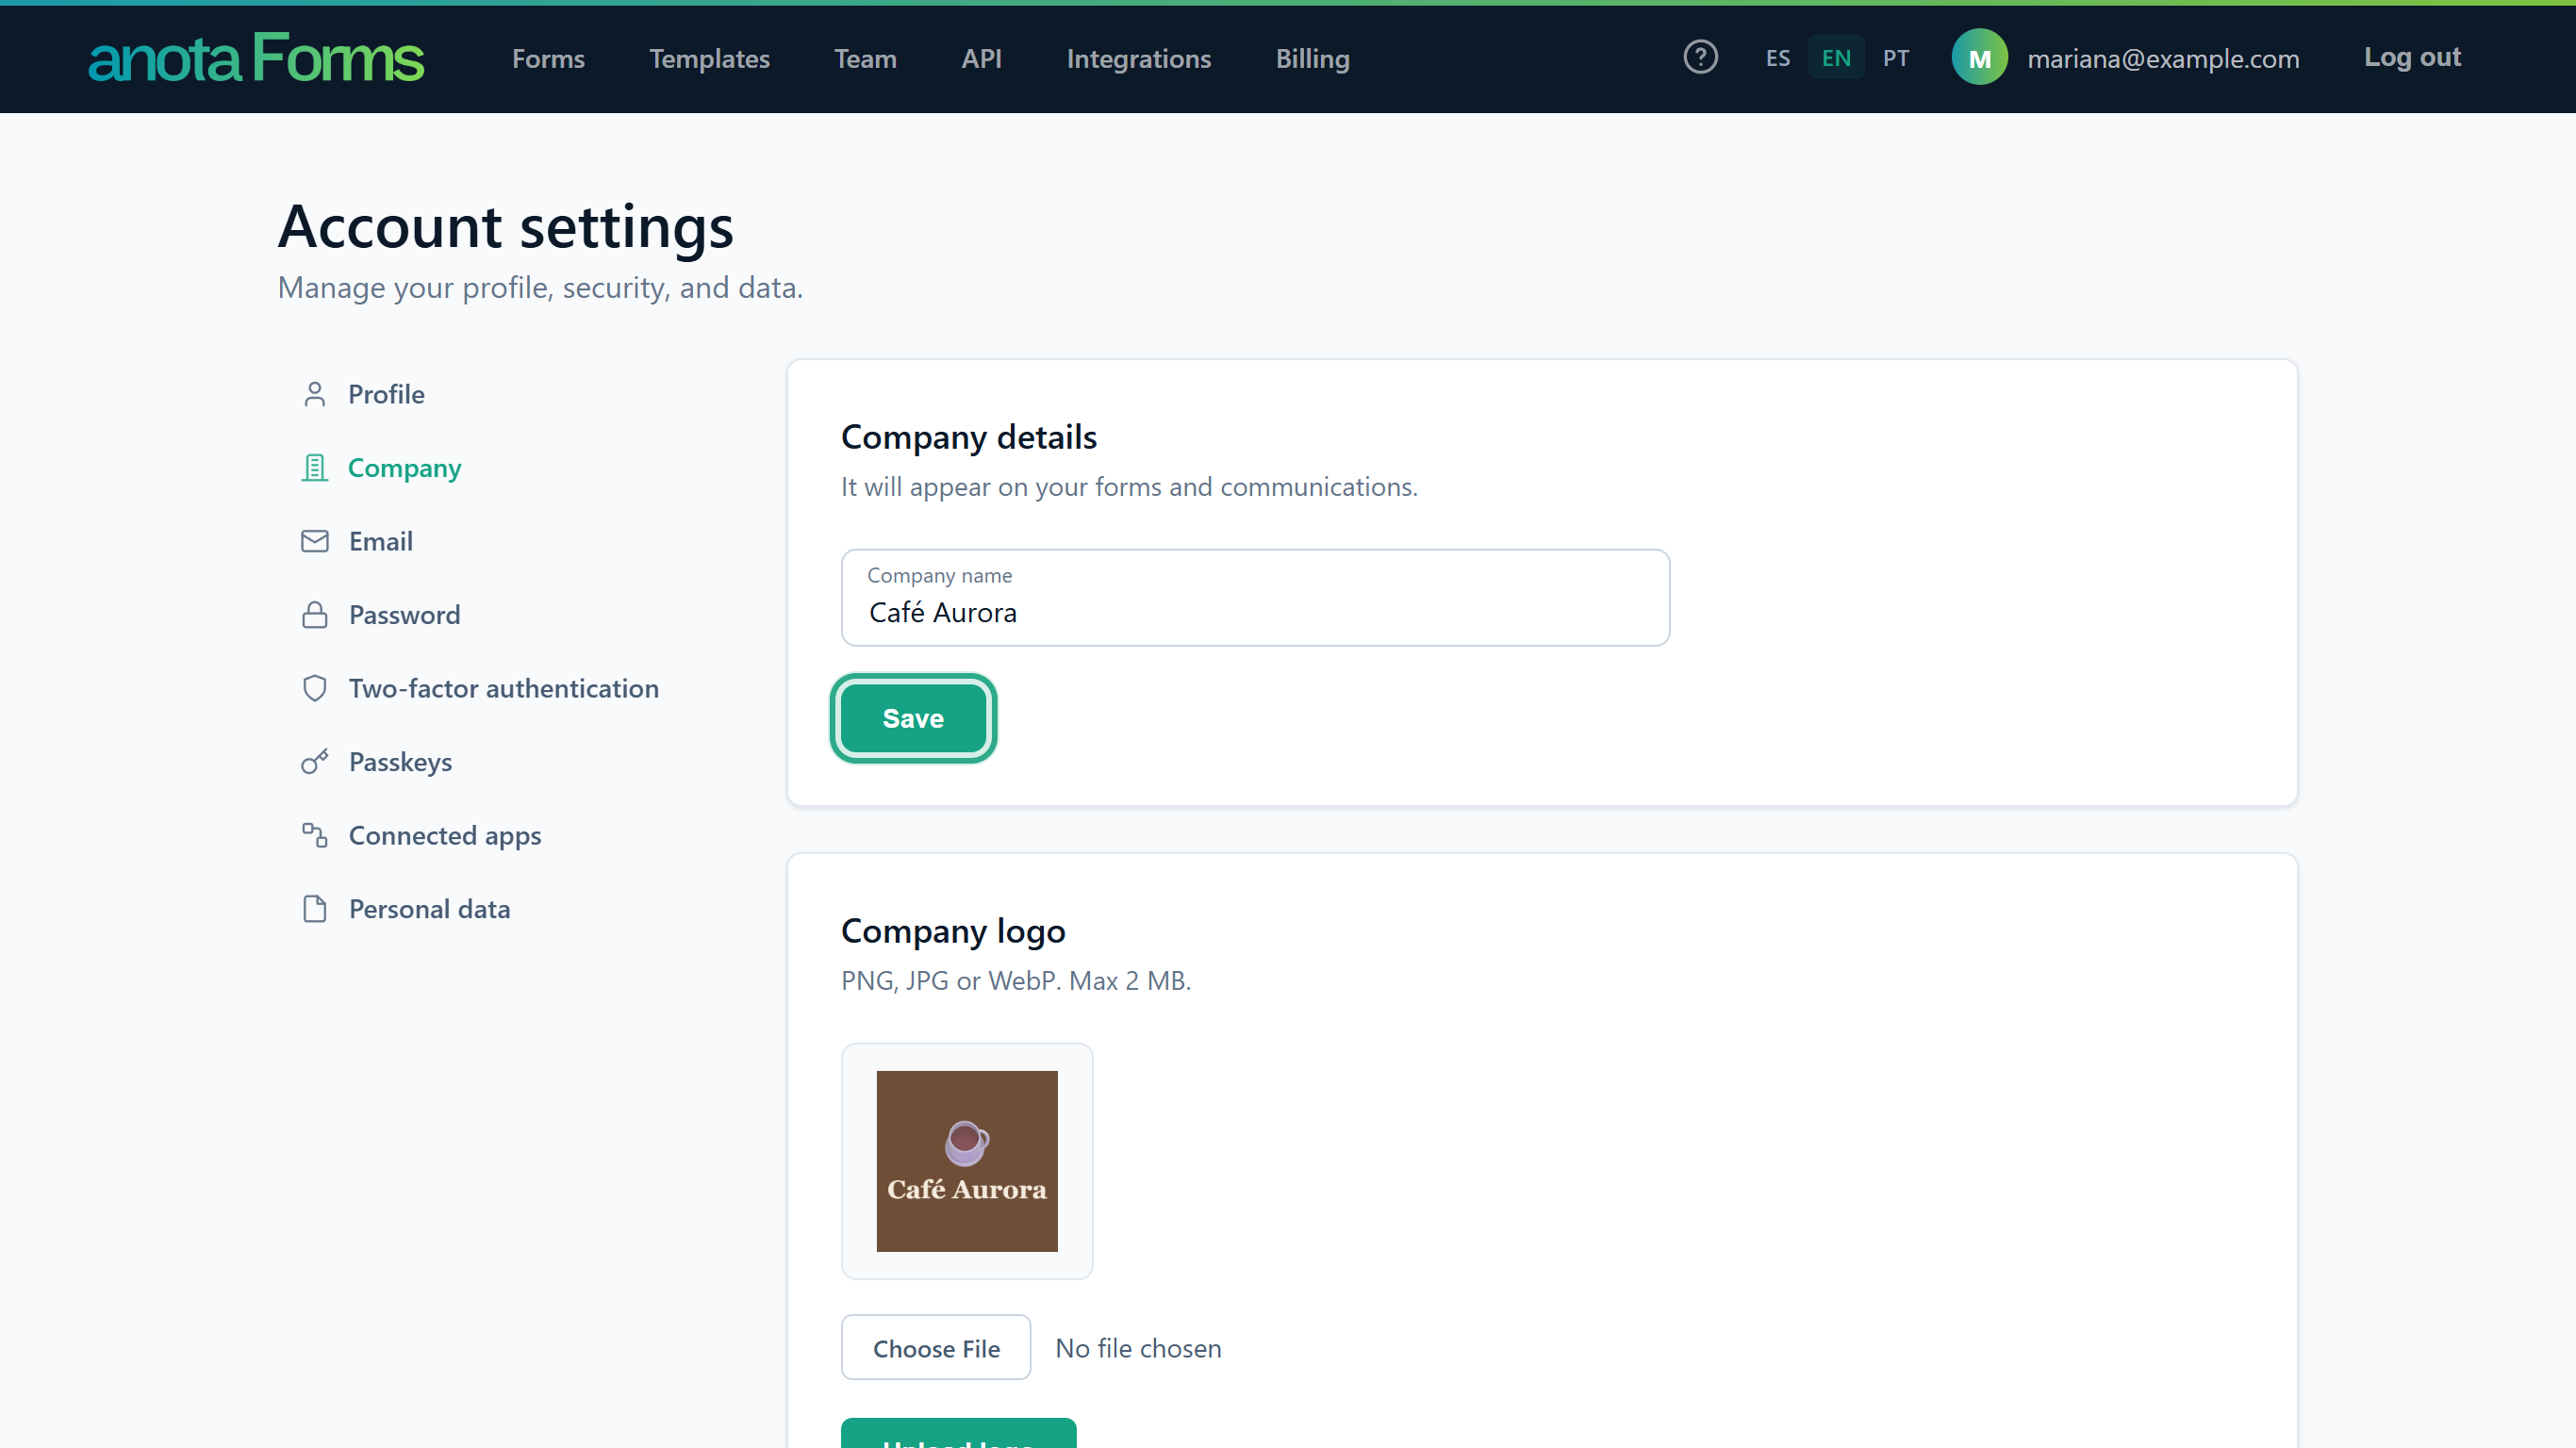 The name is saved for the whole workspace.
anota confirms with Company details updated. at the top of the page.
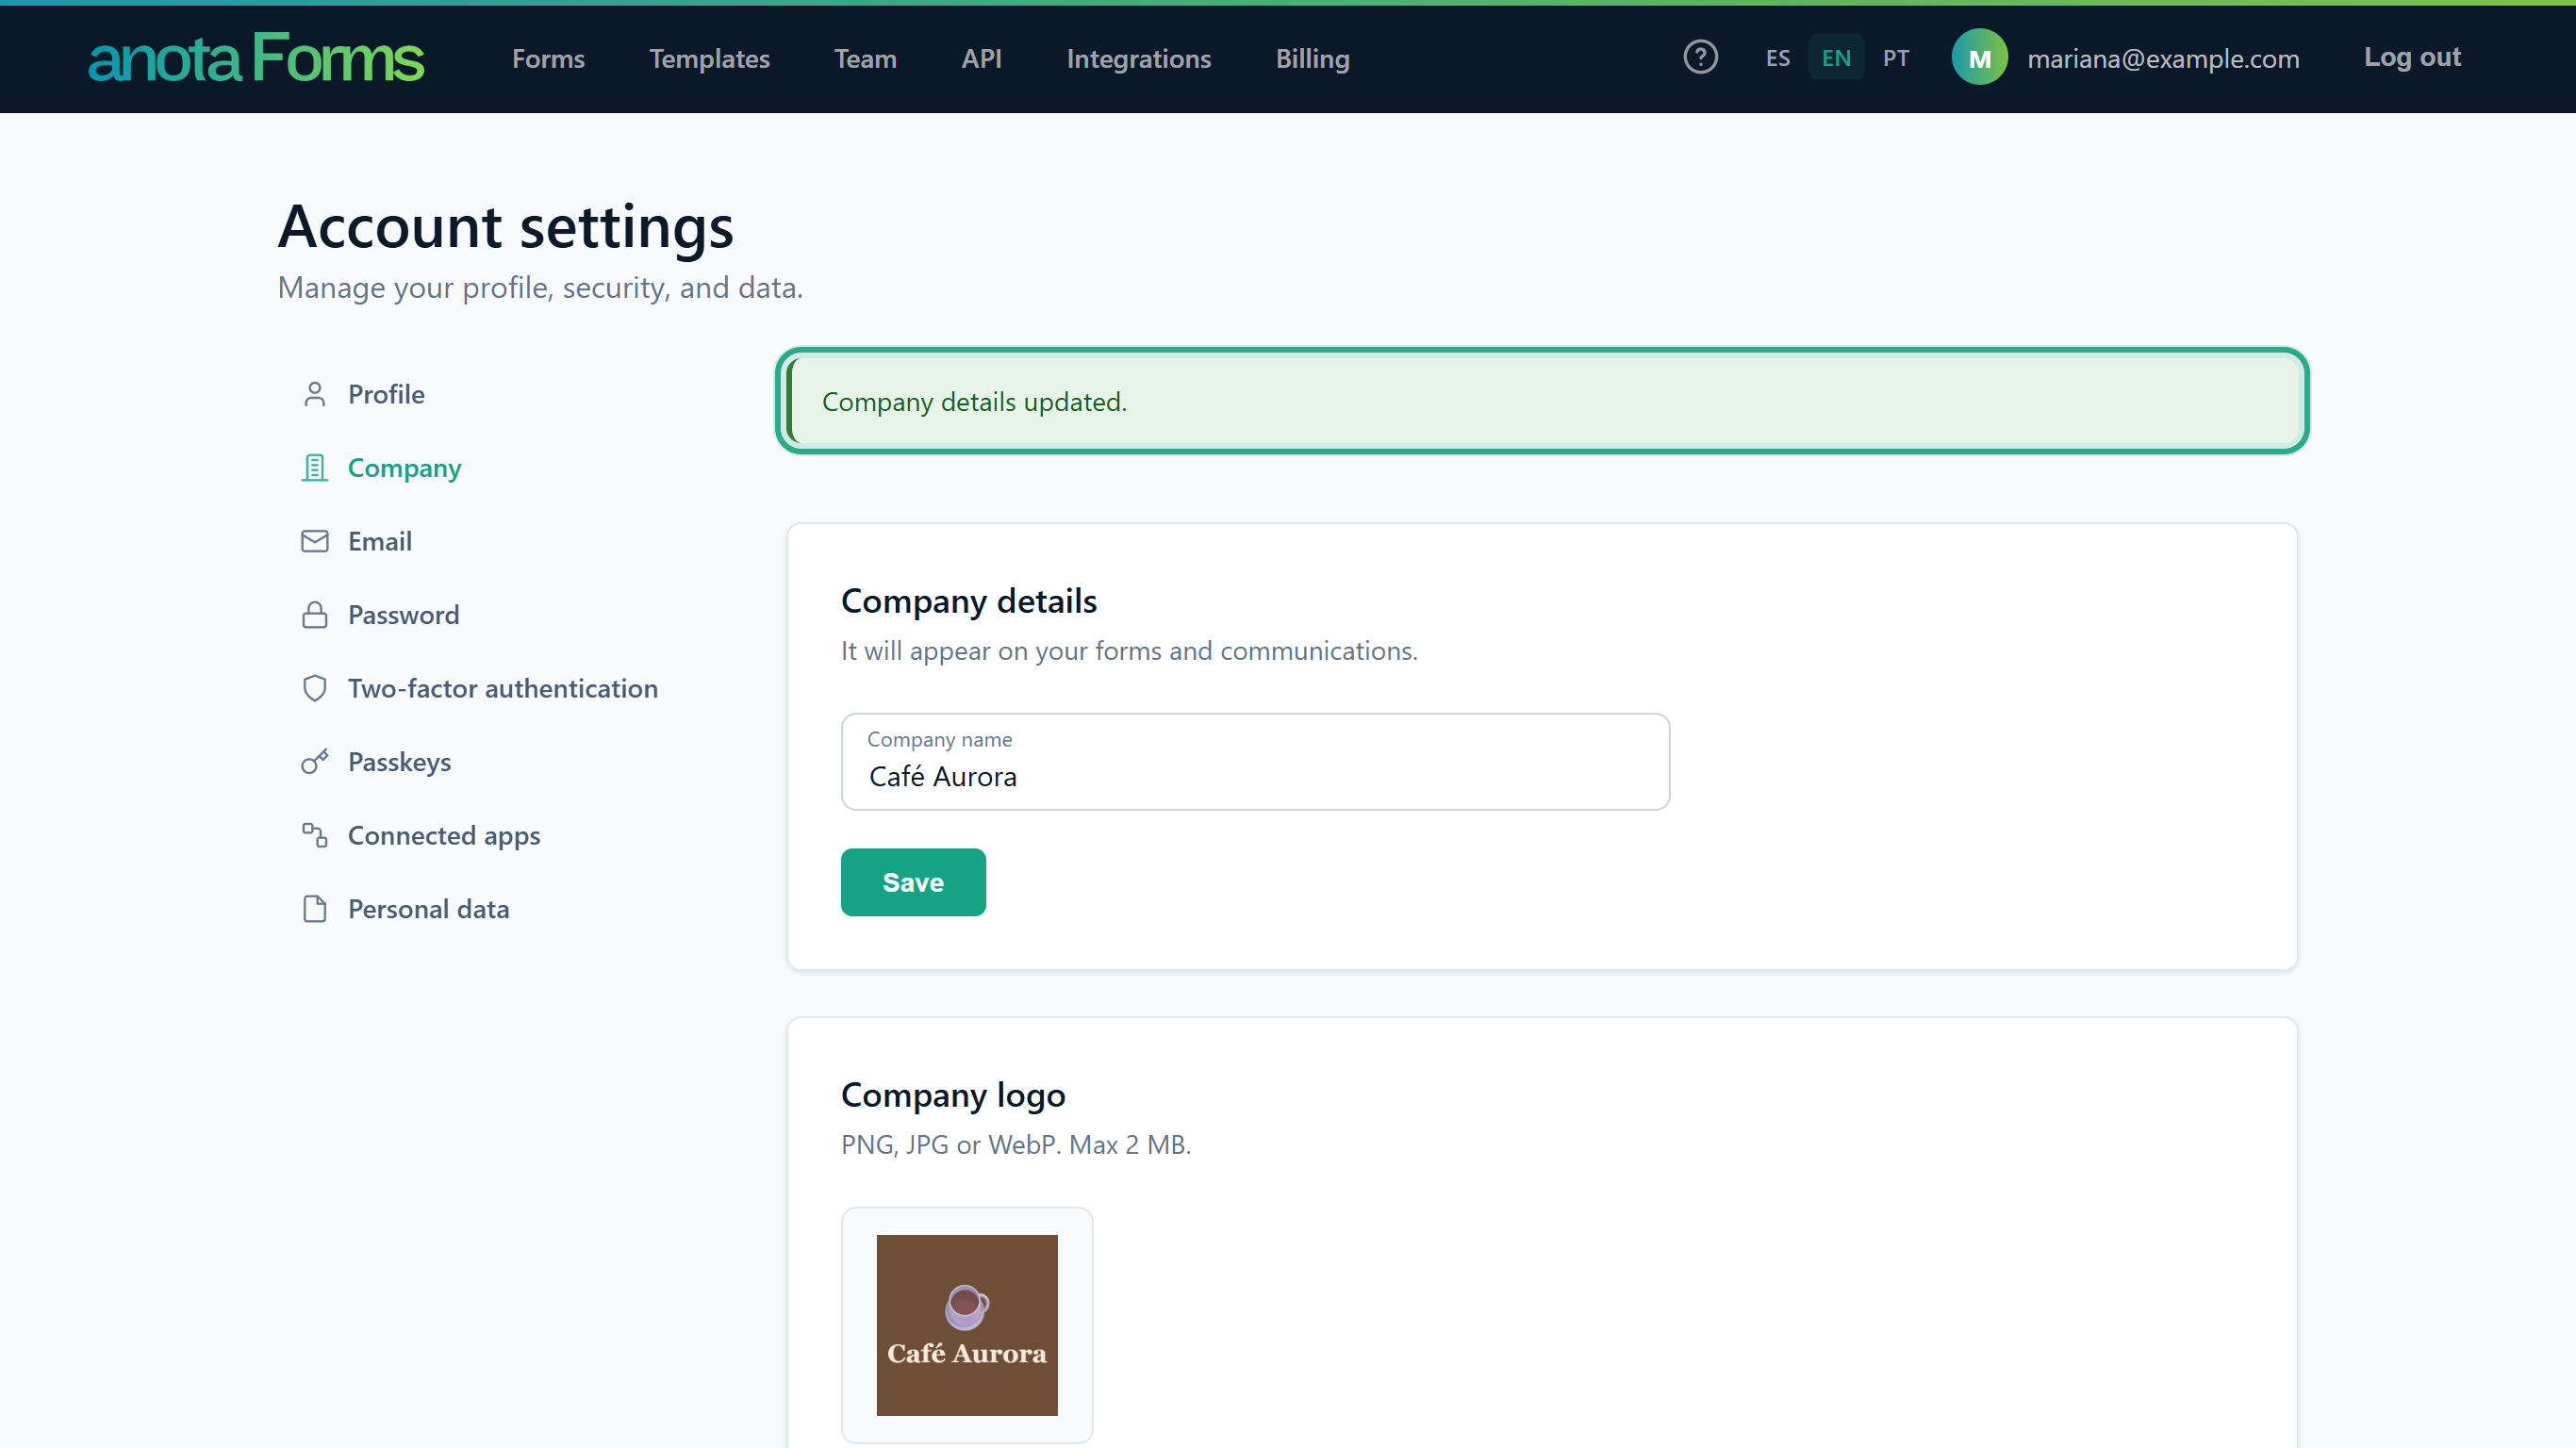 The change reaches your published forms right away.
Result
Published forms that show the company identity show the new name under the logo, straight away. You don't need to click Update on your forms. To remove the name from your forms, clear the box and click Save.
Task 3 — Upload or replace the company logo
Prerequisites
- An image in PNG, JPG or WebP format, 2 MB or smaller. A square or wide logo on a solid background works well: forms show it up to 56 pixels high.
Step-by-step
Under Company logo, click Choose File and pick the image on your computer. Its file name appears next to the button.
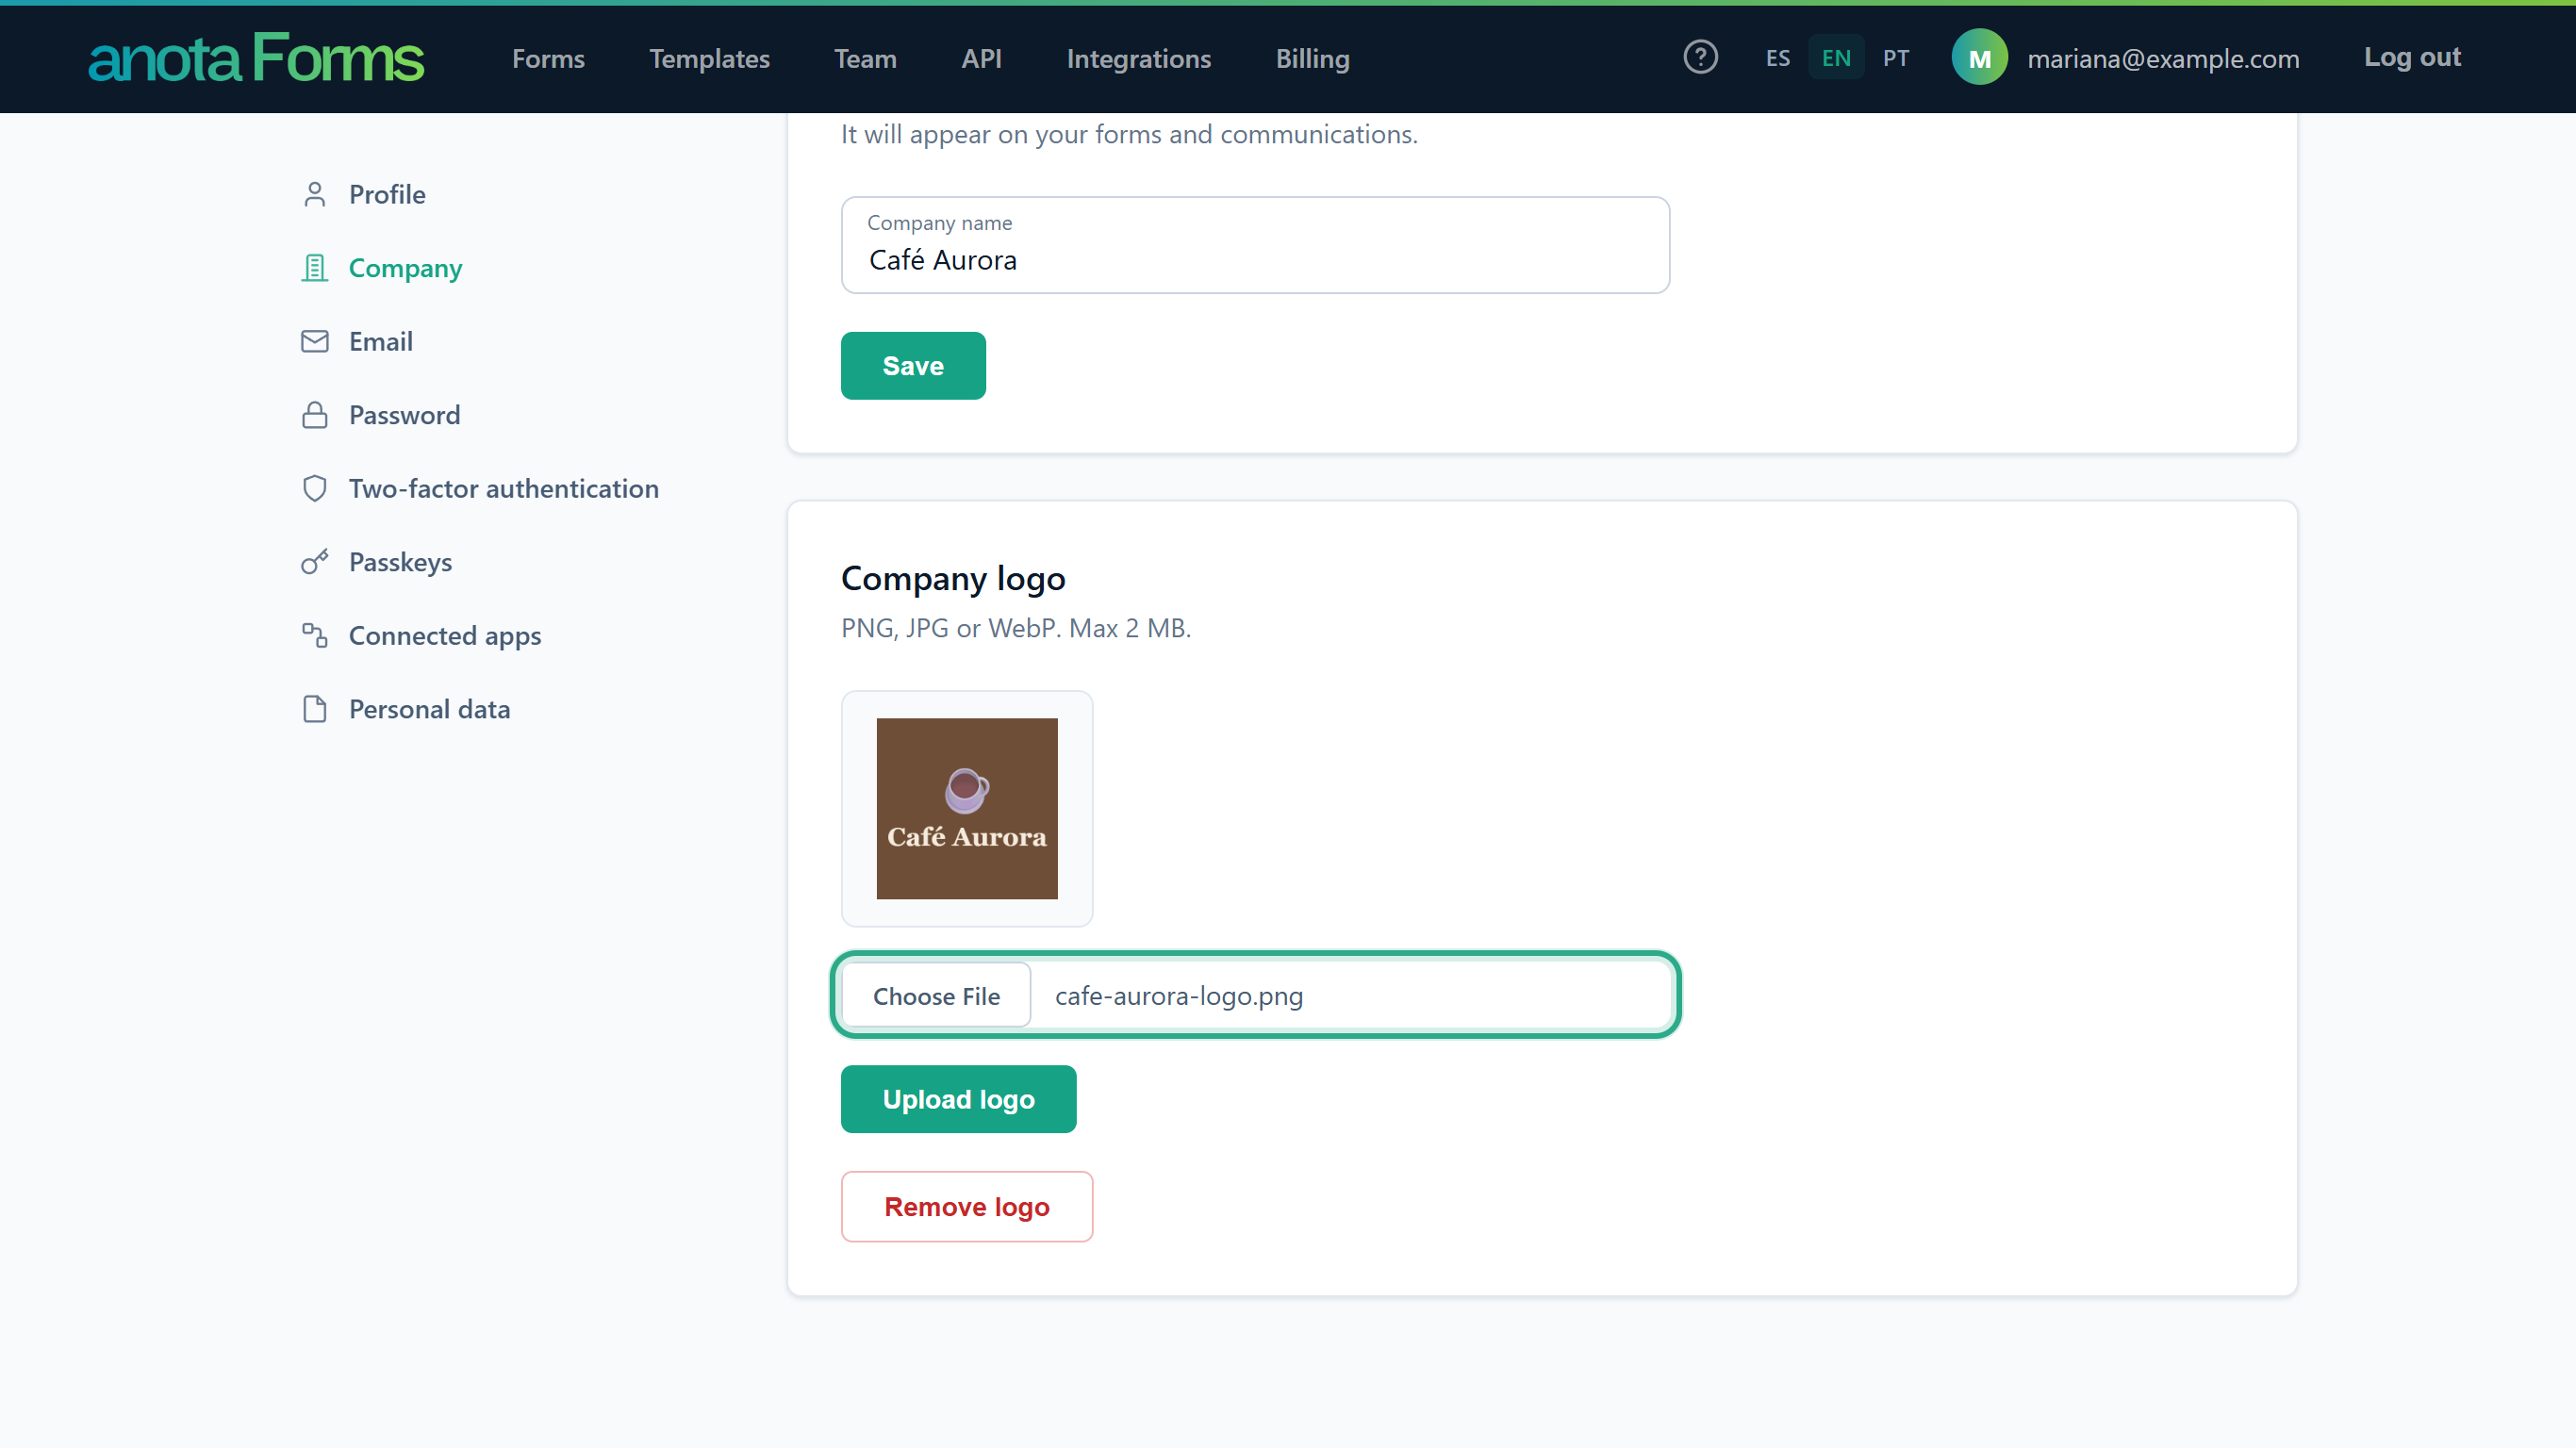 If a logo is already there, the new file replaces it.
Click Upload logo.
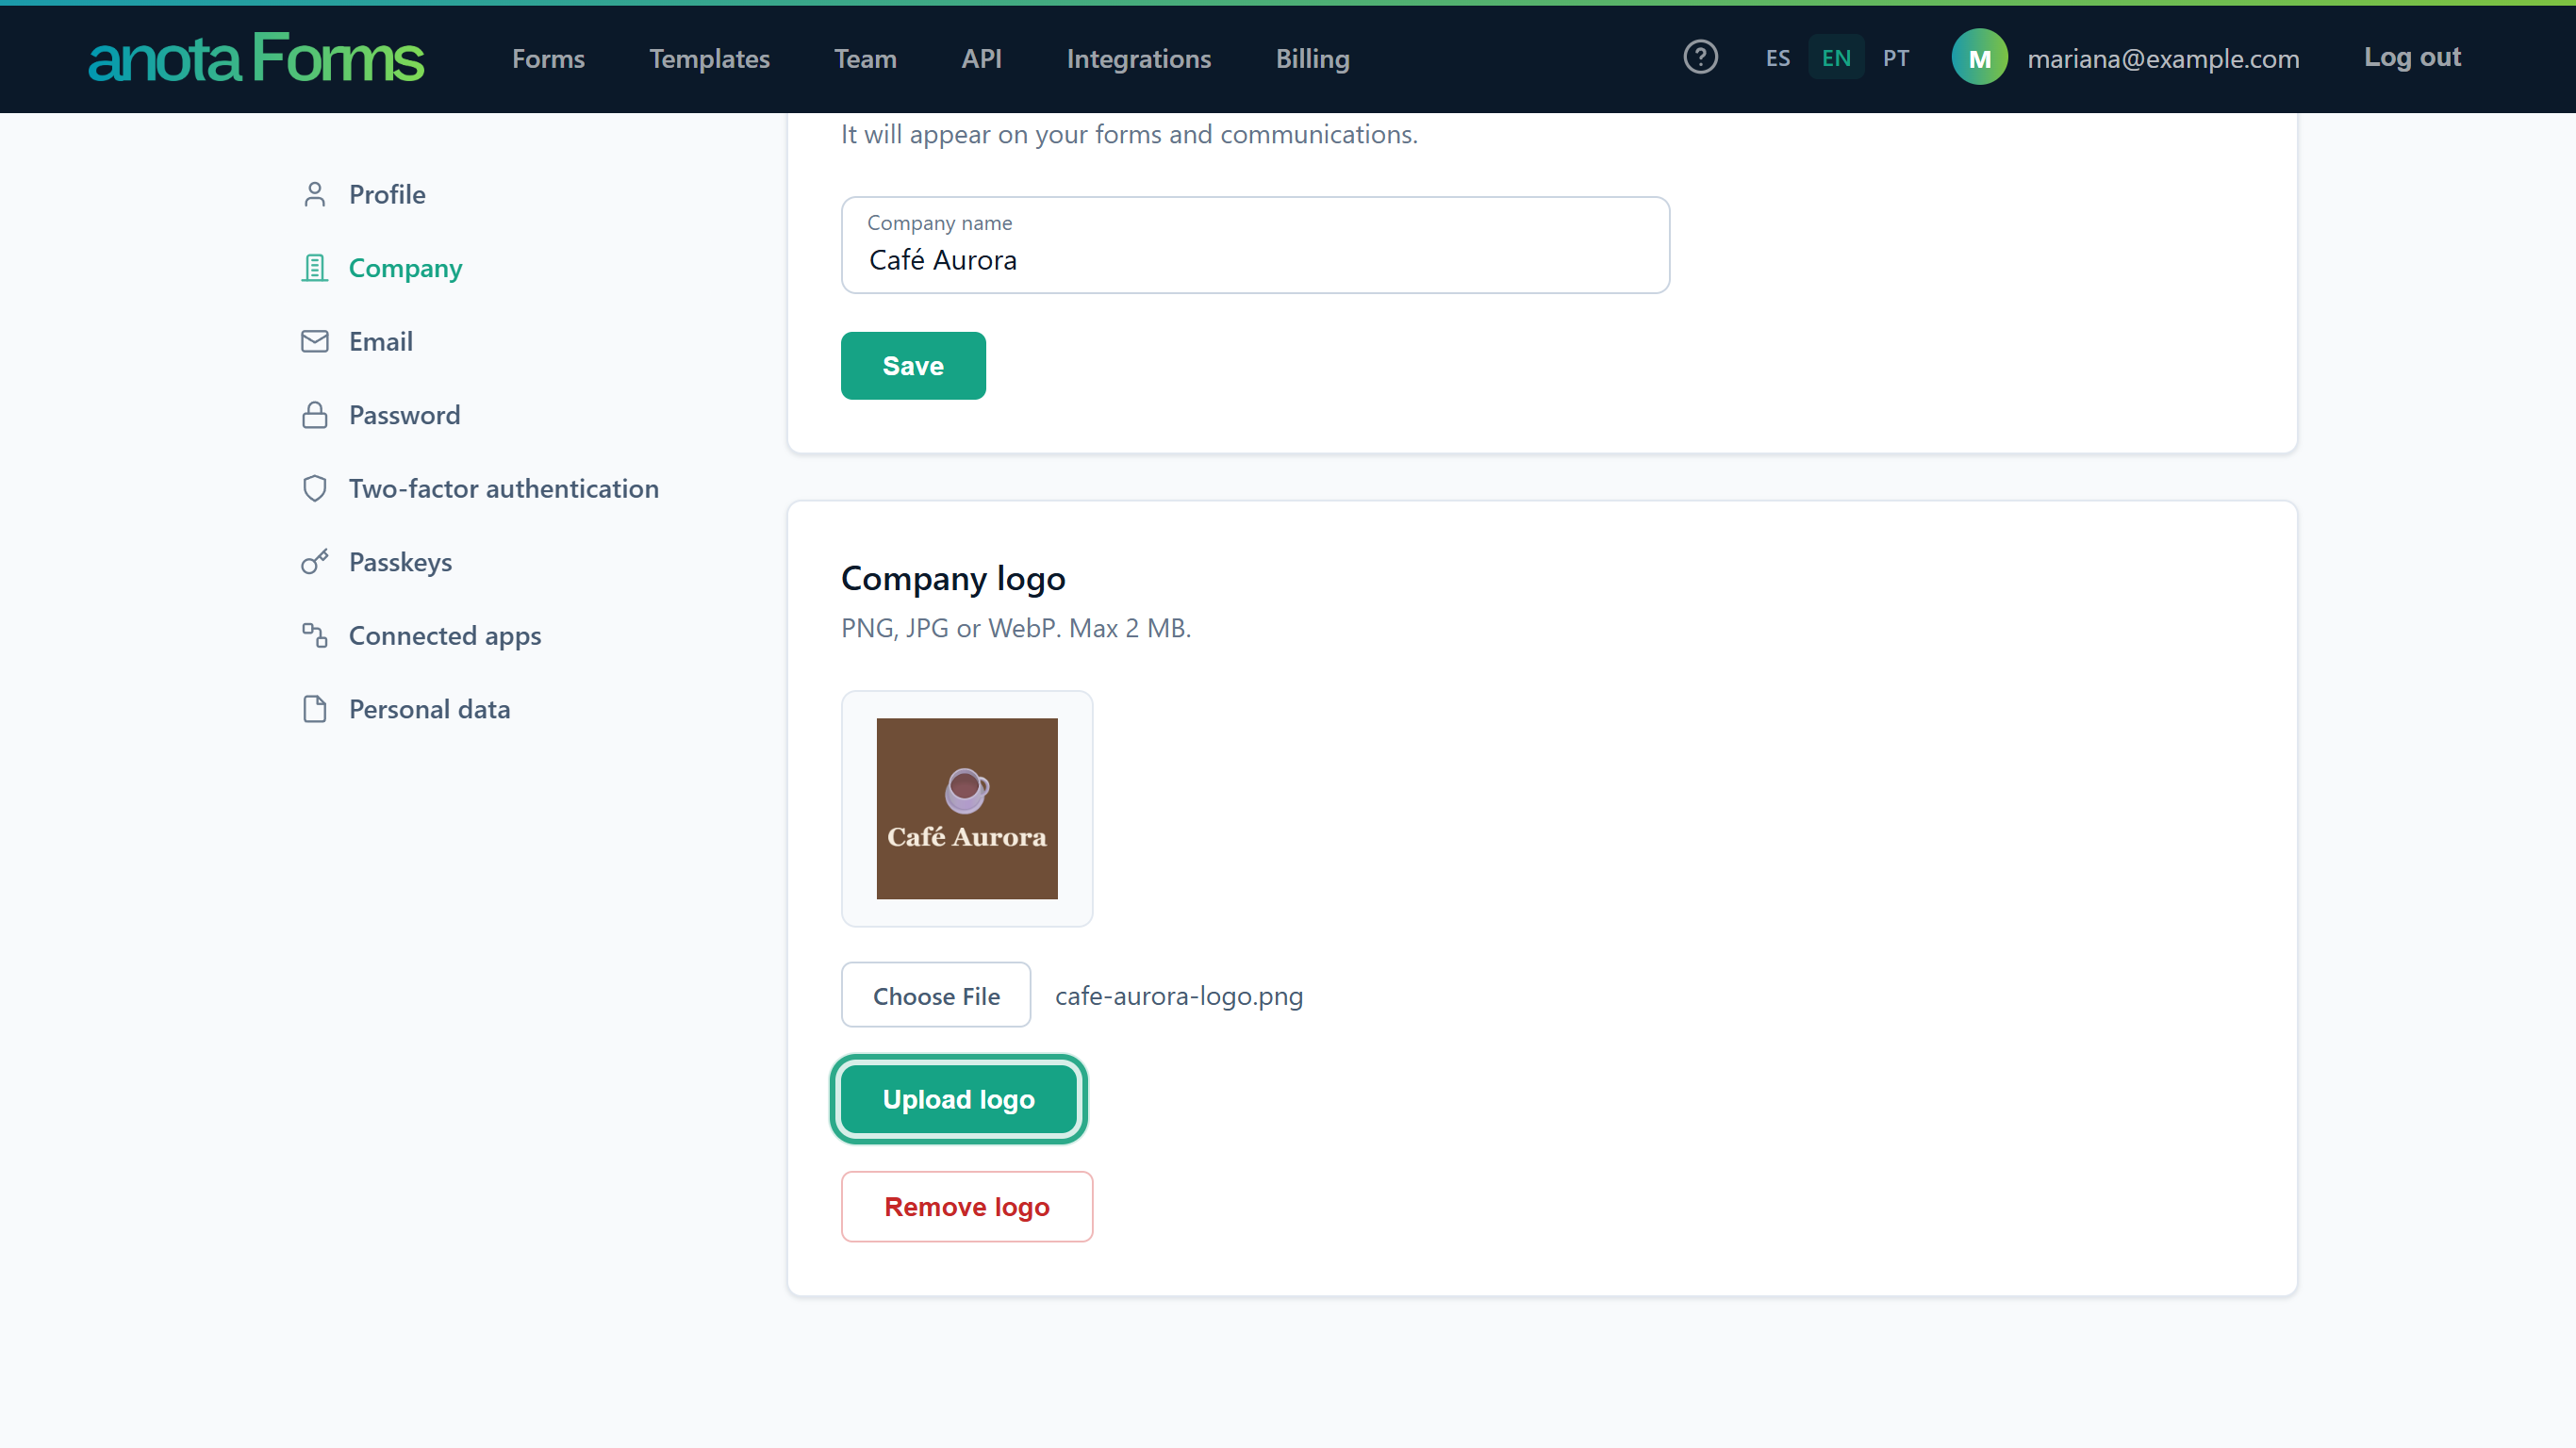 anota checks that the file really is an image before saving it.
anota shows Logo updated. and the logo appears in the Company logo card.
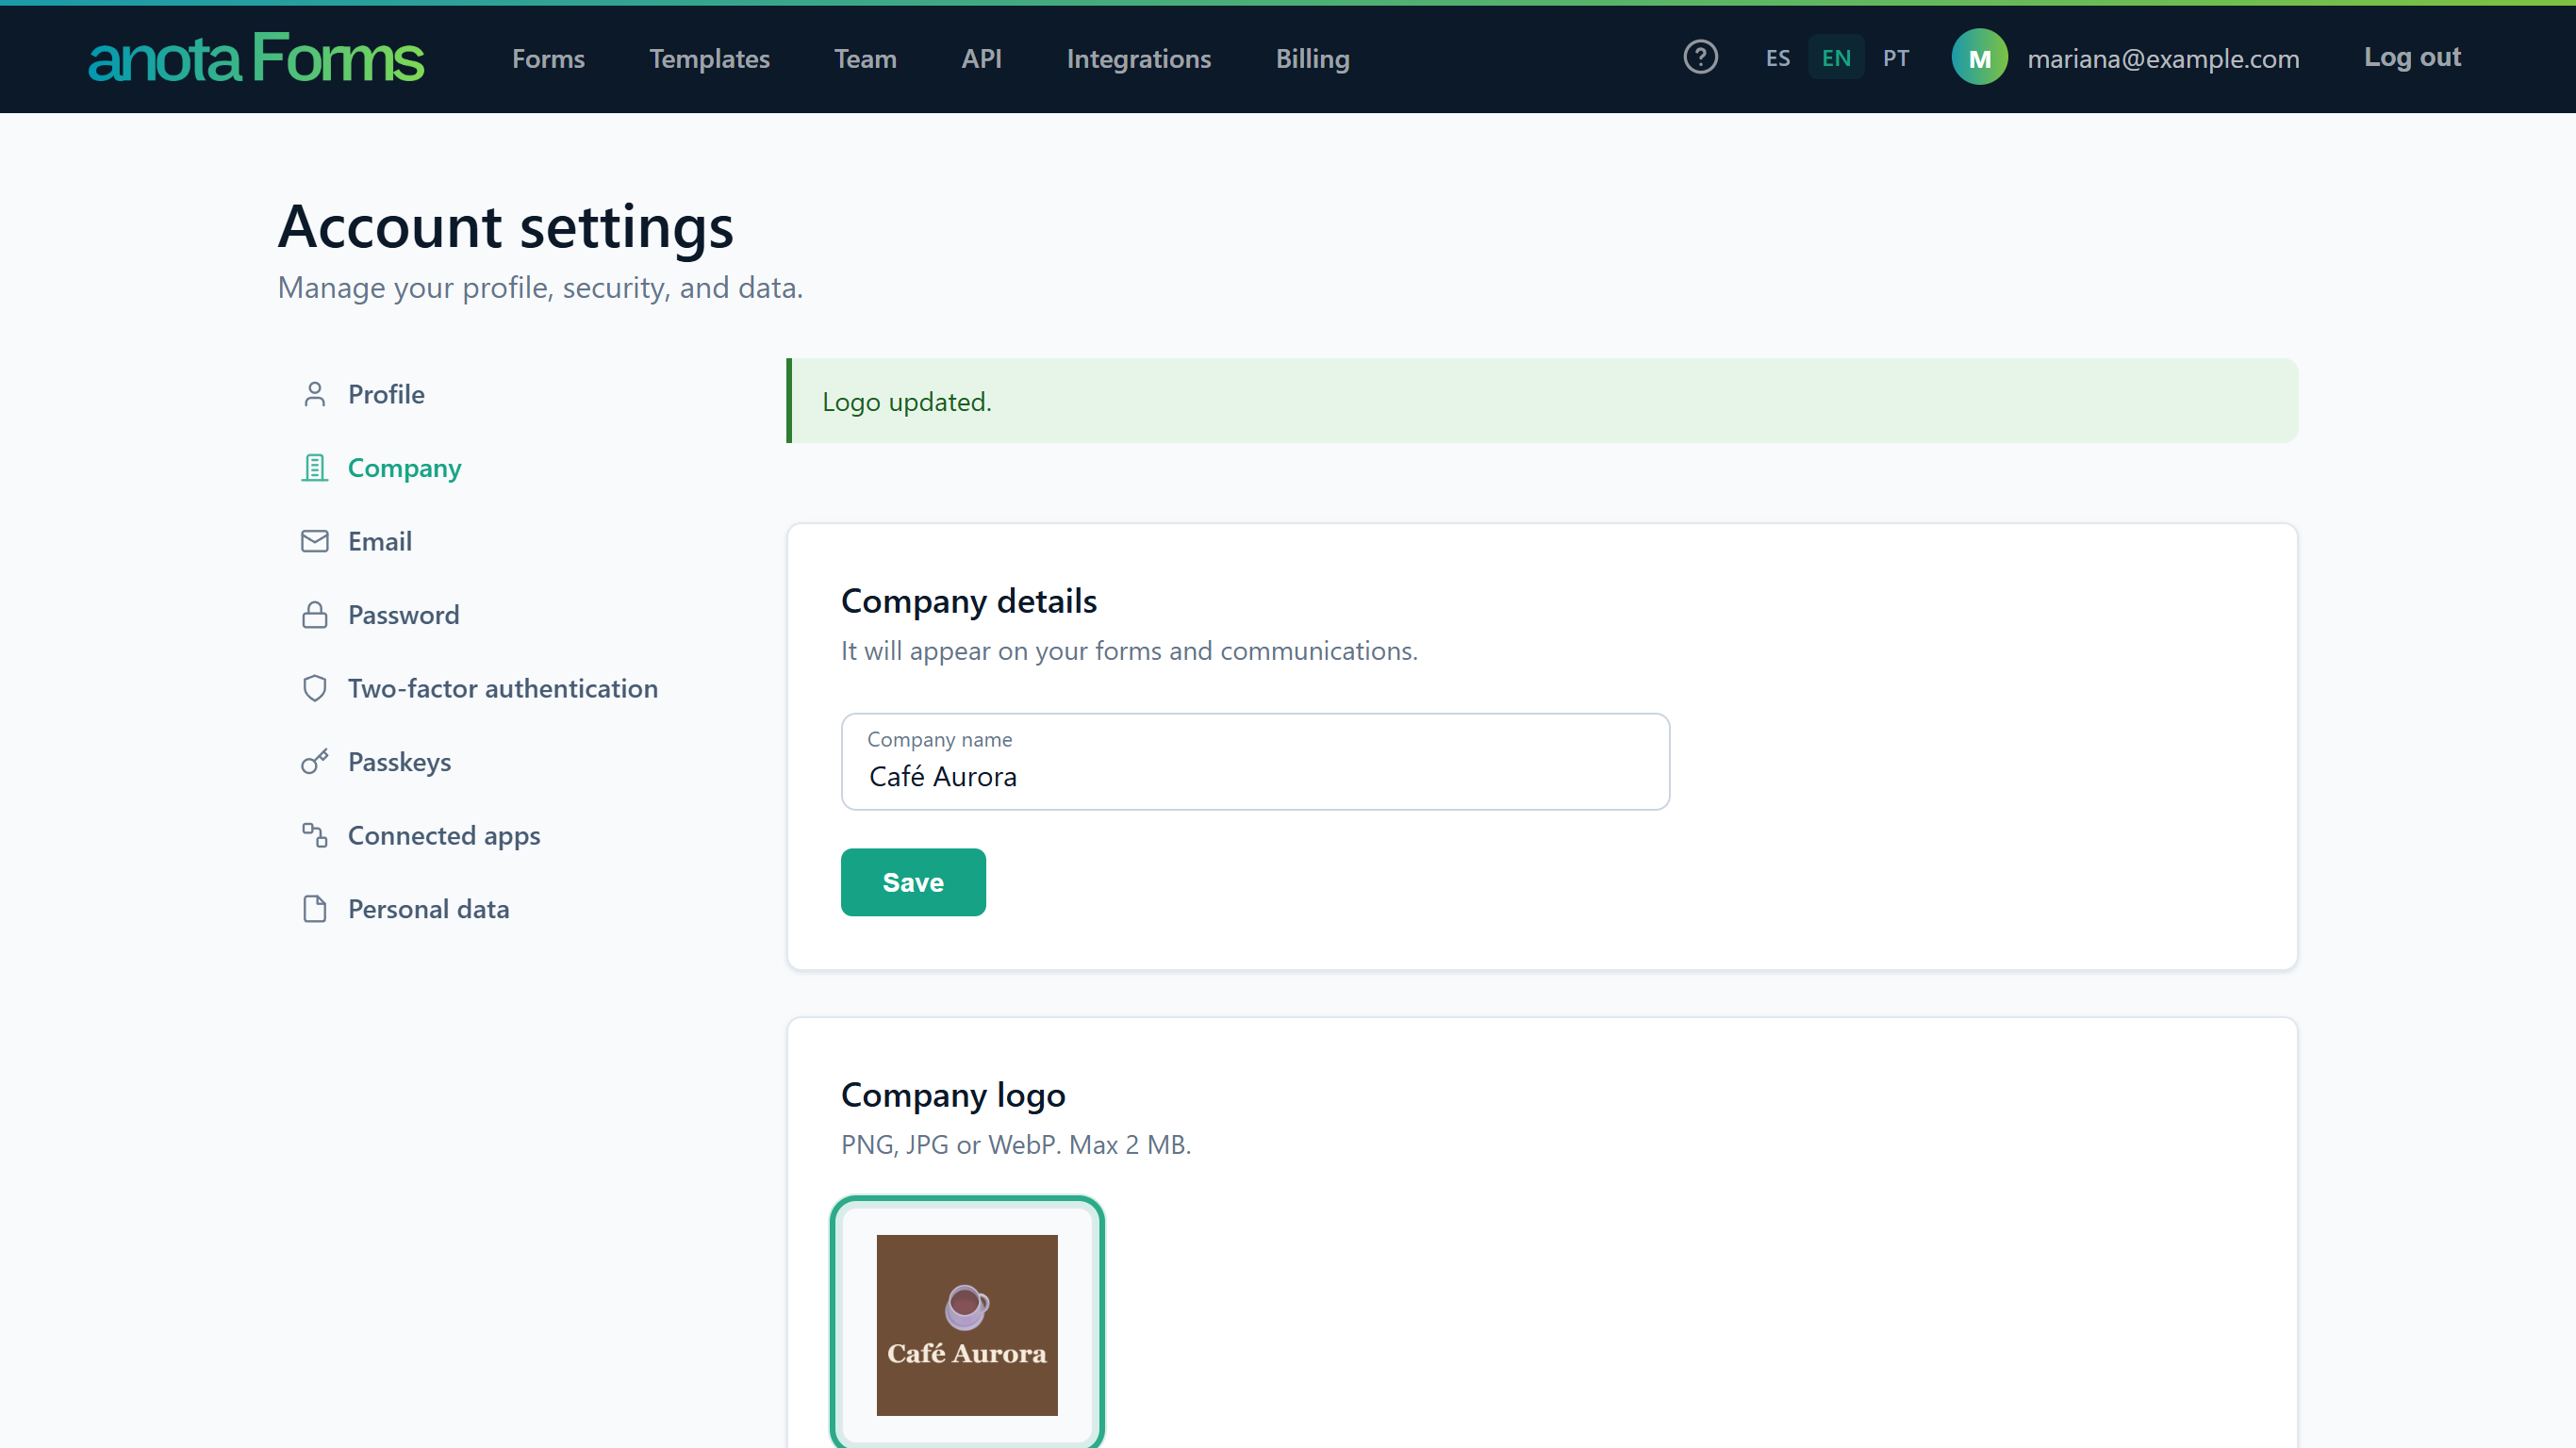 The preview shows the logo your forms now use.
Result
Every published form without a Logo URL of its own shows the new logo straight away, with no Update needed. If the upload fails, anota shows the reason at the top of the page (see Troubleshooting) and keeps your current logo.
Task 4 — Check how your forms show it
Step-by-step
Open a form in the builder and click the round pencil button, ✏ Design, at the bottom right of the canvas to open the Designer panel. At the bottom, the preview box shows the logo and name that form will show. When the form's Logo URL is empty, it reads "This field is empty, so your company logo (Account > Company) is used instead."
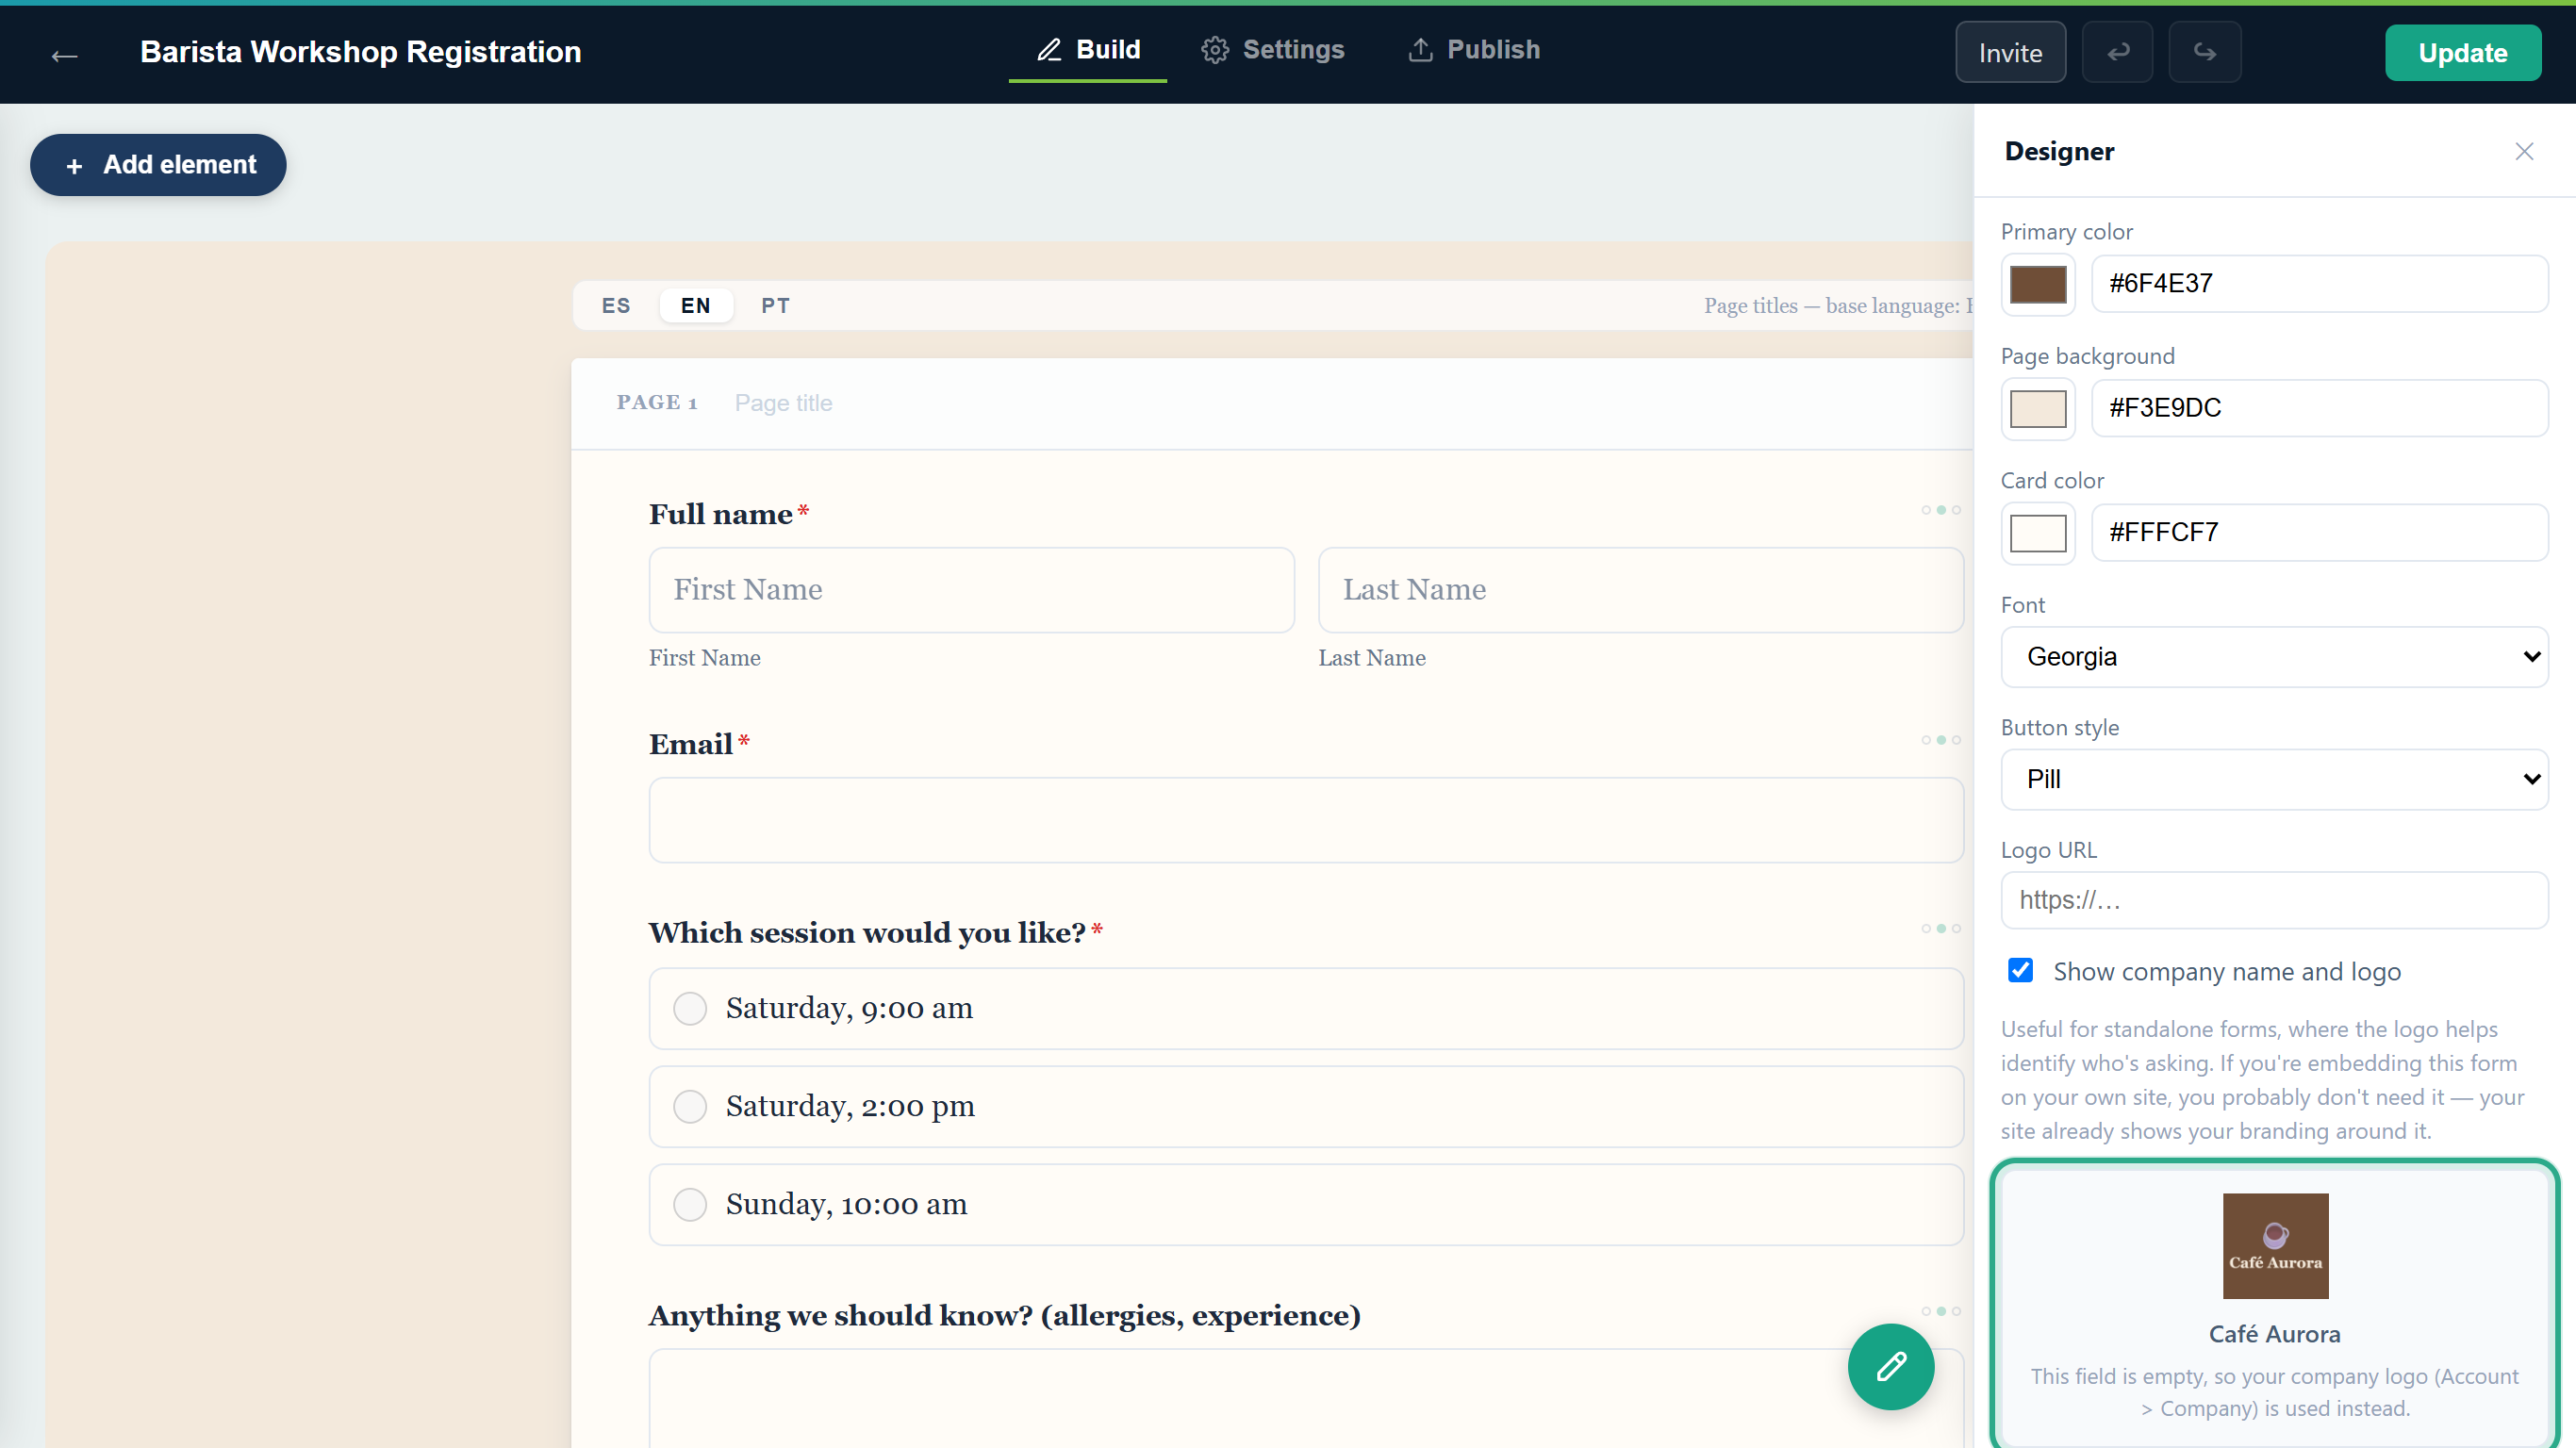 The preview box shows the result before you publish anything.
Open the form's public link. The logo and the company name sit at the top of the form, above its title.
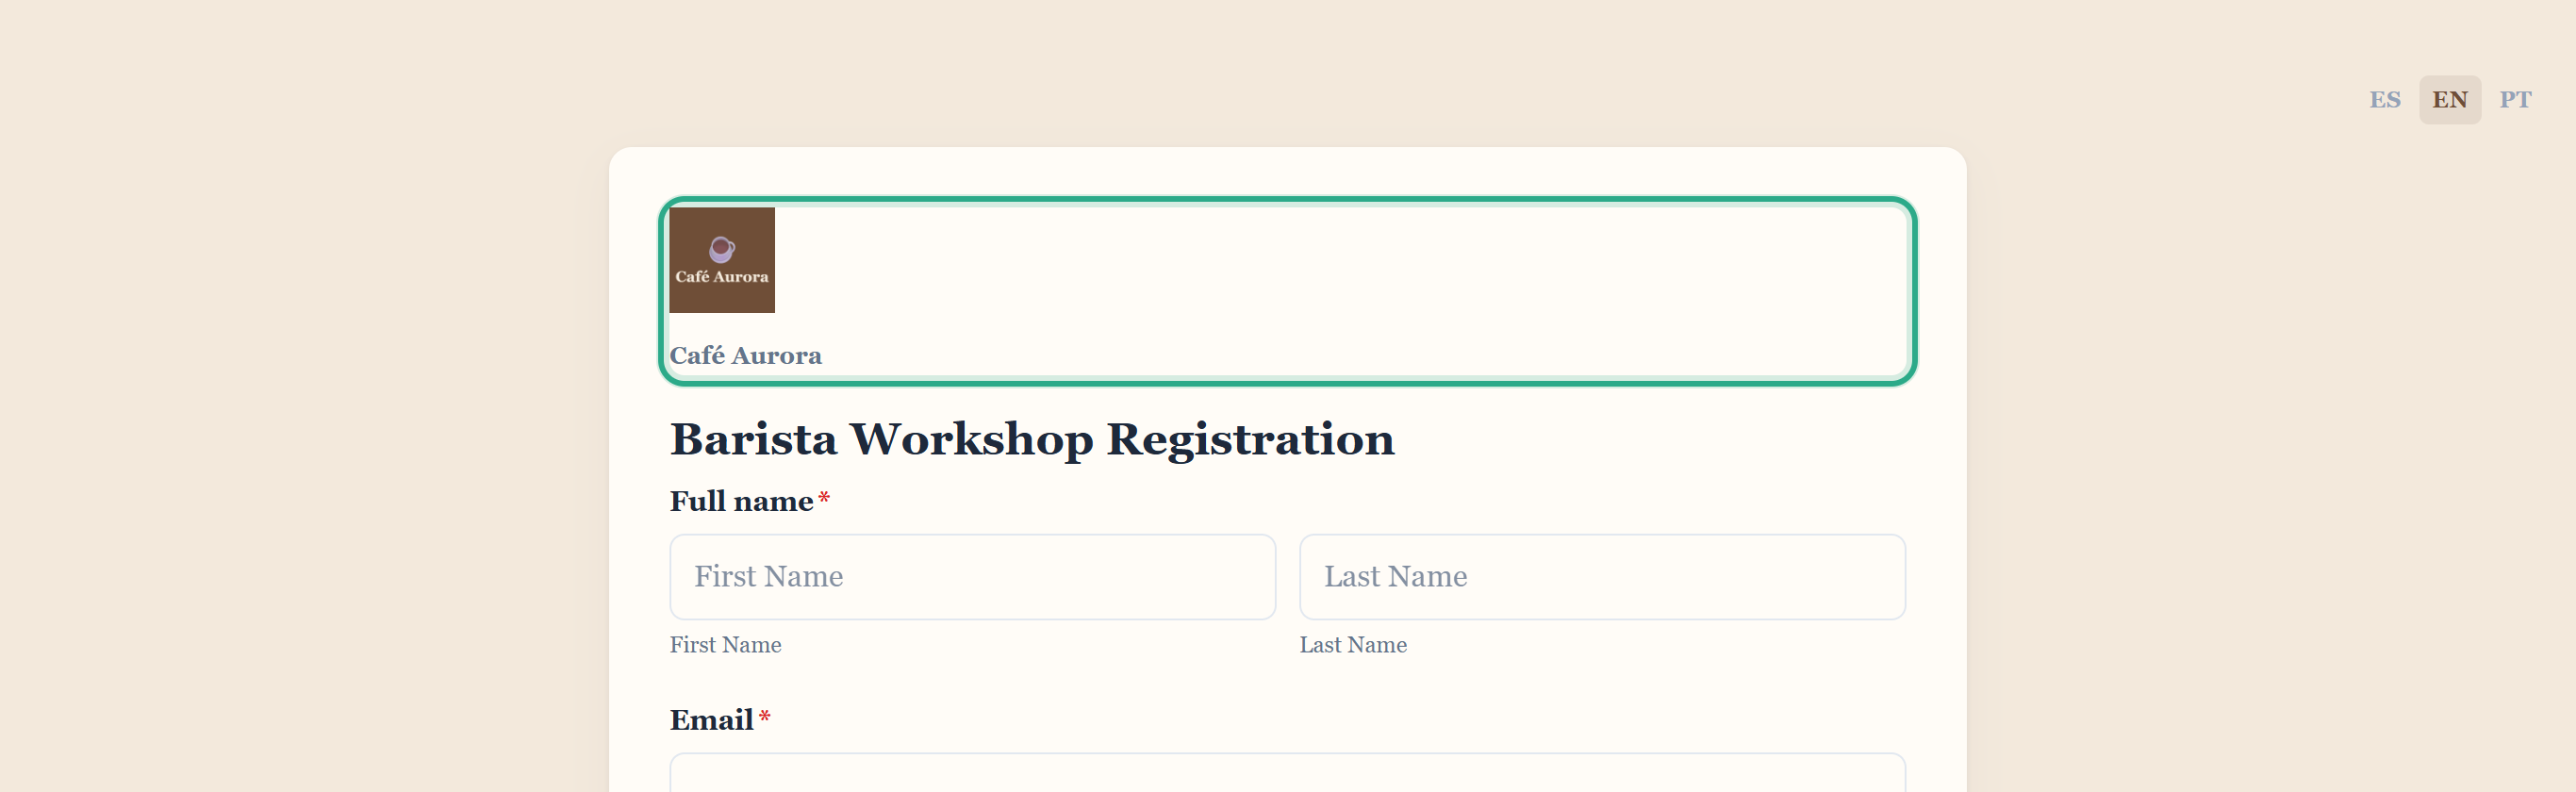 Visitors see who the form comes from.
Result
You've confirmed what visitors see. If a form shows another logo, or none, check its Designer panel: a filled-in Logo URL replaces the company logo on that form, and an unticked Show company name and logo hides both. See Company and branding.
Task 5 — Remove the company logo
Step-by-step
Under Company logo, click Remove logo. The button only appears while a logo is uploaded. There's no confirmation step.
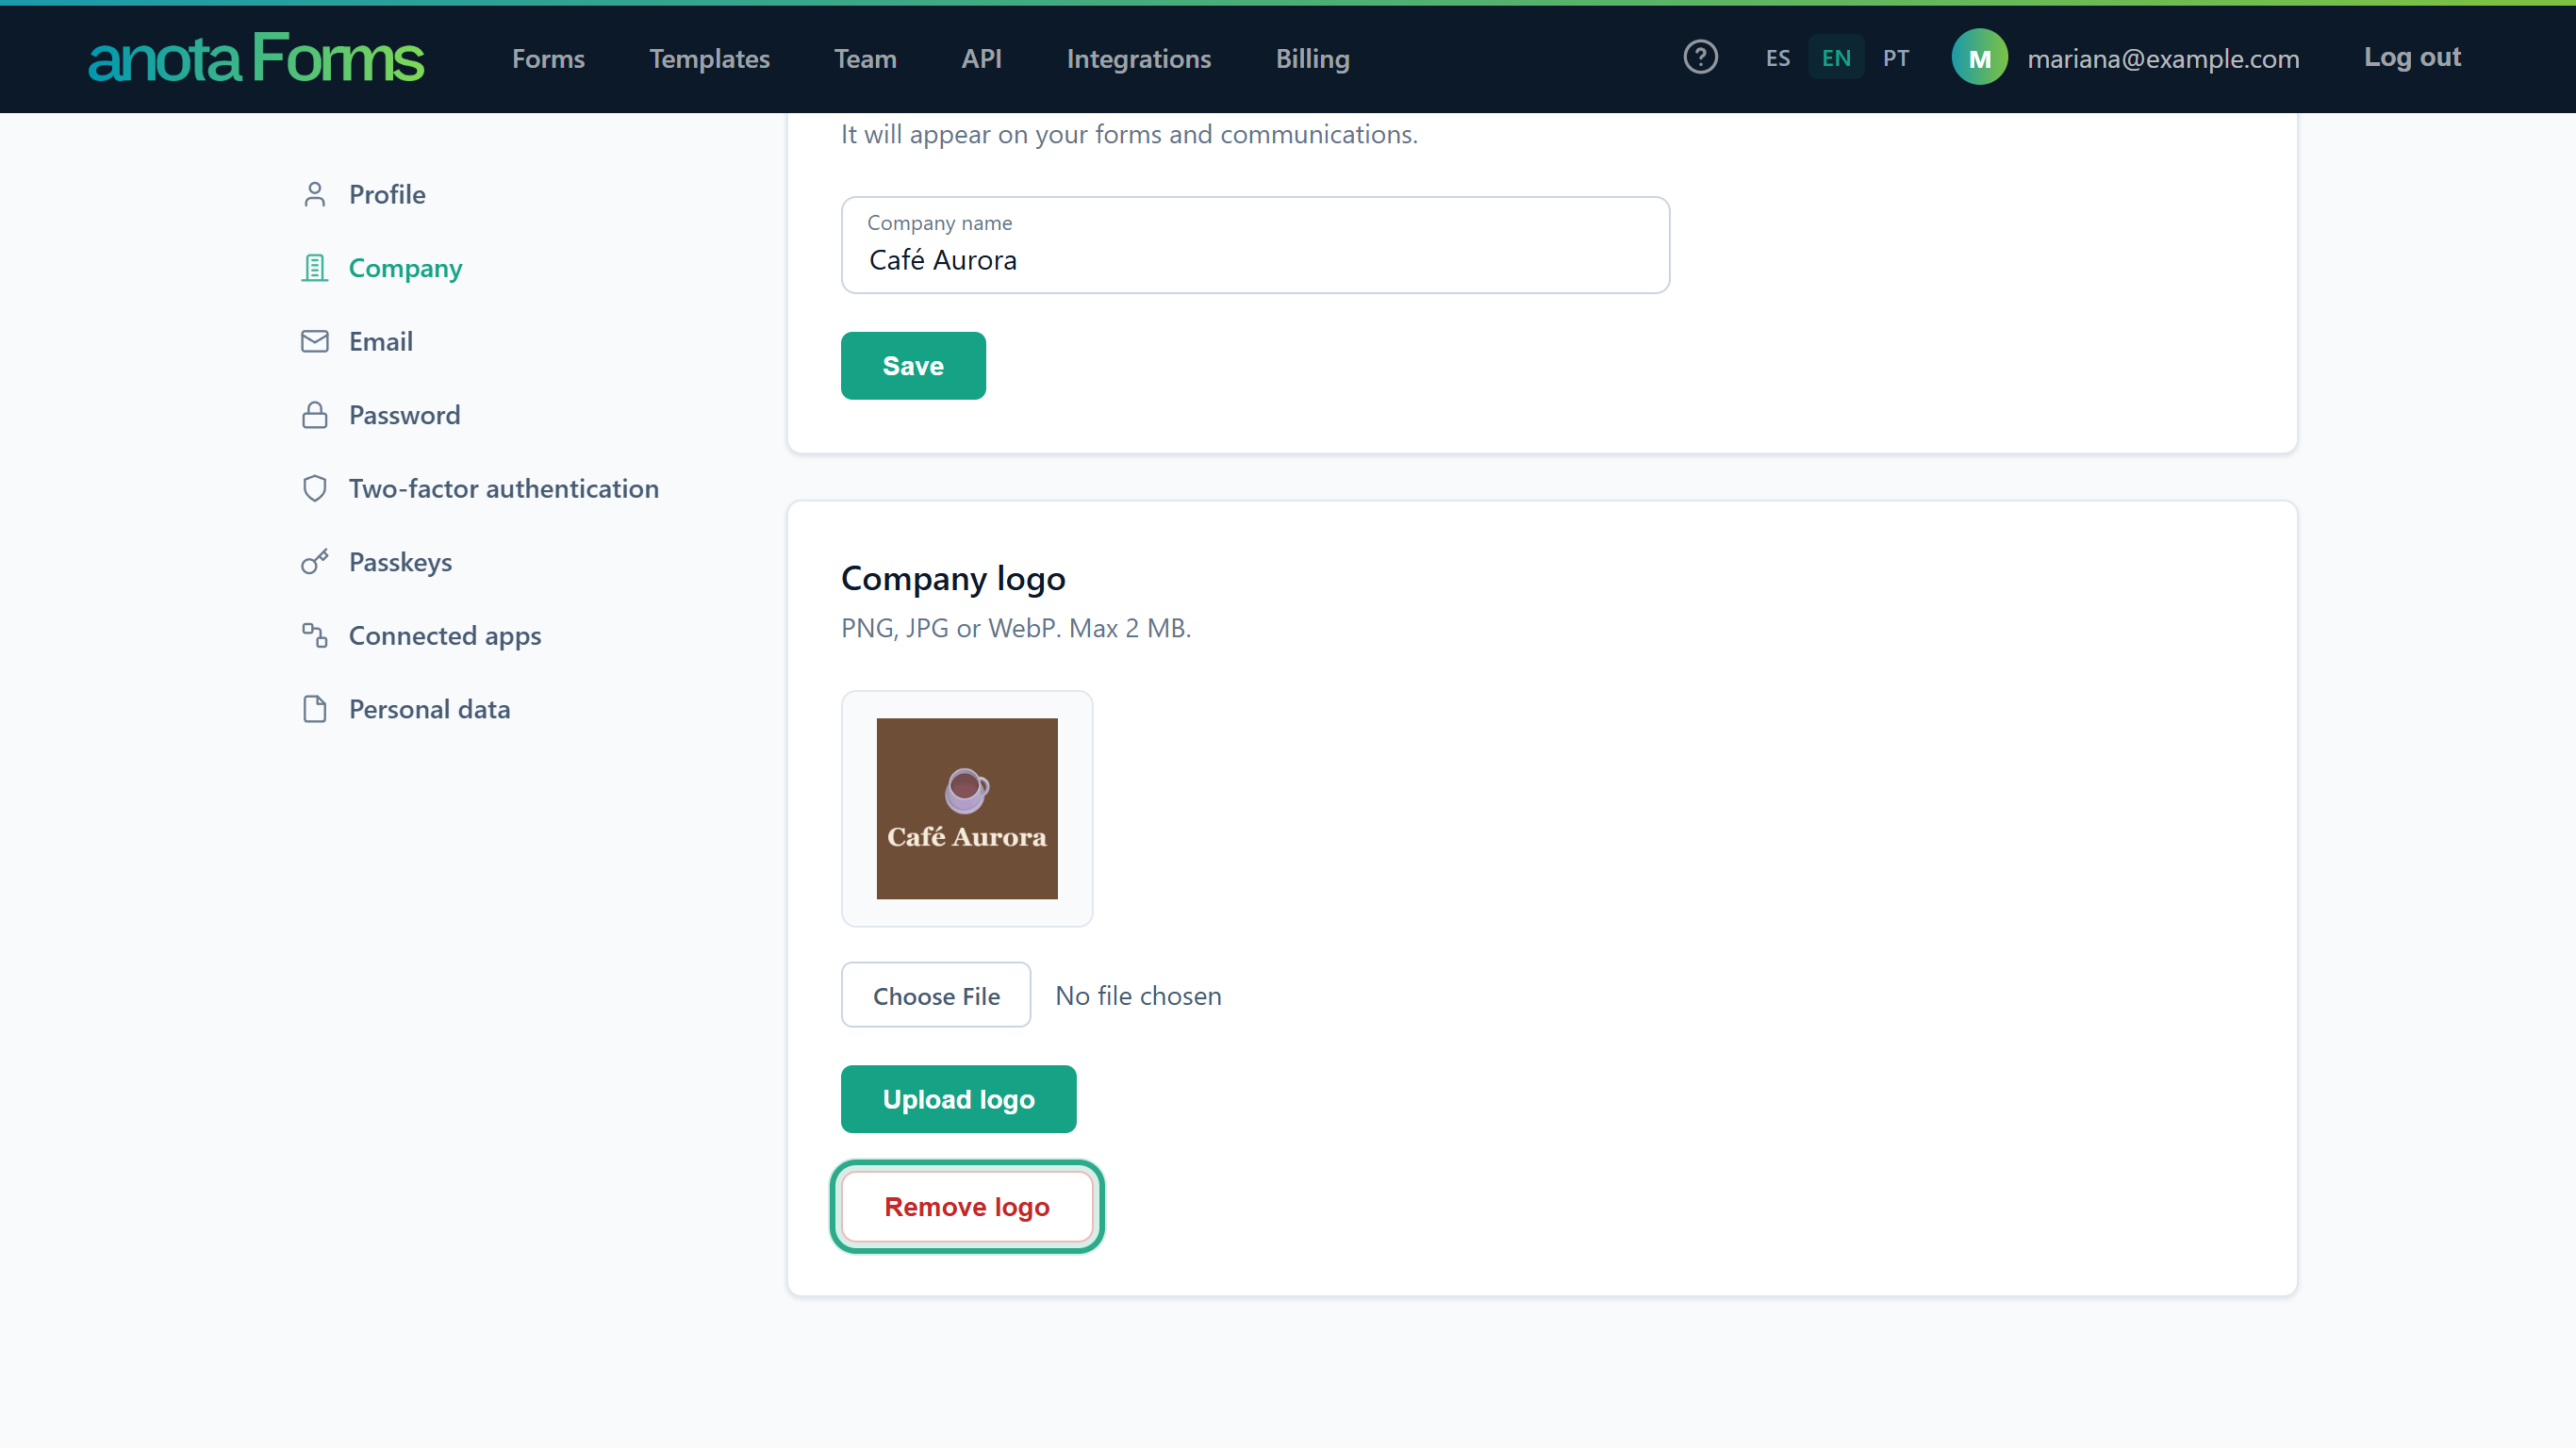 The logo is deleted from the workspace.
anota shows Logo removed., and the card reads "You haven't uploaded a logo yet."
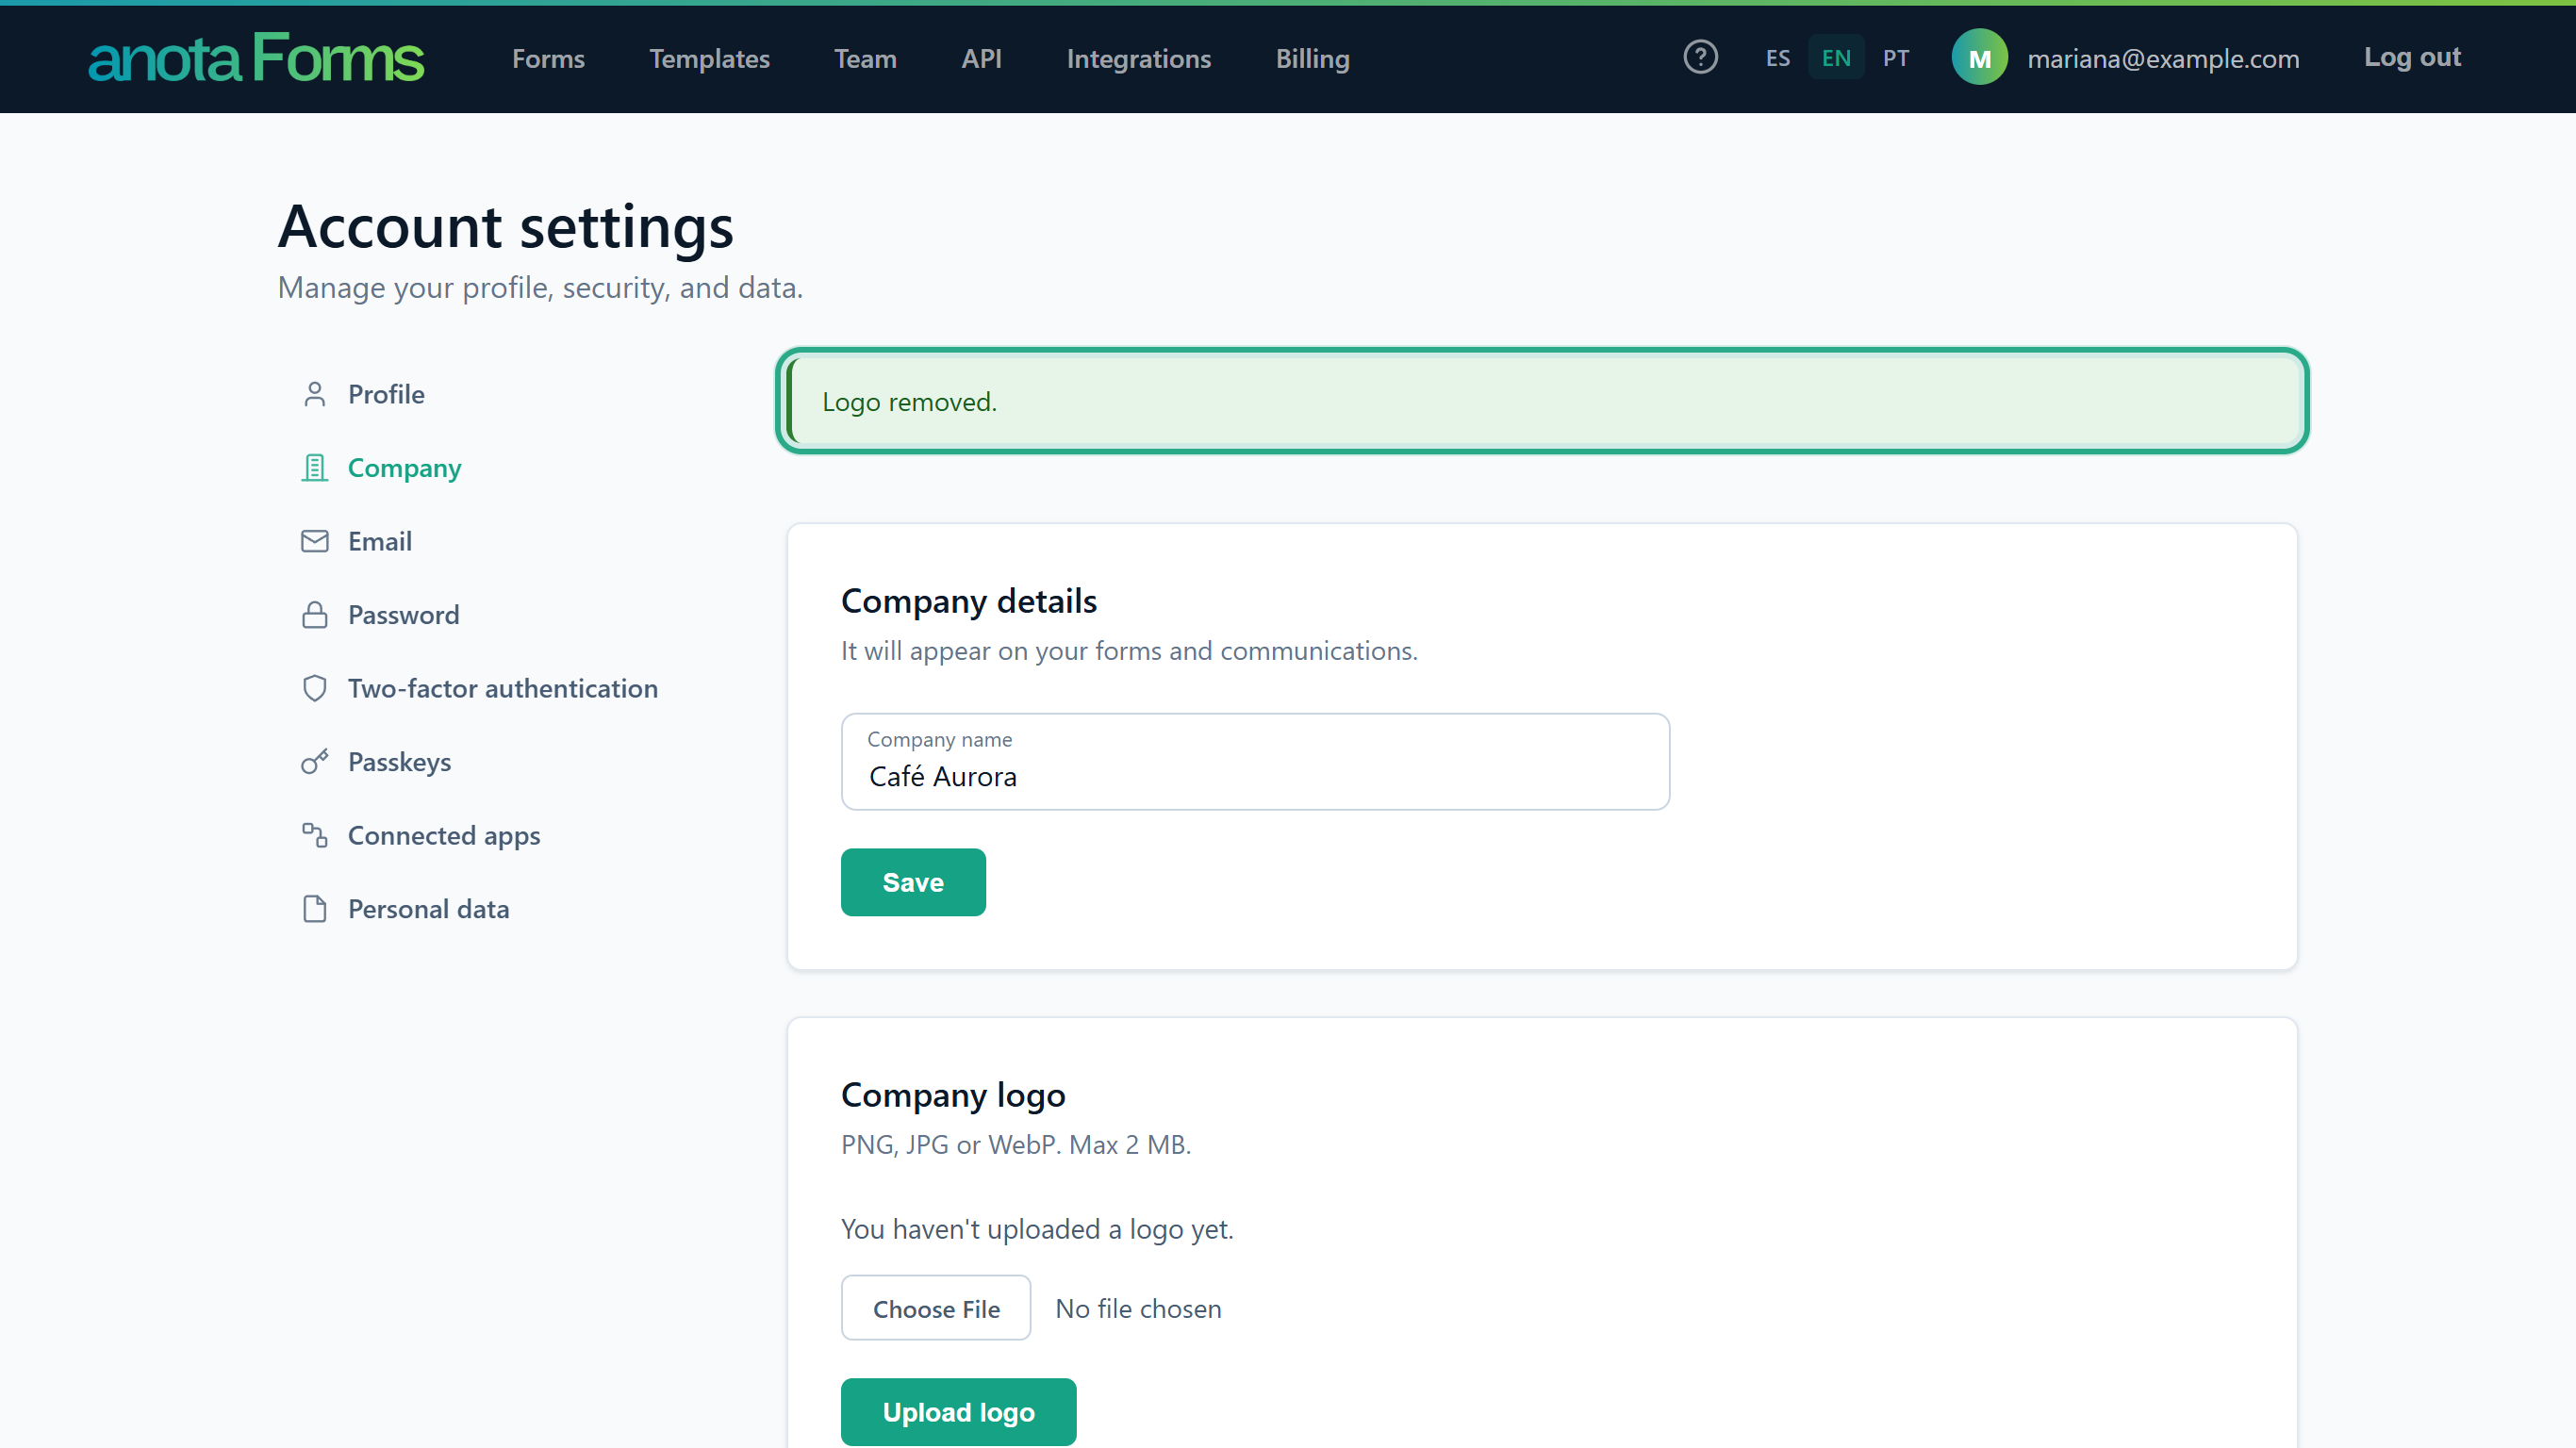 The company name stays as it was.
Result
Forms that used the company logo show no logo from now on. The company name still appears on them. Forms with their own Logo URL don't change. To add a logo again, upload one (Task 3).
Field reference
| Field | Card | Type | Required | Description |
|---|---|---|---|---|
| Company name | Company details | Text, up to 200 characters | Optional | Shown under the logo on your published forms and their payment pages, printed in some PDF layouts (see Export to PDF), and used as the workspace name in invitation emails. Empty means no name is shown on forms. |
| Save | Company details | Button | — | Saves the company name. |
| Logo file (Choose File) | Company logo | Image file: PNG, JPG or WebP, up to 2 MB | Required to upload | The workspace's logo for every form without its own Logo URL. |
| Upload logo | Company logo | Button | — | Uploads the chosen file. It replaces any current logo. |
| Remove logo | Company logo | Button | — | Deletes the current logo. Only shown while a logo is uploaded. |
Roles and permissions
| Role | Open the Company page | Change the name and logo |
|---|---|---|
| Owner | Yes | Yes |
| Admin | Yes | Yes |
| Editor, Viewer | No: "You don't have permission to view this page." | No |
Editors can still see which logo a form uses in the builder's Designer panel, and can change a form's own Logo URL. See Roles and permissions.
Troubleshooting
| Symptom | Likely cause | Resolution |
|---|---|---|
| "Error: The file exceeds the 2 MB limit." | The image is larger than 2 MB. | Compress or resize it and upload again. |
| "Error: Unsupported format. Use PNG, JPG or WebP." | The file is another type, such as GIF, SVG or PDF. | Save the logo as PNG, JPG or WebP. |
| "Error: The file does not appear to be a valid image." | The file's content doesn't match its extension, for example a renamed file. | Export the image again from an image editor as PNG, JPG or WebP. |
| "You don't have permission to view this page." | Your role is Editor or Viewer. | Ask the workspace Owner or an Admin. |
| One form shows a different logo, or none | That form has its own Logo URL, or Show company name and logo is unticked. | Open the form's Designer panel: clear Logo URL and tick the checkbox, then click Update. |
| After removing the logo, some forms have no logo | They used the company logo. | Upload a logo again (Task 3). |
Related features
Was this page helpful?