Email notifications
Email notifications
Applies to: anota, all plans Roles required: Editor or above to set up notifications (they're in the form builder, which Viewers can't open) Regulatory references: none
Overview
When someone submits a form, anota can email your team a copy of the answers (a Notification) and send the person who responded an automatic reply (an Autoresponder). You set both up per form, in the builder's Publish tab > Notifications. Until you do, anota emails every new submission to the workspace owner.
The examples use Café Aurora's Barista Workshop Registration: a Notification to the workshop team and an Autoresponder that confirms the registration to the visitor.
Key concepts
- Notification: an email to one or more addresses you type (your team, a shared inbox), sent for each new submission. It contains your message, if you write one, and a table of all the answers.
- Autoresponder: an email to the respondent, sent to the address they typed in one of the form's Email fields.
- Default owner email: while the form has no Notification switched on, each submission is emailed to the workspace owner. Switching on a Notification replaces it.
- Field variable: a placeholder such as
{answer:f_074cdc}that anota replaces with the person's answer to that question when it sends the email. You insert it with Insert field ▾, so you never need to type the code. - Language: the Notification is written in the form's base language. The Autoresponder follows the language the person filled the form in (see Multilingual forms).
Task 1 — Open the Notifications panel
Prerequisites
- A role of Editor or above.
- A published form. The Publish tab shows Notifications only once the form has been published (see Publish and share).
Step-by-step
Open the form in the builder, click the Publish tab, then Notifications ("Who gets emailed") on the left. On a form without emails it reads "No emails configured. By default, the workspace owner is notified when someone responds."
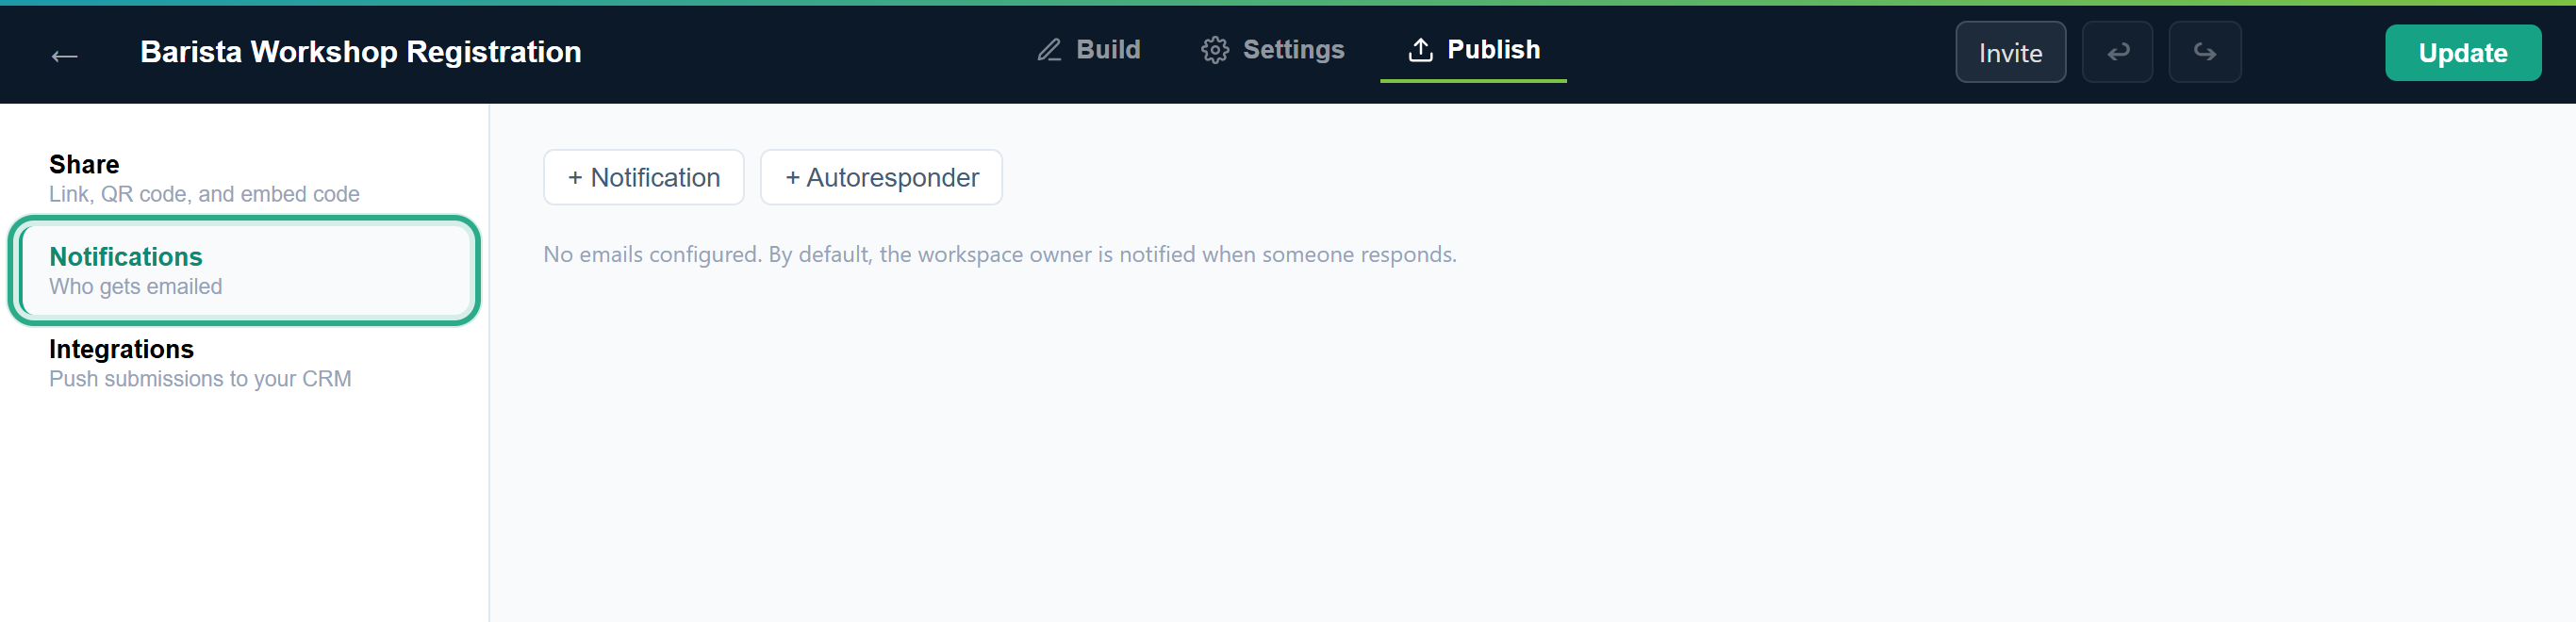 The workspace owner gets every submission until you add your own emails.
Result
You see the form's email cards, one per Notification or Autoresponder, and the buttons to add more.
Task 2 — Email your team when someone responds
Step-by-step
Click + Notification. A new card opens on its Email tab. New cards start switched off, so nothing is sent until you finish and switch it on (step 9).
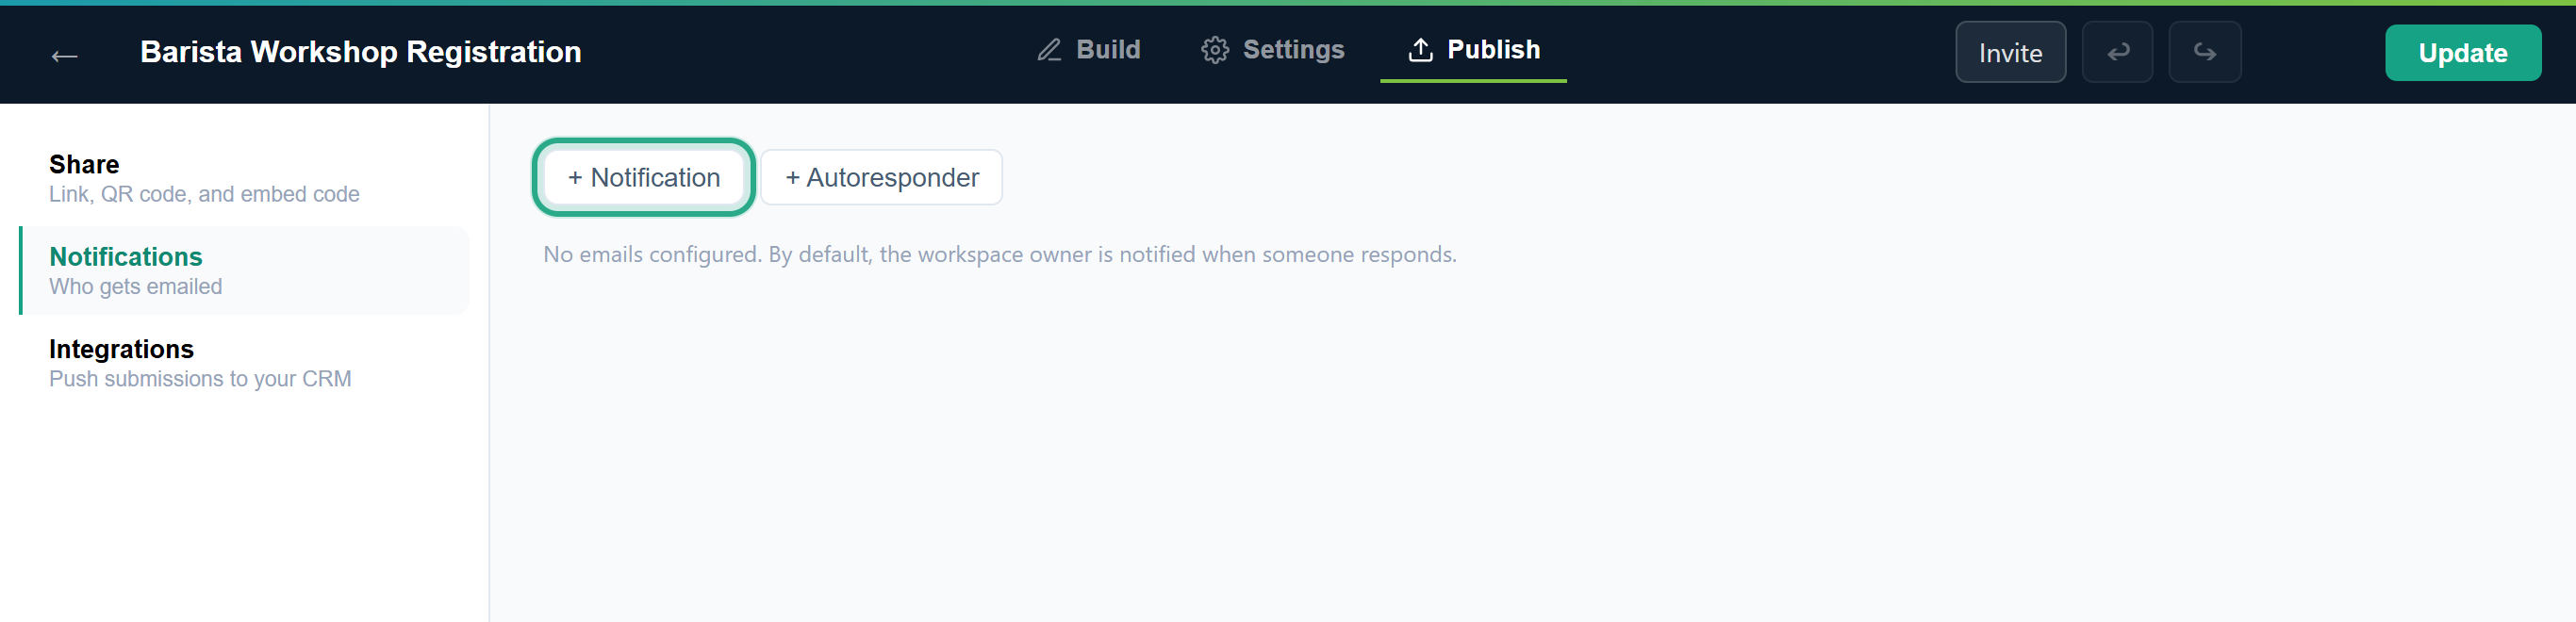 You can add several Notifications, for example one per team.
Under Recipients, type an address and press Enter or type a comma. Add as many as you need; each becomes a chip you can remove with ×. Anything that isn't an address shows "Enter a valid email address."
 Recipients don't need an anota account. Include the owner's address if they should keep getting submissions.
Optionally type an Email subject (optional). When the box is empty, its grey text shows the subject anota uses instead, "New submission: Barista Workshop Registration".
 The default subject is in the form's base language.
Optionally write an Email body: "This text appears above the email's answers table." Format it with bold, italic, underline, lists and links. To include an answer, put the cursor where it goes and choose the question in Insert field ▾.
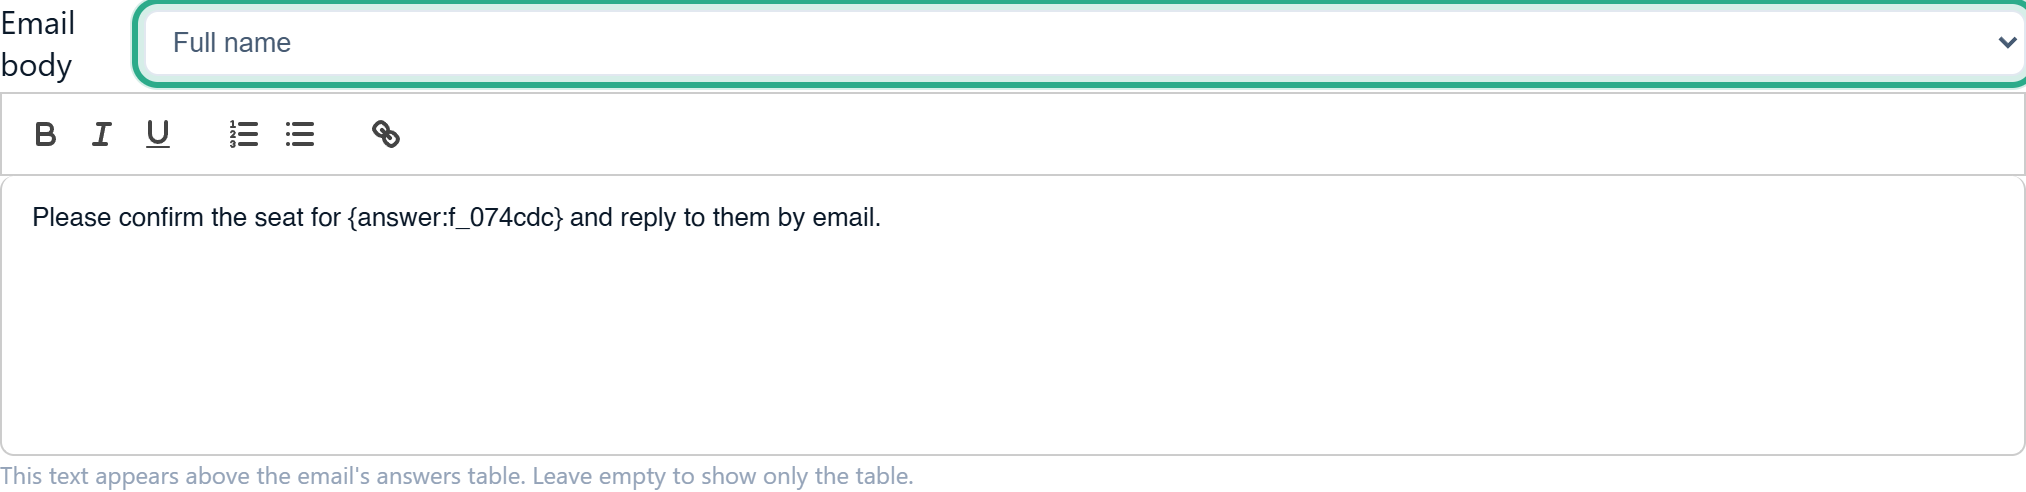
{answer:f_074cdc}is the Full name question. It becomes the person's name in the real email.Under Preview, click Refresh to see the email as it will be sent, with sample answers ("Ada Lovelace" in names, "This is sample text." in long answers) in place of the real ones, both in the table and in your message.
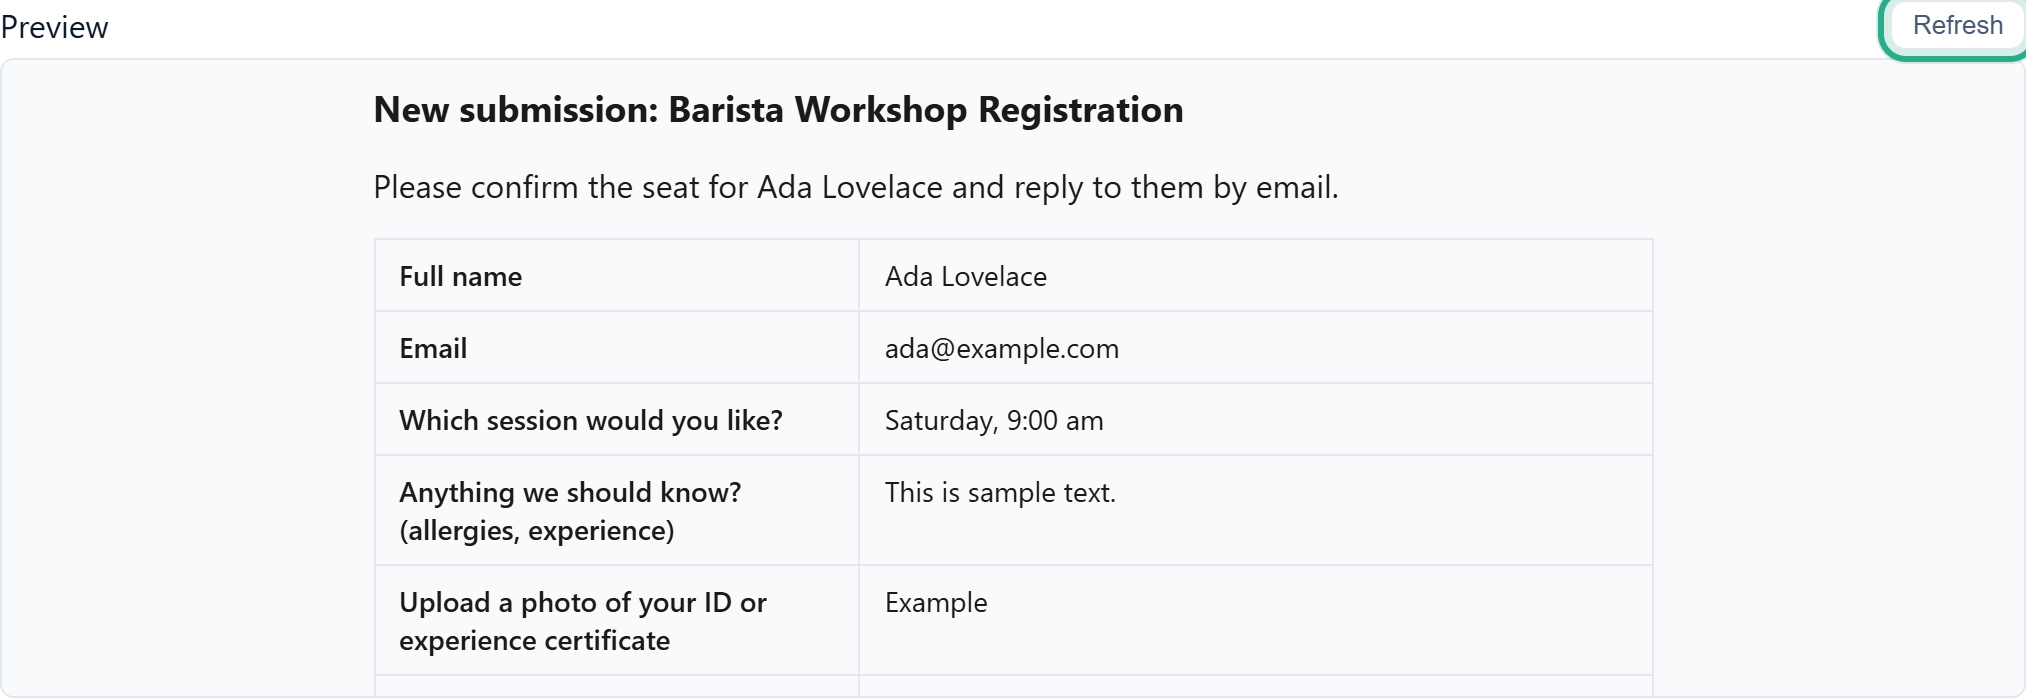 The sample answers are in the form's base language. Real emails show the person's answers.
Click the Advanced tab. Optionally choose the Reply-to: pick the form's Email question, and replying to the notification writes straight to the person who responded. Tick Attach the response as a PDF to attach the submission as a PDF, in the form's PDF layout. Hide empty fields leaves unanswered questions out of the table.
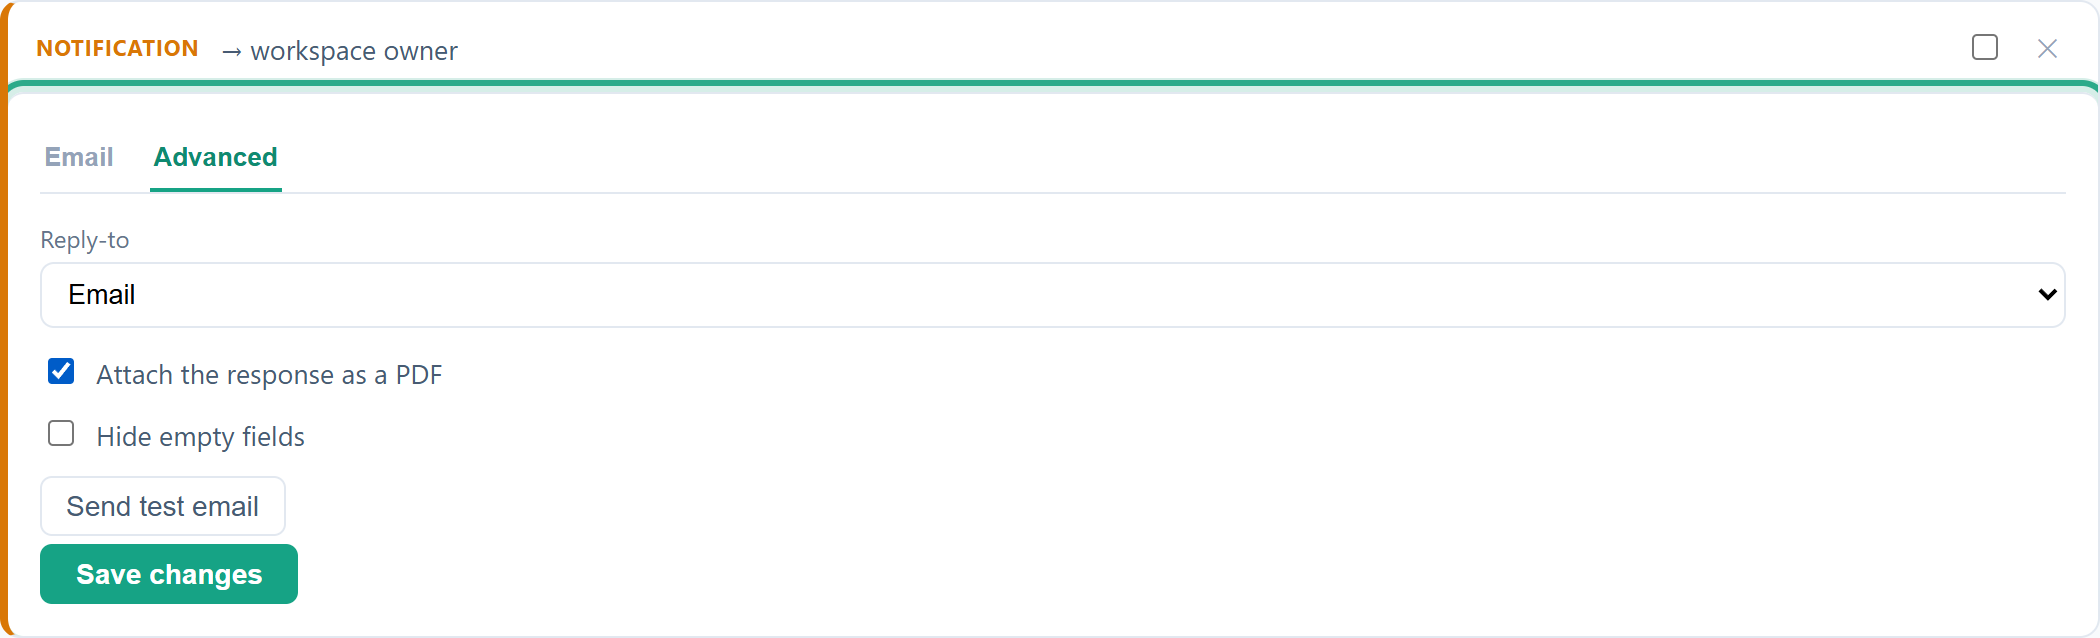 Reply-to lists only the form's Email questions.
Click Save changes. You see Saved.
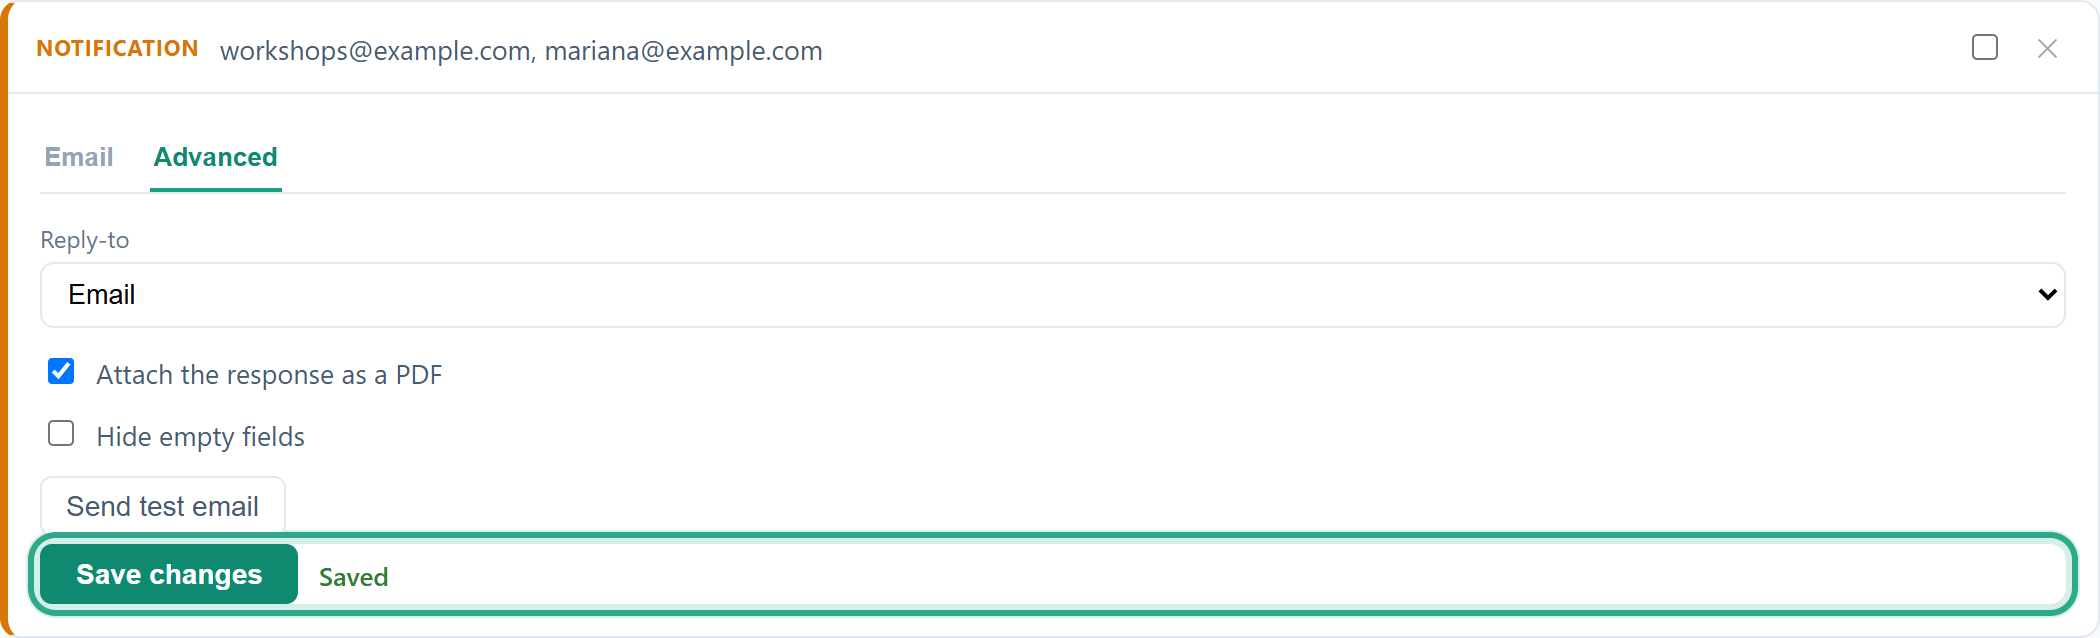 The card's header now shows its recipients. Its switch, at the top right, is still off.
Switch the card on with the checkbox at the right of its header. You can do it with the card open or closed: the switch saves the card, including any recipients you've just typed.
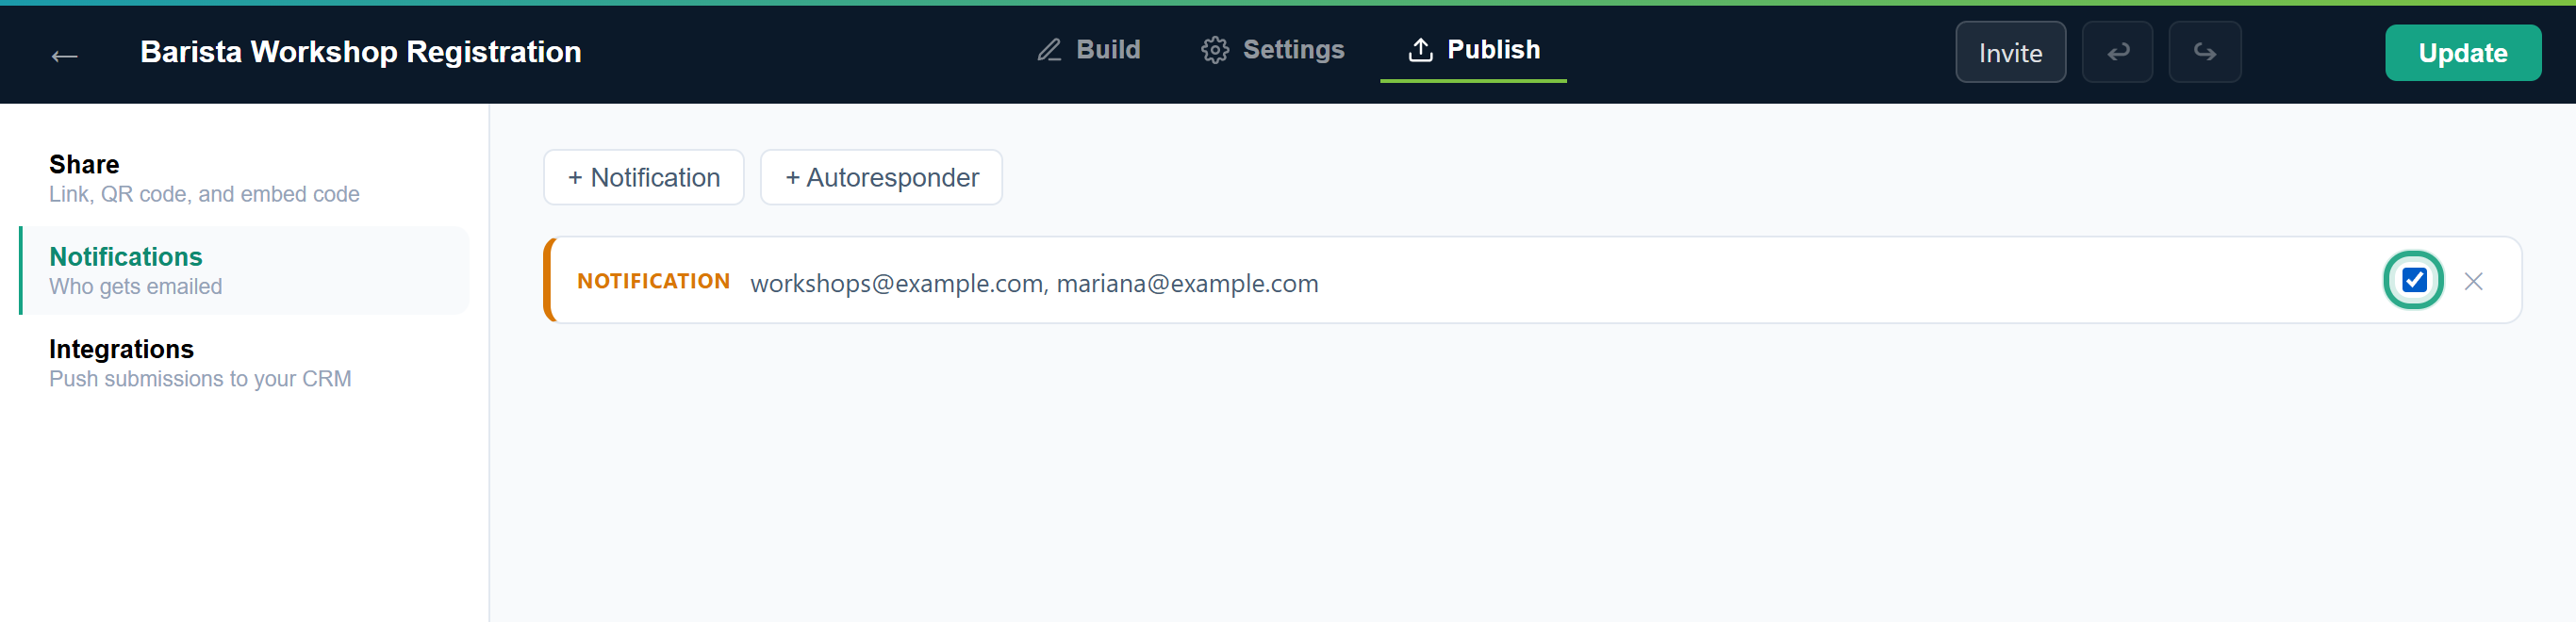 A Notification needs at least one recipient. Without one, the switch stays off, the card opens and shows "Add at least one recipient to turn this notification on."
Result
From the next submission, each recipient gets the email. You don't need to click Update: notifications take effect as soon as they're saved, without publishing the form again. Because a Notification is now on, the workspace owner no longer gets the default email (here the owner, Mariana, is one of the recipients).
To pause a card, untick its switch; its settings are kept. To remove it, click ✕ on its header. The card is deleted at once, with no confirmation.
Task 3 — Send the respondent an automatic reply
Prerequisites
- The form has at least one Email question. Without one, the card shows "This form doesn't have an Email-type field yet. Add one in the Build tab."
Step-by-step
Click + Autoresponder. Under Recipients, choose the Email question whose answer is the address to reply to. "(form's first email field)" uses the first Email question of the form.
 If the person leaves that question empty, no autoresponder is sent to them.
Type the Email subject (optional) and your message in the Email body, inserting answers with Insert field ▾. Here: "Hi , thanks for registering for {Which session would you like?}. We'll confirm your seat within one working day."
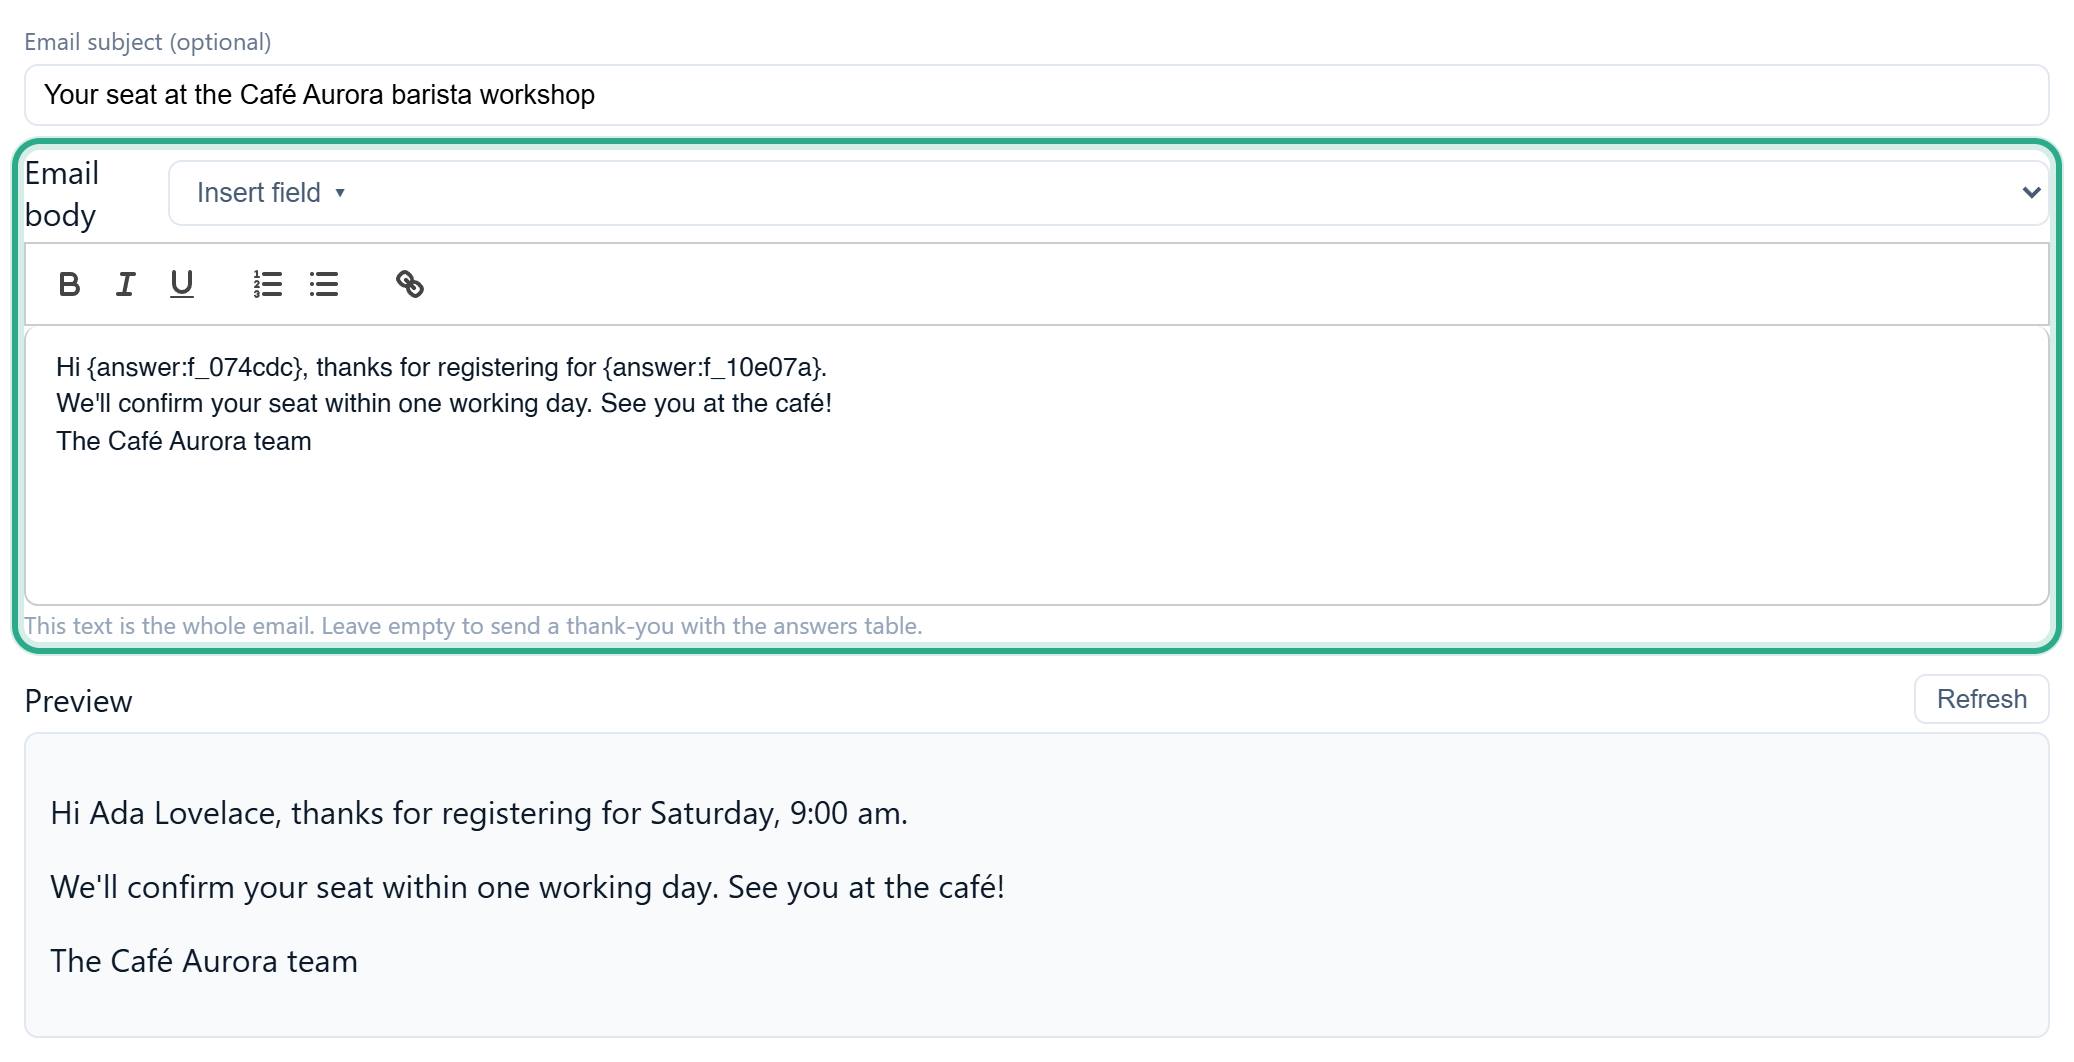 An empty subject uses "Thanks for your submission — Barista Workshop Registration".
As the hint under the body says, "This text is the whole email. Leave empty to send a thank-you with the answers table." When you write a body, the autoresponder sends only your message, without the answers table, and Preview (after Refresh) shows just that message with sample answers filled in. Leave the body empty to send a thank-you heading with the table of the person's answers instead.
Click Save changes, close the card and switch it on in its header.
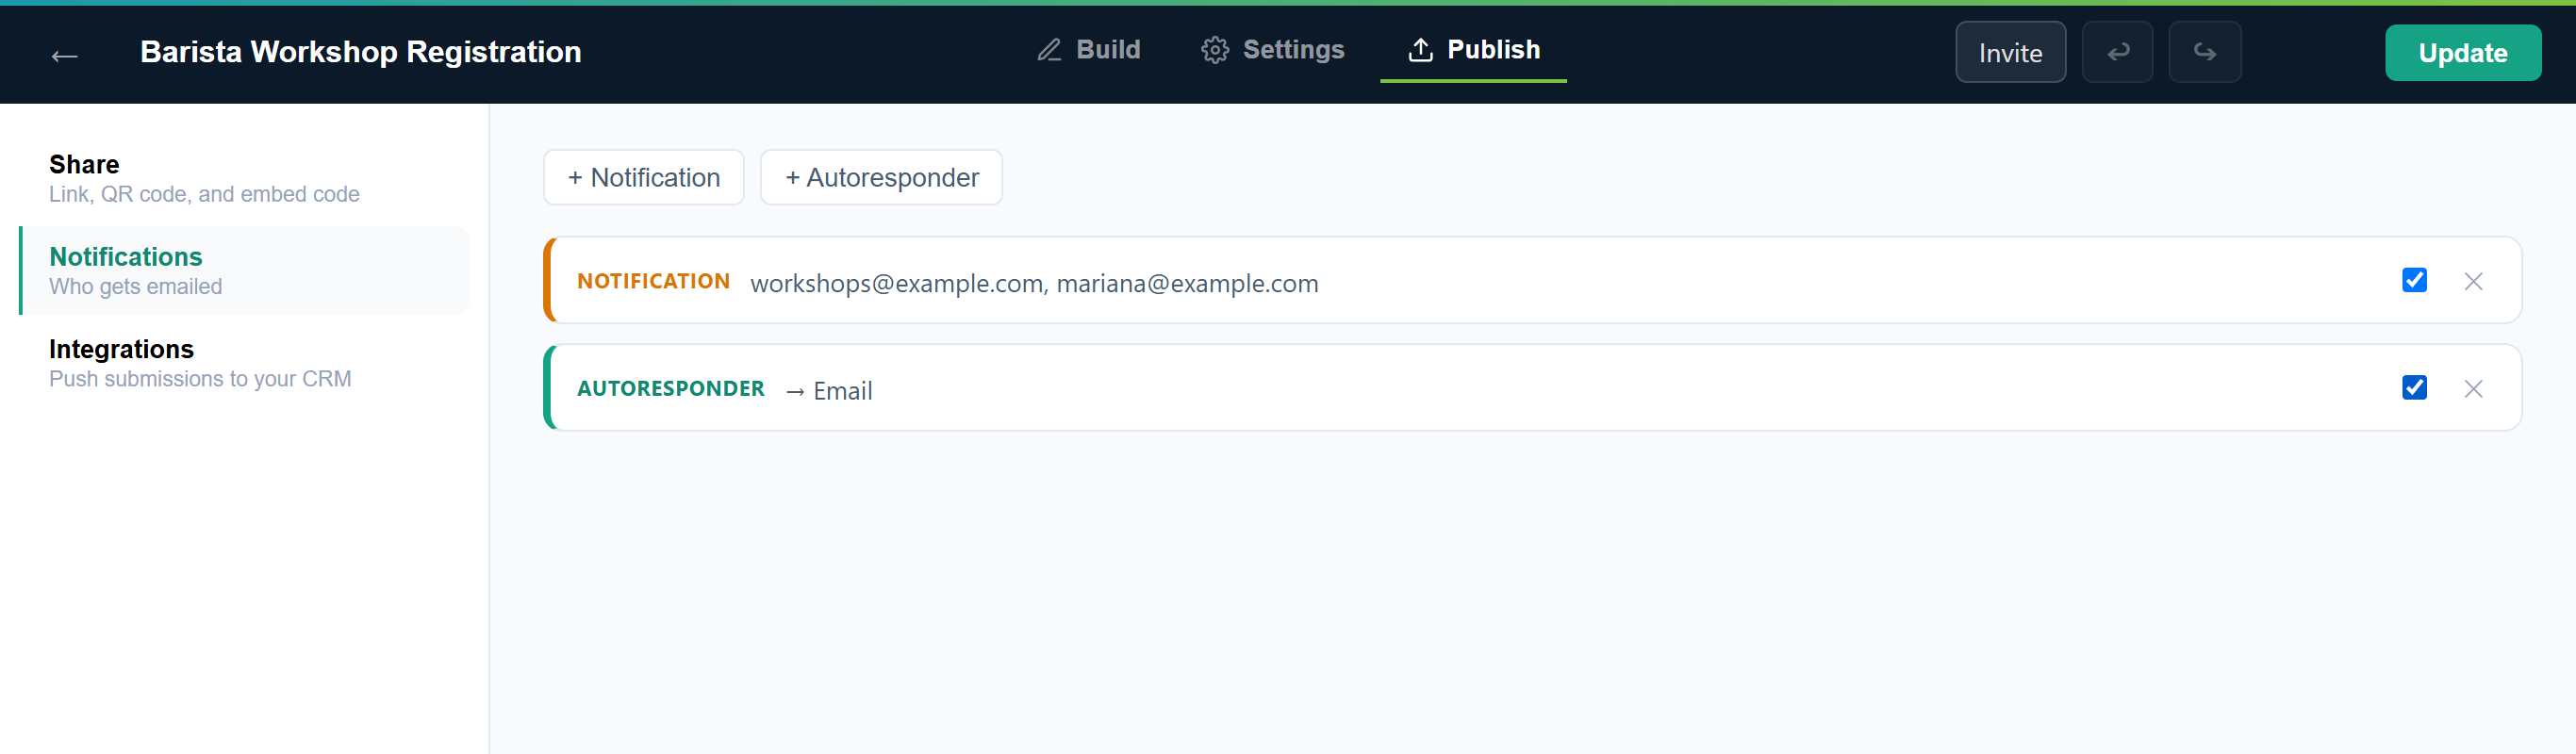 Cards are listed in the order you added them. The Autoresponder's header shows which Email question it answers.
Result
Everyone who submits the form with an email address gets your reply. An Autoresponder doesn't replace the owner's default email: a form with only Autoresponders still notifies the owner.
Task 4 — Send yourself a test email
Step-by-step
Open the card, click the Advanced tab and click Send test email.
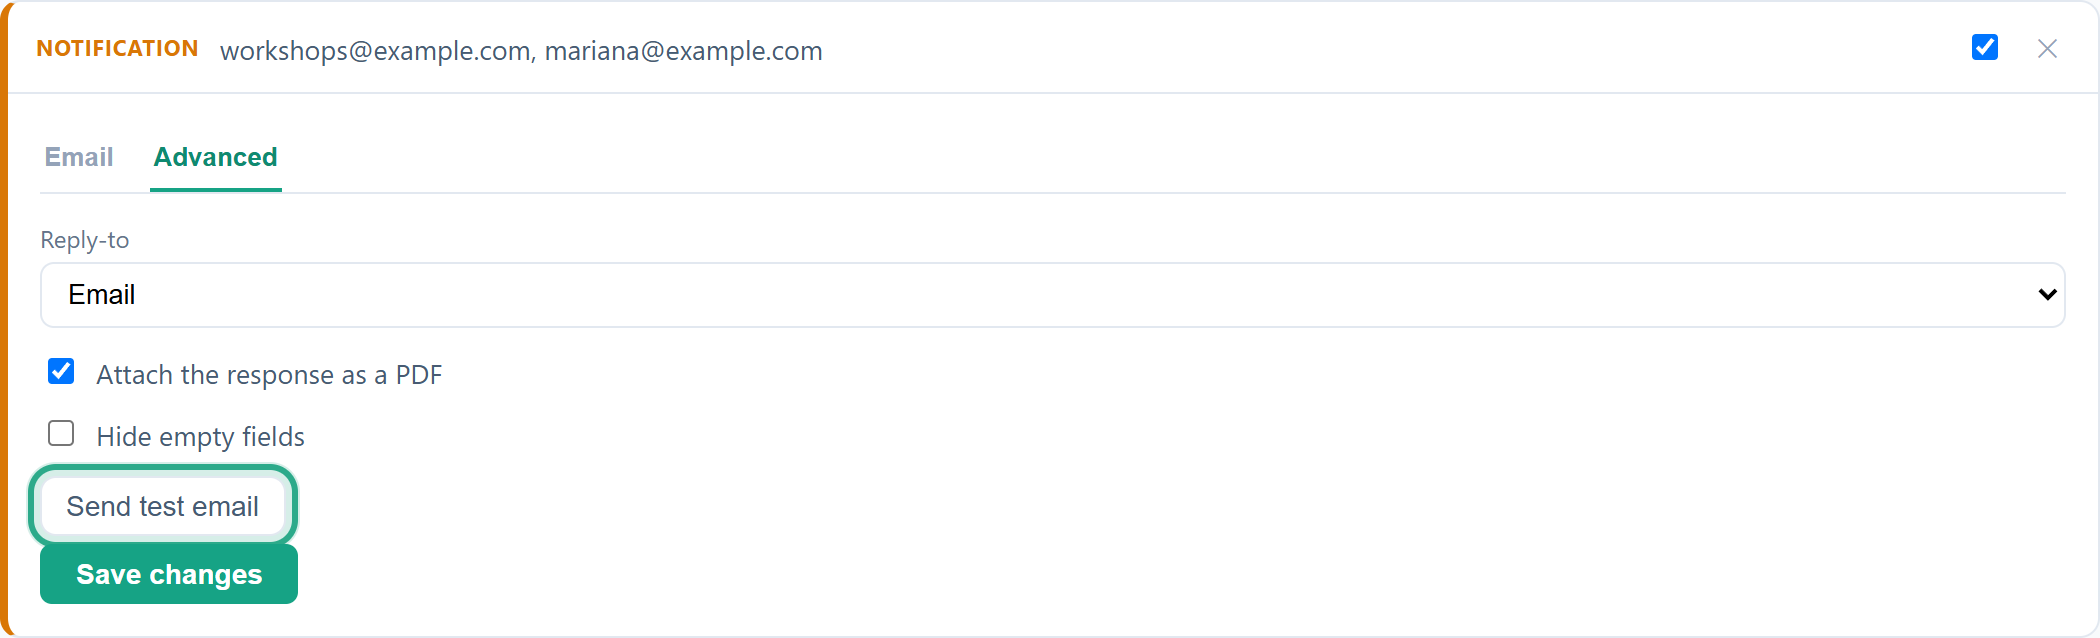 The test uses the card's saved settings, so click Save changes first.
anota shows "Sent to" and your address, the one you sign in with.
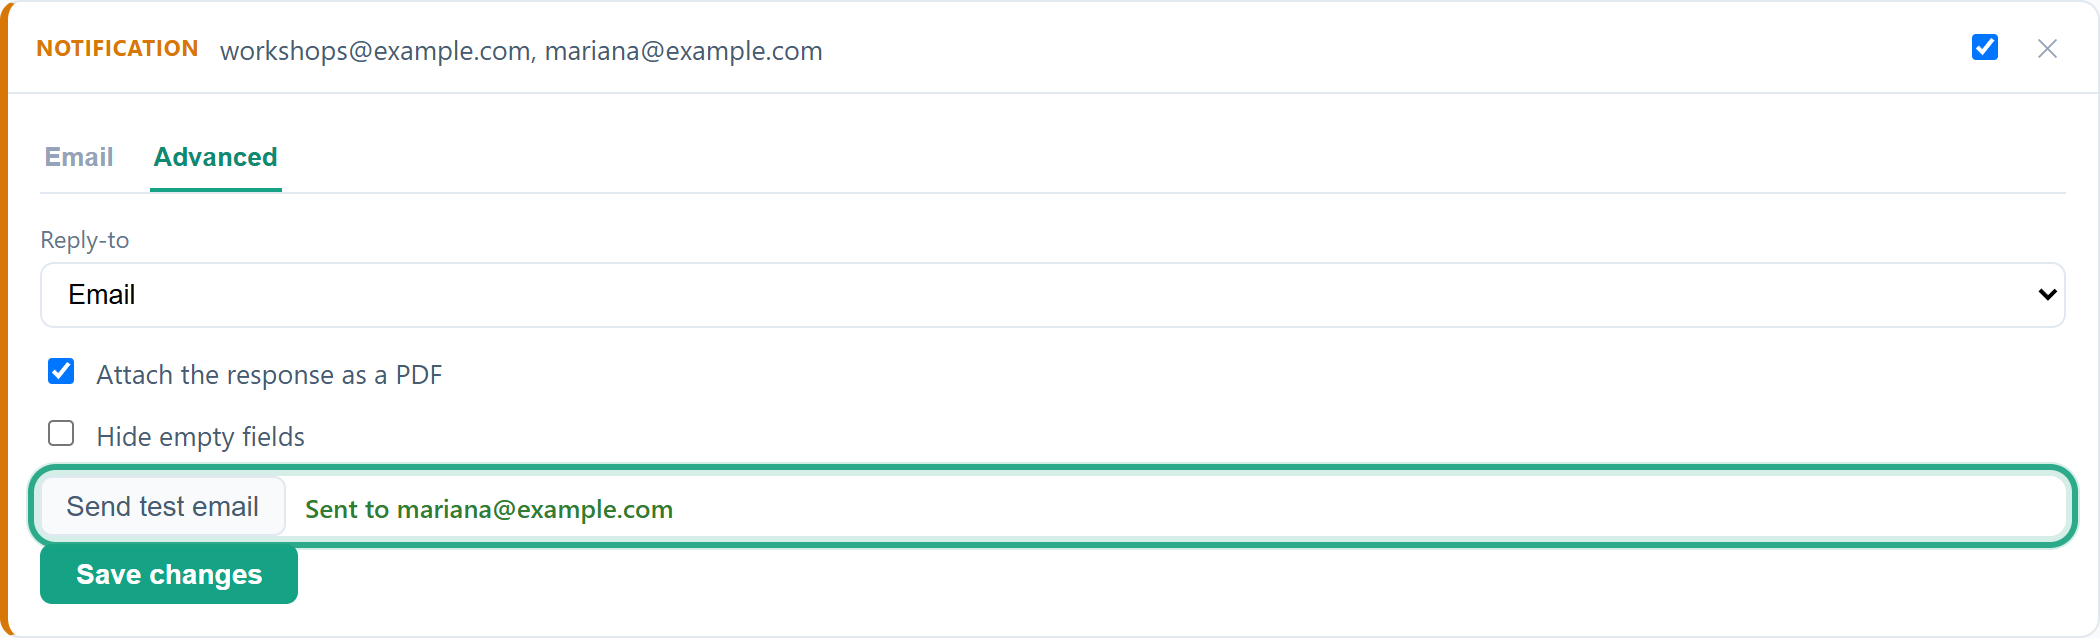 The test goes to you, not to the card's recipients.
Check your inbox. The test looks like the real email, with "[Test]" before the subject and sample answers in the form's base language (your own address in Email questions, "Ada Lovelace" in names, "This is sample text." in long answers).
![The test email: subject [Test] New workshop registration, the body with Ada Lovelace, and the answers table with sample values](https://p4software.blob.core.windows.net/page-images/f3041232-39fc-4625-b644-bc66e6de0f20.png) A test email never attaches the PDF, even when the card attaches it.
A test email never attaches the PDF, even when the card attaches it.
Result
You've checked the subject, the message and the variables before real submissions arrive. To check the PDF attachment, send a real response to the published form.
Task 5 — Check what your team and the respondent receive
The pictures below are the emails anota sent when Andrés Molina registered, captured on a local test server (where emails are saved as files instead of being delivered), with their To, Subject, Reply-To and attachment lines shown above the body.
Step-by-step
Each Notification recipient gets the email with your subject, the heading "New submission:
With Attach the response as a PDF, the email carries
submission.pdf, the submission in the form's PDF layout, with the signature as an image.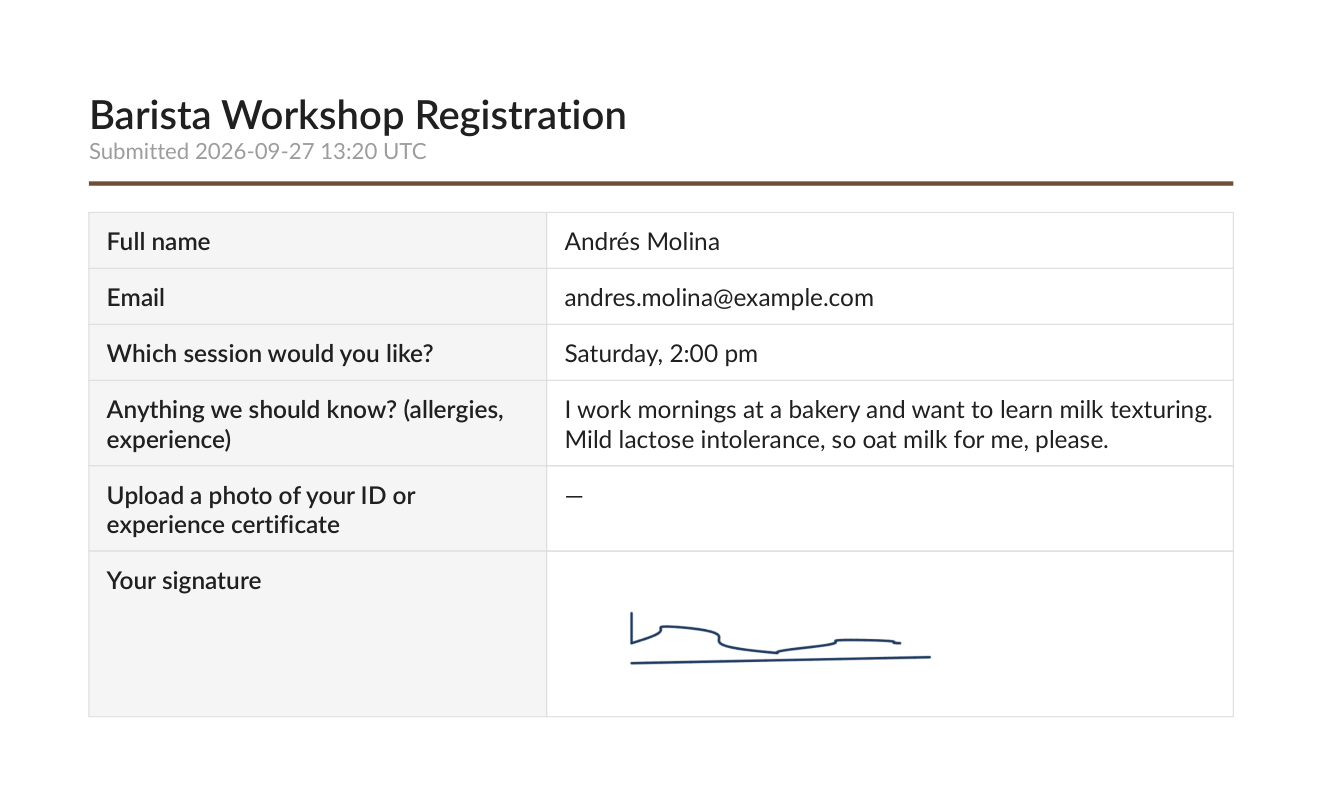 The same PDF as Download PDF in the inbox.
The respondent gets the Autoresponder: your subject and your message, with their answers filled in.
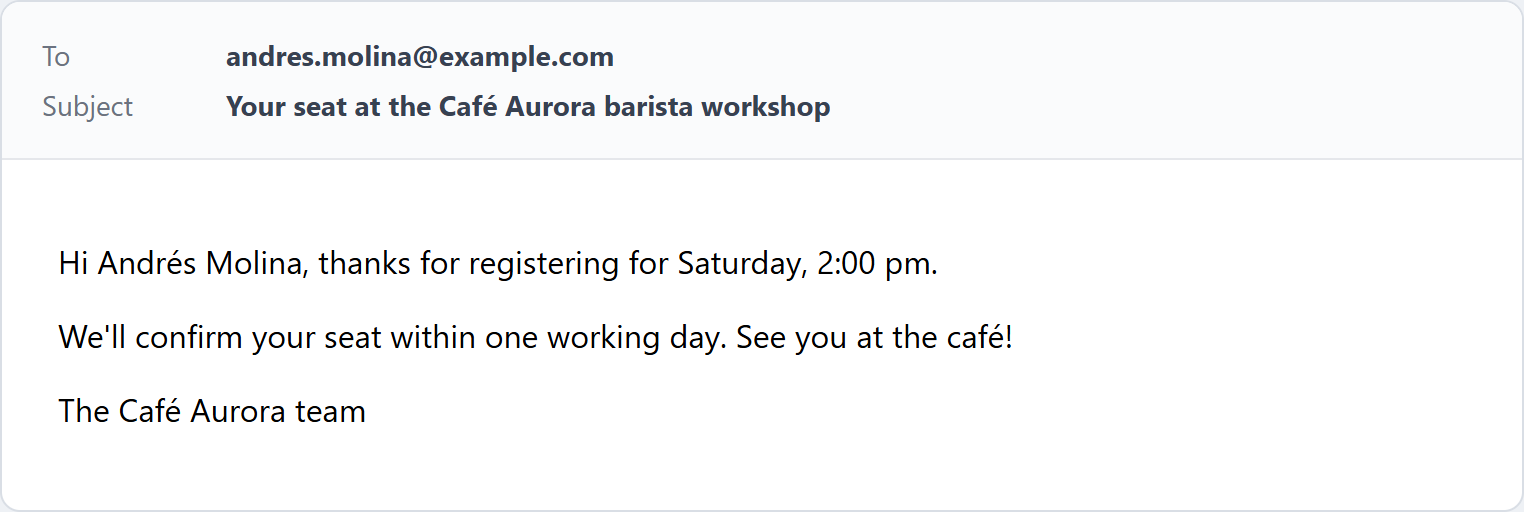 With a body written, the autoresponder has no answers table.
Result
Your team can act on the registration straight from their inbox and reply to the person, and the person has a confirmation. The submission is also in the form's inbox as New.
Default behaviour: the owner email
While no Notification is switched on, anota emails each new submission to the workspace owner's sign-in address, with the subject "New submission: " and a table of the answers. Switched-off Notifications don't count, so switching every Notification off brings the owner email back.
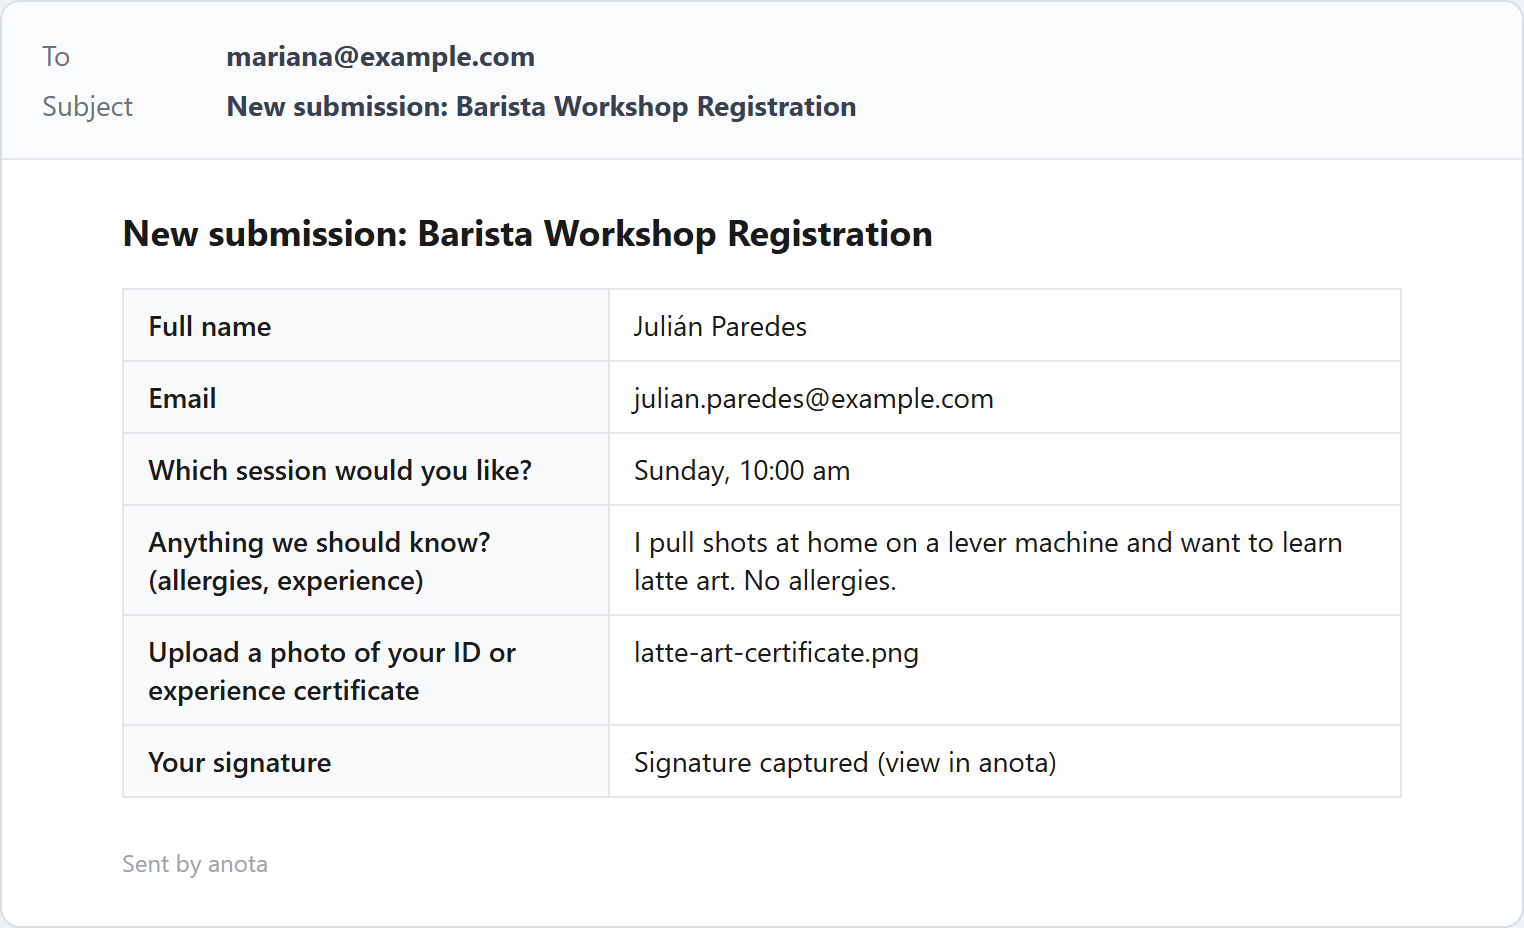 The owner email has no message and no attachment, so the signature reads "Signature captured (view in anota)".
Signatures and files in emails
- Signatures are never embedded in an email. When the email carries the PDF they appear as "Signature captured (view in anota or the attached PDF)"; otherwise (for example in the owner email, or from a card without the PDF) as "Signature captured (view in anota)". Attach the PDF to get the signed image.
- Uploaded files are not attached: the email lists their names. Download them from the submission in the inbox.
- On a form that takes payments, emails go out when the payment is confirmed, never for unpaid orders (see Products, orders and Stripe payments).
Route a copy with Conditional logic
A conditional logic rule with the Route a copy by email action adds an address to the notification when its conditions match, for example "Number of guests is greater than 60 → Route a copy to events@example.com". The routed address gets the same email as the Notification recipients, in addition to them. If no Notification is switched on, it gets the owner email. Routing never changes the Autoresponder.
Set up notifications by asking Claude or ChatGPT
With the Claude and ChatGPT connector, you can ask in plain words, for example "Email every barista workshop registration to workshops@example.com and mariana@example.com, with the PDF." The assistant's set_email_notification tool creates a Notification, or changes the recipients of an existing one, and can set its subject and the PDF attachment. The connector has its own limits:
- 1 to 10 recipients per notification, one plain address each.
- Up to 10 Notifications per form.
- It manages Notifications only; Autoresponders are set up in the builder.
- It needs the Manage webhooks and email notifications permission, which only an Admin or the Owner can grant when connecting.
What the assistant sets up appears as a card in Publish > Notifications, where you can review and edit it. It keeps the message, Reply-to and Hide empty fields you set in the builder.
Field reference
| Setting | Card | Description |
|---|---|---|
| Switch (header checkbox) | Both | On: the email is sent. New cards start off. A Notification needs a recipient to be on. |
| Recipients | Notification | Addresses, added with Enter or a comma. |
| Recipients | Autoresponder | The Email question to reply to; "(form's first email field)" by default. |
| Email subject (optional) | Both | Empty: "New submission: |
Was this page helpful?