Developers and API
Developers and API
Applies to: anota, all plans Roles required: Admin or above to create and revoke API keys and to manage Integrations Regulatory references: none
Overview
This page is for anyone who wants to connect anota to other tools or build forms without the visual editor. anota has a REST API for your own scripts and systems, and an MCP connector that lets an AI assistant such as Claude or ChatGPT work with your forms (see Connect Claude and ChatGPT (MCP)). Both use the same API keys and can create, edit, clone, publish and delete forms (with their conditional logic), read and manage submissions, and add webhooks that send every new submission to your own system.
The examples use Café Aurora's workspace. Mariana, the owner, creates a key for a small script that syncs catering orders, lists her forms with it, adds a webhook to the Catering Order Request form, and revokes the key when the test is over.
Key concepts
- API key: a secret that lets a program act on your workspace. It starts with
anota_sk_followed by 40 characters. anota shows the full key once, when you create it. - Bearer token: how the key is sent with every request, in the header
Authorization: Bearer anota_sk_…. - Endpoint: one address of the API, such as
GET /api/v1/forms(list your forms). Every endpoint starts withhttps://anota.cloud/api/v1. - Webhook: a web address of your own that anota calls with the answers each time a form receives a submission. Webhooks are managed through the API or the MCP connector; there is no screen for them in the app.
- Signing secret: a value starting with
whsec_that anota gives you when you add a webhook. Your system uses it to check that a call really came from anota. - Connection (Integrations page): a link from your workspace to a CRM, so forms can create records there. It is separate from webhooks.
Task 1 — Create an API key
Prerequisites
- The Admin or Owner role in the workspace (see Roles and permissions). With a lower role, the API link isn't shown and the page shows an access-denied message.
Step-by-step
Click API in the top bar. The API keys page opens: "Connect anota to Claude and other integrations. Each key grants access to your workspace's forms and submissions."
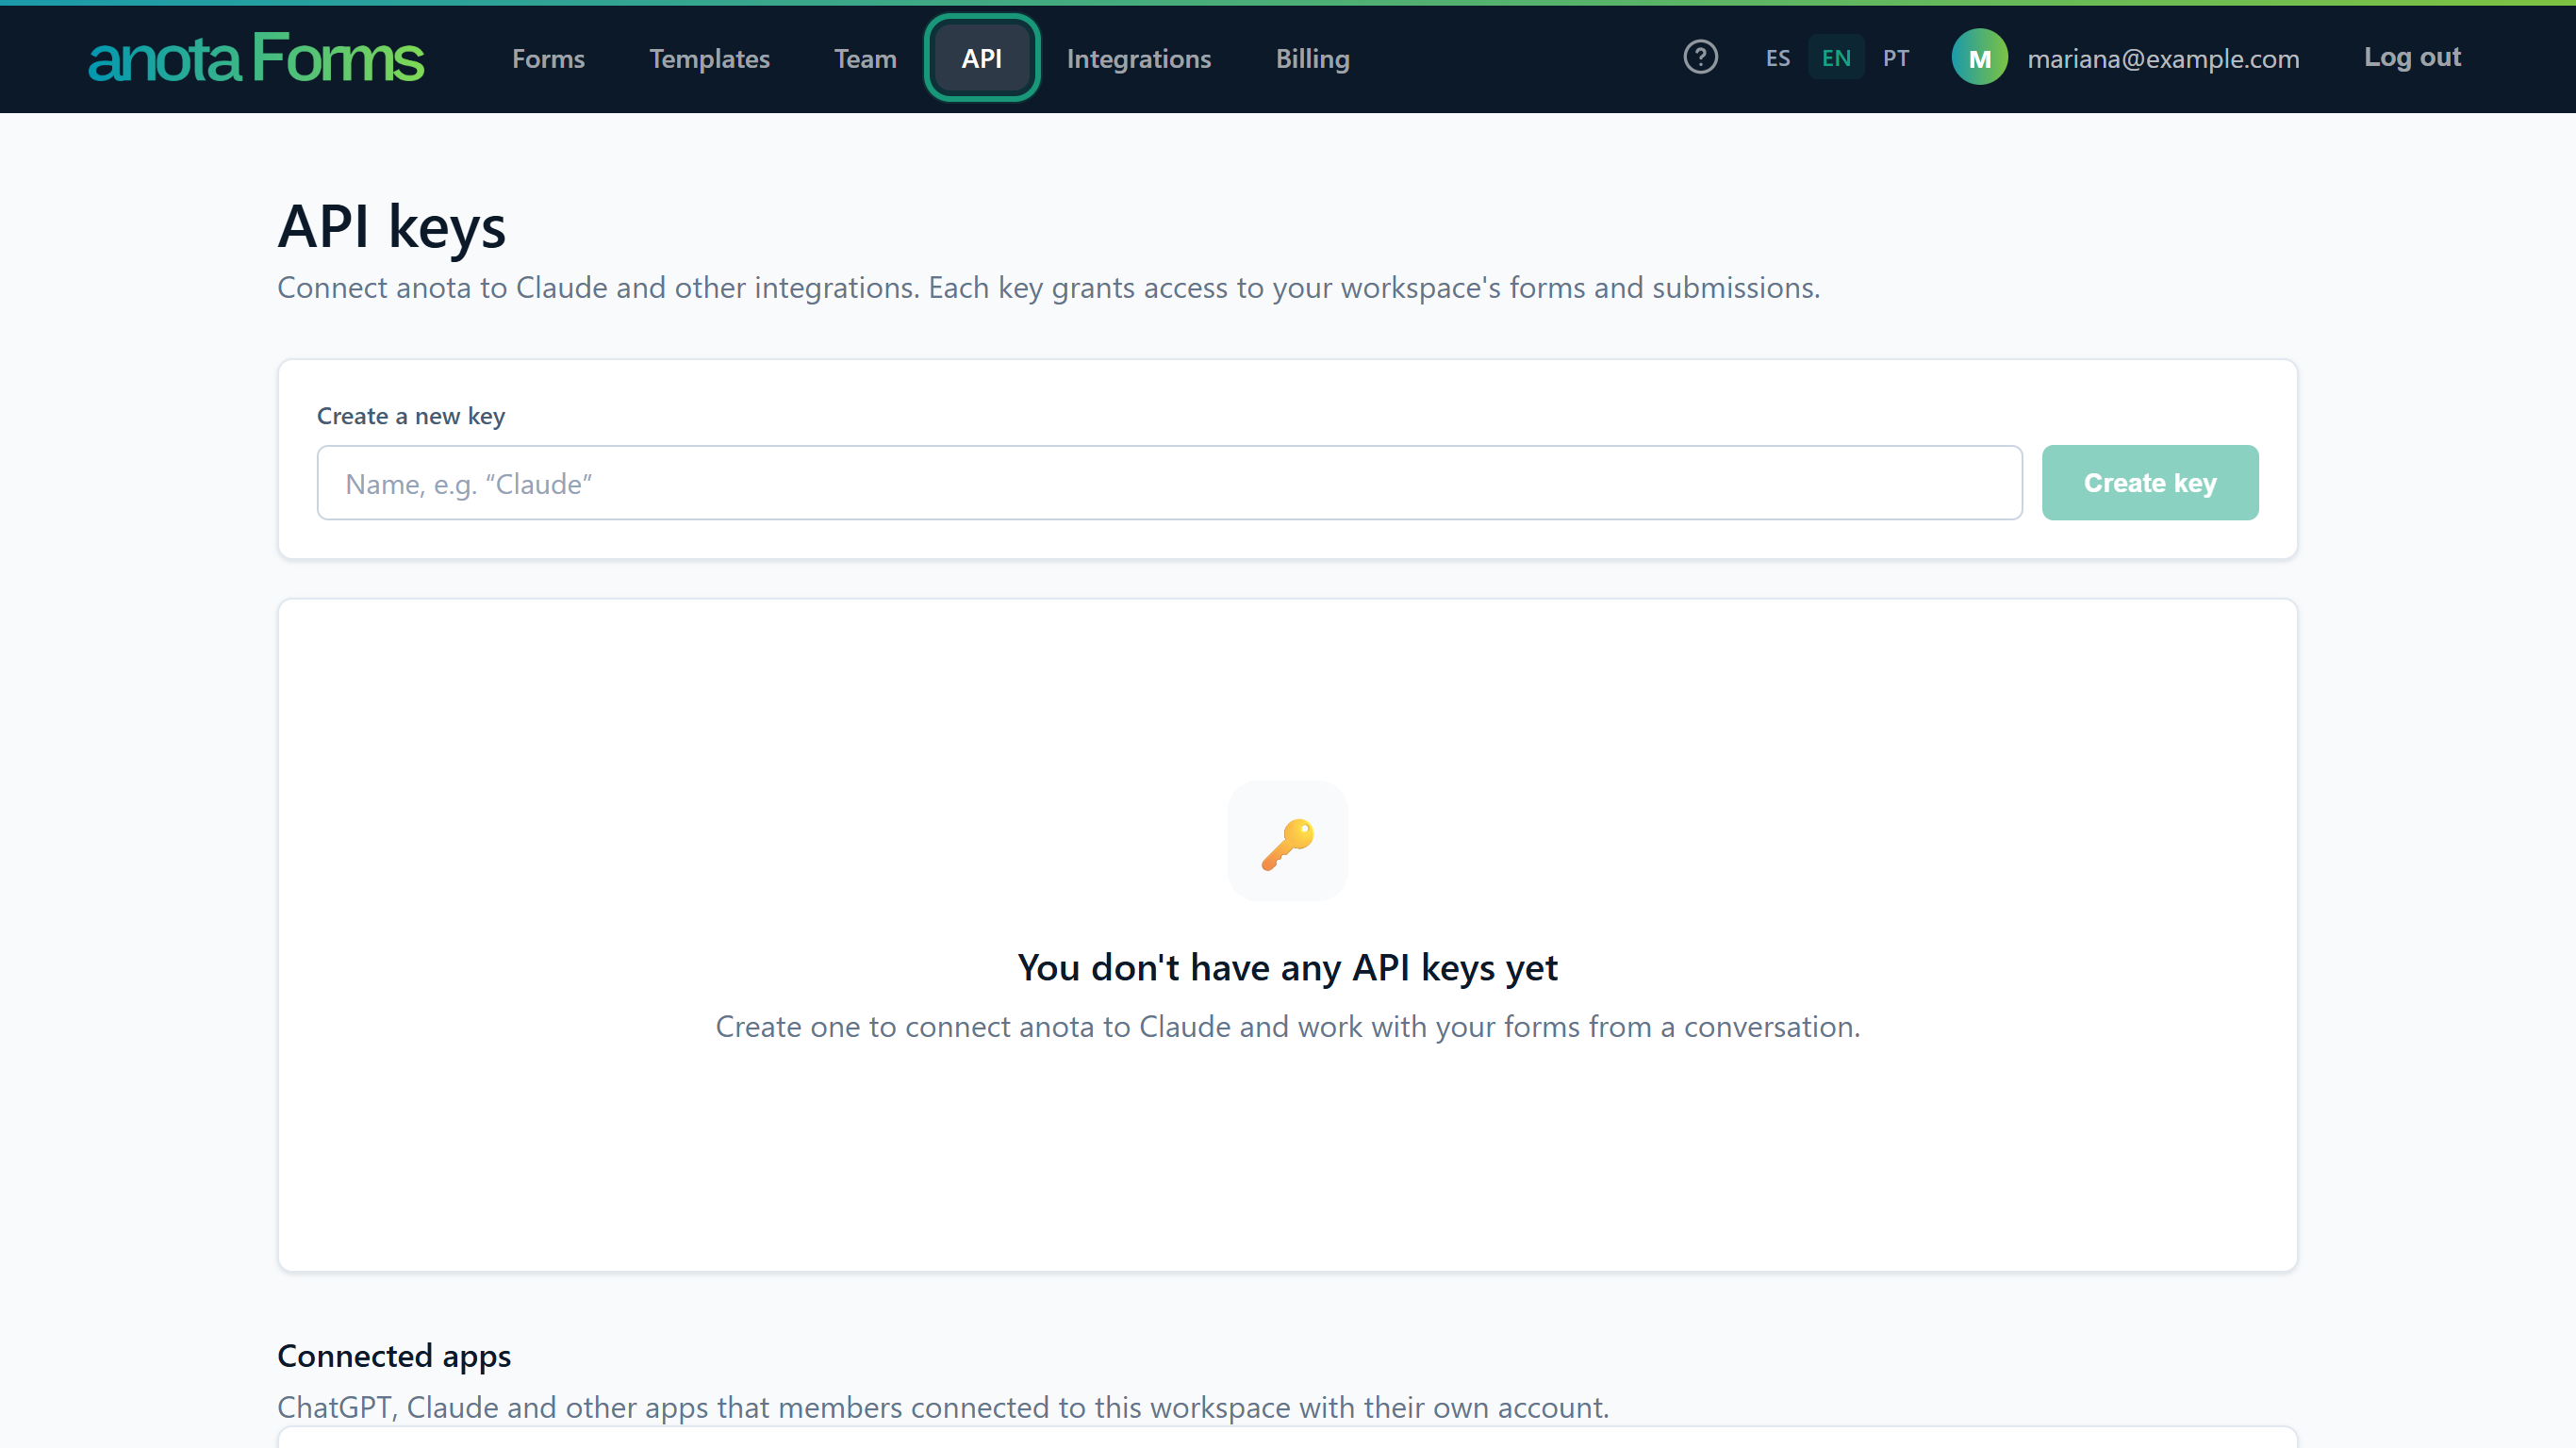 The page lists your keys under Create a new key.
Under Create a new key, type a name that says what the key is for, here "Catering orders sync". The name is only for you, up to 200 characters.
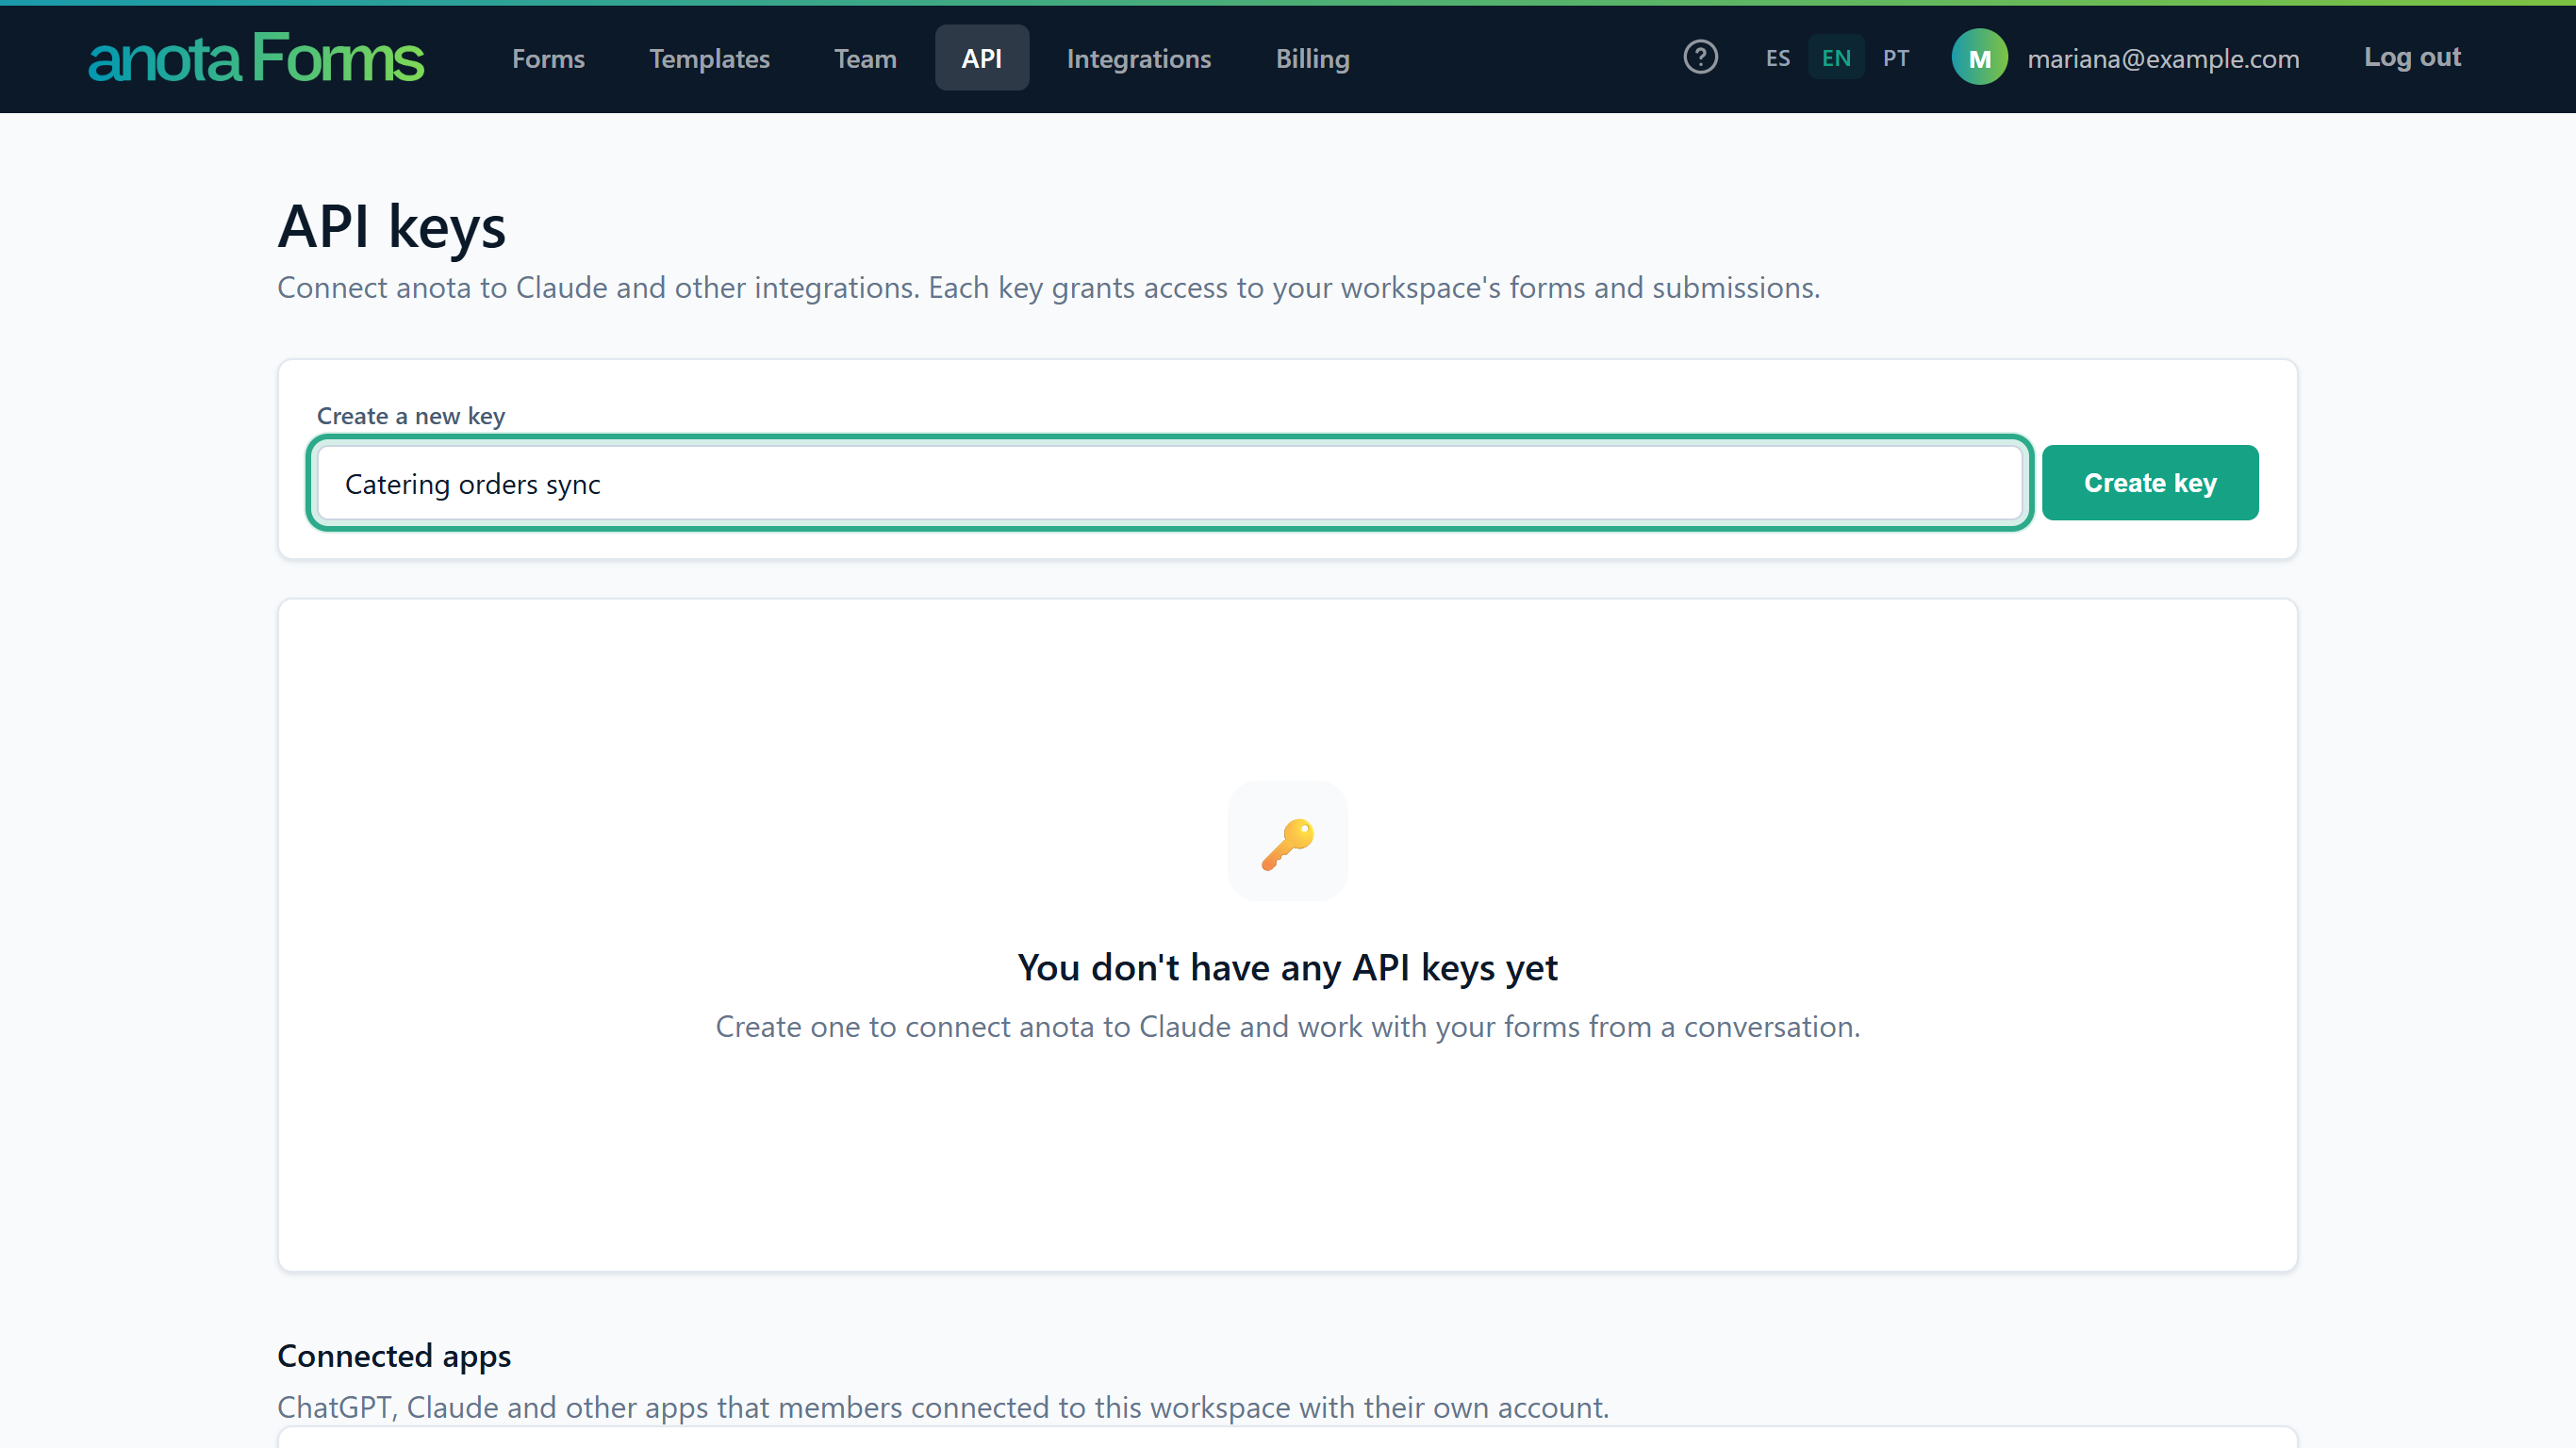 Use one key per tool, so you can revoke one without stopping the others.
Click Create key (or press Enter). The button stays disabled until you type a name.
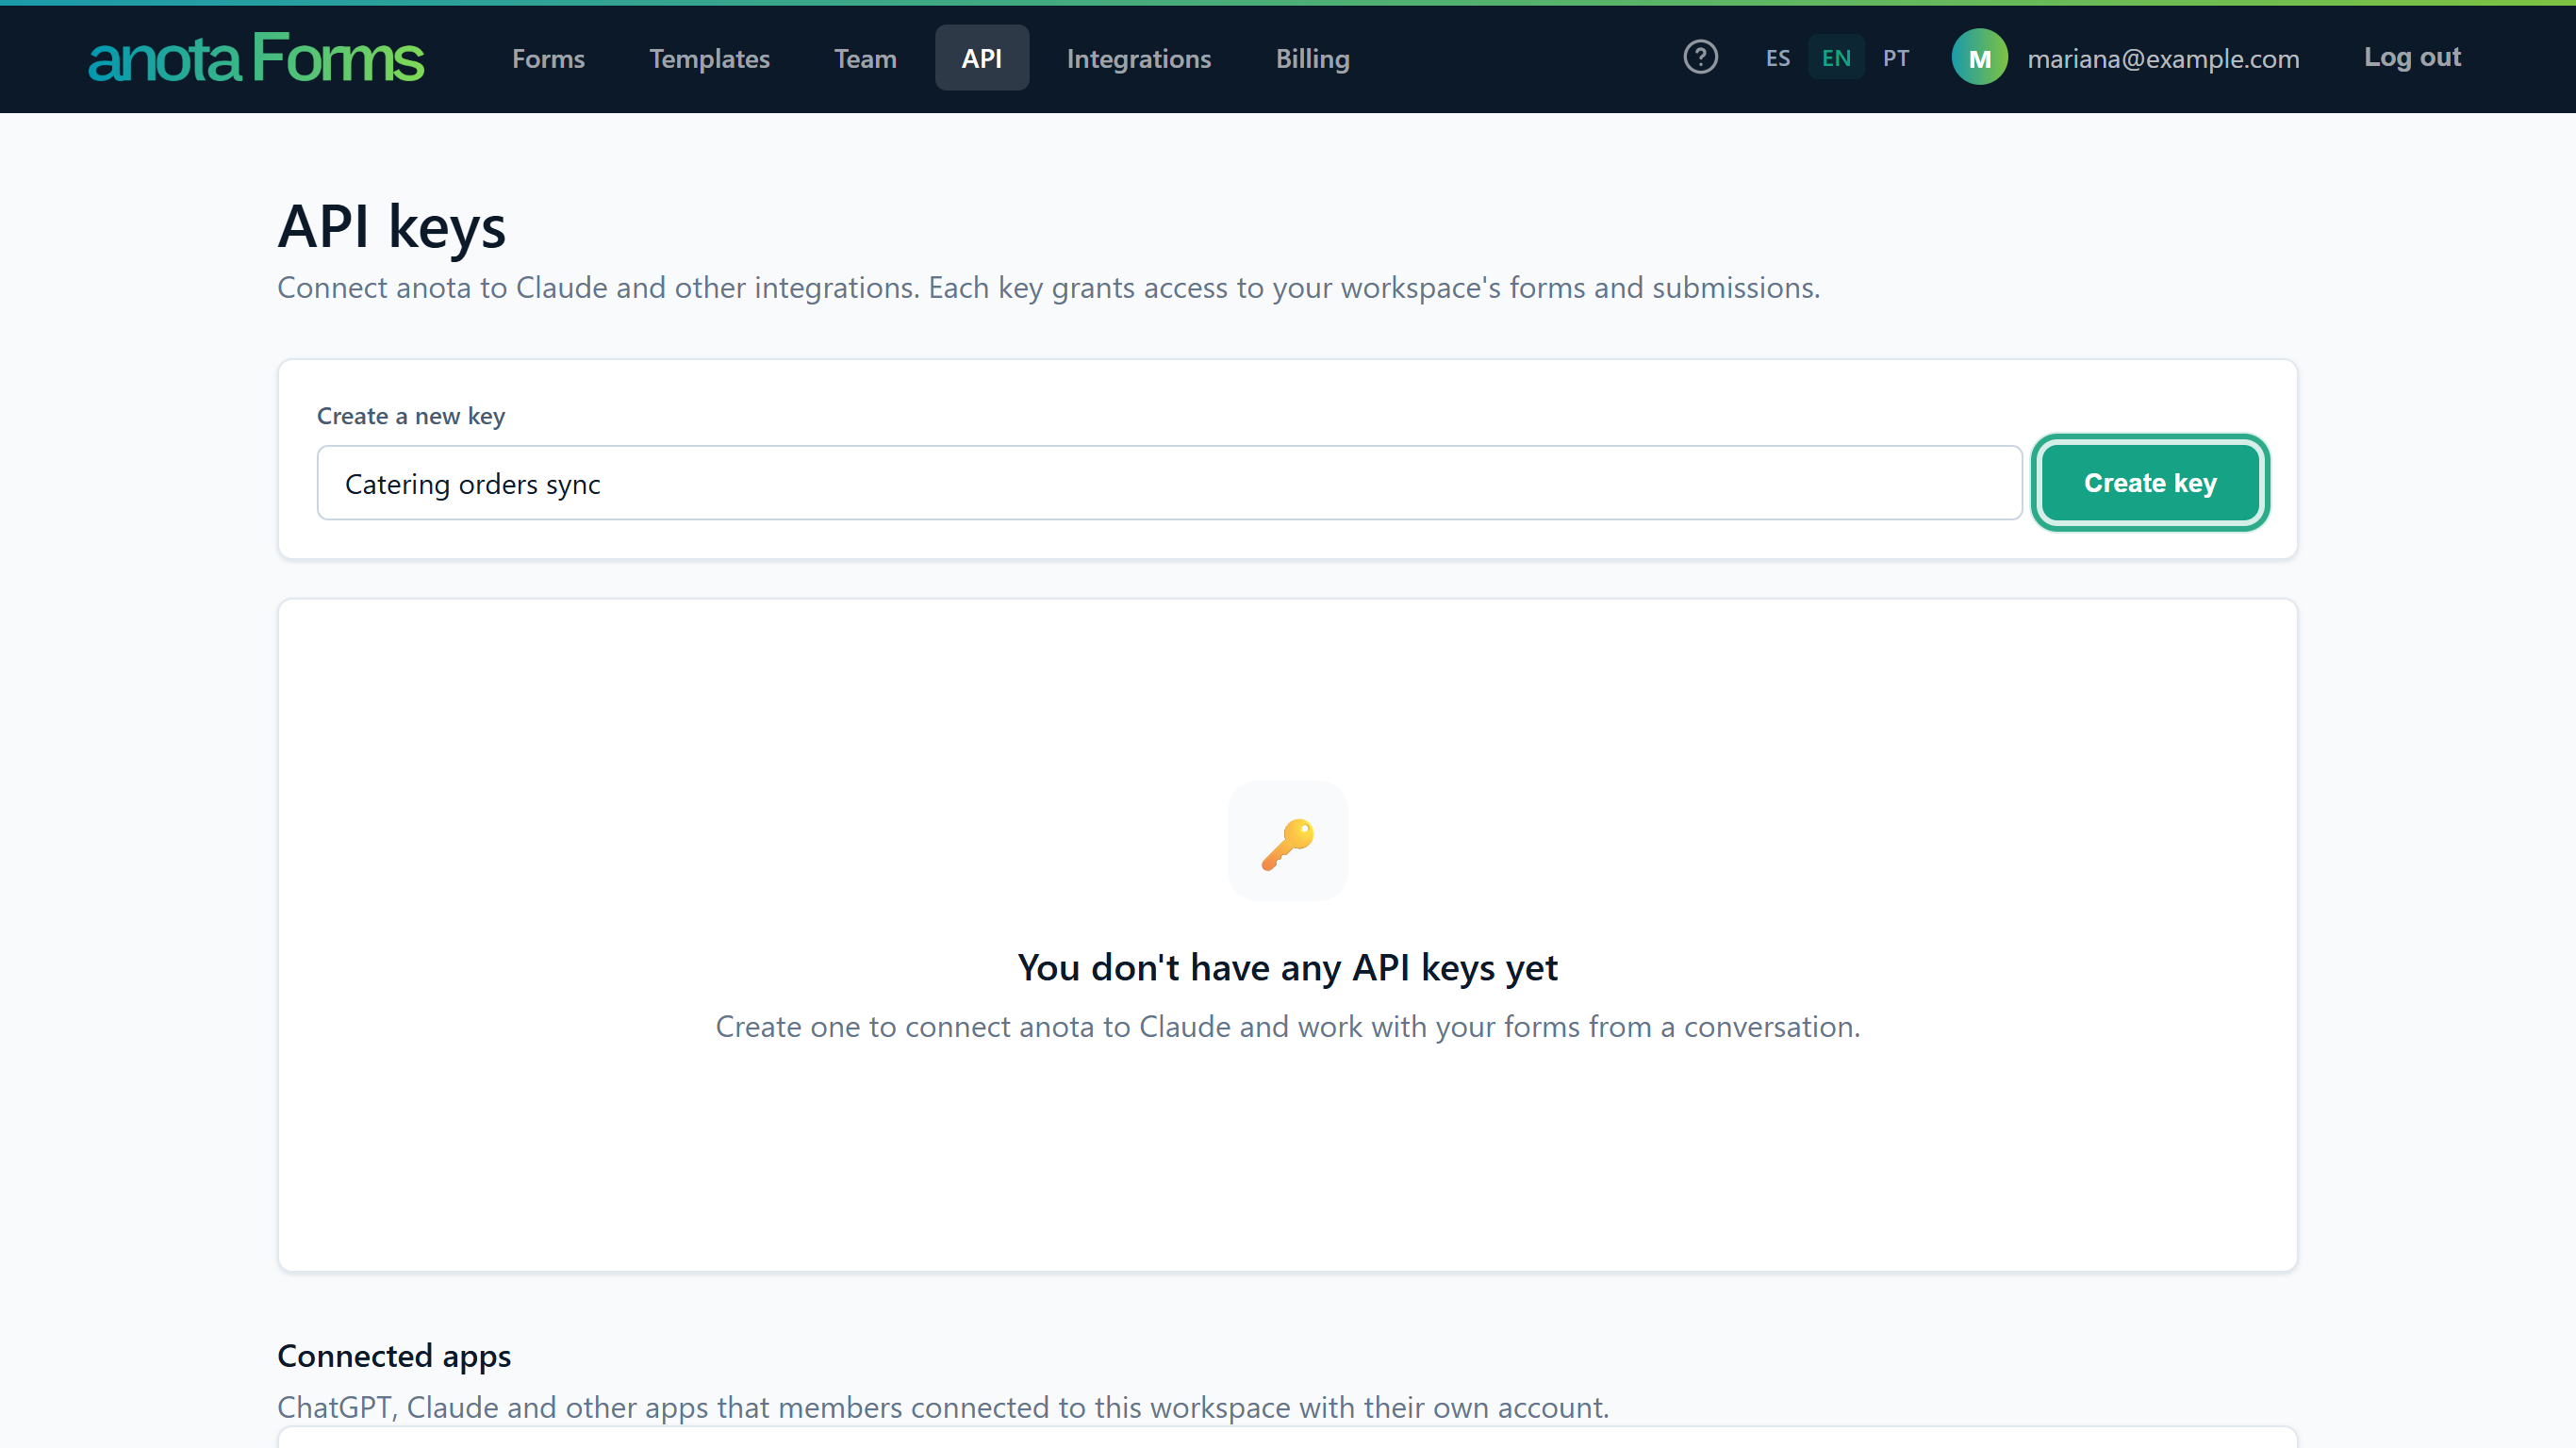 The button reads Creating… while anota makes the key.
The Your new key panel shows the full key. Click Copy (it reads Copied!) and paste the key into your password manager or your tool's settings now: "Store it somewhere safe now: for security we won't show it again."
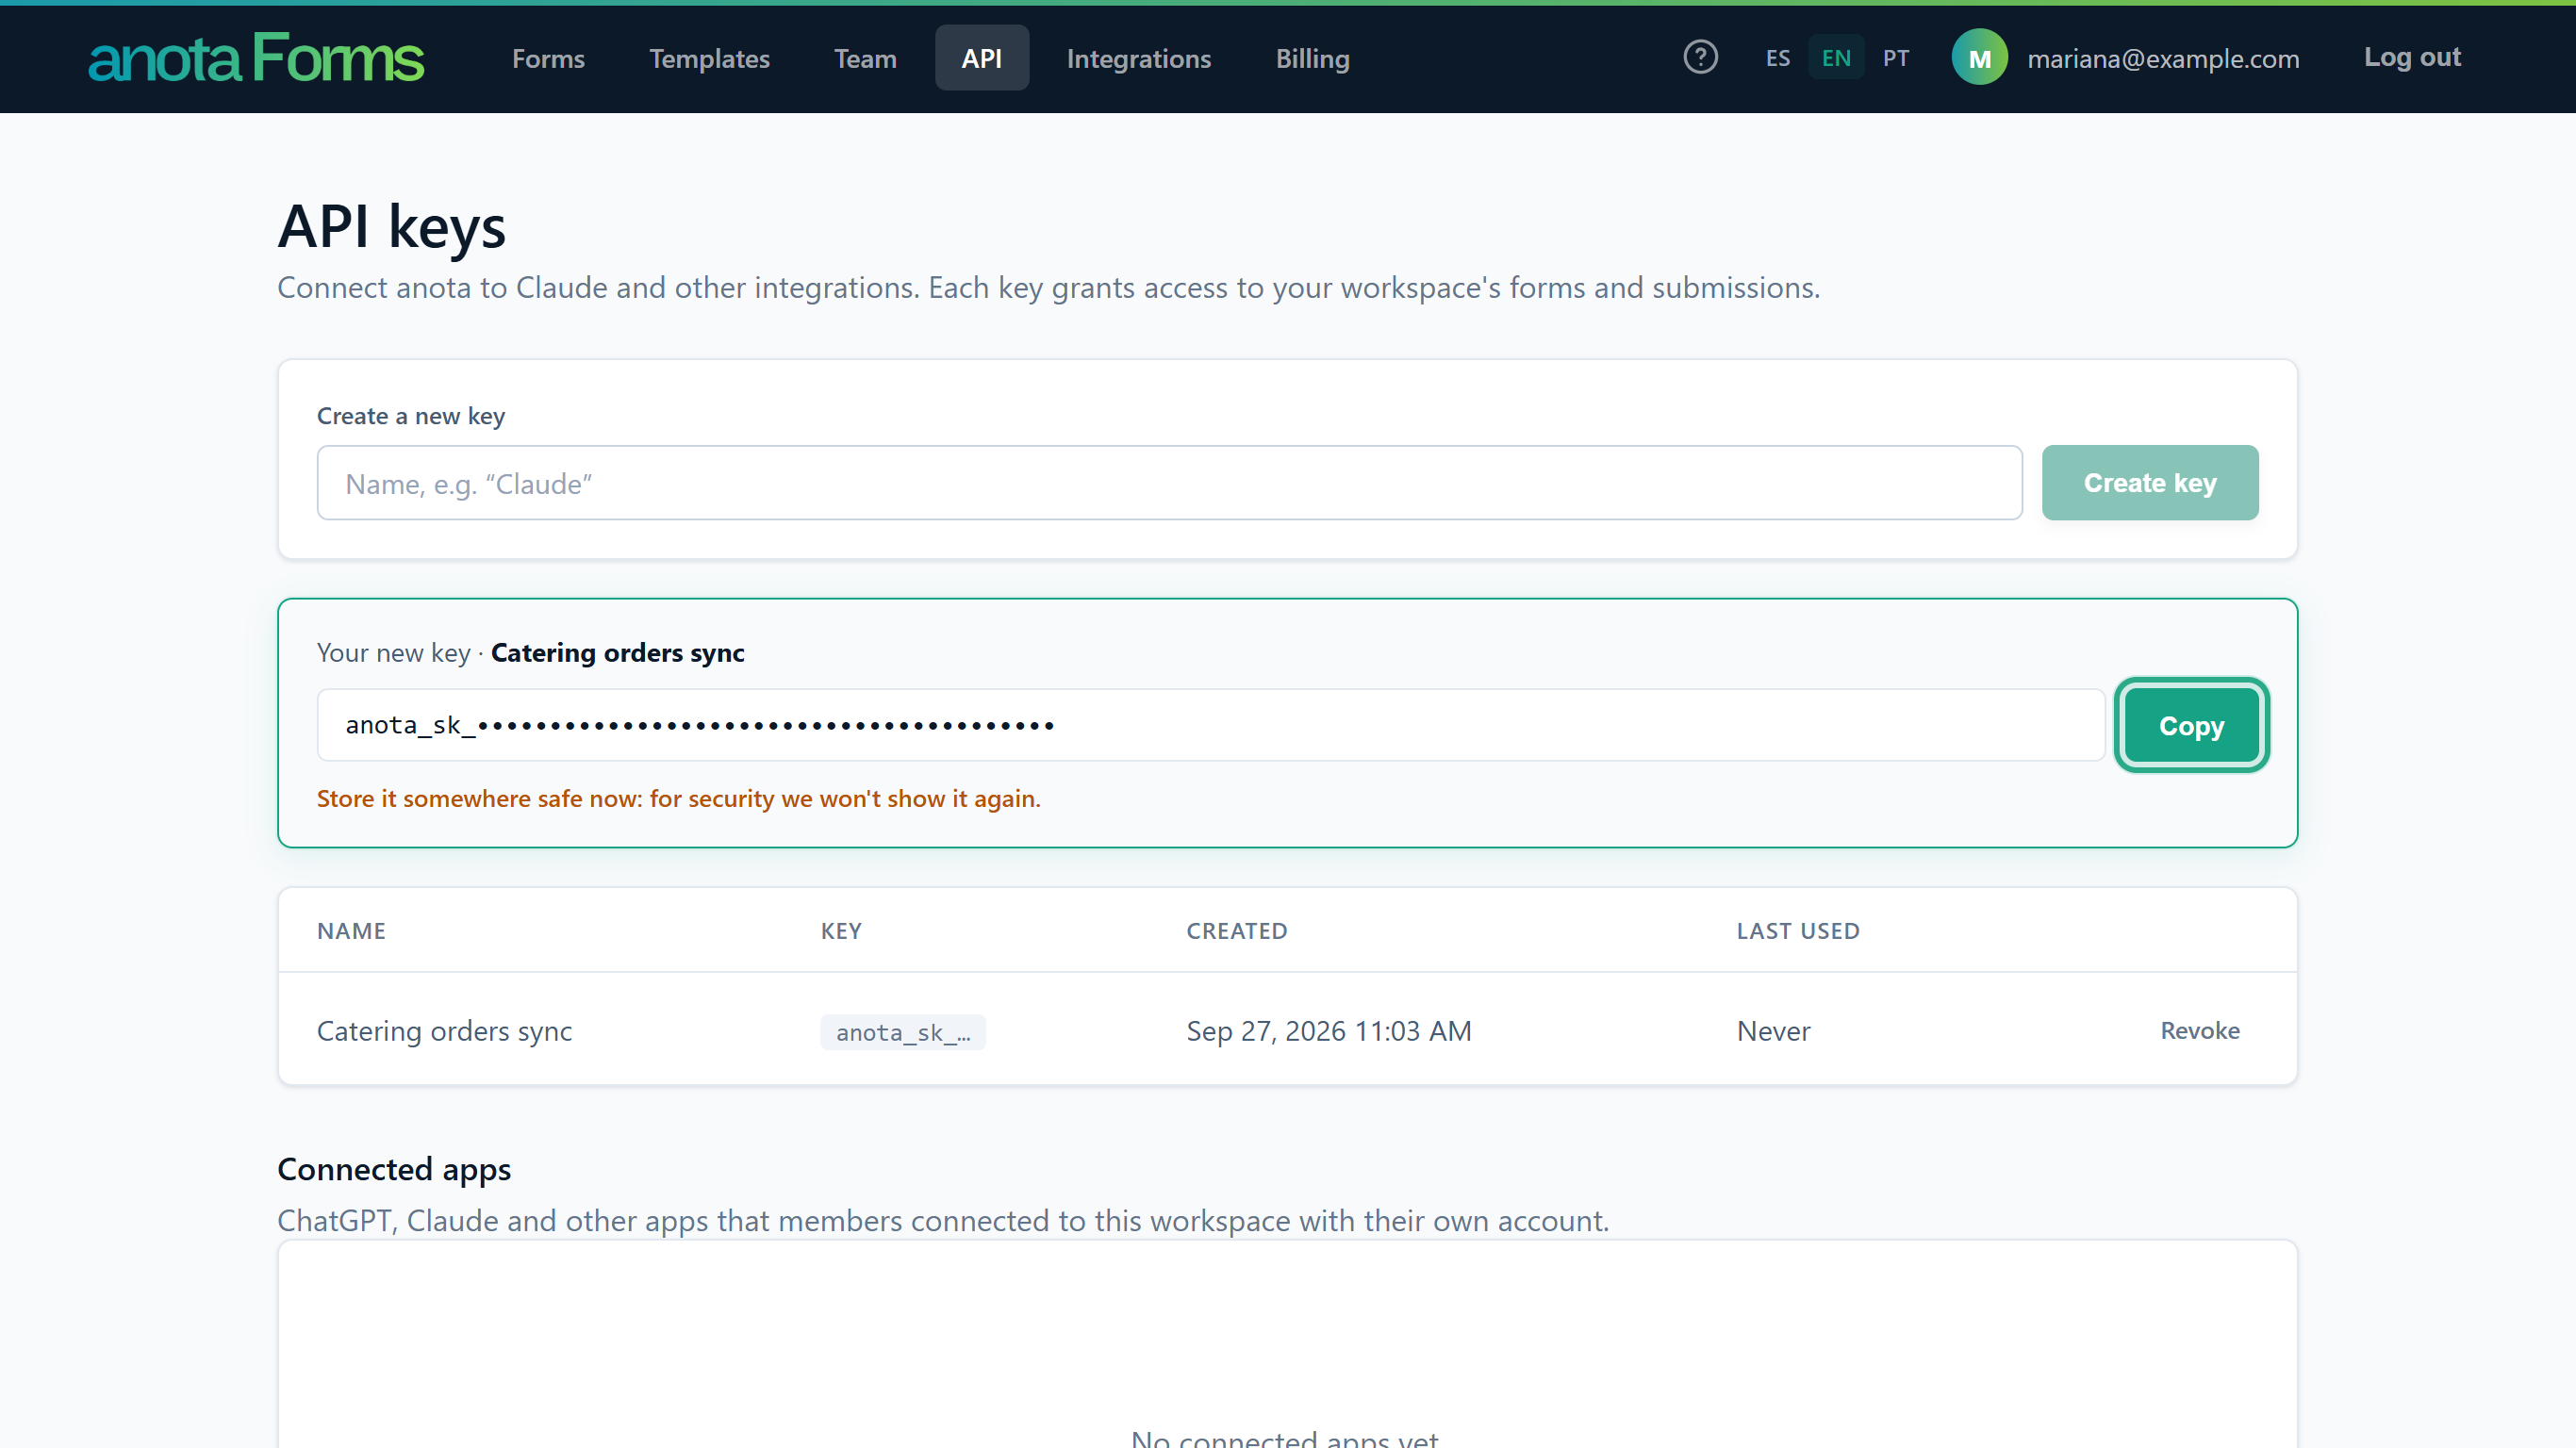 The key is masked in this screenshot. On your screen it appears in full, this one time.
The key is listed in the table with its Name, the Created date, and Last used set to Never. Dates and times are shown in your browser's time zone.
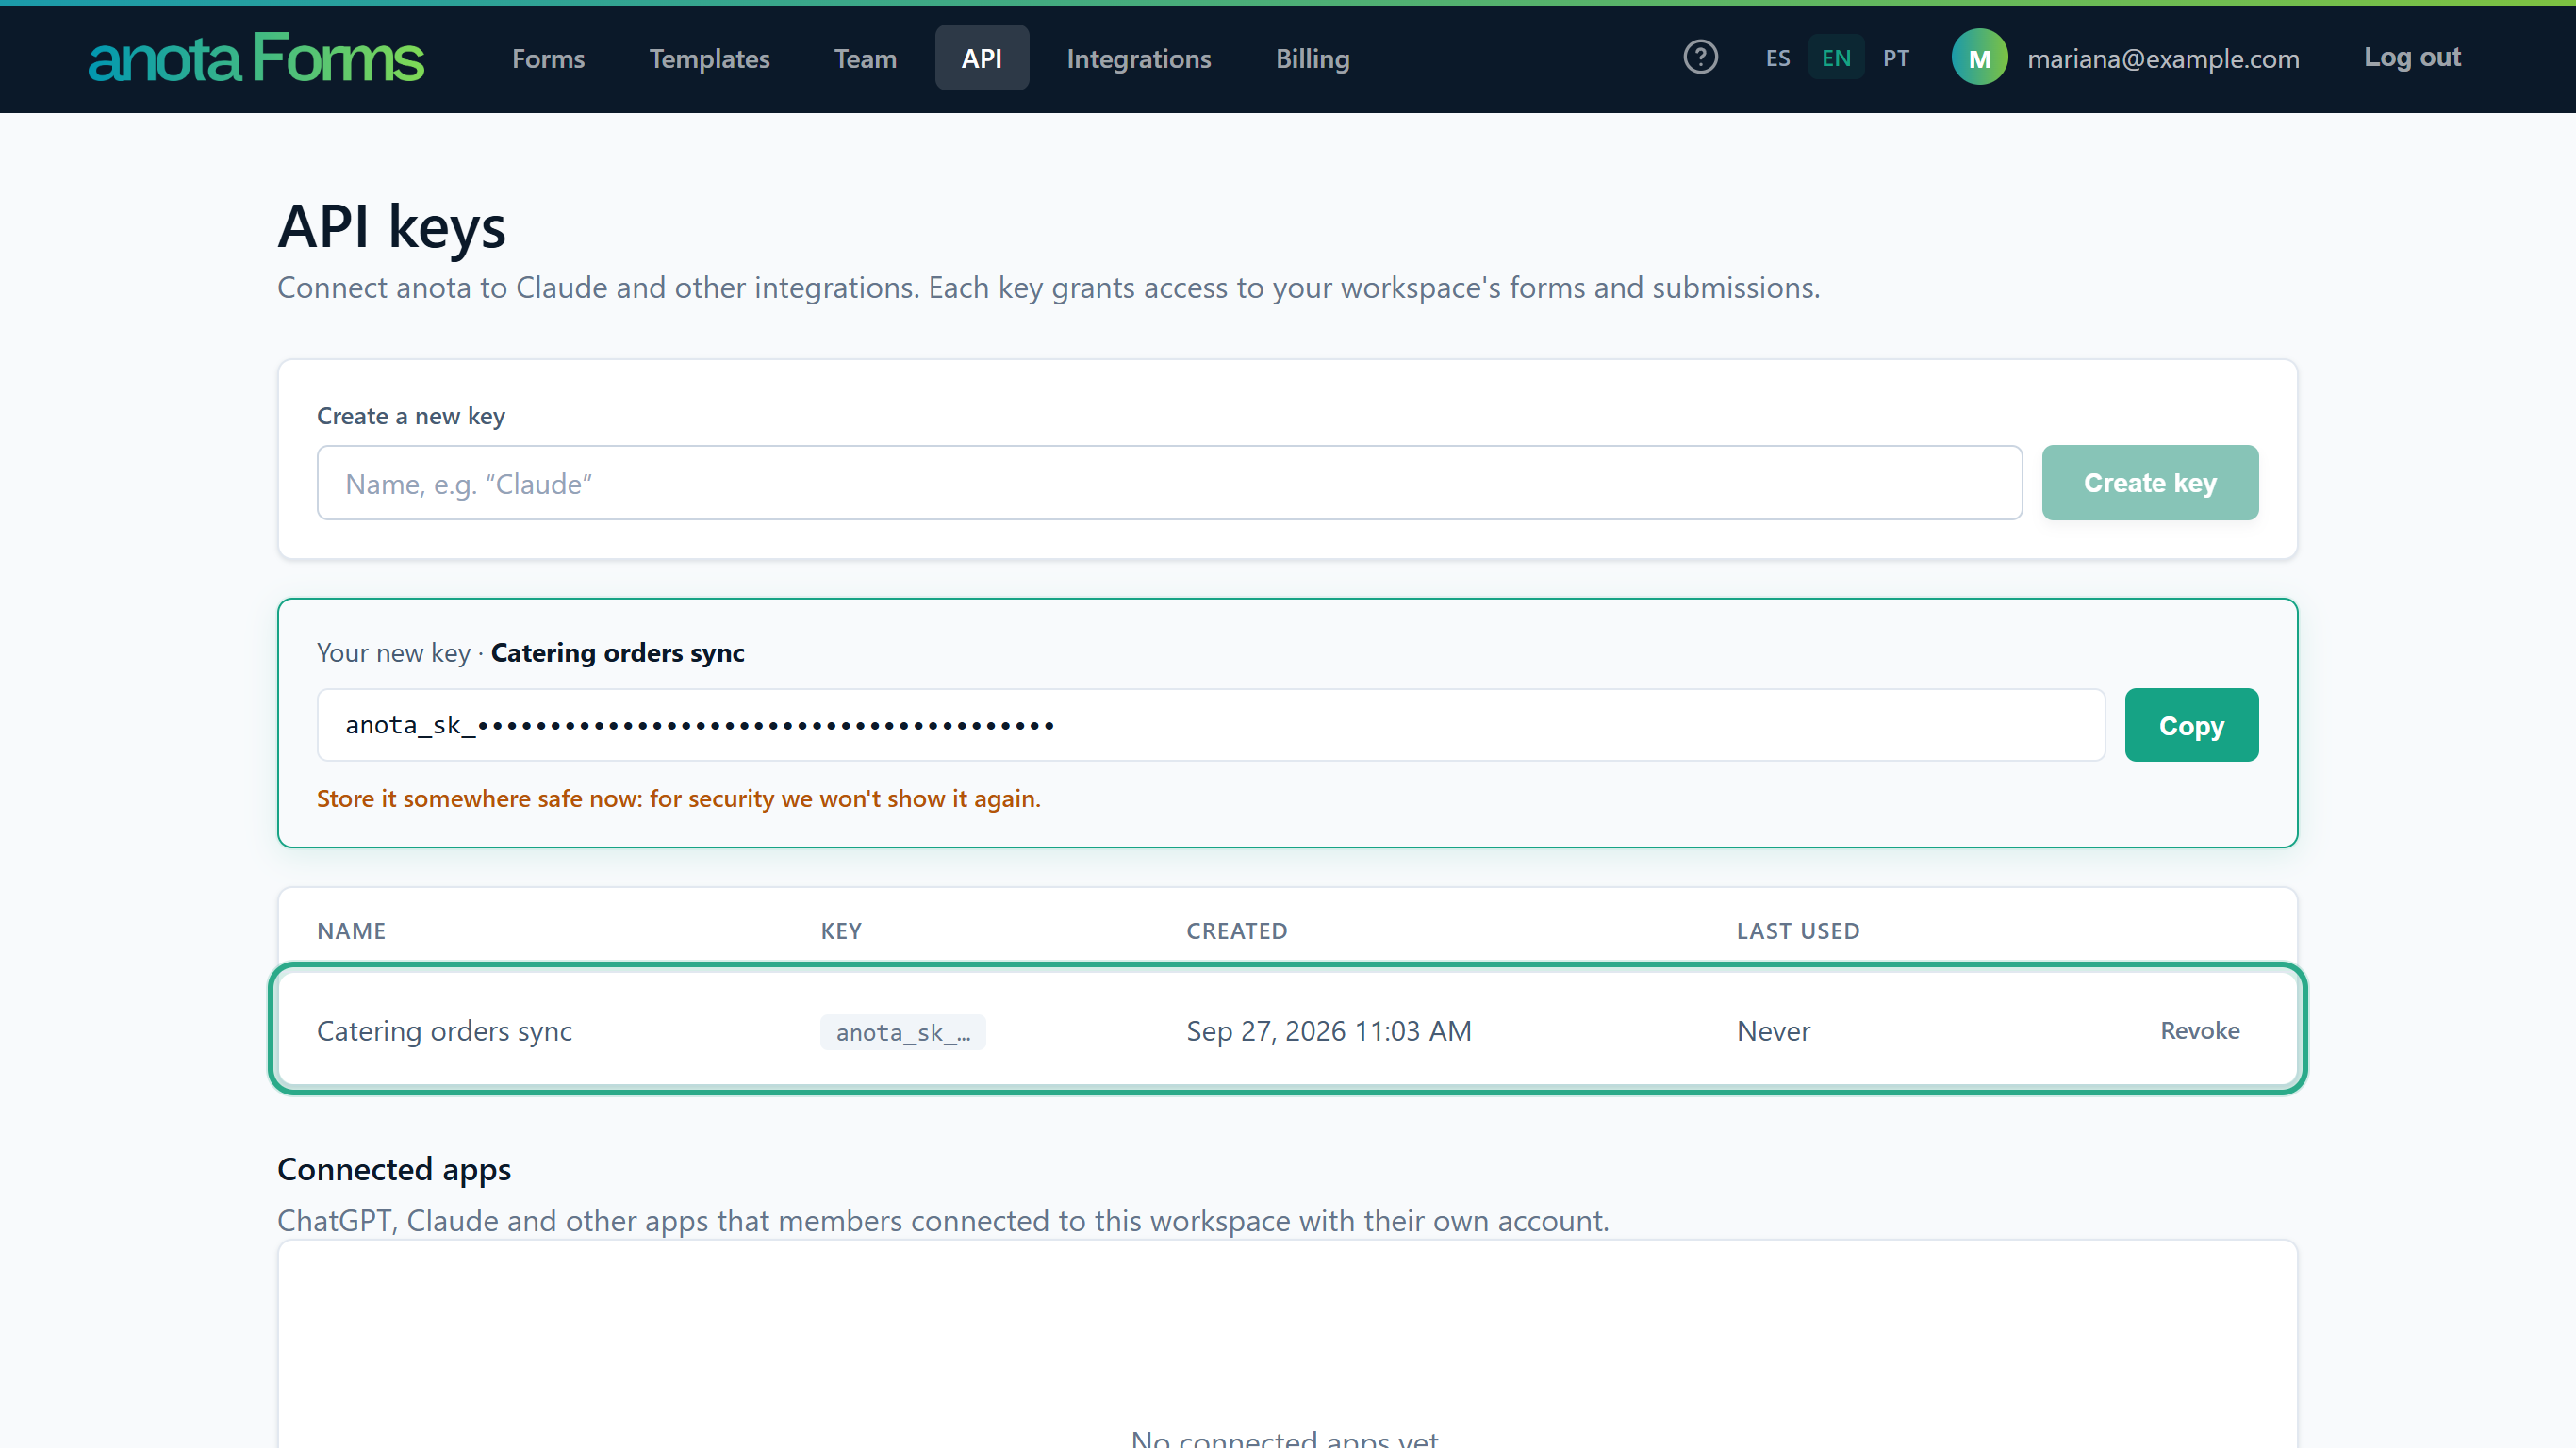 The Key column always shows the same
 anota_sk_…, never part of the real key. Tell keys apart by name.
Result
The key works right away, for the REST API and for the MCP connector. When you leave or reload the page the full key is gone for good: anota keeps only a fingerprint of it. If you lose it, create a new key and revoke the old one.
Task 2 — Make your first request
Prerequisites
- The key from Task 1, and a terminal with
curl(built into macOS, Linux and Windows 10 and later).
Step-by-step
List your forms with
GET /api/v1/forms. Replaceanota_sk_…with your key:curl https://anota.cloud/api/v1/forms \ --header "Authorization: Bearer anota_sk_…"anota answers
200 OKwith your forms as JSON, most recently updated first (shortened here to the first form):{ "count": 5, "forms": [ { "id": "01a0df96-83fe-747c-b14e-03b183c3f962", "title": "Catering Order Request", "slug": "untitled-form-2", "status": "Published", "submissionCount": 1, "publicUrl": "https://anota.cloud/f/tecolotl/untitled-form-2", "updatedAt": "2026-09-27T06:15:52.451624" } ] }The
idis what the other endpoints need, for exampleGET /api/v1/forms/{formId}for the full form orGET /api/v1/forms/{formId}/submissionsfor its responses. The list includes drafts and published forms, not archived forms or forms in the trash.Without the header, or with a key that was revoked, anota answers
401 Unauthorizedwith an empty body.Back on the API keys page, Last used now shows when the key was used.
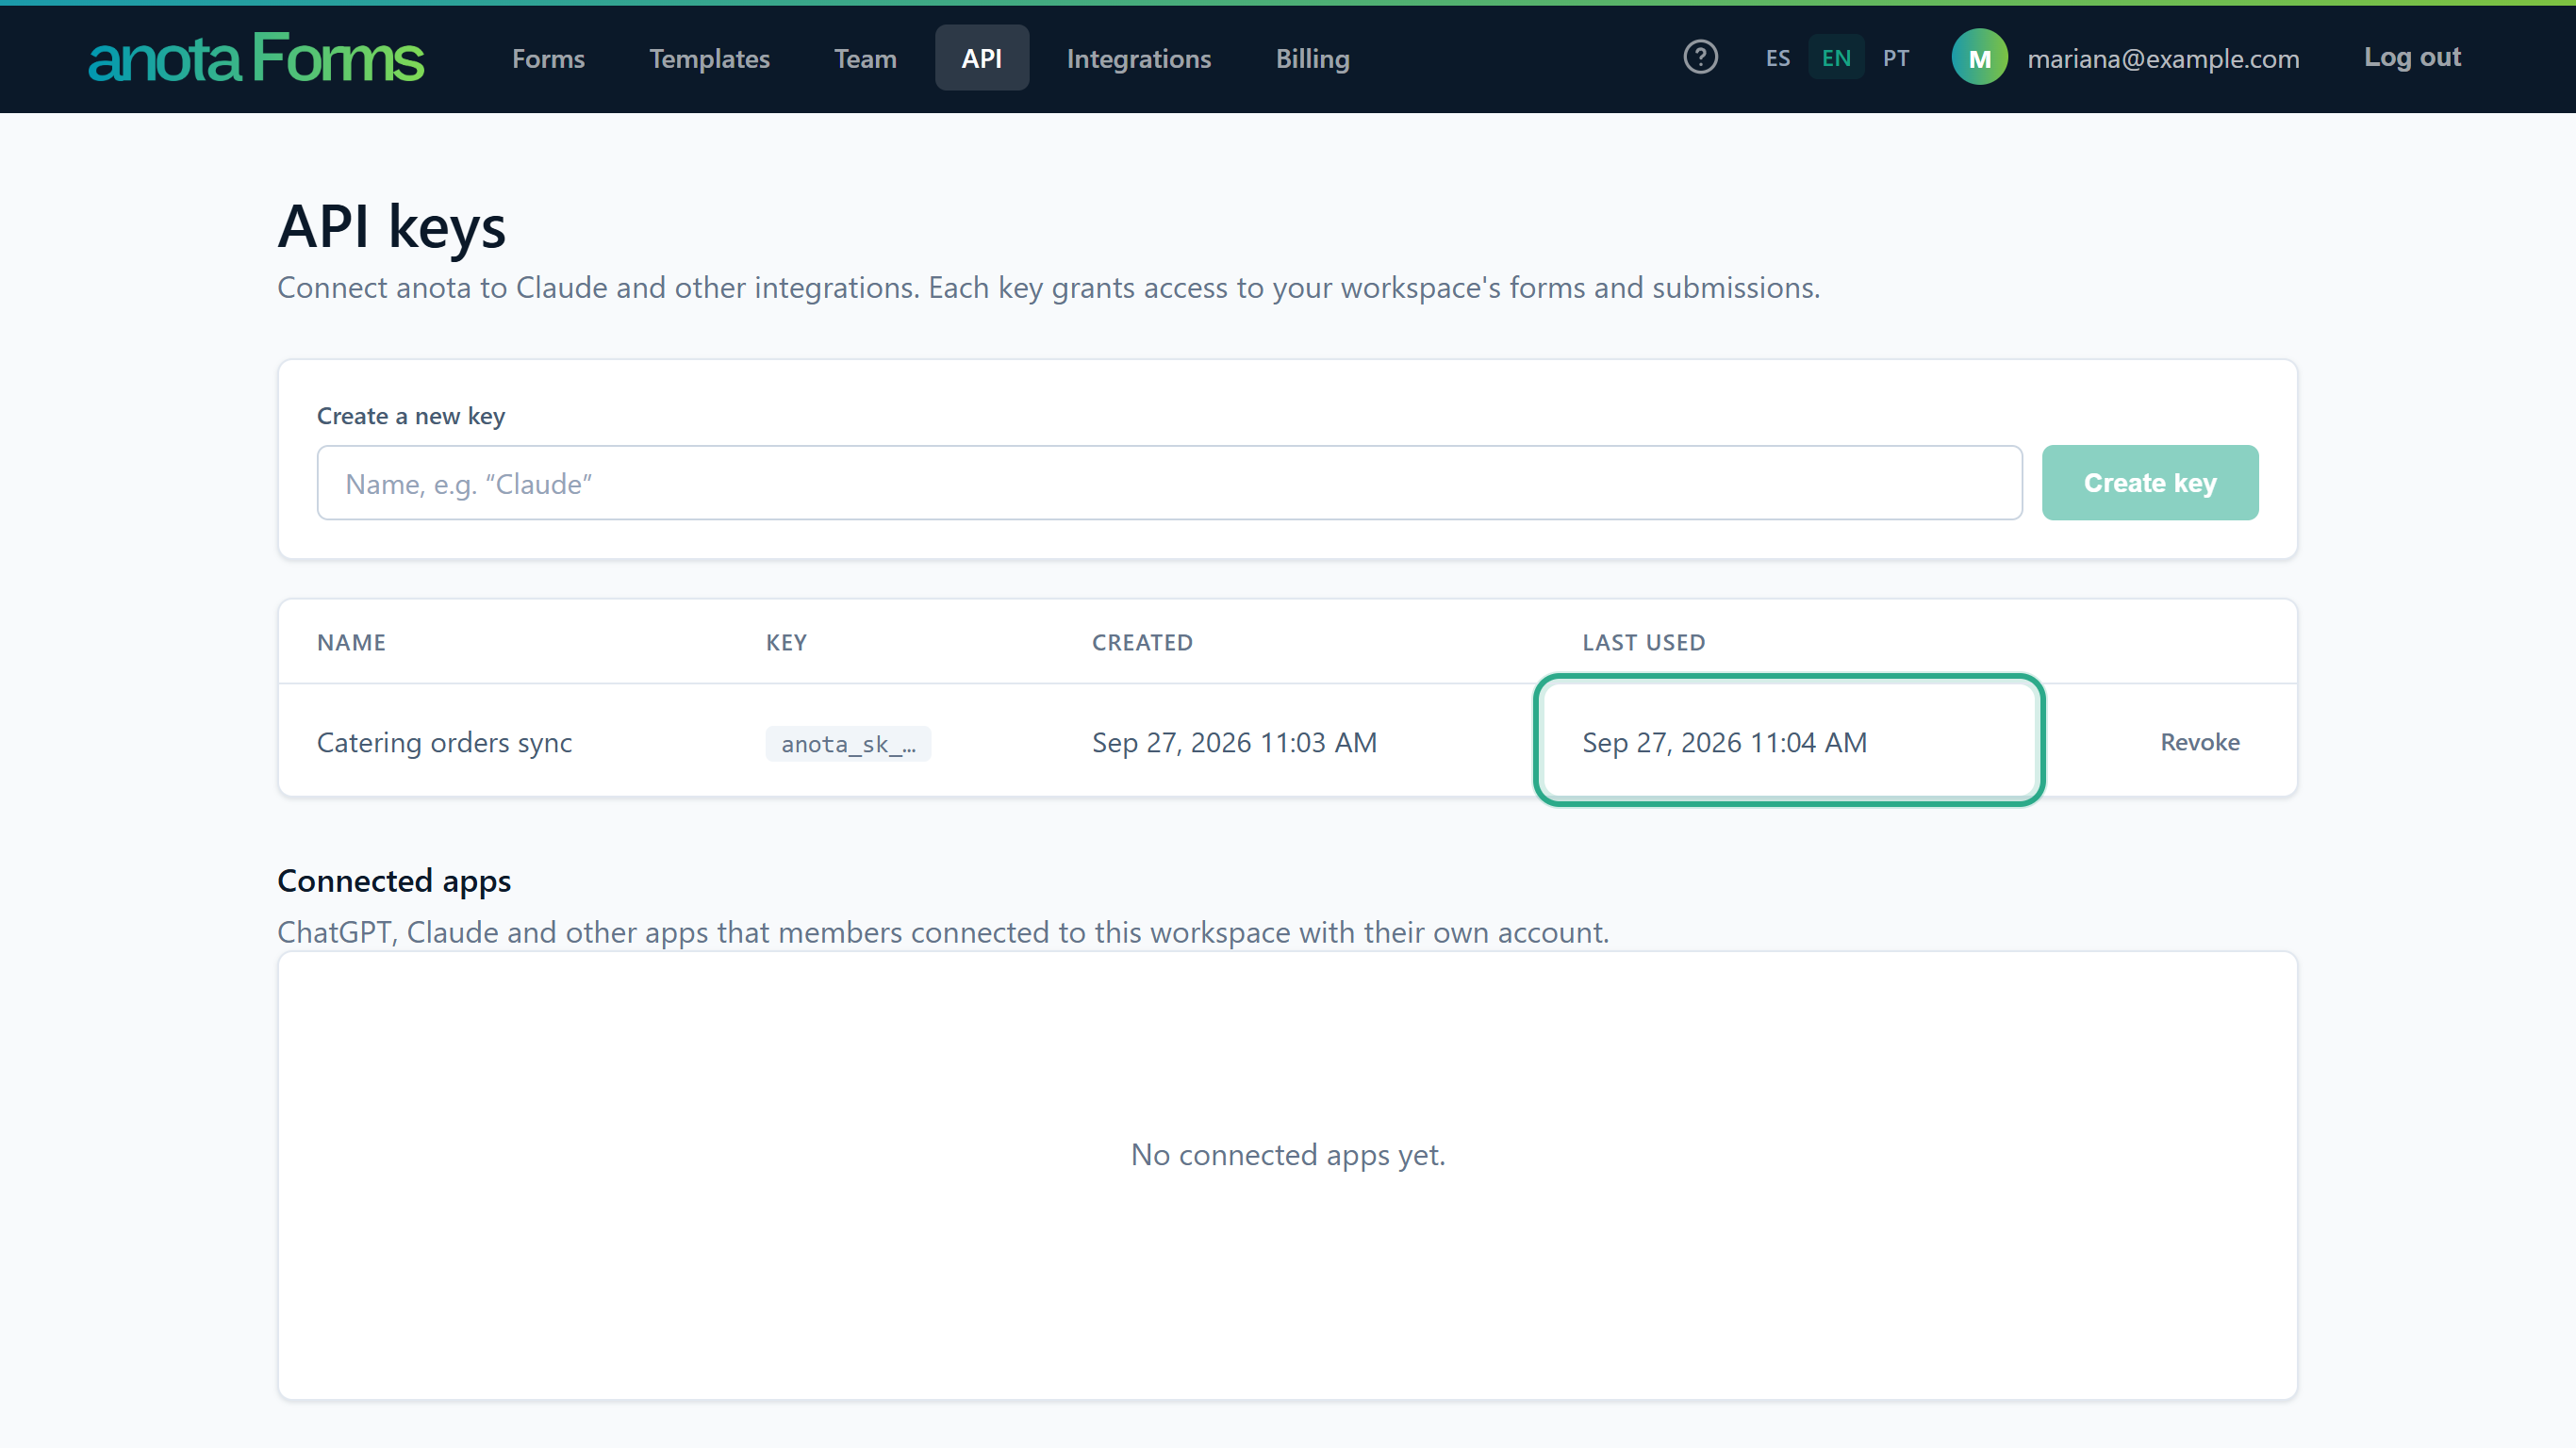 A quick way to see whether a tool still uses a key before you revoke it.
Result
Your program is talking to your workspace. Last used is refreshed at most every five minutes, so it can lag a few minutes behind the latest call. The complete list of endpoints and their fields is in the API reference (Task 5).
Task 3 — Send new submissions to your system with a webhook
A webhook makes anota call your system each time a form receives a submission, so you don't have to ask the API for new responses. You add webhooks with the API (or by asking Claude, with add_webhook); the Integrations page doesn't manage them.
Prerequisites
- An API key (Task 1) and the form's
id(Task 2). - An address on your server that accepts
POSTrequests over HTTPS, reachable from the internet. anota rejectshttp://addresses, and addresses that point to a private or internal network (such aslocalhostor192.168.…), both when you add the webhook and again on every delivery.
Step-by-step
Add the webhook to the form with
POST /api/v1/forms/{formId}/webhooks:curl https://anota.cloud/api/v1/forms/01a0df96-83fe-747c-b14e-03b183c3f962/webhooks \ --request POST \ --header "Authorization: Bearer anota_sk_…" \ --header "Content-Type: application/json" \ --data '{ "url": "https://example.com/hooks/anota" }'anota answers with the webhook's
idand its signingsecret(redacted here):{ "id": "01a0e307-c781-7a0d-99c0-b25be2088998", "formId": "01a0df96-83fe-747c-b14e-03b183c3f962", "url": "https://example.com/hooks/anota", "secret": "whsec_…", "note": "Webhook active. Each new submission is POSTed to the URL with headers X-Anota-Event: submission.created and X-Anota-Signature: sha256=<HMAC-SHA256 of the raw body, keyed with this secret>. This is the only time the full secret is shown — store it now; list_webhooks returns only a masked hint." }Store the
secretin your system now. This is the only response that contains it.Check the form's webhooks with
GET /api/v1/forms/{formId}/webhooks. Each one shows only a hint of its secret,whsec_…plus the last four characters, so you can tell which secret your system has:{ "formId": "01a0df96-83fe-747c-b14e-03b183c3f962", "count": 1, "webhooks": [ { "id": "01a0e307-c781-7a0d-99c0-b25be2088998", "url": "https://example.com/hooks/anota", "events": "submission.created", "enabled": true, "secretHint": "whsec_…8406", "secretNote": "Masked. The full signing secret is shown only once, in the add_webhook response. If it was lost, delete this webhook and add it again to get a new secret." } ] }To stop the deliveries, delete the webhook with
DELETE /api/v1/forms/{formId}/webhooks/{webhookId}:curl https://anota.cloud/api/v1/forms/01a0df96-83fe-747c-b14e-03b183c3f962/webhooks/01a0e307-c781-7a0d-99c0-b25be2088998 \ --request DELETE \ --header "Authorization: Bearer anota_sk_…"{ "id": "01a0e307-c781-7a0d-99c0-b25be2088998", "note": "Webhook deleted. Deliveries to its URL have stopped." }
Result
While the webhook exists, every new submission of the form is sent to your address as described in What a webhook sends. A form can have up to 10 webhooks. If you lose a secret, delete the webhook and add it again to get a new one.
If the address is refused, anota answers 400 Bad Request with the reason in detail, for example "Error: 'url' must be an absolute HTTPS URL, e.g. https://example.com/hooks/anota." or "Error: this URL could not be resolved or points to a private/internal network address, which webhooks cannot target."
Task 4 — Revoke a key
Revoke a key when a tool no longer needs it, when someone who knew it leaves, or if it may have leaked.
Step-by-step
On the API keys page, click Revoke in the key's row.
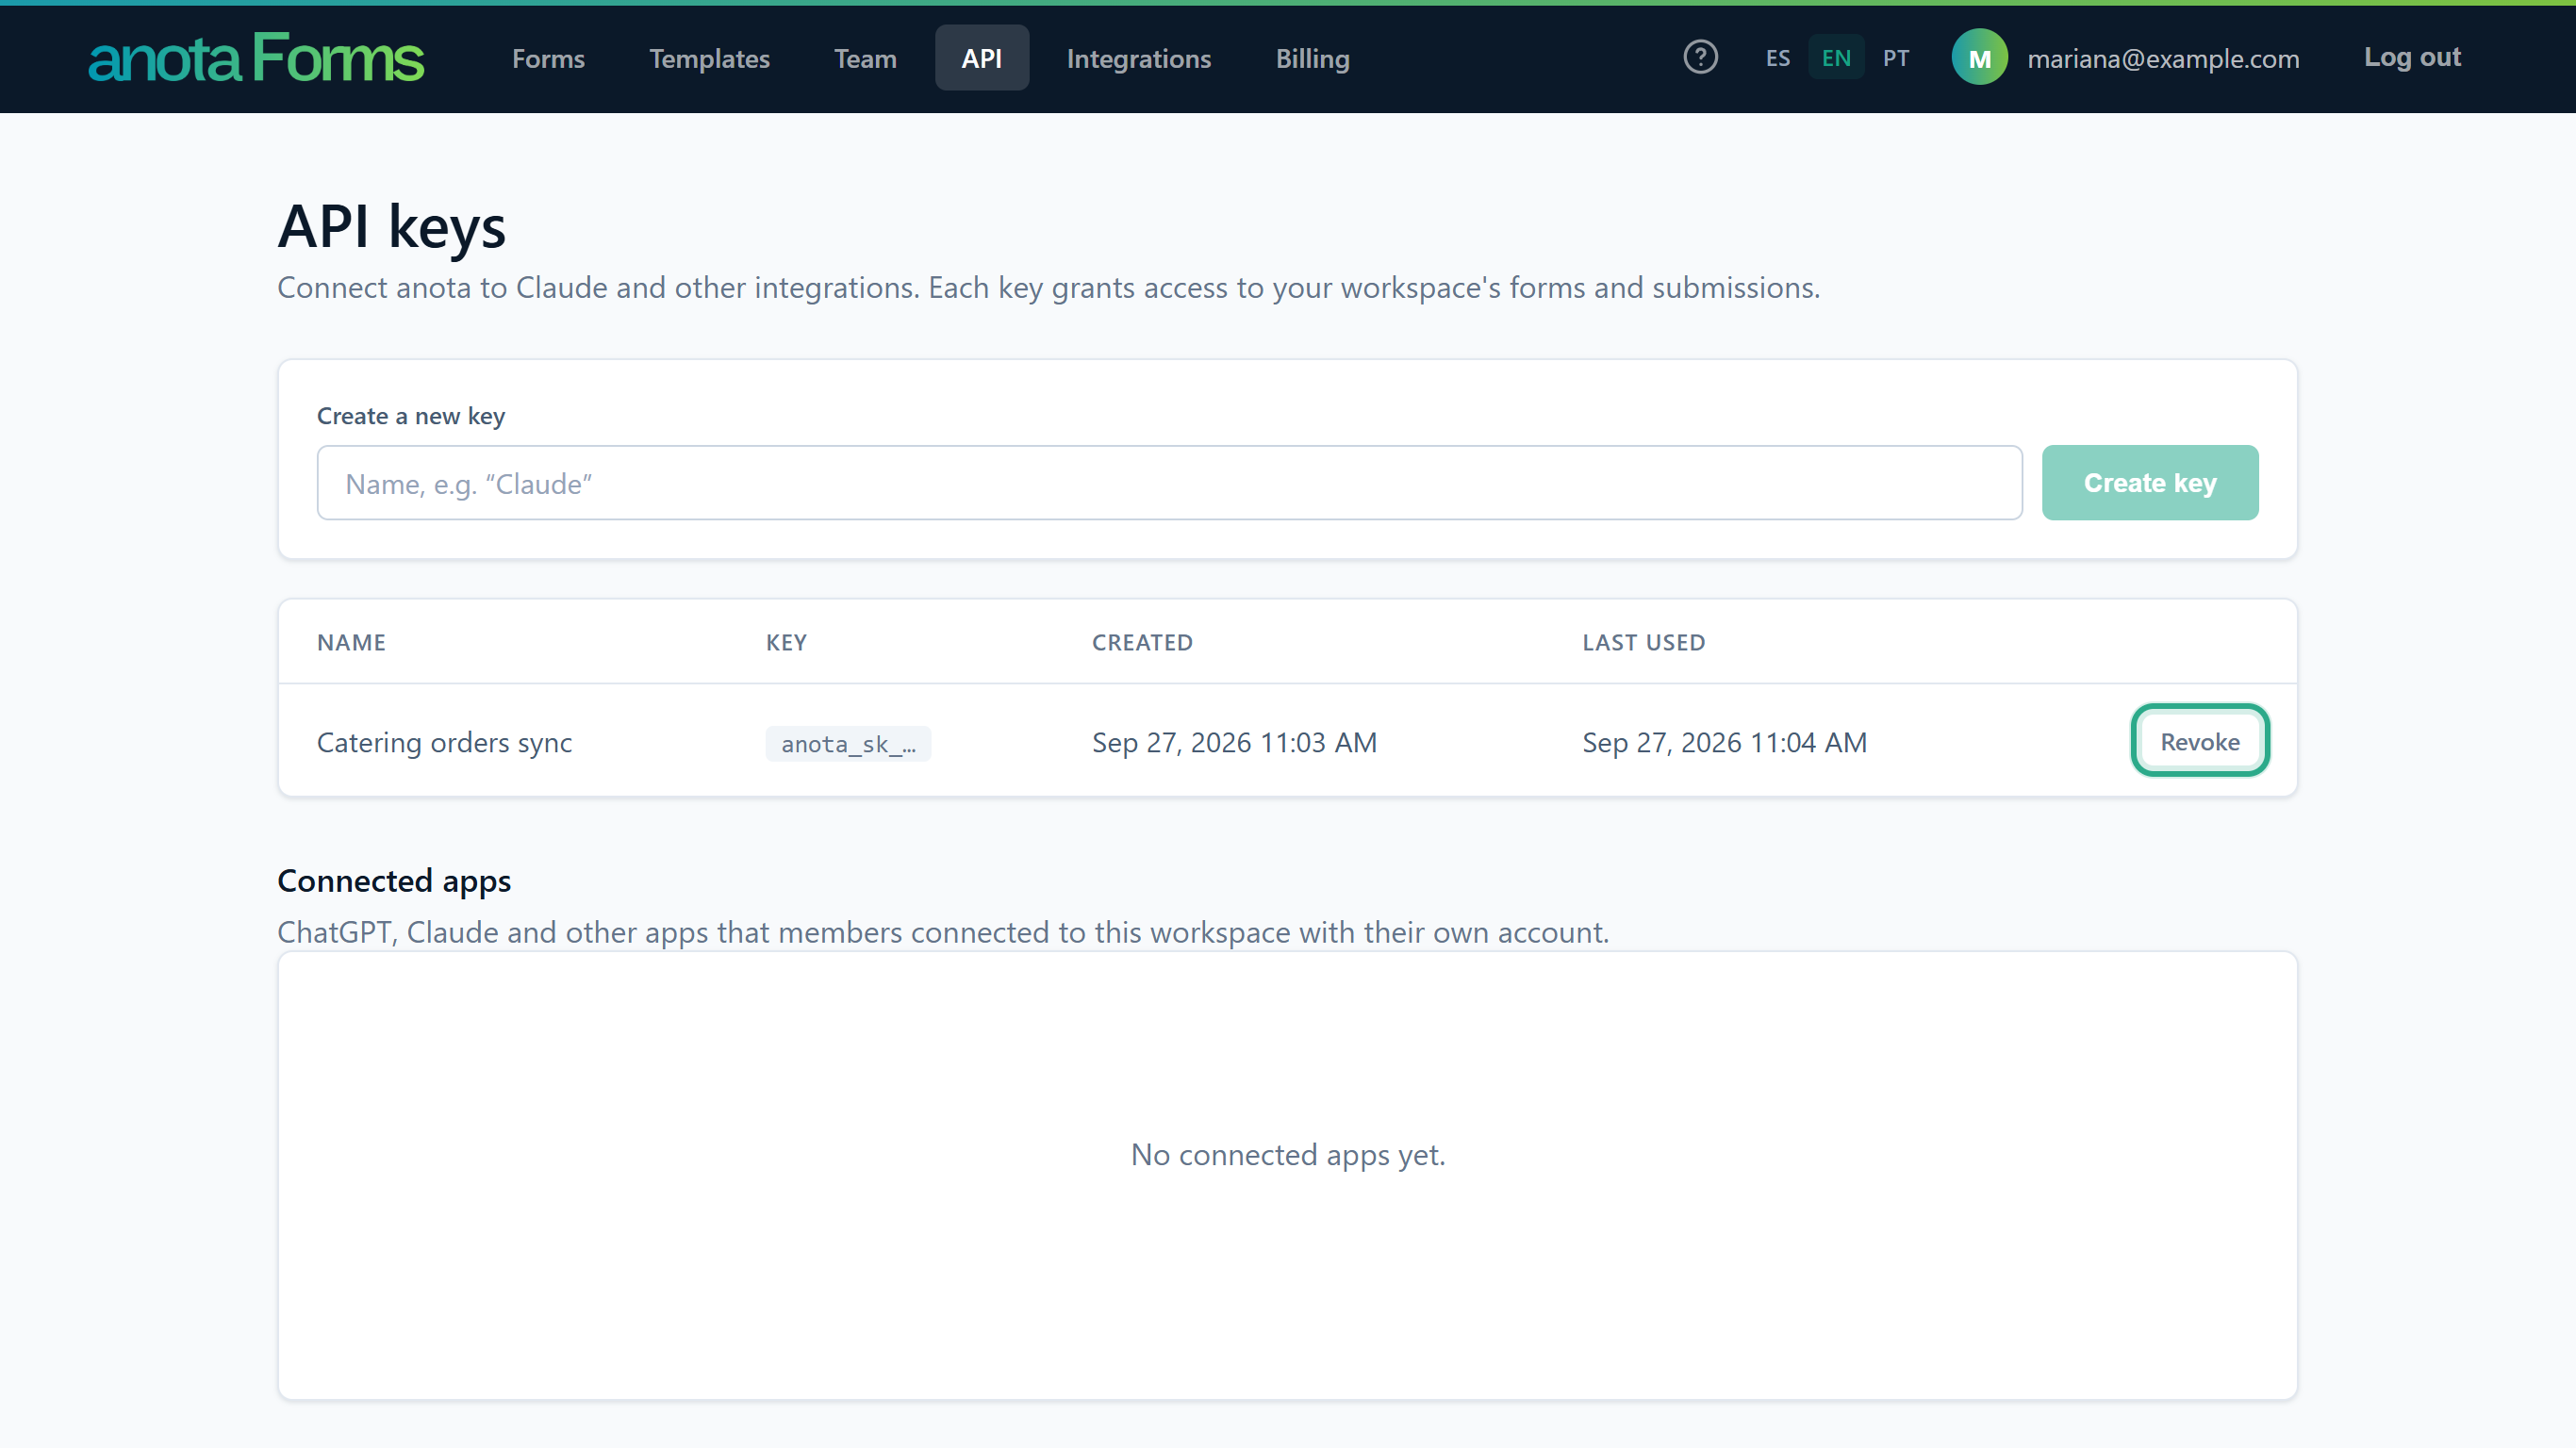 Check Last used first: a recent date means a tool still relies on the key.
anota asks in the row: "Revoke? Integrations using it will stop working." Click Yes, revoke, or Cancel to keep the key.
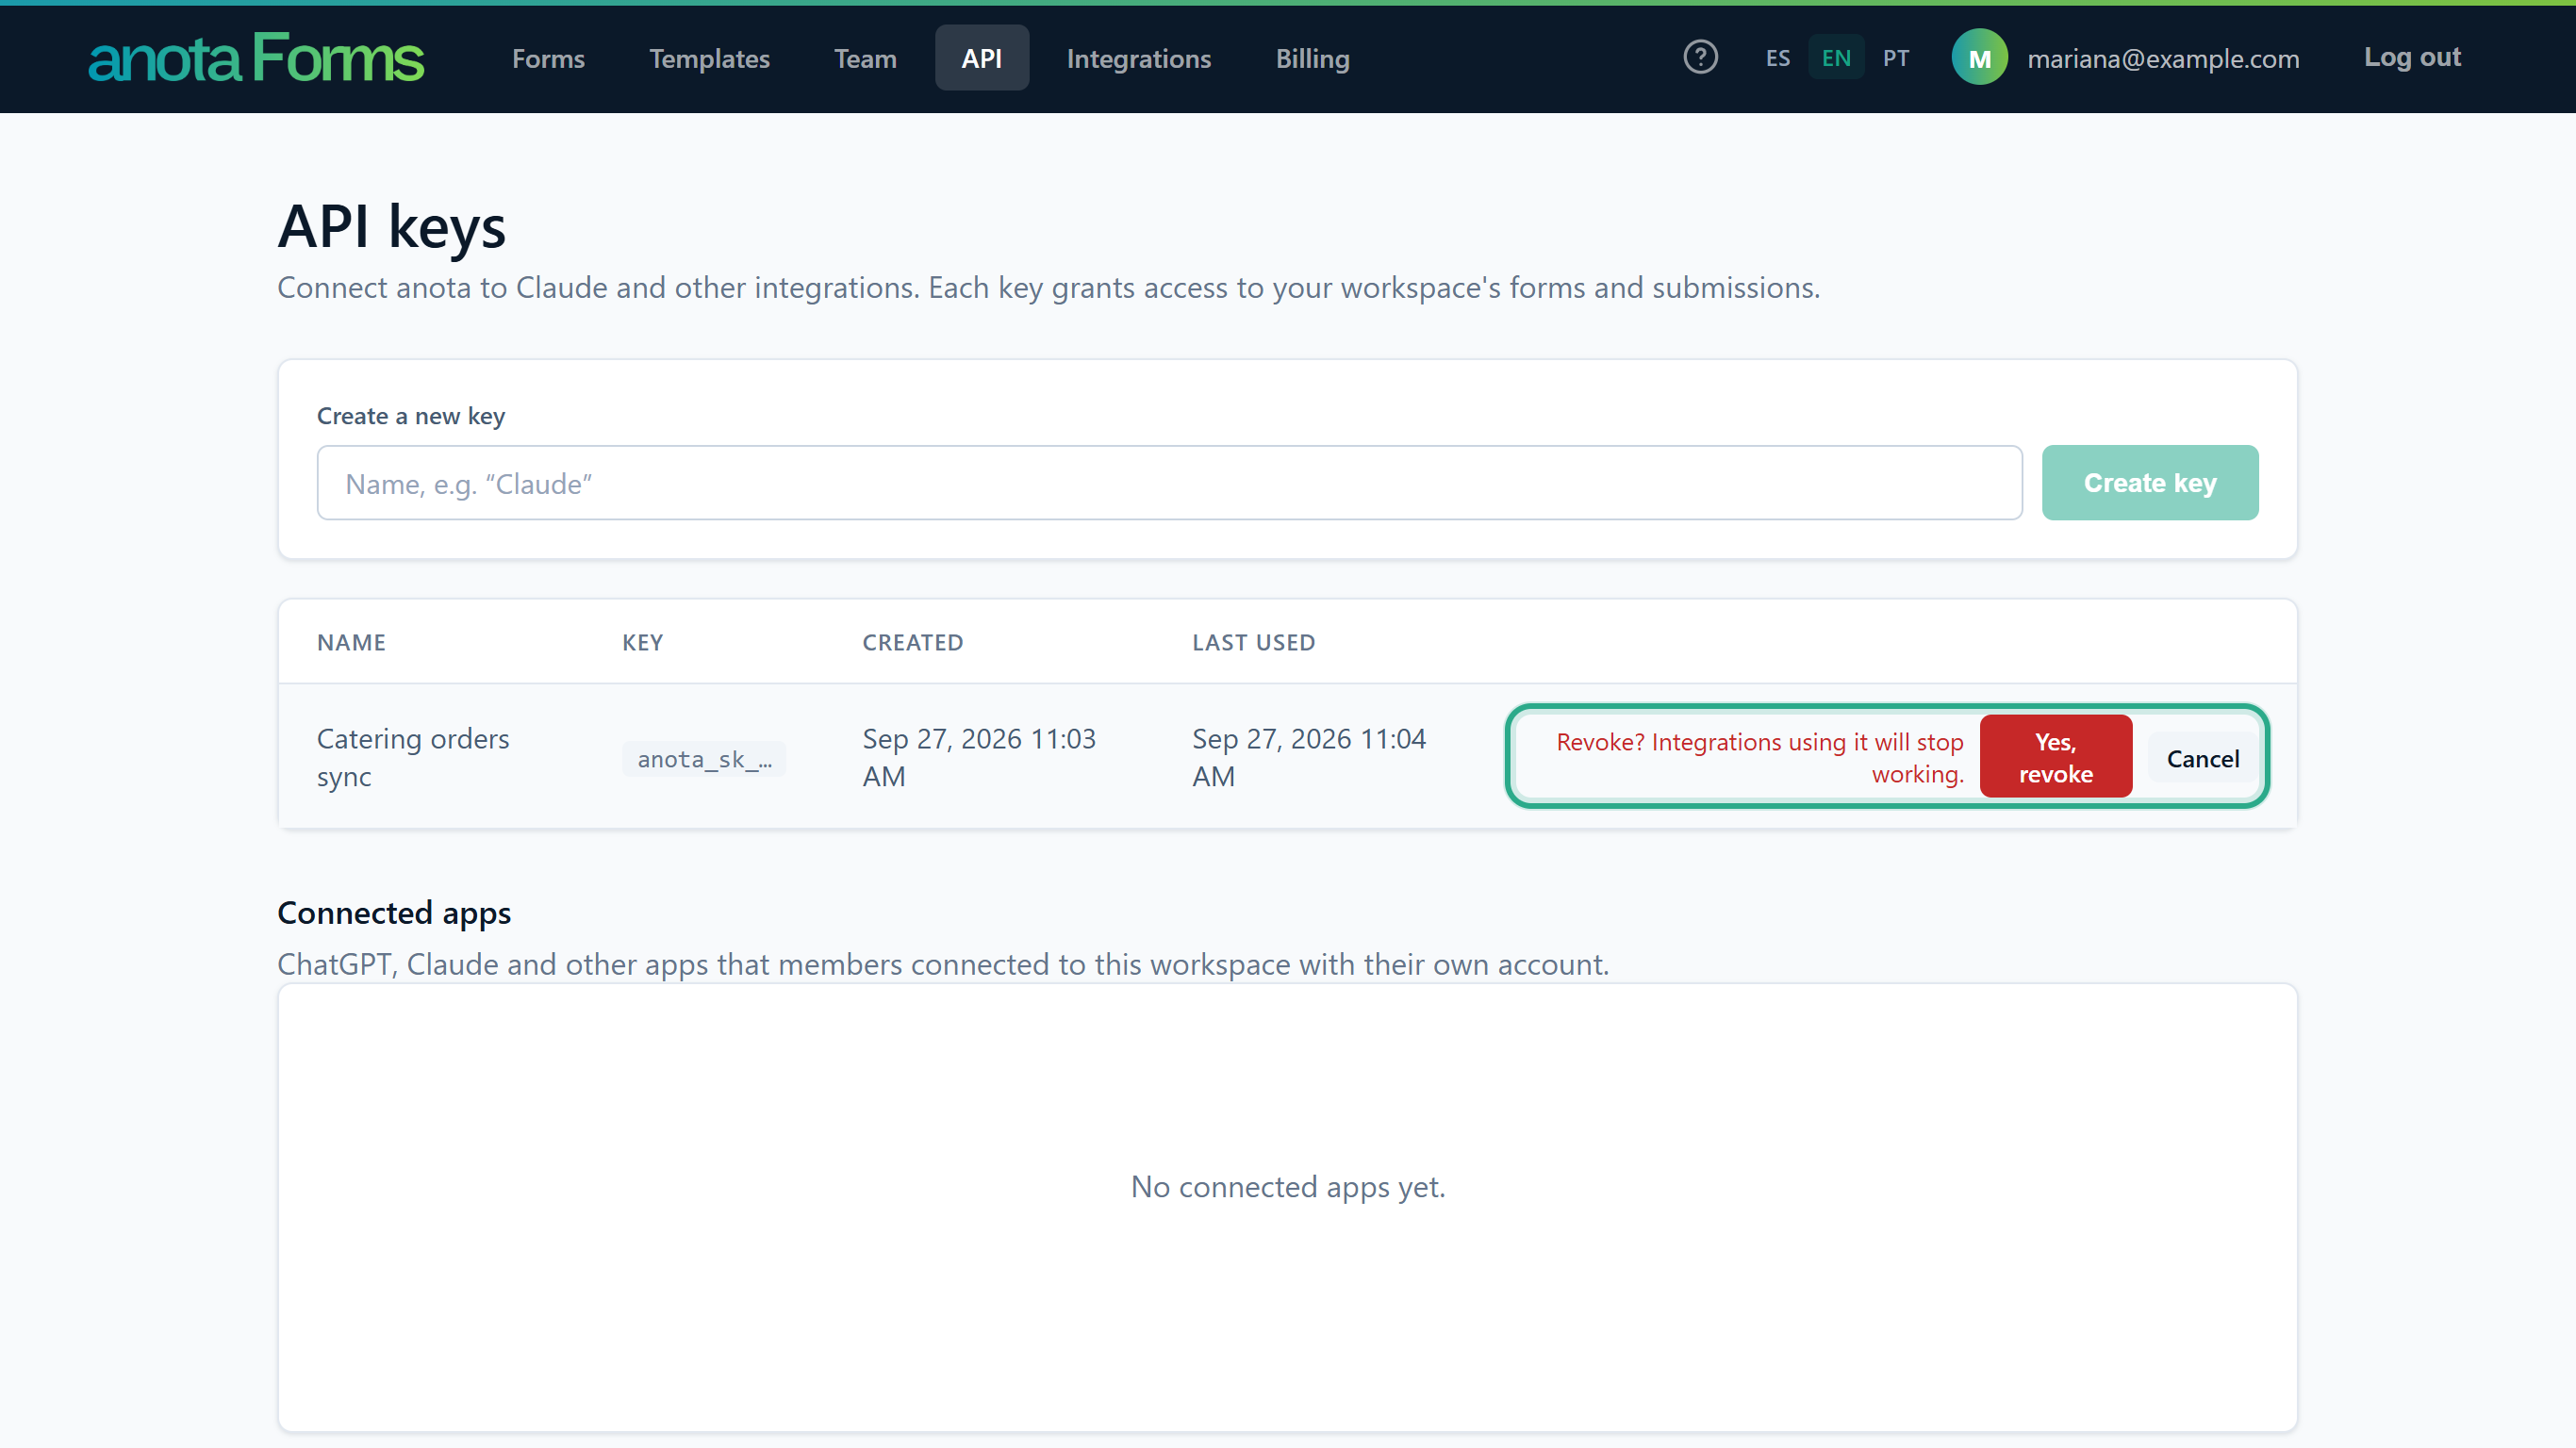 There's no second chance after Yes, revoke.
The key disappears from the table. With no keys left, the page shows You don't have any API keys yet.
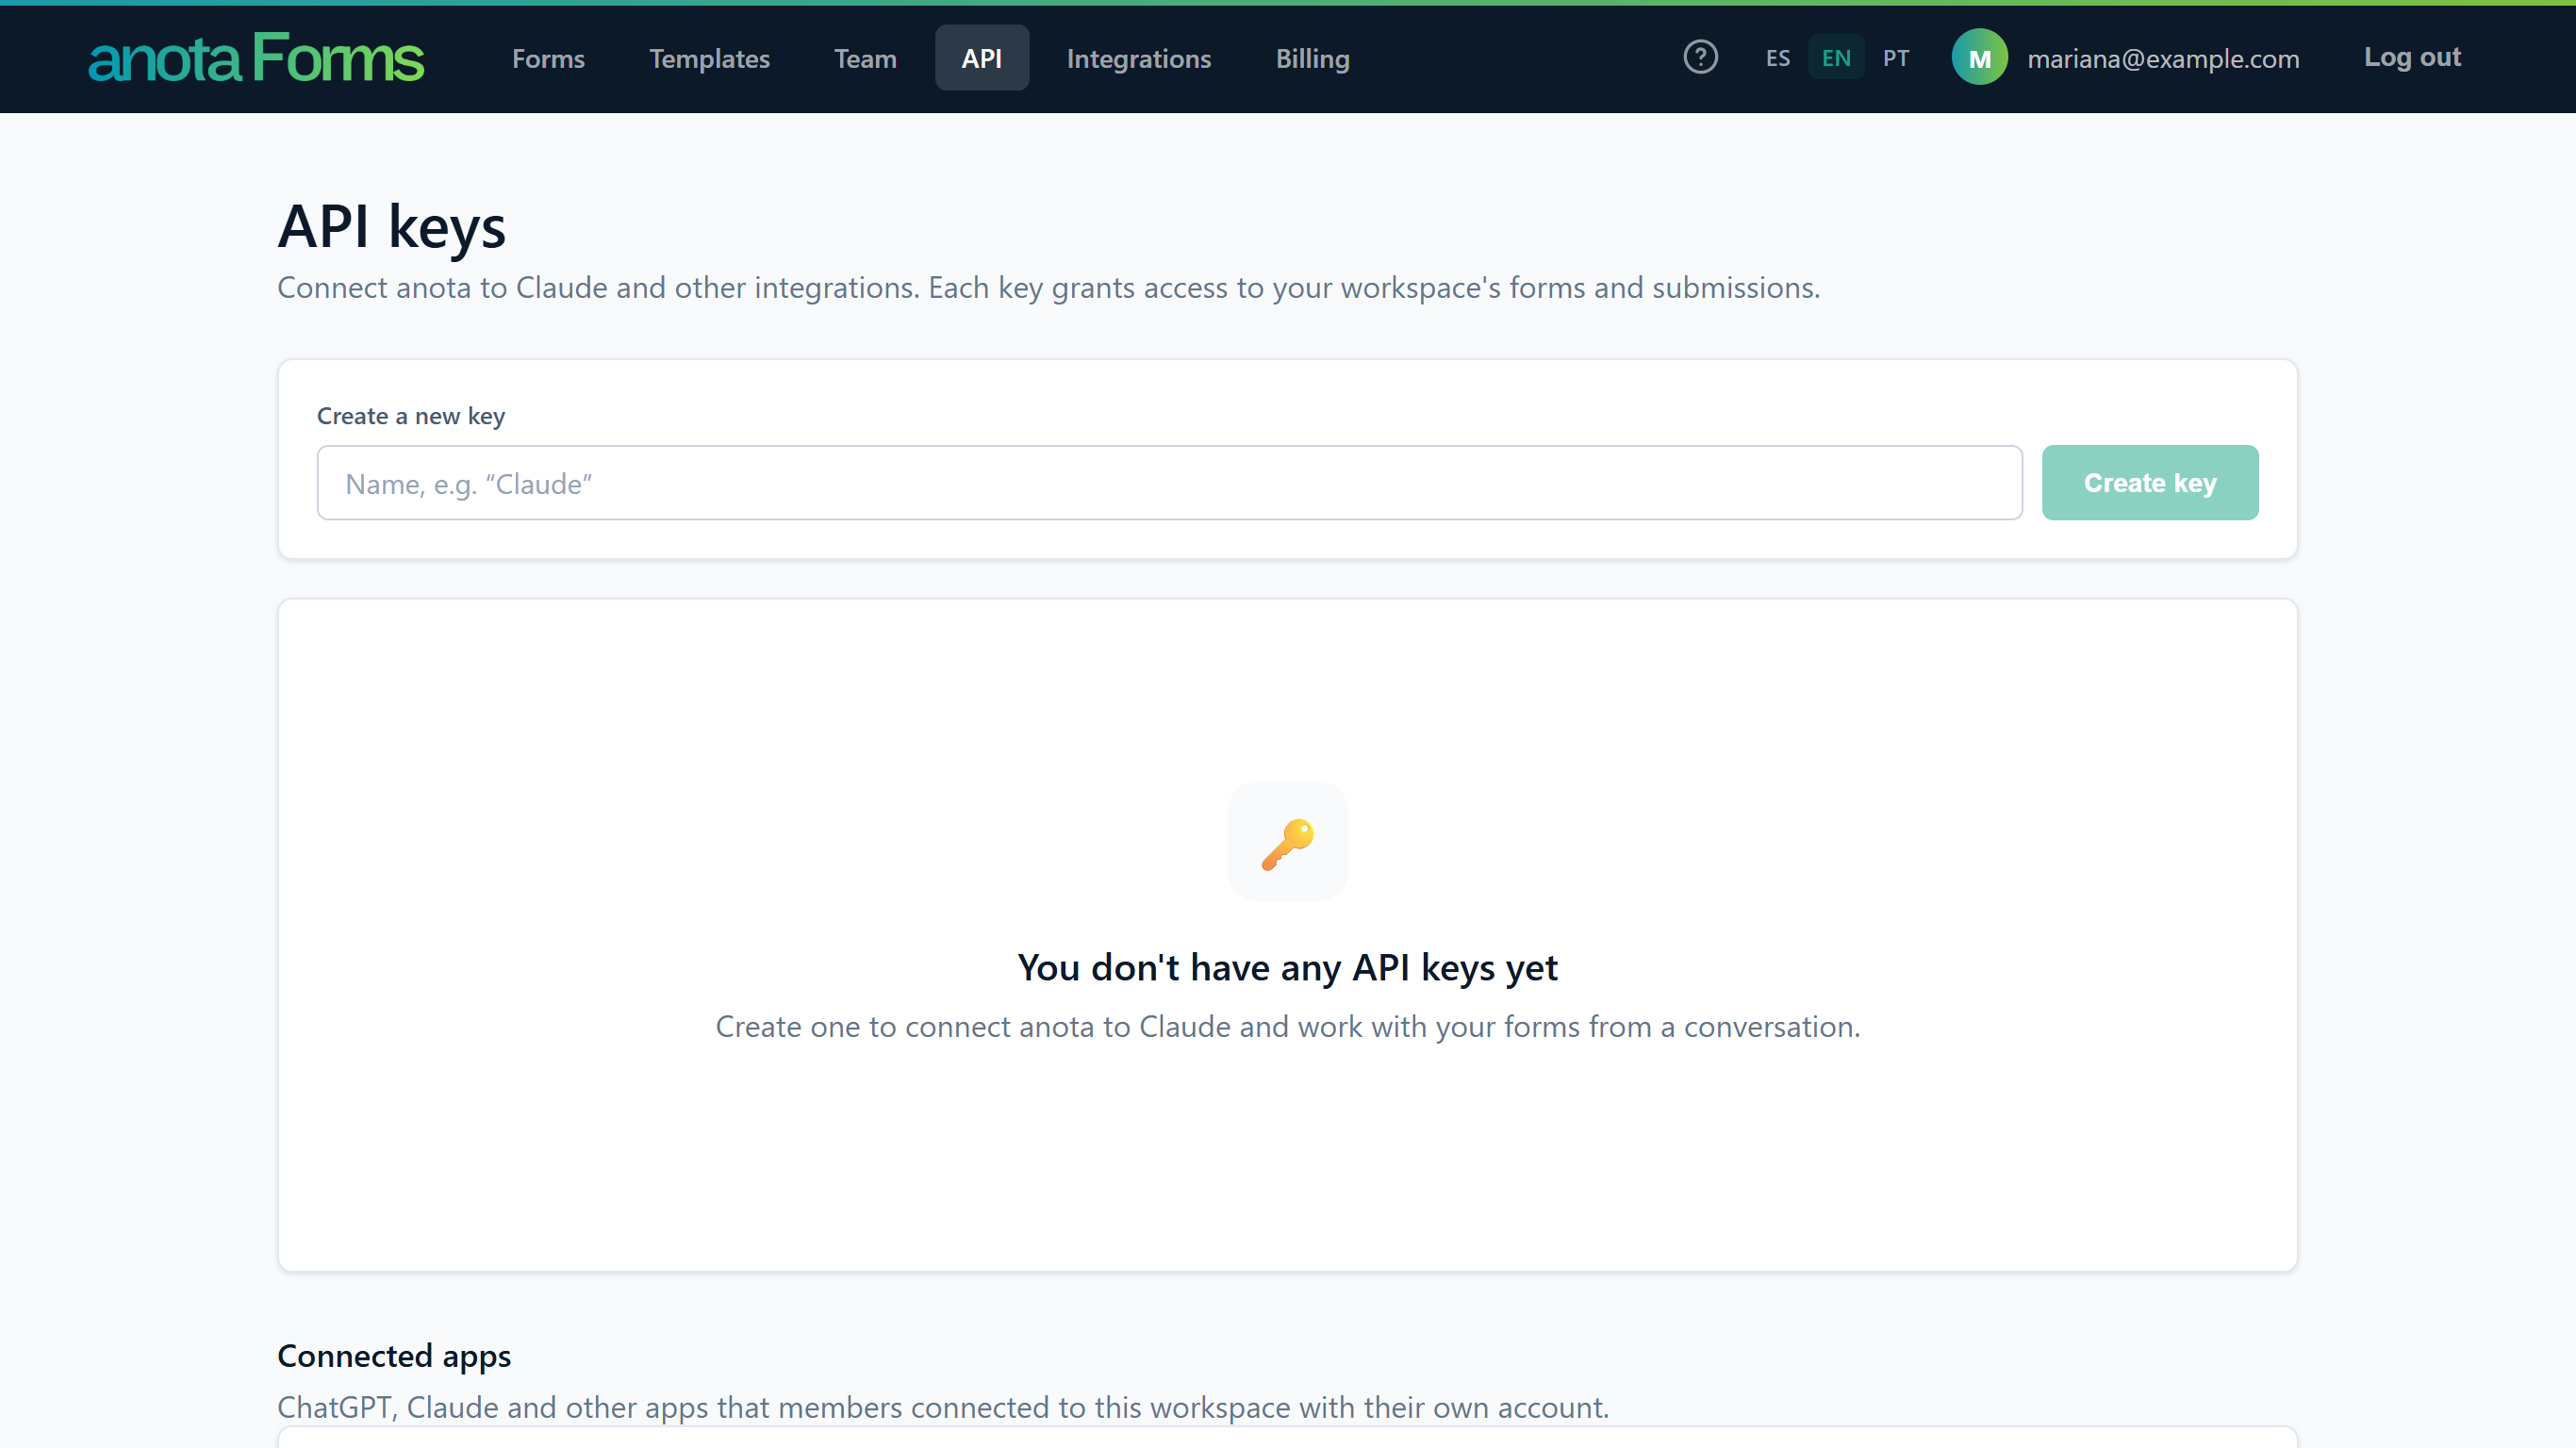 The Café Aurora workspace after revoking its only key.
Result
The key is deleted immediately and permanently. Any tool still using it gets 401 Unauthorized from the next request on. There is no "regenerate": to replace a key, create a new one first, update your tool, then revoke the old one. If someone else already revoked the key, anota shows "We couldn't find that key."
Task 5 — Find the full API reference
Step-by-step
On the anota website, scroll to the footer and click API under Product. You can also go straight to
https://anota.cloud/developers. The app itself has no link to it.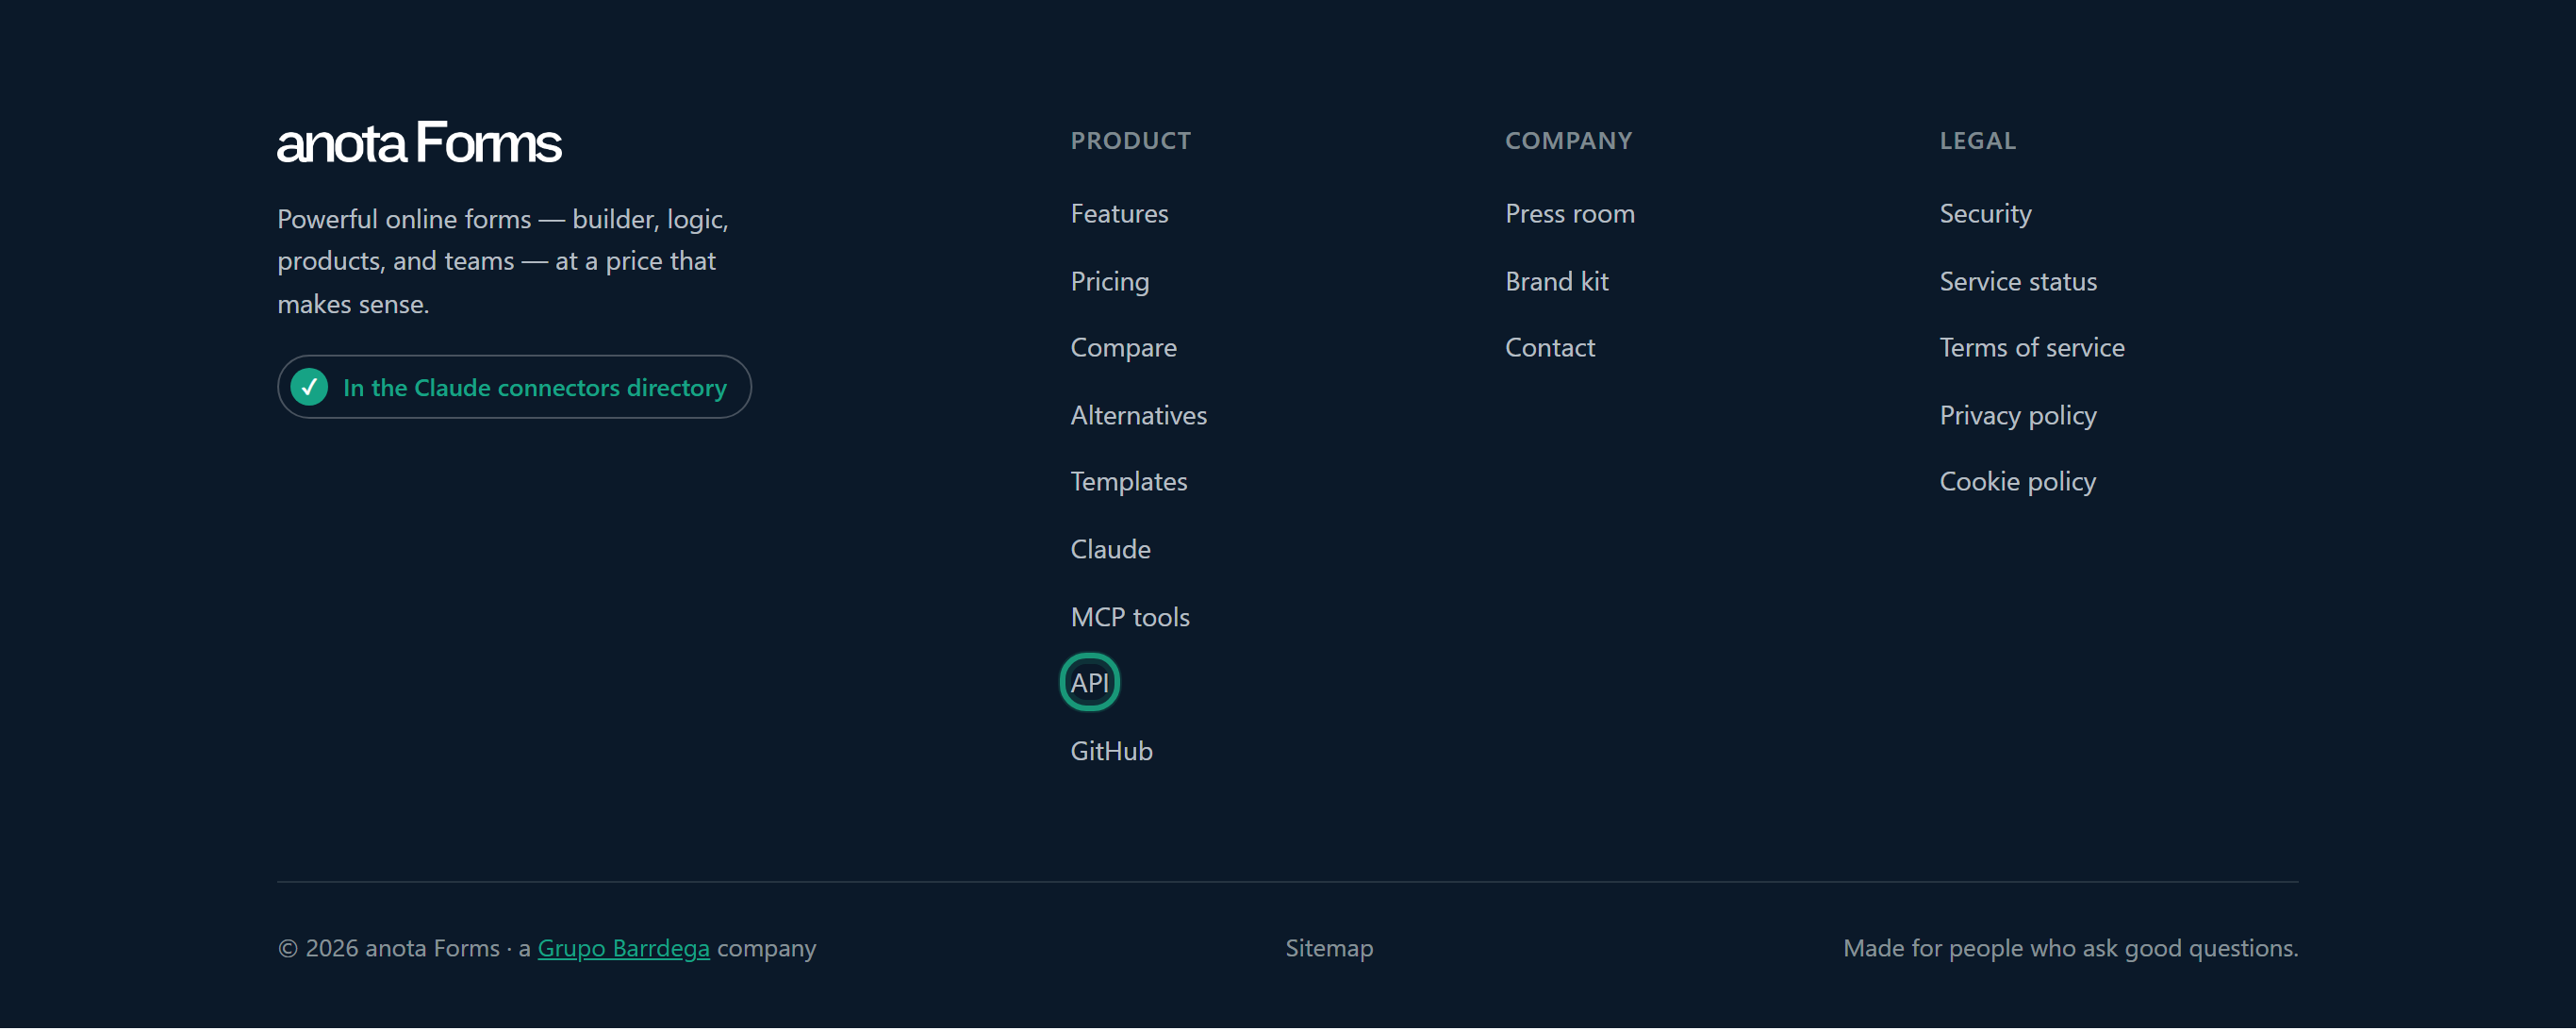 The same column links the MCP tools list and the official SDKs on GitHub.
The anota API reference opens with an introduction, the list of official SDKs, and every endpoint in the sidebar. Click Download OpenAPI Document to get the specification file, for example to generate a client or import it into Postman.
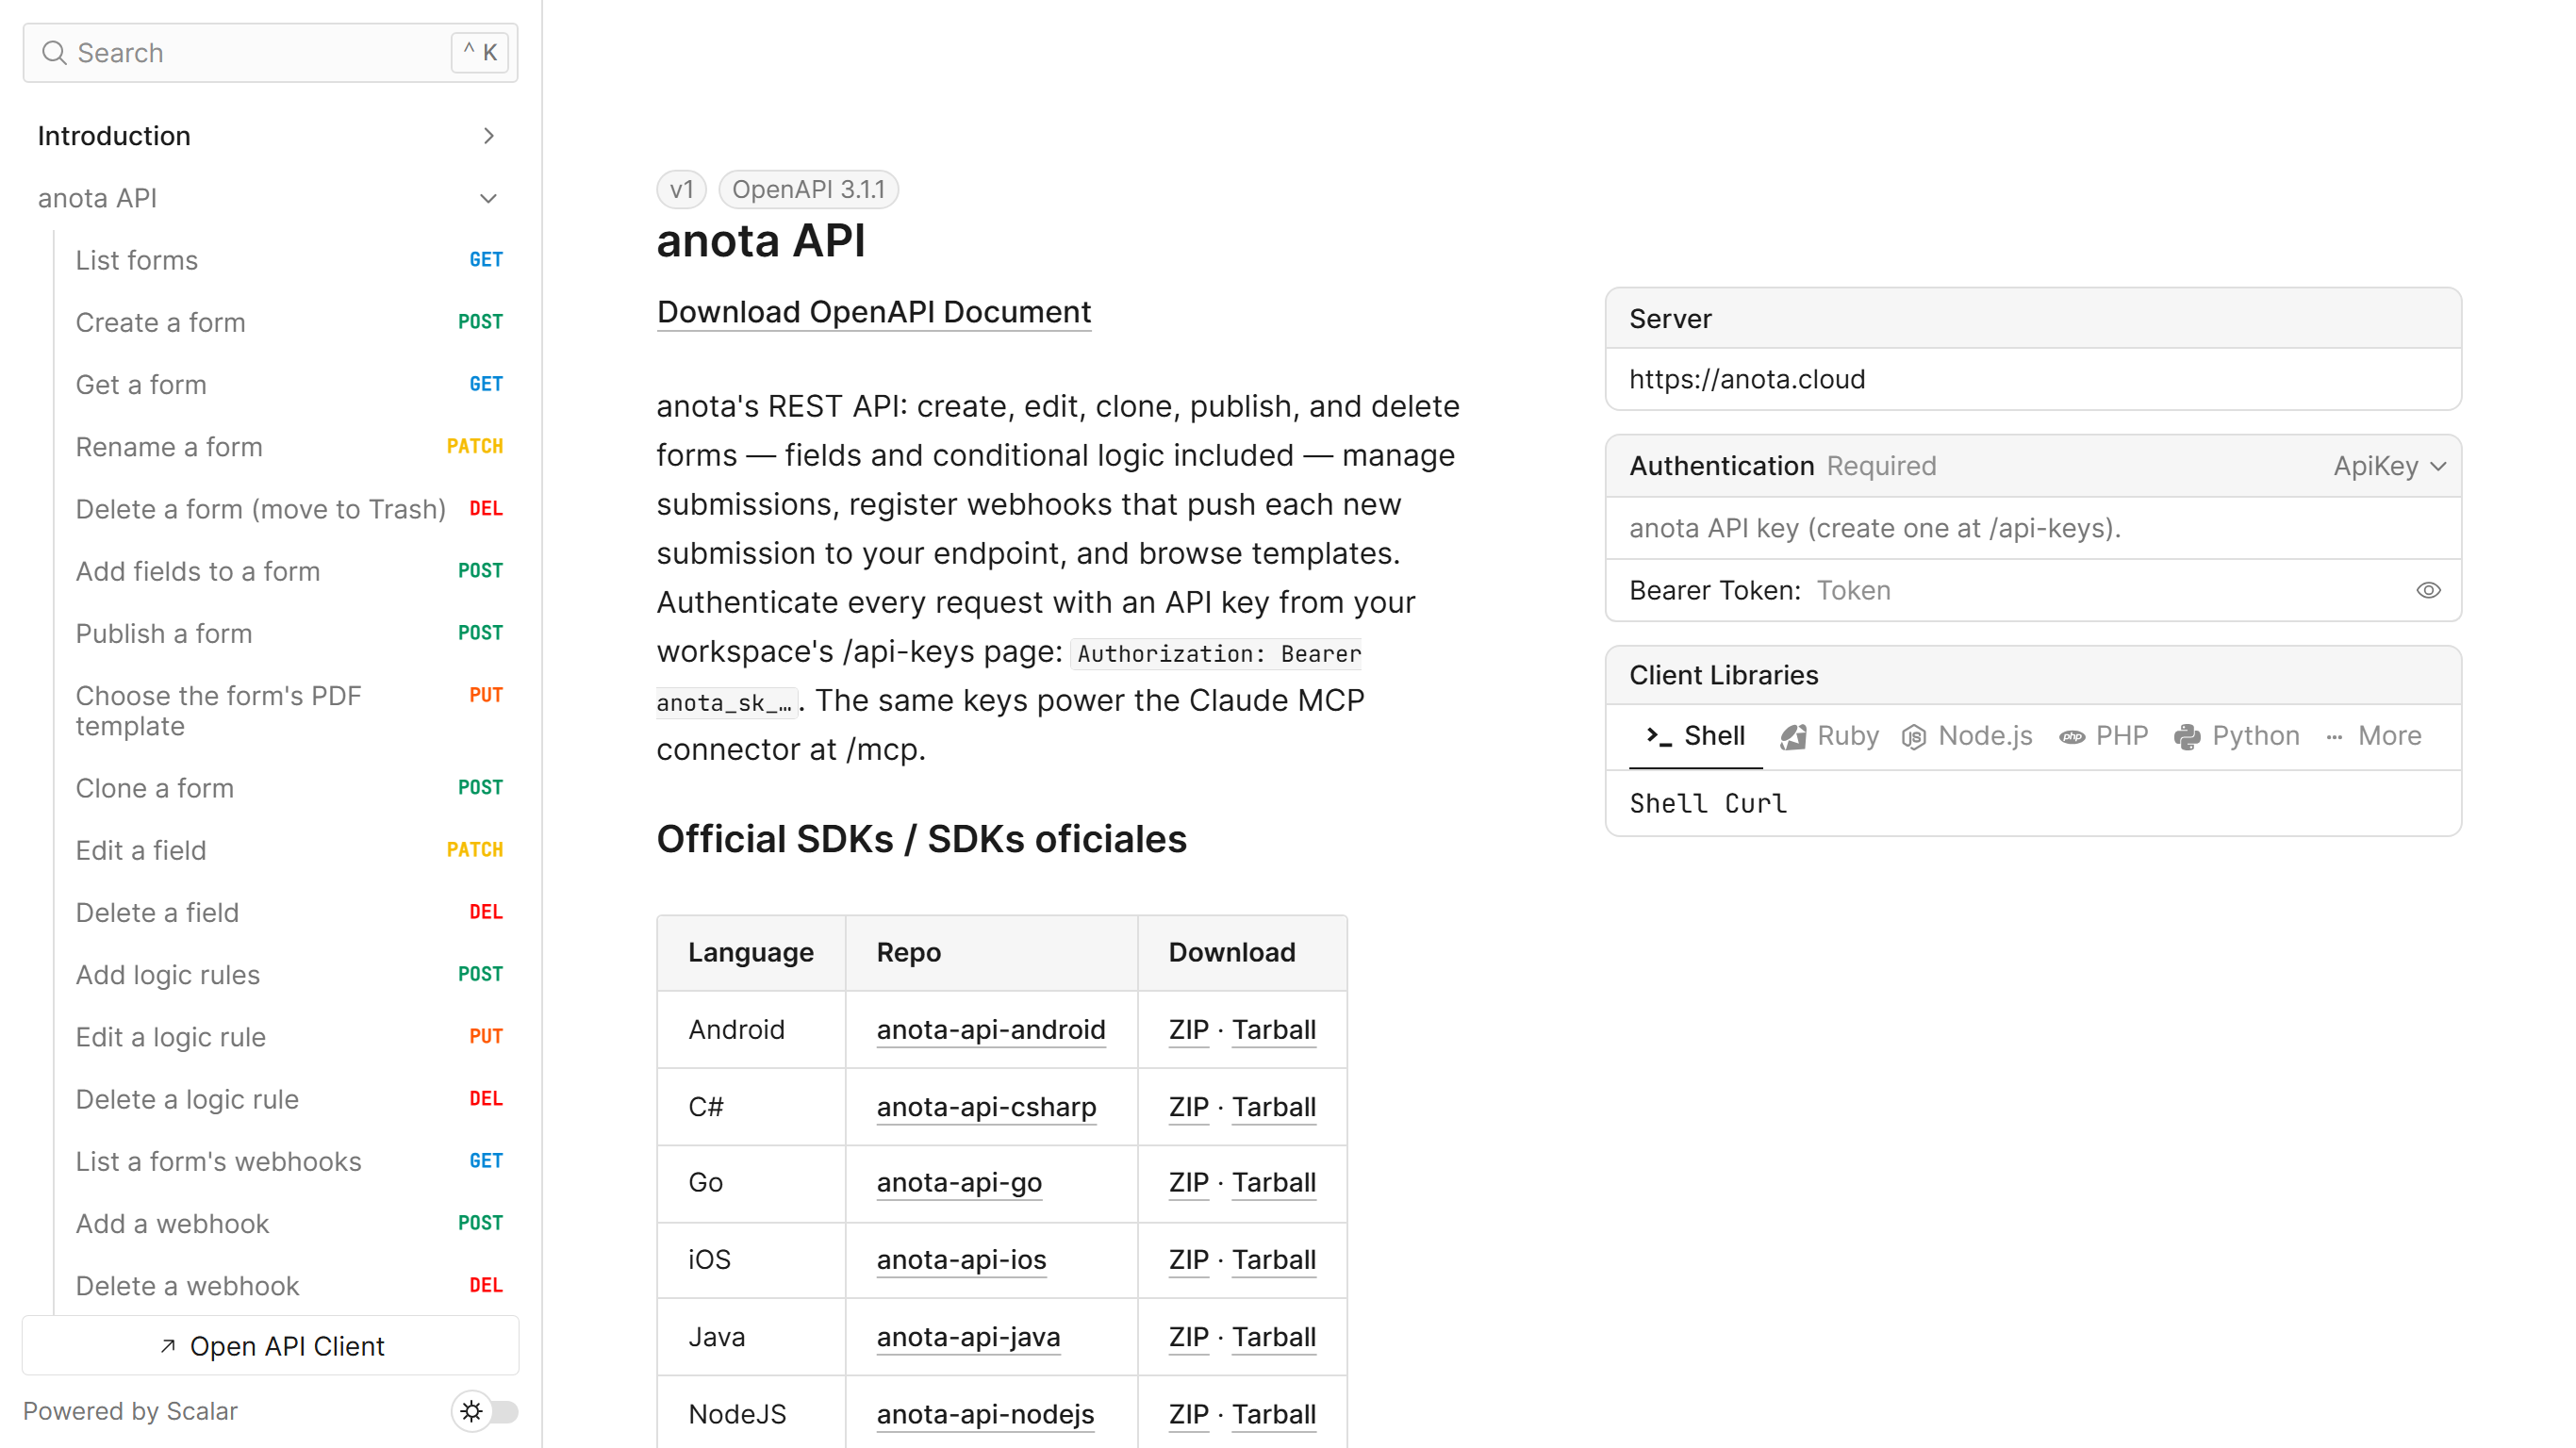 To try requests from the page, paste your key in Bearer Token.
Click an endpoint in the sidebar, here Add a webhook, to see its description, parameters and body, and a ready-made request in the language you pick (Shell, Ruby, Node.js, PHP, Python or More). Test Request sends it with your key.
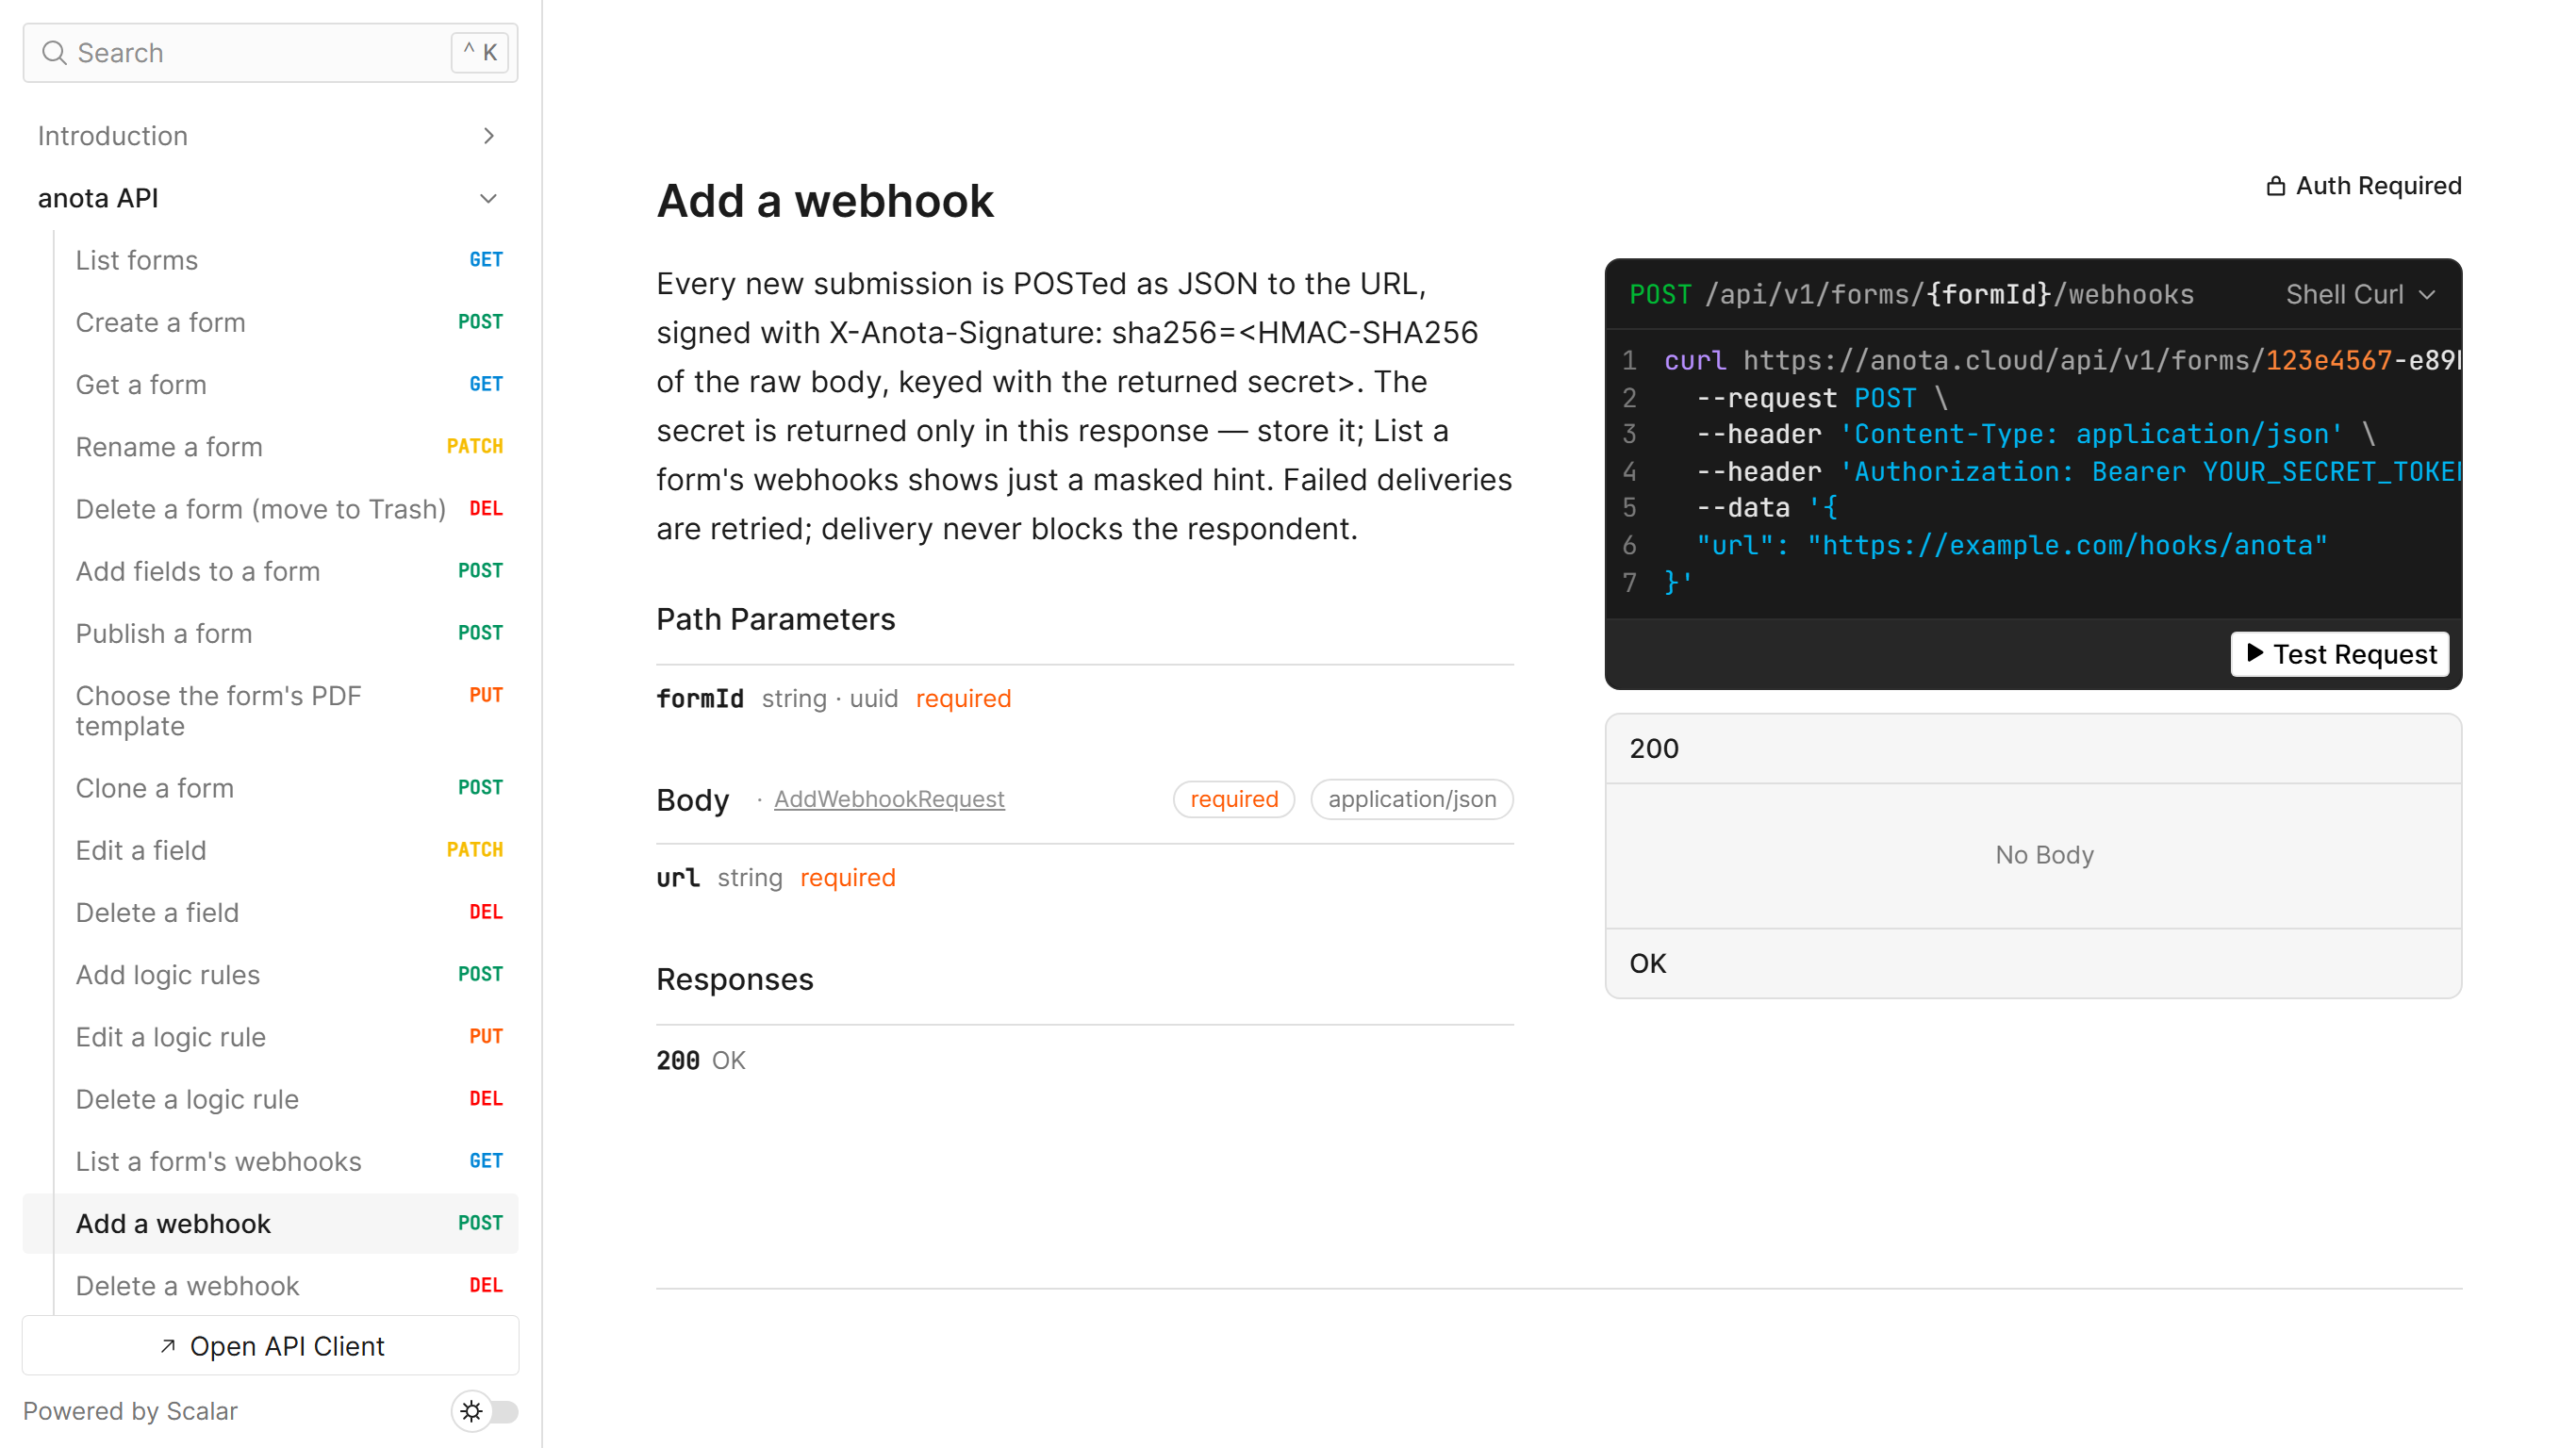 Test Request calls your real workspace: it really creates, changes or deletes what you ask.
Result
You have the complete, always-current technical reference. The endpoint table in REST API endpoints below is a summary of it.
Task 6 — Open the Integrations page
The Integrations page connects your workspace to a CRM so forms can create records there automatically. It is for CRM connections only; webhooks are managed with the API (Task 3).
Step-by-step
Click Integrations in the top bar. The page reads "Connect your workspace to other systems (CRM, tickets). Each form chooses where to push its submissions." With no connections yet it shows No connections yet.
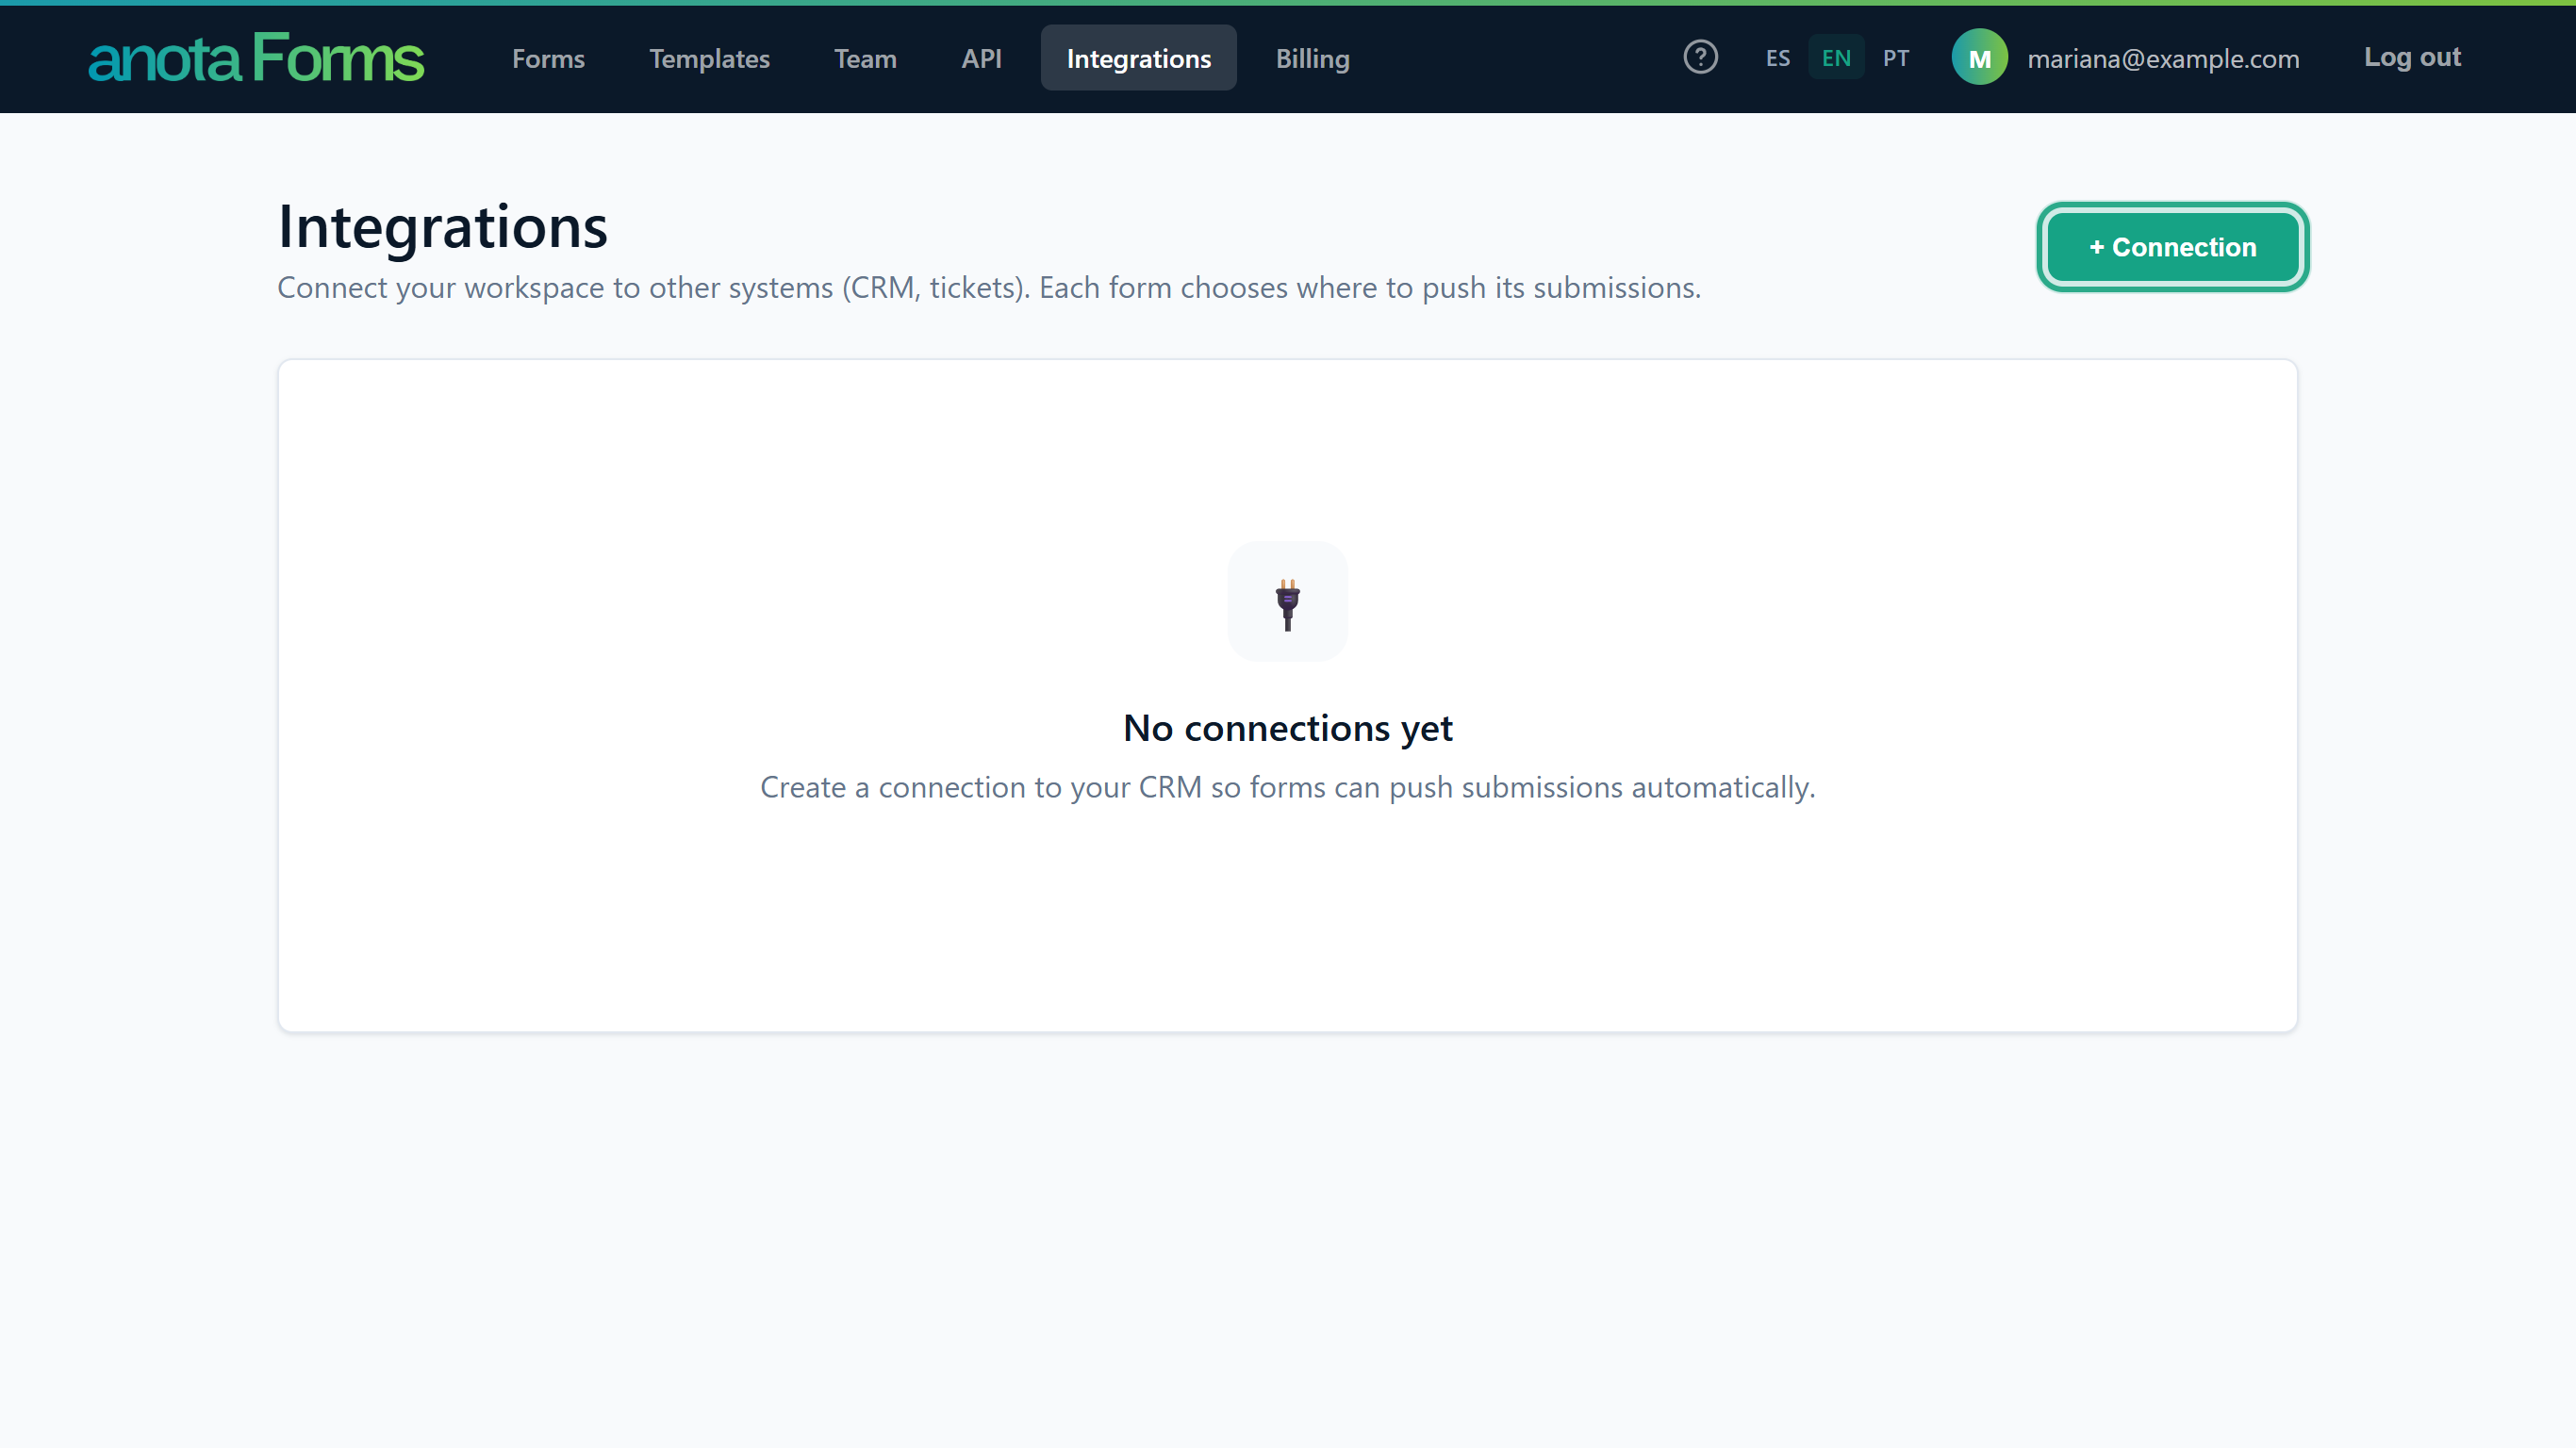 Only Admins and the Owner can open this page.
Click + Connection. Choose the System (anota offers P4 CRM), give the connection a Name, and enter the CRM's Base URL and API key. Click Save, or Cancel to close without saving.
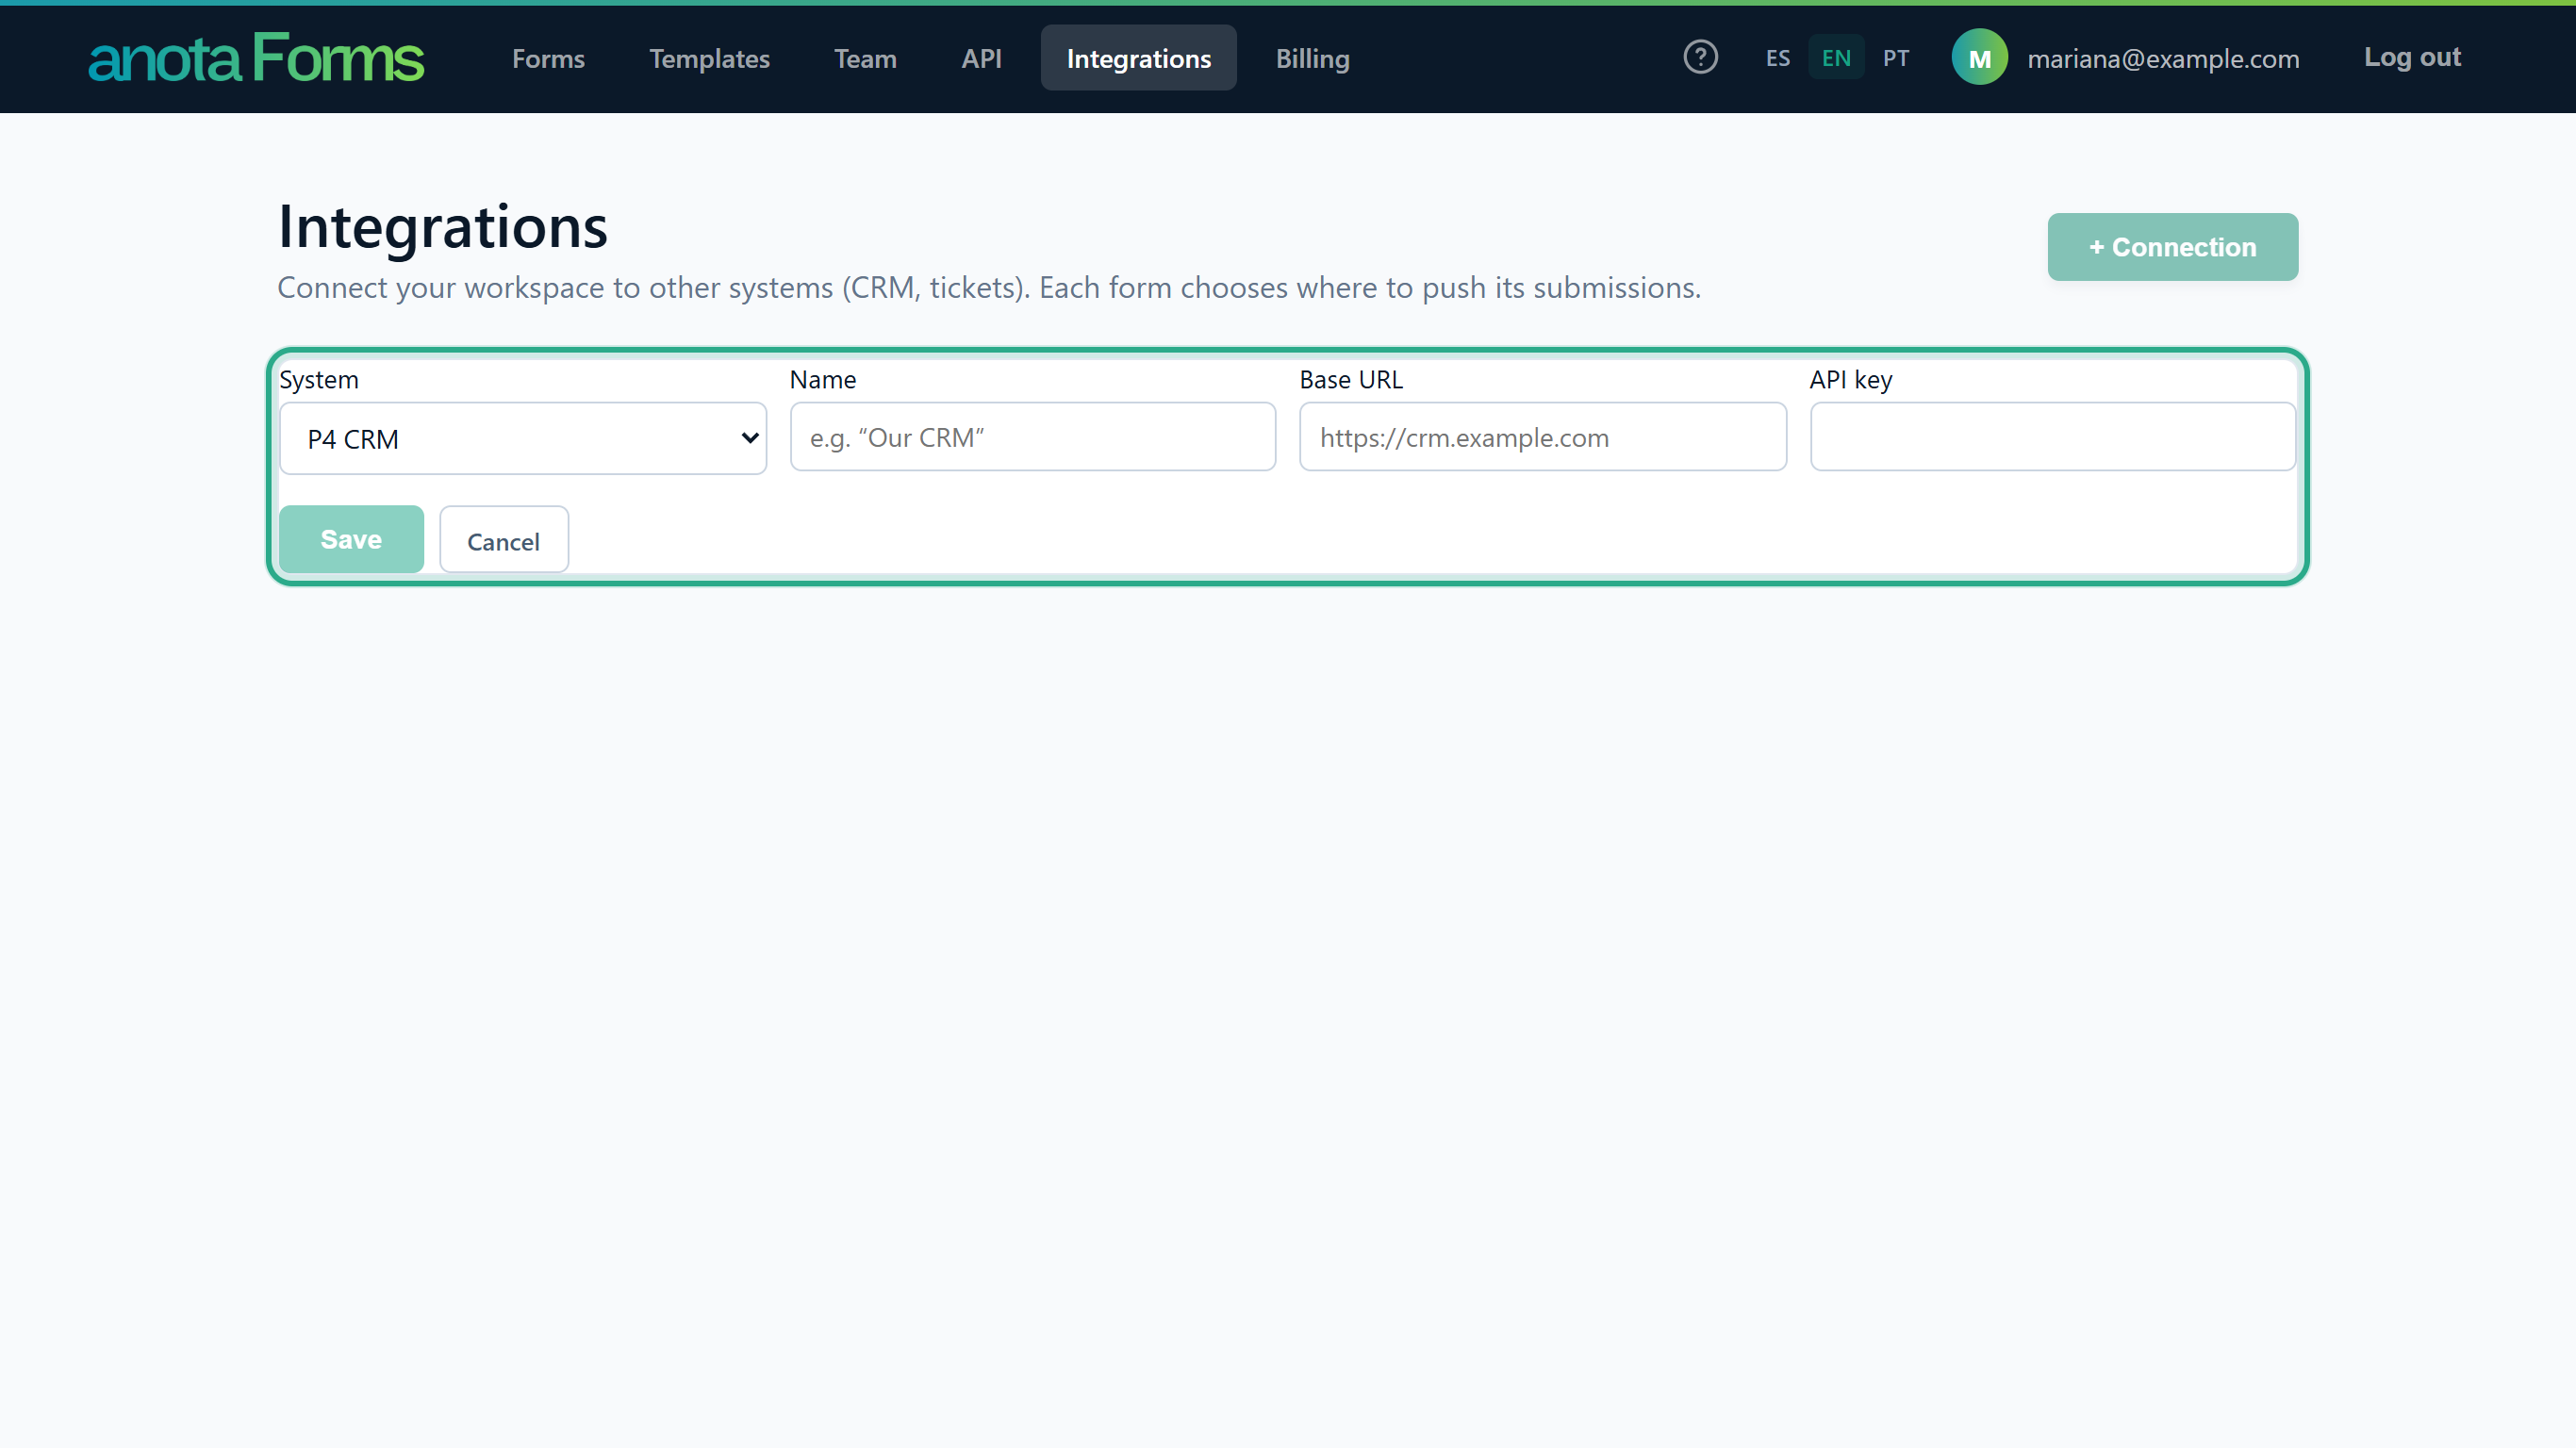 Save stays disabled until the name, base URL and API key are filled in.
Result
Once saved, the connection is listed with its Name, System, URL and Status, with Test, Edit and Delete buttons. When you edit it, leave the API key blank to keep the stored one. Each form then chooses what to create in the CRM from its builder, on the Publish tab > Integrations: + Integration picks the connection and what to create, and you match each CRM field to a form field. View deliveries lists each submission sent to the CRM with its status (Delivered, Failed or Pending) and attempts, and lets you Retry a failed one.
Authentication and limits
- Send
Authorization: Bearer anota_sk_…on every request. The same key works for the REST API (https://anota.cloud/api/v1/…) and the MCP connector (https://anota.cloud/mcp). - Every API key has full access to its workspace: all forms, submissions, Templates, webhooks and Email notifications. Keys have no scopes and no expiry date. For limited access, connect Claude or ChatGPT with one-click sign-in instead, where the member chooses the permissions (see Connect Claude and ChatGPT (MCP)).
- The REST API accepts API keys only. One-click sign-in is for the MCP connector.
Rate limits
Each key has a per-minute budget, shared between the REST API and the MCP connector:
- 120 requests per minute per key.
- 30 created submissions per minute per key (
POST /api/v1/forms/{formId}/submissions, orcreate_submissionover MCP), because each new submission can send the autoresponder email to the address typed in the form.
Over a limit, anota answers 429 Too Many Requests with the header Retry-After: 60 and the text "Too many attempts. Wait a minute and try again."
Errors
401 Unauthorized: the header is missing, doesn't start withBearer, or the key was revoked.400 Bad Request: anota couldn't do what you asked. The reason is in thedetailfield of the JSON answer, starting with "Error:", for example a form id that doesn't exist in your workspace or a field that is locked because the form was published.
Connected apps
If members connect Claude or ChatGPT with one-click sign-in, the API keys page also lists them under Connected apps: "ChatGPT, Claude and other apps that members connected to this workspace with their own account." The table shows the App, the Member, the Permissions and when it was Connected; Disconnect removes any member's connection. With none, it shows No connected apps yet. Members manage their own under Account > Connected apps.
What a webhook sends
For each new submission, anota sends an HTTP POST to the webhook's address with a JSON body (Content-Type: application/json; charset=utf-8):
{
  "event": "submission.created",
  "formId": "01a0df96-83fe-747c-b14e-03b183c3f962",
  "formTitle": "Catering Order Request",
  "submissionId": "…",
  "submittedAt": "2026-09-27T15:04:05.1234567",
  "answers": [
    { "fieldId": "f_…", "label": "Full name", "value": "Sofía Herrera" },
    { "fieldId": "f_…", "label": "Email", "value": "sofia.herrera@example.com" },
    { "fieldId": "f_…", "label": "Which package would you like?", "value": "Breakfast pastries" }
  ]
}
submittedAtis in UTC, written without a time-zone marker (the same goes for the dates the API returns, such asupdatedAt).answershas one readable label and value per answer. A signature is sent as the text[signature captured], not the image.- On forms that take a Stripe payment, the body also has a
paymentobject withstatus,amount(in major units, 25.00 = 25 dollars),currency(USDorMXN),paidAtandpaymentIntentId. For those forms the webhook is sent once the payment succeeds, sostatusis normallyPaid. Forms without payments never includepayment.
Headers and signature
| Header | Value |
|---|---|
X-Anota-Event |
submission.created |
X-Anota-Webhook-Id |
The webhook's id |
X-Anota-Signature |
sha256= followed by the HMAC-SHA256 of the raw request body, keyed with the webhook's signing secret, in lowercase hex |
To check a delivery, compute the HMAC-SHA256 of the body exactly as received (before parsing it) with your secret, and compare it with the value after sha256=.
Retries
anota waits up to 10 seconds for your answer. Any 2xx status counts as delivered. If your server doesn't answer, times out or returns another status, anota tries again, up to 6 attempts in total, spaced roughly 30 seconds, 2 minutes, 10 minutes, 30 minutes and 2 hours apart, so an outage of a couple of hours on your side is covered. A delivery never slows down or affects the person filling in the form. anota has no screen with the webhook delivery history.
REST API endpoints
Every endpoint is under https://anota.cloud/api/v1. They offer the same operations as the MCP connector's tools.
| Area | Endpoints |
|---|---|
| Forms | GET /forms, POST /forms, GET /forms/{formId}, PATCH /forms/{formId} (rename), DELETE /forms/{formId} (move to Trash), POST /forms/{formId}/publish, POST /forms/{formId}/clone, PUT /forms/{formId}/pdf-template |
| Fields | POST /forms/{formId}/fields, PATCH /forms/{formId}/fields/{fieldId}, DELETE /forms/{formId}/fields/{fieldId} |
| Logic rules | POST /forms/{formId}/logic-rules, PUT /forms/{formId}/logic-rules/{ruleId}, DELETE /forms/{formId}/logic-rules/{ruleId} |
| Submissions | GET /forms/{formId}/submissions, POST /forms/{formId}/submissions, GET /submissions/{submissionId}, PATCH /submissions/{submissionId}/status, DELETE /submissions/{submissionId}, GET /forms/{formId}/stats |
| Templates | GET /Templates, POST /forms/from-template/{templateId} |
| Email notifications | POST /forms/{formId}/email-notifications (add), PUT /forms/{formId}/email-notifications/{notificationId} (update) |
| Webhooks | GET /forms/{formId}/webhooks, POST /forms/{formId}/webhooks, DELETE /forms/{formId}/webhooks/{webhookId} |
GET /forms/{formId}/submissions takes page, pageSize (25 by default), status (New, Read, Flagged or Spam) and payment (paid or unpaid); unpaid Stripe checkouts are hidden unless you ask for them. GET /Templates takes language (es, the default, en or pt).
Official SDKs
anota publishes open-source client libraries for 10 programming languages, covering forms, fields, Conditional logic, submissions and webhooks. They all live at github.com/anotacloud under the MIT license.
| Language | Repository | Download |
|---|---|---|
| Android (Kotlin) | anota-api-android | ZIP · Tarball |
| C# / .NET | anota-api-csharp | ZIP · Tarball |
| Go | anota-api-go | ZIP · Tarball |
| iOS (Swift) | anota-api-ios | ZIP · Tarball |
| Java | anota-api-java | ZIP · Tarball |
| NodeJS (TypeScript) | anota-api-nodejs | ZIP · Tarball |
| PHP | anota-api-php | ZIP · Tarball |
| Python | anota-api-python | ZIP · Tarball |
| Ruby | anota-api-ruby | ZIP · Tarball |
| Scala | anota-api-scala | ZIP · Tarball |
Each repository has its own README with installation steps, a working example and the full list of methods.
Connect Claude and ChatGPT (MCP)
The full guide is in Connect Claude and ChatGPT (MCP). In short:
- Claude (web, desktop, mobile) and ChatGPT: add
https://anota.cloud/mcpas a custom connector, sign in to anota, choose a workspace and permissions, and click Allow access. No API key needed. - Claude Code and other developer tools: create an API key (Task 1) and send it as the Bearer token to
https://anota.cloud/mcp.
Example: you ask Claude, "Create an event registration form with name, email and a dropdown for ticket type (General or VIP)." Claude calls create_form to create the form as a draft with those fields, ready for you to review in the form editor and publish.
Available MCP tools
The connector has 26 tools. The REST API offers the same operations.
Forms and fields
| Tool | What it does |
|---|---|
list_forms |
Lists the workspace's forms (drafts and published; archived forms are excluded), most recently updated first, with each form's id, status, submission count and public URL. |
get_form |
Gets a form's full structure from its current draft: title, status, PDF template, every page and field (id, type, label, required flag, choice options), every conditional logic rule (with the rule ids you need for edit_logic_rule and delete_logic_rule), and its email notifications (id, type notification/autoresponder, enabled, recipients, subject, attachPdf) with a note saying who gets emailed. |
create_form |
Creates a new draft form with a title, optional intro text and its fields, all on a single page. |
add_fields |
Appends one or more fields to the end of a form's draft (its last page). |
edit_field |
Replaces an existing field's definition, keeping its id and position. Only works while the form has never been published. |
delete_field |
Removes a field. Only works while the form has never been published. If a logic rule referenced the field, that reference is removed from the rule (and the rule is deleted if nothing is left of it) instead of blocking the delete. |
publish_form |
Publishes the form for the first time, or pushes the draft's changes live as a new version. Existing submissions are kept. Unless the form has an enabled email notification (see get_form, set_email_notification), each submission is emailed to the workspace owner. |
rename_form |
Changes the form's title. The public URL and existing submissions stay the same. |
delete_form |
Moves the form to the Trash: it disappears from lists and its public URL stops accepting responses, but submissions are kept and you can restore it from the Trash in the app. A trashed form doesn't count toward your plan's form limit. |
clone_form |
Duplicates a form as a new draft with its own public URL, copying pages, fields, logic rules and PDF template (not versions or submissions). Because the clone has never been published, all its fields are editable. This is how you "edit" the locked fields of a published form. |
set_pdf_template |
Sets the layout used when exporting submissions to PDF. An unknown template key returns the list of valid ones. |
add_logic_rules |
Adds one or more conditional logic rules to a form's draft. Each rule has its conditions (IF, matching "all" or "any"), its actions (THEN, see Logic actions below) and an optional disabled flag to add it paused. New rules run after the form's existing rules. |
edit_logic_rule |
Replaces an existing rule's conditions, actions and disabled flag, identified by its id (from get_form), keeping its position among the other rules. |
delete_logic_rule |
Deletes a logic rule by its id. |
Templates
| Tool | What it does |
|---|---|
list_templates |
Lists the ready-made templates in Spanish (es, the default), English (en) or Portuguese (pt), grouped by category. |
create_form_from_template |
Creates a new draft form in your workspace by copying a template's full structure. |
Submissions
| Tool | What it does |
|---|---|
list_submissions |
Lists a form's submissions, newest first, with paging (up to 100 per page), an optional status filter (New, Read, Flagged, Spam) and an optional payment filter. By default, unpaid Stripe payment submissions (abandoned checkouts) are hidden. |
get_submission |
Gets one submission's full answers as readable label/value pairs. |
submission_stats |
Returns the total, the count per status, daily counts for the last 7 days (UTC) and Stripe payment counts (paid / unpaid). |
create_submission |
Creates a submission on a published form as if a respondent had filled it in: answers are validated against the live version, plan limits apply, and notification emails and webhooks run as usual. |
set_submission_status |
Sets a submission's status to New, Read, Flagged or Spam. Only the label changes; answers are never modified. |
delete_submission |
Permanently deletes a submission and its uploaded files. This can't be undone. |
Email notifications
| Tool | What it does |
|---|---|
set_email_notification |
Creates or updates one of a form's email notifications: every new submission is emailed to the given recipients (1-10 addresses, any email address, not only workspace members) as a table of the answers, optionally with the submission PDF attached. Omit notificationId to create a new notification, or pass an id from get_form to update that one. enabled (default true) can be set to false to pause the notification while keeping its recipients. Capped at 10 notifications per form. It doesn't manage autoresponders (the email sent back to the respondent); those are set up only in the editor. |
Webhooks
| Tool | What it does |
|---|---|
list_webhooks |
Lists a form's webhooks: id, URL, events, enabled flag and a masked hint of the signing secret. |
add_webhook |
Adds a webhook to a form and returns its signing secret (only this once). |
delete_webhook |
Deletes a webhook. Deliveries stop immediately. |
Logic actions (add_logic_rules / edit_logic_rule)
Each rule has an if list of conditions, a then list of actions, an optional match ("all", the default, or "any") and an optional disabled flag. A rule needs at least one condition and at least one action.
Condition operators: equals, notEquals, contains, notContains, startsWith, endsWith, isEmpty, isNotEmpty, greaterThan, lessThan. The value is ignored for isEmpty and isNotEmpty.
Actions: each item in then has an action field with one of these twelve values:
action |
Extra fields | What it does |
|---|---|---|
show |
targetId (field id) |
Shows the field. |
hide |
targetId (field id) |
Hides the field. |
require |
targetId (field id) |
Makes the field required while the rule matches. |
unrequire |
targetId (field id) |
Makes the field optional while the rule matches. |
enable |
targetId (field id) |
Enables the field, undoing an earlier disable. |
disable |
targetId (field id) |
Disables the field; its answer is never included in the submission. |
copyValue |
targetId (destination field), copyFrom (source field) |
Copies the answer of copyFrom into targetId, live in the respondent's browser (like calculate). Requires JavaScript; has no effect if the respondent has it turned off. |
skipToPage |
targetId (page id, e.g. p1) |
Jumps straight to that page. |
calculate |
targetId (number field), formula |
Sets the field's value from the formula, which can reference other fields in braces, e.g. {f_qty} * 25. |
routeEmail |
emailTo |
Sends a copy of that submission's notification to the address. |
setThankYou |
value (text) |
Replaces the thank-you message with value while the rule matches. If several rules with this action match, the first one wins (not the last), the only exception to normal rule order. No per-language variants. |
redirectTo |
value (URL) |
Redirects to value instead of showing the thank-you screen while the rule matches. The same "first rule wins" logic as setThankYou, and it takes priority over setThankYou if both match. |
value is required and can't be empty for setThankYou and redirectTo. A call with a missing or empty required field is rejected, and the whole call is all-or-nothing: if any action fails validation, nothing is saved.
A rule with disabled: true stays on the form, but anota never evaluates it on the public page. It's the same as pausing it with the ⏸ button in the builder's Conditions panel (see Conditional logic).
Important rule: fields lock after publishing
A form starts as a draft, with no restrictions. As soon as it's published for the first time, its existing fields lock to protect the integrity of submissions already received. From then on you can only add new fields (add_fields); you can no longer edit (edit_field) or delete (delete_field) the fields that existed when it was published. The rule applies to the REST API and to Claude and other MCP connections. The visual form editor doesn't have this lock: an Editor can still change a published field there.
To change or remove an existing field after publishing, use clone_form: the clone is a new draft with every field editable. Or make the change before the first publish.
Logic rules don't lock: add_logic_rules, edit_logic_rule and delete_logic_rule work the same on a published form's draft as on one that was never published. Call publish_form afterwards to make the change live. Editing a rule that sends an email copy (routeEmail) applies to new submissions from then on; it doesn't resend notifications already sent.
Roles and permissions
| Role | API keys page (create, revoke, disconnect members' apps) | Integrations page (connections) | A form's Publish > Integrations |
|---|---|---|---|
| Owner / Admin | Yes | Yes | Yes |
| Editor | No (access denied) | No | Yes, using the connections that exist |
| Viewer | No (access denied) | No | No |
Editors and Viewers can disconnect their own connected apps under Account > Connected apps. See Roles and permissions.
Troubleshooting
| Symptom | Likely cause | Resolution |
|---|---|---|
| You can't see the full value of a key you already created | anota shows the full key only once, when it's created | Create a new key and revoke the old one. |
401 Unauthorized from /api/v1 or /mcp |
The Authorization header is missing, doesn't start with Bearer, or the key was revoked |
Send Authorization: Bearer anota_sk_… and check that the key is still listed on the API keys page. |
400 Bad Request |
anota couldn't do what you asked | Read the detail field of the answer; it says what to fix. |
429 Too Many Requests |
More than 120 requests per minute for the key, or 30 created submissions per minute | Wait a minute (see Retry-After) and space out your requests. |
edit_field or delete_field fails |
The form has been published at least once, so its existing fields are locked | Add new fields with add_fields, or use clone_form and edit the clone. |
edit_logic_rule or delete_logic_rule says the id wasn't found |
The rule id doesn't exist in the form's current draft | Call get_form for the current rule ids and try again. |
| Adding a webhook is refused | The address isn't HTTPS, doesn't resolve, or points to a private or internal network; or the form already has 10 webhooks | Use a public HTTPS address, or delete a webhook first. |
| Your system rejects webhook signatures | The wrong secret, or the HMAC computed over a re-serialized body instead of the raw body | Use the secret returned when you added the webhook (compare it with secretHint) and sign the body exactly as received. If the secret is lost, delete and re-add the webhook. |
| Your system gets nothing | No new submission since you added the webhook, or your server returned errors for all 6 attempts | Submit a test response and check your server's logs. |
| You don't see API or Integrations in the top bar | Your role is below Admin | Ask an Admin or the Owner. |
| Creating a key fails with "We couldn't create the key. Please try again." | A temporary error | Try again; if it keeps happening, contact support. |
Related features
Was this page helpful?