 P4 Software
/
logisticaHQ-en
P4 Software
/
logisticaHQ-en
P4 Software
/
logisticaHQ-en
P4 Software
/
logisticaHQ-en
The Printers screen lists every printer LogisticaHQ can print to, and decides which labels and documents each one prints for the whole company. Printers are not added here by hand. They come from the print agent, the small program on a computer at your site that connects its printers to LogisticaHQ.
Open Setup > Printing > Printers.
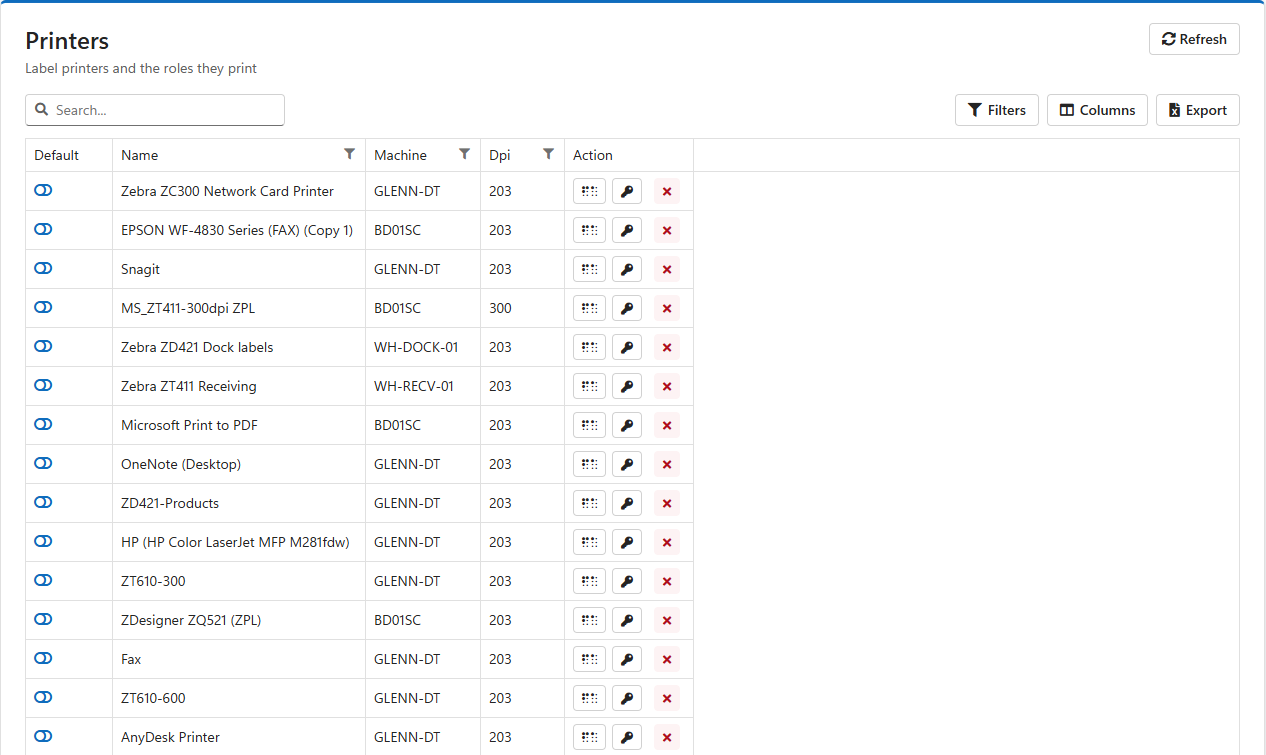
| Column | Meaning |
| Default | The company's default printer. Click the switch to make a printer the default. Only one printer can be the default, so switching one on switches the previous one off. Click it again to have no default. |
| Name | The printer's name as it is installed in Windows on the print agent's computer. Give printers clear names in Windows, such as Zebra ZT411 Receiving or Dock 3 labels, because this is the name everyone sees. |
| Machine | The computer the printer is installed on, where its print agent runs. |
| Dpi | The printer's resolution in dots per inch. Label printers are 203, 300 or 600 dpi; the value must match the printer, or barcodes and text come out the wrong size. |
| Action | Buttons to set the DPI, set the Roles, and Delete the printer. |
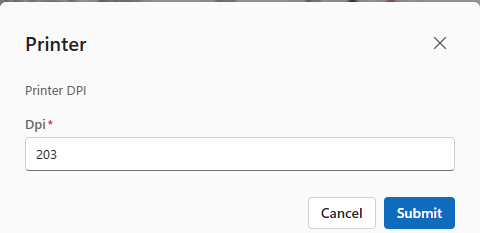
Every new printer starts at 203 dpi. Check it for each label printer before printing labels, especially 300 dpi models such as many Zebra ZT411s.
A role is a kind of label or document. Giving a printer a role tells LogisticaHQ to print that kind of label or document on it.
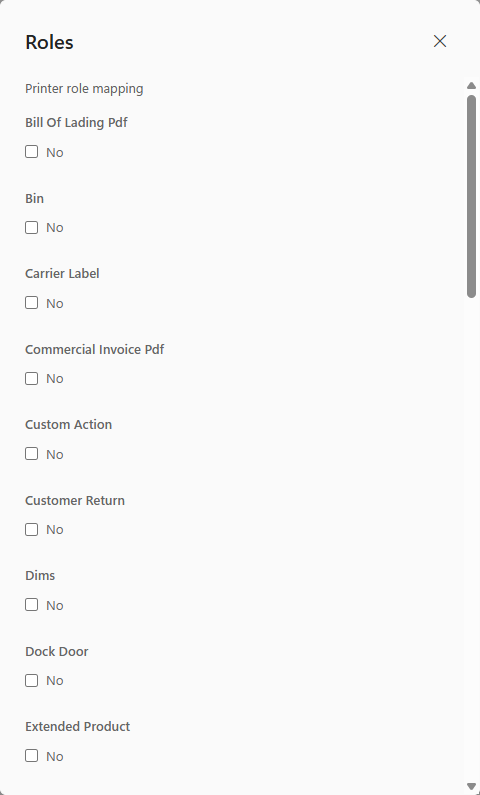
| Roles | What they print |
| Bin, Dock Door, License Plate, Pallet, Tote Master, Tote Content, Tag | Location, pallet and tote labels. |
| Product, Extended Product, Product Packsize, Substitute, Dims | Product and pack size labels. |
| Carrier Label | Shipping labels from the carrier. |
| Packslip Pdf, Bill Of Lading Pdf, Master Bill Of Lading Pdf, Commercial Invoice Pdf, Pdf | Shipping documents printed on paper. |
| Purchase Order, Customer Return, Truck Load | Receiving, return and truck-load documents. |
| Letdown Ticket, Packsize Breakdown Ticket, Work Order, Production Order, Production Product | Tickets and labels for replenishment and production. |
| Kit Dispatch, Kit Lpn | Surgical tray labels. |
| Custom Action, Print Note | Value-added service labels and printed notes. |
When someone prints, LogisticaHQ picks the printer in this order, and uses the first step that finds one:
When a step finds several printers, the one marked Default is used; if none is, the first in alphabetical order.
So a warehouse usually sets roles here, for example Carrier Label on the shipping printer and Bin and License Plate on the office label printer, and adds printers on a user's profile only for people who need their own, such as a receiver with a printer at their station.
Click the red × in the printer's row and confirm. See How printers get on the list for when a deleted printer comes back.
Was this page helpful?